How to Make Breadcrumbs: 5 Easy Steps at Home
I’ve always found that homemade breadcrumbs add a special touch to my cooking. They’re incredibly easy to make at home, and using them can elevate your dishes from ordinary to extraordinary.
Thank you for reading this post, don't forget to subscribe!
How to Make Breadcrumbs: 5 Easy Steps at Home
If you’ve ever wondered how to make breadcrumbs without buying a box from the store, you’re in the right place! This simple breadcrumb recipe is perfect for turning stale bread into something useful and delicious. Whether you’re looking for classic breadcrumbs to top your casseroles or crispy coating for your favorite cutlets, these homemade breadcrumbs are a game changer.
With just a few ingredients and basic kitchen tools, you’ll learn how to make breadcrumbs at home in just five easy steps. Save money, reduce food waste, and enjoy better flavor—all from your own kitchen!
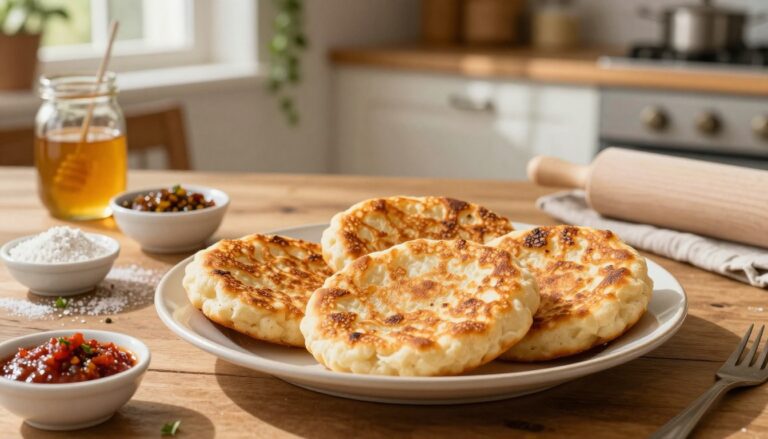
make breadcrumbs
Making breadcrumbs at home is a simple process that requires just a few ingredients and some basic kitchen equipment. By following a simple breadcrumb recipe, you can create a versatile ingredient that can be used in a variety of recipes, from coatings for chicken or fish to toppings for salads and soups.
Table of Contents
Why Make Your Own Breadcrumbs?
There’s a certain satisfaction in making your own breadcrumbs, from scratch, in the comfort of your own kitchen. Not only does it offer a more personalized culinary experience, but it also comes with several practical benefits.
Cost-Effective Kitchen Staple
Making your own breadcrumbs is a cost-effective way to have this kitchen staple always on hand. Here’s why:
Comparison to Store-Bought Options
Homemade breadcrumbs are often cheaper than their store-bought counterparts, especially if you use leftover or stale bread. This approach not only saves you money but also reduces the financial and environmental cost associated with packaging and distribution.
Reducing Food Waste
By using leftover or stale bread to make breadcrumbs, you’re reducing food waste. This eco-friendly practice is both cost-effective and beneficial for the environment, as it minimizes the amount of bread that ends up in landfills.
| Aspect | Homemade Breadcrumbs | Store-Bought Breadcrumbs |
| Cost | Cost-effective, uses leftover bread | Can be more expensive |
| Environmental Impact | Reduces food waste | Contributes to packaging waste |
Superior Flavor and Texture
Making your own breadcrumbs allows you to control the flavor and texture, tailoring them to your specific needs. This results in a more satisfying culinary experience.
Customization Benefits
With homemade breadcrumbs, you can add your choice of seasonings or herbs, allowing for a customized flavor profile that complements your dishes perfectly.
Fresher Ingredients
Using fresh bread (or even stale bread that’s still good) ensures that your breadcrumbs are made from fresher ingredients compared to some store-bought options that may sit on shelves for months.
Types of Breadcrumbs You Can Make at Home
Making breadcrumbs at home allows for a range of creative possibilities. By choosing the right type of breadcrumb, you can significantly enhance the texture and flavor of your dishes. Whether you’re looking for a light, airy coating or a hearty, textured topping, homemade breadcrumbs offer versatility.
Fresh vs. Dried Breadcrumbs
One of the primary distinctions in breadcrumb types is between fresh and dried breadcrumbs. Fresh breadcrumbs are made from bread that hasn’t been dried out, giving them a softer texture. Dried breadcrumbs, on the other hand, are made from bread that’s been dried, resulting in a crisper texture.
Best Uses for Each Type
Fresh breadcrumbs are ideal for dishes where you want a moist, cohesive texture, such as meatballs or stuffing. Dried breadcrumbs are better suited for coatings and toppings where a crunchy texture is desired.
Texture Differences
The texture difference between fresh and dried breadcrumbs is significant. Fresh breadcrumbs are soft and can absorb flavors well, while dried breadcrumbs provide a crunchy exterior.
Plain vs. Seasoned Breadcrumbs
Another important distinction is between plain and seasoned breadcrumbs. Plain breadcrumbs are a blank canvas, allowing you to add your own seasonings. Seasoned breadcrumbs, on the other hand, come pre-flavored, saving you time and effort.
Panko-Style Breadcrumbs
Panko-style breadcrumbs are a type of breadcrumb that originated in Japan. They are made from crustless bread and are known for their light, airy texture, making them perfect for coatings and batters.
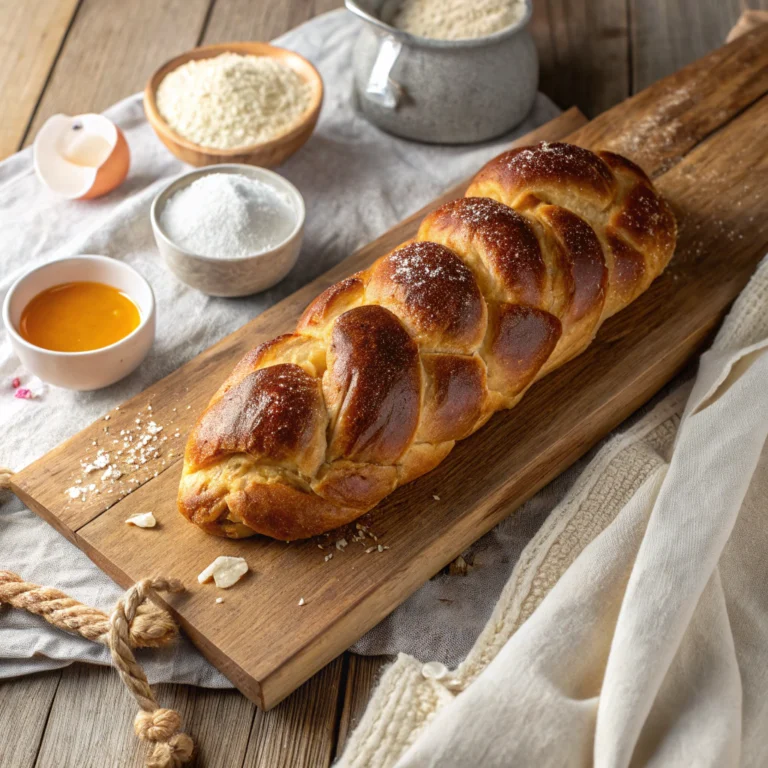
Best Breads for Making Breadcrumbs
Selecting the perfect bread is the first step in creating homemade breadcrumbs. The type of bread you choose can significantly affect the final product’s texture and flavor. I’ve found that a variety of breads can be used, each offering unique characteristics to your breadcrumbs.
White Bread Options
White bread is a popular choice for making breadcrumbs due to its mild flavor and soft texture. It produces a light, airy crumb that’s perfect for coating delicate foods or adding a subtle crunch to dishes. All-purpose flour bread or white sandwich bread are excellent options.
Whole Grain Alternatives
For a nuttier flavor and denser texture, whole grain breads are an excellent alternative. Whole wheat, rye, or multigrain bread can add depth and complexity to your breadcrumbs. These are ideal for heartier dishes or when you want a more robust breadcrumb.
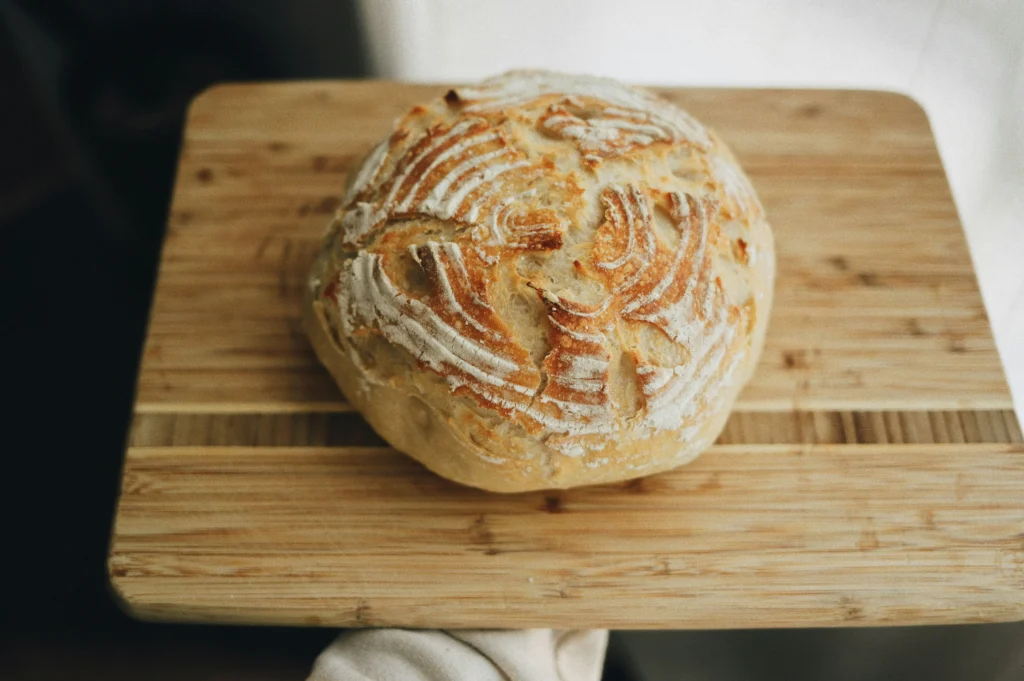
Using Leftover or Stale Bread
One of the best ways to make breadcrumbs is by using leftover or stale bread. This approach reduces food waste and can be very cost-effective. Simply dry out the bread, and you’re ready to process it into crumbs. It’s a great way to repurpose bread that’s past its prime.
| Bread Type | Flavor Profile | Texture |
| White Bread | Mild, slightly sweet | Light, airy |
| Whole Grain Bread | Nuttier, earthier | Denser, heavier |
| Leftover/Stale Bread | Varies based on original bread | Can be adjusted based on drying method |
Essential Tools and Equipment
Having the right tools is crucial when making breadcrumbs. To achieve the perfect crumb, you’ll need to choose the right equipment for the job. In this section, we’ll explore the various methods and tools you can use to make breadcrumbs at home.
Food Processor Method
A food processor is one of the quickest and most efficient ways to make breadcrumbs. Simply tear your bread into small pieces and process until you reach your desired consistency. Be careful not to overprocess, as this can result in fine crumbs or even flour.
Box Grater Technique
A box grater is another effective tool for making breadcrumbs. Simply rub the bread against the grater’s surface to produce coarse crumbs. This method allows for a lot of control over the crumb size and is great for producing rustic, textured breadcrumbs.
Manual Crushing Method
For a more old-fashioned approach, you can crush your bread manually using a rolling pin or your hands. Place the bread in a plastic bag and crush it into small pieces. This method is great for producing a variety of crumb sizes and textures.
| Tool | Crumb Size | Effort Level |
| Food Processor | Fine to Medium | Low |
| Box Grater | Coarse | Medium |
| Manual Crushing | Variable | High |
How to Make Breadcrumbs: The 5-Step Process
To achieve the perfect breadcrumbs, follow my 5-step guide tailored for homemade breadcrumb production. Making breadcrumbs at home is not only cost-effective but also allows you to control the texture and flavor to suit your recipes.
Step 1: Selecting and Preparing Your Bread
The first step in making breadcrumbs is selecting the right bread. You can use any type of bread you like, but it’s best to choose a bread that is a day or two old. Fresh bread can be used, but it might be slightly more challenging to process into fine crumbs. Simply slice the bread into thin pieces to prepare it for the next step.
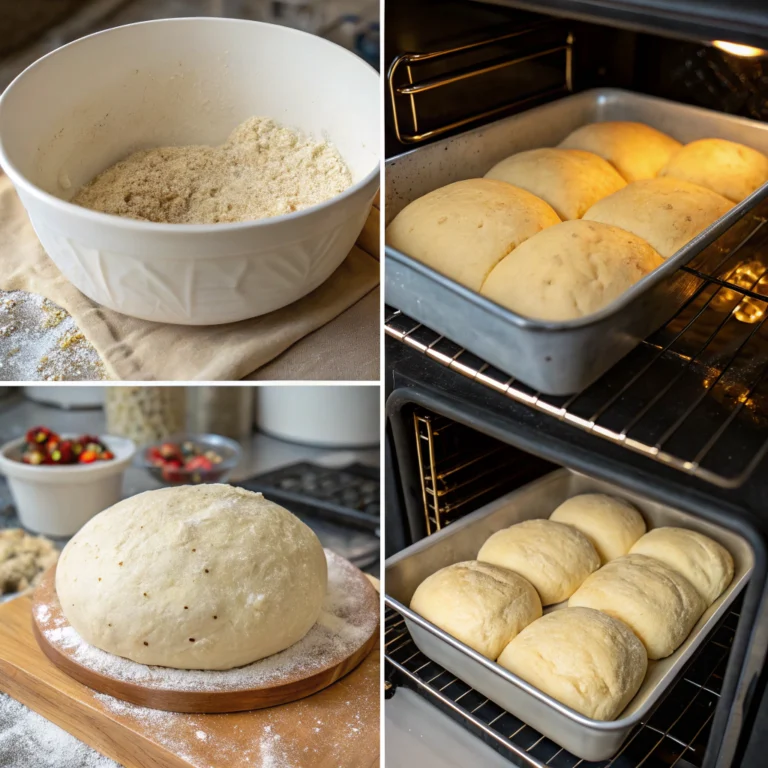
Step 2: Drying the Bread
Drying the bread is crucial for achieving the right texture. You can dry the bread slices in a low-temperature oven (around 300°F) for a few minutes or leave them out overnight to air dry. This step helps remove excess moisture, making it easier to grind the bread into fine crumbs.
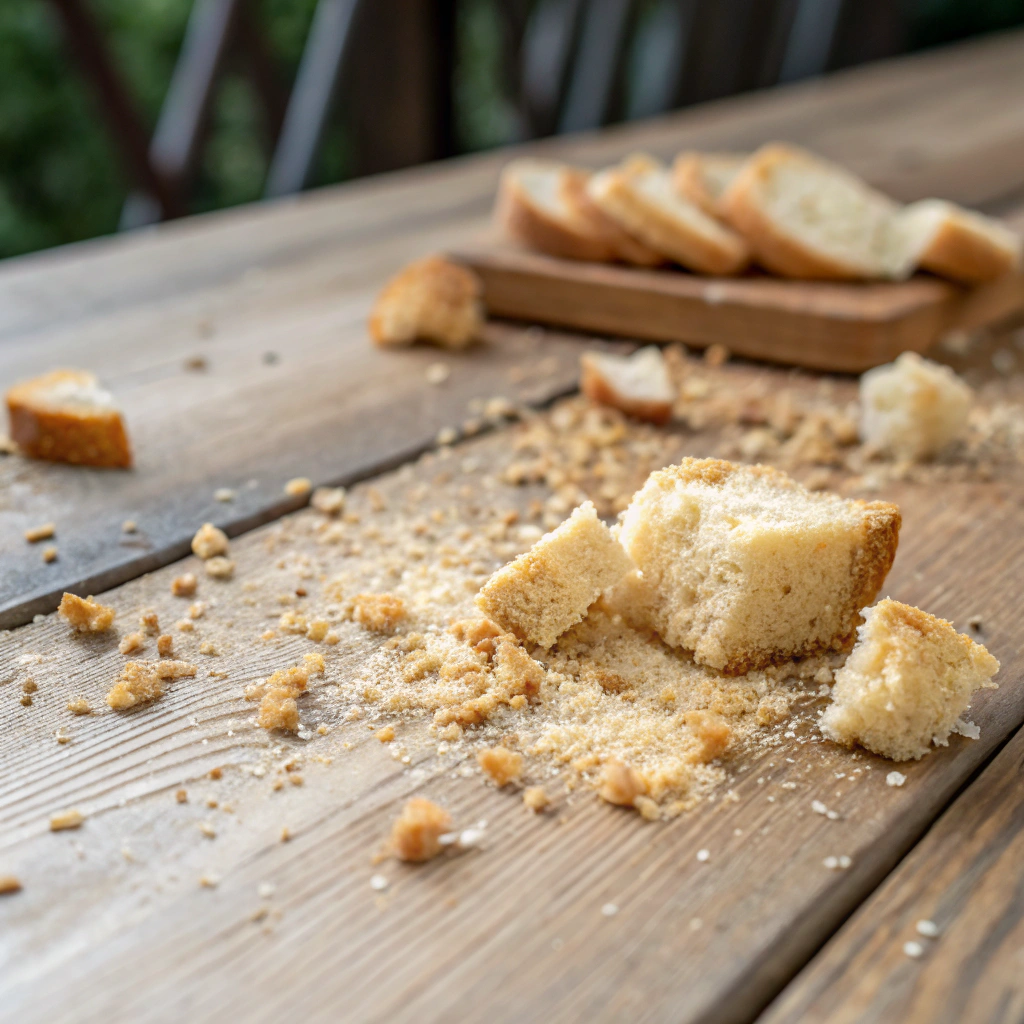
Step 3: Breaking Down the Bread
Once the bread is dry, break it down into smaller pieces. You can do this by hand or use a food processor on a low setting to break the bread into coarse crumbs. This step is essential for creating uniform breadcrumbs.
Step 4: Processing to Desired Consistency
Transfer the broken-down bread into a food processor and process until you achieve your desired crumb size. For finer breadcrumbs, process the bread for a longer duration. Be careful not to overprocess, as this can result in a powdery texture instead of crumbs.
Step 5: Storing Your Homemade Breadcrumbs
Finally, store your homemade breadcrumbs in an airtight container to keep them fresh. You can store them at room temperature for up to a week or freeze them for longer storage. Label the container with the date and contents for easy reference.
By following these simple steps, you can create perfect breadcrumbs every time. Experiment with different types of bread and seasonings to find your favorite breadcrumb recipe.
Oven-Dried Method to Make Breadcrumbs
The oven-dried method is a popular choice for making breadcrumbs due to its ease and effectiveness. This technique allows for a high degree of control over the final product’s texture and crispiness. By adjusting the temperature and timing, you can achieve the perfect breadcrumbs for your recipes.
Temperature and Timing Guidelines
To make excellent breadcrumbs, it’s crucial to get the temperature and timing right. The ideal settings can vary depending on the type of bread you’re using.
For White Bread
For white bread, a temperature of 300°F (150°C) for about 10-12 minutes is usually sufficient. This gentle heat helps to dry out the bread without browning it too much.
For Artisan and Crusty Breads
Artisan and crusty breads may require a slightly higher temperature, around 325°F (165°C), for 15-18 minutes. This ensures that the bread dries out thoroughly, resulting in a crispy texture.
Achieving the Perfect Crispness
Achieving the perfect crispness is key to making great breadcrumbs. To do this, it’s essential to monitor the breadcrumbs during the drying process. You can check on them halfway through the recommended time and shake the baking sheet to ensure even drying.
Once your breadcrumbs have reached the desired level of crispness, remove them from the oven and let them cool completely. This step is crucial, as it allows the breadcrumbs to dry out further and become even crisper.
Air-Dried Breadcrumbs Technique
If you’re looking for an alternative to oven-drying, the air-dried method is a great option for making breadcrumbs. This technique is simple and doesn’t require any special equipment.
Setting Up for Air Drying
To start, slice your bread into thin pieces. The thinner the slices, the quicker they will dry. Place these slices on a wire rack or a paper towel-lined surface, ensuring they don’t overlap. This allows air to circulate around each piece, facilitating even drying.
How to Know When They’re Ready
The bread is ready when it’s completely dry and crumbly. This can take anywhere from a few hours to a couple of days, depending on the humidity and thickness of the bread slices. You can check on them periodically to assess their dryness.
| Drying Time | Bread Thickness | Humidity Level |
| Several hours | Thin slices | Low |
| 1-2 days | Thicker slices | High |
Once your bread is dry, you can easily crush it into breadcrumbs using a food processor or manually. This air-dried method is a great way to make DIY breadcrumbs without using your oven, following easy breadcrumbs steps.
Creating Flavored Breadcrumbs
Creating flavored breadcrumbs at home is a simple way to enhance the flavor profile of various recipes. By customizing your breadcrumbs, you can tailor them to suit different cuisines and dishes, making your cooking more versatile and exciting.
Italian-Style Seasoning Blend
An Italian-Style Seasoning Blend is a classic choice for breadcrumbs, adding a Mediterranean flair to your dishes. This blend typically includes herbs like oregano, basil, and thyme, combined with garlic powder and sometimes red pepper flakes for a bit of heat.
Herb Combinations
Experimenting with different herb combinations can yield unique flavors. For instance, mixing parsley, rosemary, and thyme creates a fragrant and savory blend. You can adjust the proportions of each herb to suit your taste preferences.
Cheese Additions
Adding grated cheese like Parmesan or Romano to your breadcrumb mixture can enhance the umami flavor, making your dishes richer and more satisfying. Simply mix the grated cheese with your dried herbs and spices before processing the breadcrumbs.
Herb and Garlic Variations
For those who love garlic, combining it with herbs like parsley or cilantro can create a delicious and aromatic breadcrumb topping. Simply mince the garlic and mix it with your chosen herbs before adding it to your breadcrumbs.
Spicy Breadcrumb Options
If you prefer a bit of heat in your dishes, you can create spicy breadcrumbs by adding chili powder, cayenne pepper, or red pepper flakes to your breadcrumb mixture. This is perfect for adding a kick to your favorite recipes.
| Flavor Profile | Key Ingredients | Best Used For |
| Italian-Style | Oregano, Basil, Thyme, Garlic Powder | Pasta dishes, Chicken Parmesan |
| Herb and Garlic | Parsley, Garlic, Cilantro | Roasted vegetables, Garlic bread |
| Spicy | Chili Powder, Cayenne Pepper | Spicy chicken tenders, Fried pickles |
By experimenting with different flavor combinations, you can create a variety of breadcrumb recipes that will elevate your cooking and add a personal touch to your meals.
Gluten-Free Breadcrumb Alternatives
Whether you’re gluten-free or just looking for a change, there are numerous alternatives to traditional breadcrumbs. Making your own gluten-free breadcrumbs at home can be a straightforward process with the right ingredients and techniques.
Using Gluten-Free Bread
One of the simplest ways to make gluten-free breadcrumbs is by using gluten-free bread. This can be a bit more challenging due to the different textures and ingredients used in gluten-free bread, but it’s still a viable option.
Best Brands to Use
Some popular brands for gluten-free bread include Udi’s, Glutino, and Rudi’s Gluten-Free Bakery. These brands offer a range of products that can be used to make high-quality gluten-free breadcrumbs.
Texture Considerations
When using gluten-free bread, it’s essential to consider the texture. Some gluten-free breads can be denser and heavier, which may affect the final breadcrumb texture. You may need to adjust your processing technique accordingly.
Non-Bread Alternatives
For those looking beyond traditional bread, there are several non-bread alternatives that can be used to make gluten-free breadcrumbs.
Nut and Seed Options
Nuts and seeds like almonds, sunflower seeds, and pumpkin seeds can be processed into a crumb-like texture. These options not only are gluten-free but also add a nutty flavor to your dishes.
Grain-Based Substitutes
Grain-based substitutes like rice, corn, and quinoa can also be used to create gluten-free breadcrumbs. These grains can be toasted and processed into a breadcrumb consistency.
| Alternative | Description | Best Use |
| Gluten-Free Bread | Made from gluten-free flours, ideal for those with gluten intolerance. | Breading for chicken or fish. |
| Nuts and Seeds | Adds a nutty flavor, can be used raw or toasted. | Topping for salads or vegetables. |
| Grain-Based | Made from various grains, can be seasoned for extra flavor. | Casseroles and baked dishes. |
Troubleshooting Common Breadcrumb Problems
As I make breadcrumbs at home, I’ve encountered a few common problems that can be easily resolved. Making diy breadcrumbs is a simple process, but issues like excessive moisture, uneven texture, and mold can arise if not addressed properly.
Breadcrumbs Too Moist
If your breadcrumbs are too moist, it’s likely due to inadequate drying. To fix this, try:
- Drying the breadcrumbs in a low-temperature oven (150°F – 200°F) for a longer period.
- Using a food dehydrator to remove excess moisture.
- Spreading the breadcrumbs out in a single layer on a baking sheet to air dry.
Uneven Texture Issues
Uneven texture can be caused by inadequate processing or using the wrong type of bread. To achieve a consistent texture:
- Use a food processor to process the breadcrumbs to your desired consistency.
- Try using a box grater or manual crushing method for more control.
- Experiment with different types of bread, such as white or whole wheat, to find the one that works best for you.
Preventing Mold and Spoilage
To prevent mold and spoilage, it’s essential to store your homemade breadcrumbs properly. Follow these easy breadcrumbs steps:
- Store the breadcrumbs in an airtight container.
- Keep the container in a cool, dry place, such as a pantry or cupboard.
- Freeze the breadcrumbs for long-term storage to preserve freshness.
By following these troubleshooting tips, you can enjoy high-quality, homemade breadcrumbs for all your cooking needs.
Storing and Preserving Your Homemade Breadcrumbs
Proper storage is key to maintaining the freshness of homemade breadcrumbs. I’ve found that with the right techniques, you can enjoy your homemade breadcrumbs for weeks or even months after making them.
Pantry Storage Methods
For short-term storage, an airtight container in the pantry is ideal. I recommend using a glass jar or a plastic container with a tight-fitting lid to keep air and moisture out. Stored properly, homemade breadcrumbs can last up to a month in the pantry.
Refrigeration Tips
If you don’t plan to use your breadcrumbs within a month, consider storing them in the refrigerator. Place the breadcrumbs in an airtight container to prevent moisture absorption and keep them fresh for up to 6 months. It’s a good idea to label the container with the date you made the breadcrumbs.
Freezing for Long-Term Use
For the longest storage, freezing is the best option. Simply place the breadcrumbs in an airtight container or freezer bag, label it, and store it in the freezer. Frozen homemade breadcrumbs can last up to a year. When you’re ready to use them, just thaw at room temperature or toast them directly from the freezer.
| Storage Method | Duration | Tips |
| Pantry | Up to 1 month | Use airtight containers |
| Refrigerator | Up to 6 months | Label containers with dates |
| Freezer | Up to 1 year | Thaw or toast directly |
By following these storage tips, you can enjoy your homemade breadcrumbs at their best, whether you’re using them for coating, topping, or as a crunchy addition to your favorite recipes.
Conclusion
Now that you’ve learned how to make breadcrumbs, it’s time to get started. By making your own breadcrumbs, you can elevate your cooking and baking while reducing food waste. Whether you’re using fresh or stale bread, the process is simple and cost-effective.
With various breadcrumb recipes to explore, you can experiment with different flavors and textures. From Italian-style seasoning blends to spicy breadcrumb options, the possibilities are endless. You can also customize your breadcrumbs to suit your dietary needs, such as gluten-free alternatives.
By following the steps outlined in this article, you can create high-quality breadcrumbs that will enhance your dishes. So, next time you’re cooking or baking, consider making your own breadcrumbs. It’s a simple way to add texture, flavor, and nutrition to your meals. Start making breadcrumbs today and discover the difference it can make in your kitchen.
FAQ
What is the best bread to use for making breadcrumbs?
The best bread for making breadcrumbs depends on personal preference, but stale white bread, whole wheat bread, or even leftover artisan bread work well. You can also experiment with different types of bread to create unique flavors.
Can I make breadcrumbs without a food processor?
Yes, you can make breadcrumbs without a food processor. You can use a box grater or manually crush the bread into fine crumbs. These methods might take a bit more effort, but they are effective.
How do I store homemade breadcrumbs to keep them fresh?
To keep homemade breadcrumbs fresh, store them in an airtight container in the pantry for up to a month, refrigerate them for up to 6 months, or freeze them for up to a year. Make sure to label the container with the date.
Can I make gluten-free breadcrumbs?
Yes, you can make gluten-free breadcrumbs using gluten-free bread or alternatives like nuts, seeds, or grain-based substitutes. Be sure to check the ingredient labels to ensure they meet your dietary needs.
How do I achieve the perfect crispness when making oven-dried breadcrumbs?
To achieve the perfect crispness, monitor the breadcrumbs while they’re drying in the oven. The ideal temperature and timing will vary depending on the bread type, so adjust accordingly. For white bread, a lower temperature and shorter time work best, while artisan breads may require a slightly higher temperature and longer time.
Can I season my breadcrumbs before storing them?
Yes, you can season your breadcrumbs before storing them. In fact, making flavored breadcrumbs ahead of time can be convenient. Simply mix in your desired seasonings, store them in an airtight container, and use them as needed.
What are some common issues when making breadcrumbs, and how can I troubleshoot them?
Common issues include breadcrumbs being too moist, having an uneven texture, or developing mold. To troubleshoot, ensure your bread is dry before processing, use the right tool for the job, and store your breadcrumbs properly to maintain freshness.
Can I use fresh bread to make breadcrumbs?
While you can use fresh bread, it’s best to use stale or day-old bread for making breadcrumbs. Fresh bread can be too soft and may result in breadcrumbs that are too moist or clumpy. Drying fresh bread in the oven or air-drying it can help.