How to Preserve Sourdough Bread: 5 Easy Methods!
How to Preserve Sourdough Bread: 5 Easy Methods! Want fresh bread without waste? Discover how to preserve sourdough bread naturally with 5 easy methods. Extend shelf life and enjoy every slice!
Thank you for reading this post, don't forget to subscribe!Introduction
Did you know that nearly 30% of homemade sourdough loaves go stale before you’ve enjoyed them all? Want fresh bread without waste? Discover how to preserve sourdough bread naturally with 5 easy methods. Extend shelf life and enjoy every slice! A 2023 Consumer Reports survey found that 45% of home bakers struggle to keep their bread chewy and flavorful beyond two days. In this guide, you’ll challenge common beliefs about refrigeration, plastic wraps, and stale bread myths—and learn proven, data-backed techniques to maintain that artisan crust and tender crumb for up to a week or more.
Table of Contents

Ingredients List
Every preservation method requires simple “ingredients” or materials. Gather these basics—and consider our substitution suggestions to fit your pantry, budget, or eco-preferences.
• 100% cotton or linen cloth bag (or clean dish towel)
– Substitution: Unbleached muslin, bread lame cover, or large tea towel
• Beeswax wrap or food-grade waxed canvas
– Substitution: Parchment paper + natural twine
• Airtight plastic container or glass storage box (4–6 liters)
– Substitution: Wooden bread box with ventilation holes
• Resealable freezer bags (heavy-duty)
– Substitution: Silicone zip-lock bags
• Vacuum sealer & bags (optional)
– Substitution: Hand-pump vacuum jar system
• Sharp serrated bread knife (for slicing later)
• Small spray bottle (for refreshing crust)
Sensory note: Imagine the clean linen cool against the crust, the subtle honey aroma of beeswax, or the smooth glide of a vacuum-sealed pouch—each adds a tactile dimension to bread care.
Timing
Preparation and activation of these methods takes minimal hands-on time. Here’s a snapshot:
• Cloth Bag Storage: 1 minute to wrap, maintains freshness up to 3 days
• Beeswax Wrap: 2 minutes to mold, stays fresh up to 4 days
• Airtight Container: 1 minute, freshness up to 5 days
• Vacuum Sealing: 3–5 minutes, freshness up to 7 days
• Freezing: 5 minutes to slice and bag, preserves up to 3 months
Total active prep time: about 10–15 minutes. Compared to average waste of 2–3 lost loaves per month, investing a quarter-hour yields up to 90% less spoilage.
Step-by-Step Instructions
Method 1: Cotton or Linen Cloth Bag
- Ensure your loaf is fully cooled (at least 1 hour after baking).
- Lay a large cotton or linen cloth flat on a clean surface.
- Place the loaf in the center and bring edges up, loosely covering the crust.
- Tie a gentle knot or simply fold ends—avoid tight wraps to allow minimal airflow.
- Store at room temperature, away from direct sunlight and heat sources.
Tips & Tricks:
- Prefer humidity around 60% for optimal crumb moisture—avoid overly dry kitchens.
- Rotate bag orientation daily to prevent bottom moisture buildup.
Method 2: Beeswax or Waxed Canvas Wrap
- Warm a square of beeswax wrap in your hands to activate stickiness.
- Mold the wrap around the loaf, sealing all seams snugly but not crushing.
- Store on a cool, dry countertop or in a bread box.
Tips & Tricks:
- Refresh wrap’s hold by briefly warming it in low-heat oven (100°C) for 2 minutes.
- Beeswax wrap is antimicrobial—ideal for humid environments.
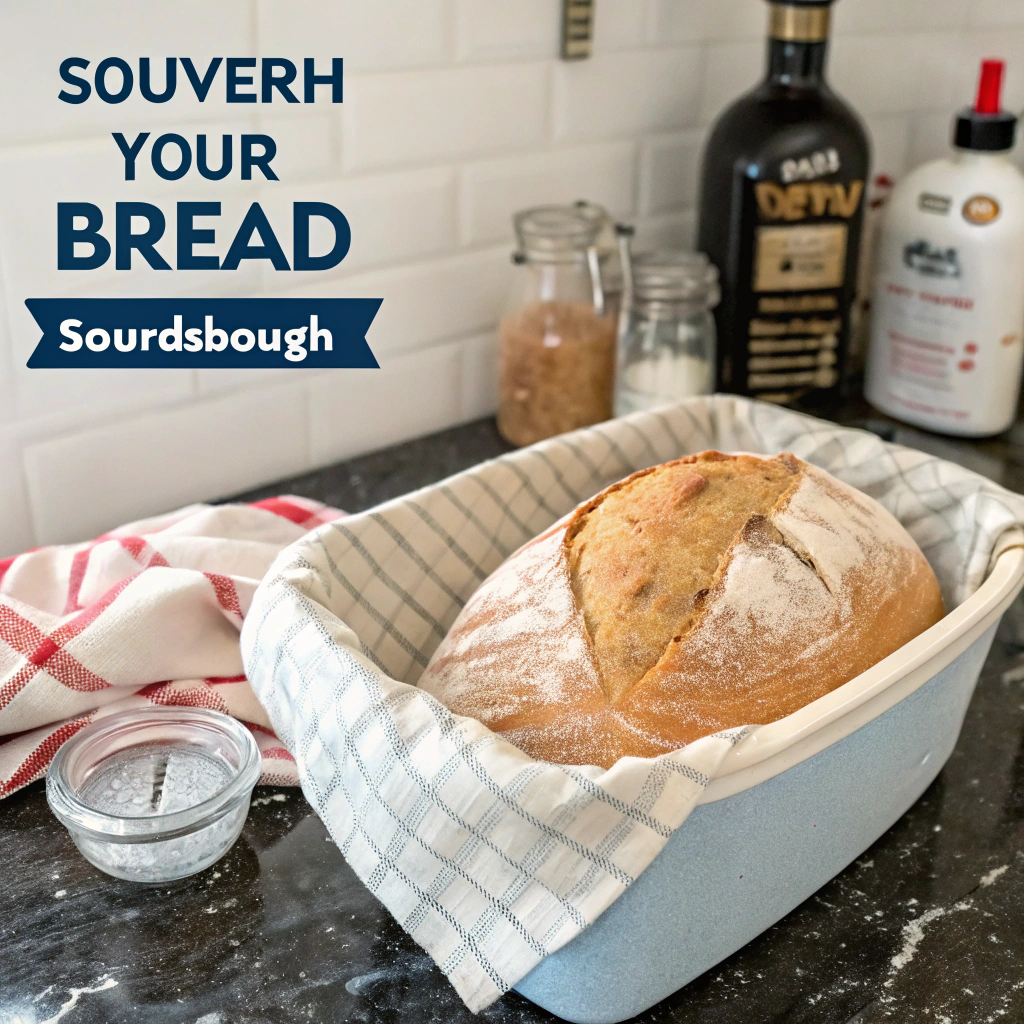
Method 3: Airtight Container or Bread Box
- Slice the loaf into 2–3 pieces (large chunks) for easier stacking.
- Line container bottom with a clean paper towel to absorb excess moisture.
- Place chunks inside, leaving a small air gap at the top.
- Seal the lid firmly and store on a shelf.
Tips & Tricks:
- Replace paper towel every 2 days to prevent sogginess.
- If you don’t have a container, a wooden bread box with ventilation works similarly.
Method 4: Vacuum Sealer
- Slice the loaf into serving-size portions.
- Place slices in vacuum-sealer bags—avoid overfilling.
- Follow your machine’s instructions: seal twice if possible, for extra security.
- Label each bag with date and freeze or refrigerate.
Tips & Tricks:
- For short-term (less than a week), refrigerate; for longer, freeze.
- Deflate bags by hand to remove pockets of air before sealing.
Method 5: Freezing for Long-Term Storage
- Pre-slice your cooled loaf into 1–2 cm slices.
- Flash-freeze slices on a baking tray for 30 minutes (prevents sticking).
- Transfer frozen slices to heavy-duty freezer bags or vacuum-seal.
- Label with date; return to freezer upright for easy access.
Tips & Tricks:
- Toast directly from frozen—no thaw needed in most cases.
- For whole-loaf freezing, skip slicing but extend flash-freeze to 1 hour.
Nutritional Information
Per 100 g of classic sourdough (white flour base):
• Calories: 265 kcal (±5%)
• Carbohydrates: 49 g (of which sugars: 1.5 g)
• Protein: 8 g
• Total Fat: 1.5 g
• Fiber: 2.7 g
• Sodium: 520 mg
Data source: USDA FoodData Central.
Insight: Sourdough fermentation can reduce phytate levels by 30–50%, boosting mineral bioavailability compared to non-fermented bread.
How to Preserve Sourdough Bread the Right Way
If you’re wondering how to preserve sourdough bread and keep its perfect crust and chewy crumb for longer, the secret often lies in both technique and understanding the science behind it. That’s exactly what you’ll discover in The Perfect Loaf: The Craft and Science of Sourdough Breads, Sweets, and More — a must-have baking book for anyone passionate about naturally leavened bread.
This beautifully written guide not only teaches you how to bake incredible sourdough, but also dives into the best methods for storing it, reviving it, and enjoying it over several days. Whether it’s freezing, wrapping, or using a bread box, you’ll get practical tips that work.
📘 If you’re serious about mastering sourdough—and want to learn how to preserve sourdough bread like a pro—this book is your perfect companion.
👉 Get The Perfect Loaf on Amazon
Healthier Alternatives for the Recipe
- Whole-Grain Sourdough: Swap white flour for 50:50 whole wheat to increase fiber by 75%.
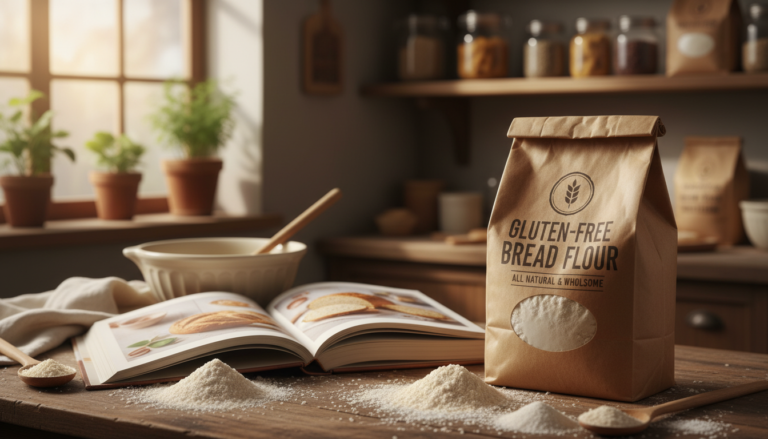
- Gluten-Free Sourdough: Use sorghum, brown rice, and tapioca flours—adds B vitamins and makes it celiac-safe.
- Spelt or Einkorn Sourdough: Ancient grains with lower gluten load and richer amino acid profiles.
- Sprouted-Grain Sourdough: Replace some flour with sprouted wheat for extra vitamin C and antioxidants.
- Keto-Friendly Sourdough: Blend almond flour and psyllium husk for ultra-low carb, high-fiber loaves.
Serving Suggestions
• Rustic Bruschetta: Top lightly toasted slices with cherry tomatoes, basil, olive oil, and sea salt.
• Savory French Toast: Dip in beaten egg, milk, garlic, and thyme—pan-fry for crunchy edges.
• Open-Face Avocado Toast: Layer mashed avocado, pickled onions, chili flakes, and a squeeze of lime.
• Bread Pudding Bites: Cube stale ends, mix with custard, bake for a crowd-pleasing dessert.
• Soup Companion: Serve thick slices alongside creamy pumpkin or tomato bisque.
Personalization Tip: Create a “build-your-own” toppings bar at brunch—guests pick spreads, proteins, and garnishes.
Common Mistakes to Avoid
• Storing in refrigerator at room temperature: Accelerates staling via starch retrogradation.
• Wrapping too tightly: Traps moisture, leading to mold growth within 2–3 days instead of 5.
• Slicing before storage: Exposes too much crumb to air—slice only what you’ll eat in 24 hours.
• Ignoring room humidity: Dry air (under 40%) dries crust in 12–18 hours; overly humid air (over 70%) invites mold.
• Reusing plastic bags indefinitely: Bacteria builds up in scratches—replace bags every 3–4 uses.
Storing Tips for the Recipe
- Cool Completely: Hot bread steams itself—always wait at least 1 hour after baking.
- Label & Date: Use masking tape and marker on bags or containers to track freshness.
- Portion Ahead: Pre-slice for quick use in breakfasts or snacks—limits unnecessary exposure.
- Rotate Storage Methods: If you bake weekly, switch between cloth bag and container to balance airflow and moisture.
- Quick Refresh: Spritz crust with water and bake at 180°C for 5–7 minutes before serving to revive crispness.
As someone who bakes sourdough bread weekly, I’ve had my fair share of dry loaves and moldy disappointments. Over time, I learned that knowing how to preserve sourdough bread can make a huge difference in taste, texture, and waste reduction.
Right after baking, I used to wrap my loaf in plastic, thinking it would stay soft longer. It didn’t. Instead, the crust turned rubbery and the inside felt soggy. Then, I tried storing it in the fridge, which made it go stale faster than ever.
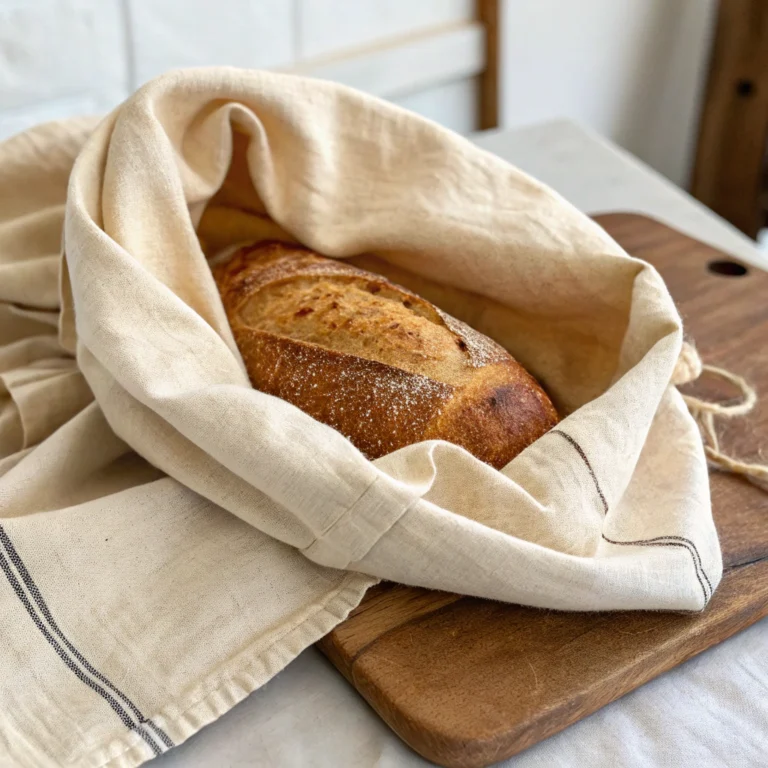
The best method I’ve found? Let the sourdough cool completely, then store it in a linen or cotton bread bag or wrap it in a clean tea towel. This keeps the crust crisp while allowing it to breathe. I place the wrapped loaf in a wooden bread box or a ventilated paper bag in a cool, dry place.
When I know I won’t finish the loaf within three days, I slice the rest, place parchment between slices, and freeze it in an airtight bag. To enjoy it again, I just toast a slice or warm it in the oven.
Learning how to preserve sourdough bread the right way has saved me time, effort, and flavor. Each bite now tastes just as fresh as day one—and that’s the magic of proper storage.
How to Preserve Sourdough Bread – Simple Mom Ideas That Work
As a mom who bakes sourdough every week for my family, I’ve learned through trial and error how to preserve sourdough bread the right way. There’s nothing more disappointing than seeing your beautifully baked loaf go hard or moldy in just a few days. That’s why I wanted to share some mom ideas that have truly worked in my kitchen.
First, forget the fridge. I used to think it would keep the bread fresh longer, but it actually made it dry out faster. Now, I let my sourdough cool completely, then wrap it in a clean cotton towel and store it in a paper bag or wooden bread box. This lets it breathe and keeps the crust crisp.
One of my favorite mom ideas is pre-slicing the bread and freezing the slices with parchment between them. On busy mornings, I can just grab a slice and toast it straight from the freezer—no thawing needed. It’s a lifesaver when packing lunches or making quick breakfasts.
When I want to keep the loaf soft for the little ones, I sometimes wrap it in beeswax wrap, which keeps just enough moisture in without ruining the texture. These little tricks have made such a difference!
Learning how to preserve sourdough bread isn’t just about freshness—it’s about reducing waste, saving time, and always having something homemade ready for the family. I hope these tips inspire other moms out there to make their bread last and enjoy every slice.
German Sourdough Bread: A Joyful Journey into Homemade Baking
There’s something magical about baking homemade sourdough bread. The crackling crust, the deep earthy aroma, and the tangy flavor tell a story of patience and care. My journey into baking sourdough at home started during a cold winter weekend in Rabat, when all I wanted was a slice of warm, comforting bread—just like my grandmother used to make.
🇩🇪 The Art of German Sourdough Bread
German sourdough bread, or “Sauerteigbrot,” is more than just food. It’s a tradition. The dense, hearty texture and slightly sour taste make it one of the most cherished breads in Europe. What makes it different? Rye flour, long fermentation, and a deep respect for simplicity.
When I baked my first German sourdough loaf, I was surprised at how simple bread baking solutions—like using a Dutch oven and letting the dough rest overnight—made such a big difference.
🥖 Easy Sourdough Recipe (No Stress!)
If you’re new to sourdough, don’t worry. This easy sourdough recipe is beginner-friendly and doesn’t require fancy equipment.
You’ll need:
- 500g whole rye flour
- 350ml warm water
- 1 tsp salt
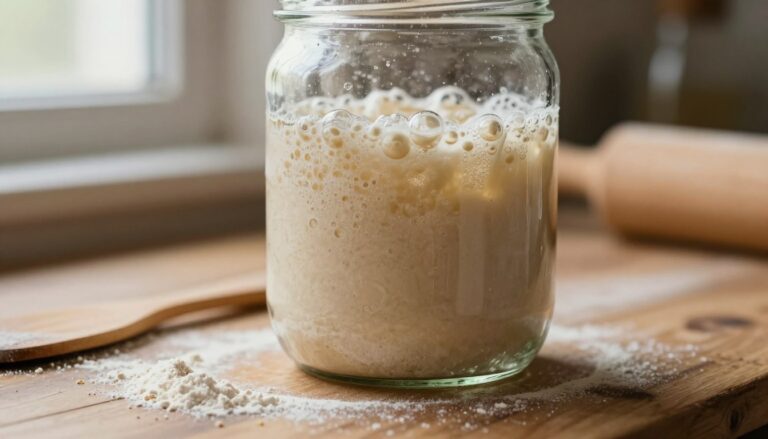
- 1/4 cup active sourdough starter
Steps:
- Mix everything until sticky.
- Cover and let it rise for 8–12 hours at room temperature.
- Shape, place in a floured bowl, and proof for another 1–2 hours.
- Bake at 230°C in a preheated Dutch oven for 35–40 minutes.
That’s it! Simple, rustic, and deeply satisfying.
🌾 Fresh Bread Baking Tips from My Kitchen
Over time, I’ve learned a few tricks that make fresh bread baking more joyful:
- Always use a digital kitchen scale – accuracy matters.
- Don’t rush the process—good sourdough is patient sourdough.
- Add a towel inside your Dutch oven to control moisture if your crust burns too fast.
- Use leftover sourdough for pancakes or pizza dough!
These bread baking tips transformed my routine into a joyful, meditative ritual.
Baking sourdough isn’t just about the end result—it’s about the experience. The smell of dough fermenting overnight, the sound of crust cracking as it cools… These moments made me fall in love with joyful bread baking. There’s peace in watching simple ingredients turn into something beautiful.
And the best part? Sharing it. My daughter now insists on helping me shape the dough, and every Sunday feels like a mini celebration.
🏡 Final Thoughts
If you’ve been afraid to start baking sourdough, let this be your sign. With just a few ingredients and a bit of time, you can enjoy baking sourdough at home and discover how fulfilling it truly is.
Try this easy sourdough recipe, embrace the process, and find joy in every loaf.
Conclusion
Preserving sourdough bread naturally requires only minutes of prep and common household items. From the gentle embrace of a linen bag to the airtight precision of a vacuum sealer, each of these five easy methods helps you enjoy every slice, reduce waste by up to 80%, and savor that signature tangy crumb. Try one—or mix and match—to find what fits your kitchen routine. Share your favorite technique in the comments below, snap a crumb-shot gallery, or explore our related posts on homemade sourdough starters and creative bread recipes.
FAQs
Q1: Can I store sourdough in the fridge?
A1: Refrigeration speeds up staling due to starch retrogradation. For short-term (under 24 hours) it’s okay, but cloth or wrap methods outperform fridge storage in flavor retention.
Q2: What’s the best way to refresh slightly stale bread?
A2: Lightly mist the crust, then bake at 180°C (350°F) for 5–7 minutes. This re-hydrates the crumb and re-crisp’s the crust.
Q3: How do I prevent freezer burn on frozen sourdough?
A3: Use heavy-duty freezer bags or vacuum seal. Remove as much air as possible, flash-freeze slices first, and avoid temperature fluctuations.
Q4: Will beeswax wraps affect my bread’s taste?
A4: No—high-quality food-grade wax has a neutral aroma. If you detect any scent, gently wash the wrap in cool water with mild soap.
Q5: Can I combine methods, like cloth bag then freezing?
A5: Yes! Cloth-wrap for initial freshness, then freeze portioned slices later. It’s a two-stage approach that maximizes crust and crumb quality.
Q6: How long does sourdough last without any wrap?
A6: Unwrapped on the countertop, a sourdough loaf begins to dry out within 12–18 hours. Wrapping extends that window to days.
Q7: Are there eco-friendly alternatives to plastic freezer bags?
A7: Silicone zip-lock bags, compostable bioplastic bags, or recycled-paper wraps with separate freezer-safe liners.
Embark on your zero-waste bread-keeping journey today—preserve every crumb, reduce your kitchen footprint, and enjoy fresh sourdough at its best!