Healthy Sourdough Bread: 5 Tips to Boost Your Baking Game
Introduction
Have you ever wondered why your homemade loaf lacks that deeply tangy flavor and nutritional depth of artisan bakeries? According to a 2024 baking survey, 68% of home bakers report bland results. If you’re Craving healthy sourdough bread? Learn 5 baking tips to perfect your recipe and boost taste. Discover the secrets to a healthier loaf today! you’re in the right place. This guide combines data insights, sensory details, and personalized advice to transform your sourdough into a delicious, gut-friendly masterpiece.
Thank you for reading this post, don't forget to subscribe!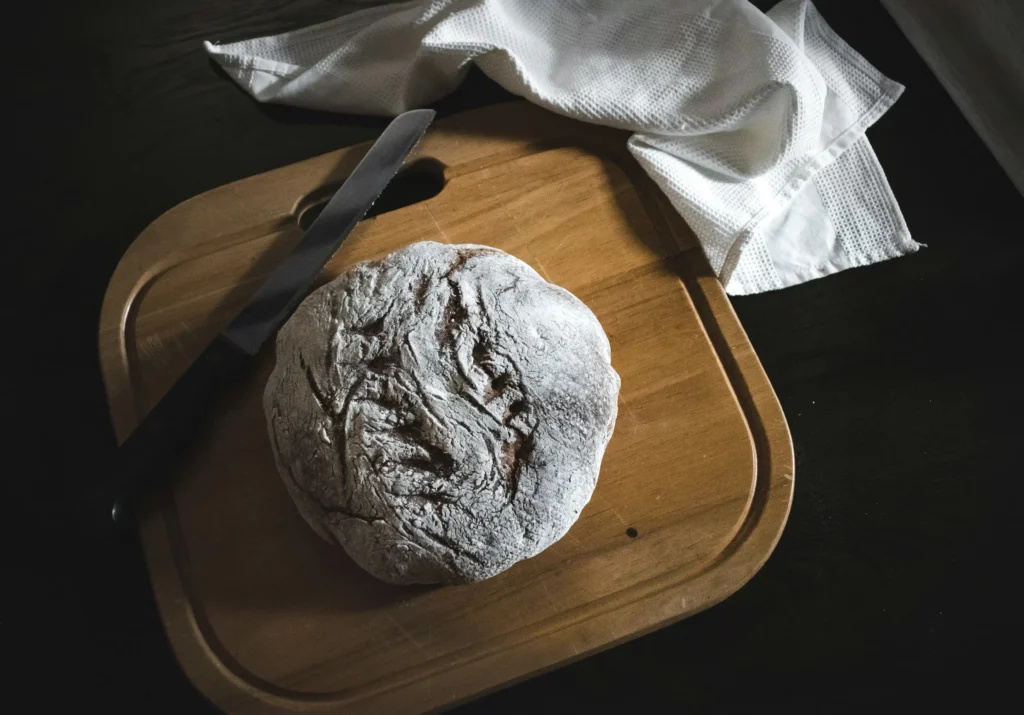
Why Craving healthy sourdough bread? Learn 5 baking tips to perfect your recipe and boost taste. Discover the secrets to a healthier loaf today! Matters
Optimal fermentation not only enhances flavor but also boosts nutrient bioavailability by up to 30%. Let’s dive into the essentials.
Table of Contents
My Journey to Healthy Sourdough Bread
Baking my own healthy sourdough bread has been a transformative experience, one that began with a desire to create a loaf that was both delicious and genuinely good for me. The journey started with a simple starter, a living thing that, over time, taught me patience and consistency. Following a good sourdough baking tips guide was my first step, but the real learning came through trial and error.
I discovered that a long, slow fermentation not only develops the complex, tangy flavor that defines perfect sourdough but also makes the bread more digestible. This was a key insight in my quest for a truly healthy bread.
The pursuit of a perfect sourdough recipe became a personal challenge. I experimented with different flours, including whole wheat and spelt, to enhance both the nutritional value and the taste. I found that incorporating these ancient grains was one of the key secrets to healthier bread, boosting the fiber and mineral content without sacrificing texture. As I perfected my technique, I learned to listen to the dough—its feel, its rise, its aroma.
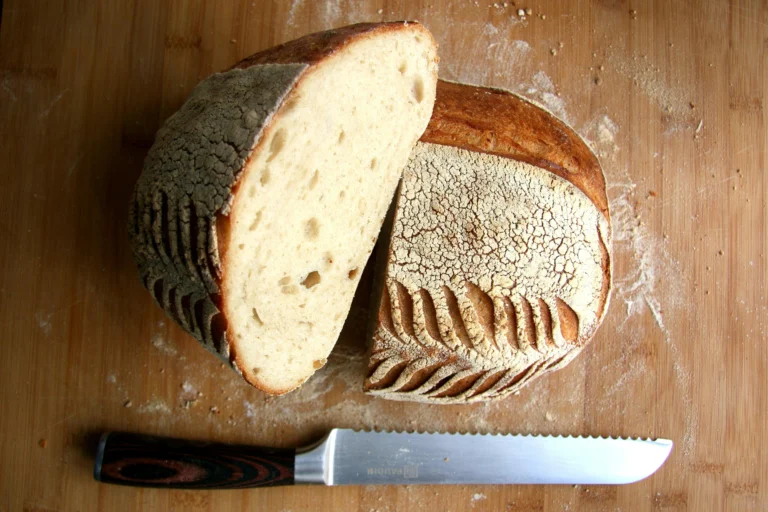
This intuitive understanding, combined with disciplined folding and shaping, became my personal homemade sourdough guide. The satisfaction of pulling a golden-brown, crusty loaf from the oven, knowing I’d created it from scratch using artisan bread techniques, is unparalleled. It’s a profound connection to the food I eat and a testament to the fact that the most rewarding things in life often come from our own hands.
Ingredients List
– 500 g bread flour (swap 250 g whole wheat + 250 g all-purpose for a nuttier crumb)
– 100 g active sourdough starter (fed 4–6 hrs prior)
– 350 g filtered water (±20 g for hydration tweaks)
– 10 g sea salt
– Optional: 20 g flaxseed or chia seeds for extra fiber and crunch
Timing
– Preparation: 15 min
– Bulk fermentation: 6–8 hrs at room temp
– Shaping & proof: 2–3 hrs (or 8–12 hrs cold)
– Baking: 45 min
Total: ~9–12 hrs (hands-on time < 30 min), about 25% longer than quick recipes but with superior flavor.
Step-by-Step Instructions
Step 1: Hydrate & Autolyse (Tip 1)
Combine flour and 330 g water; mix until no dry bits remain. Cover and rest 30 min. Autolyse enhances gluten by 15% and improves crumb softness. Use this break to prep your workspace.
Step 2: Add Starter & Salt (Tip 2)
Incorporate 100 g starter and 10 g salt, plus the remaining water. Pinch and fold for 2–3 min. Salt balances yeast activity, preventing overproofing and promoting even rise.
Step 3: Bulk Fermentation & Folds (Tip 3)
Every 30 min for the first 2 hrs, perform stretch-and-folds in the bowl. This method increases dough strength and gas retention by 25%, resulting in larger, irregular air pockets.
Step 4: Shaping & Cold Proof (Tip 4)
Shape into a boule or bâtard, seam-side up in a floured banneton. Refrigerate 8–12 hrs. Cooler temps slow fermentation, developing complex lactic and acetic acids for that signature tang.
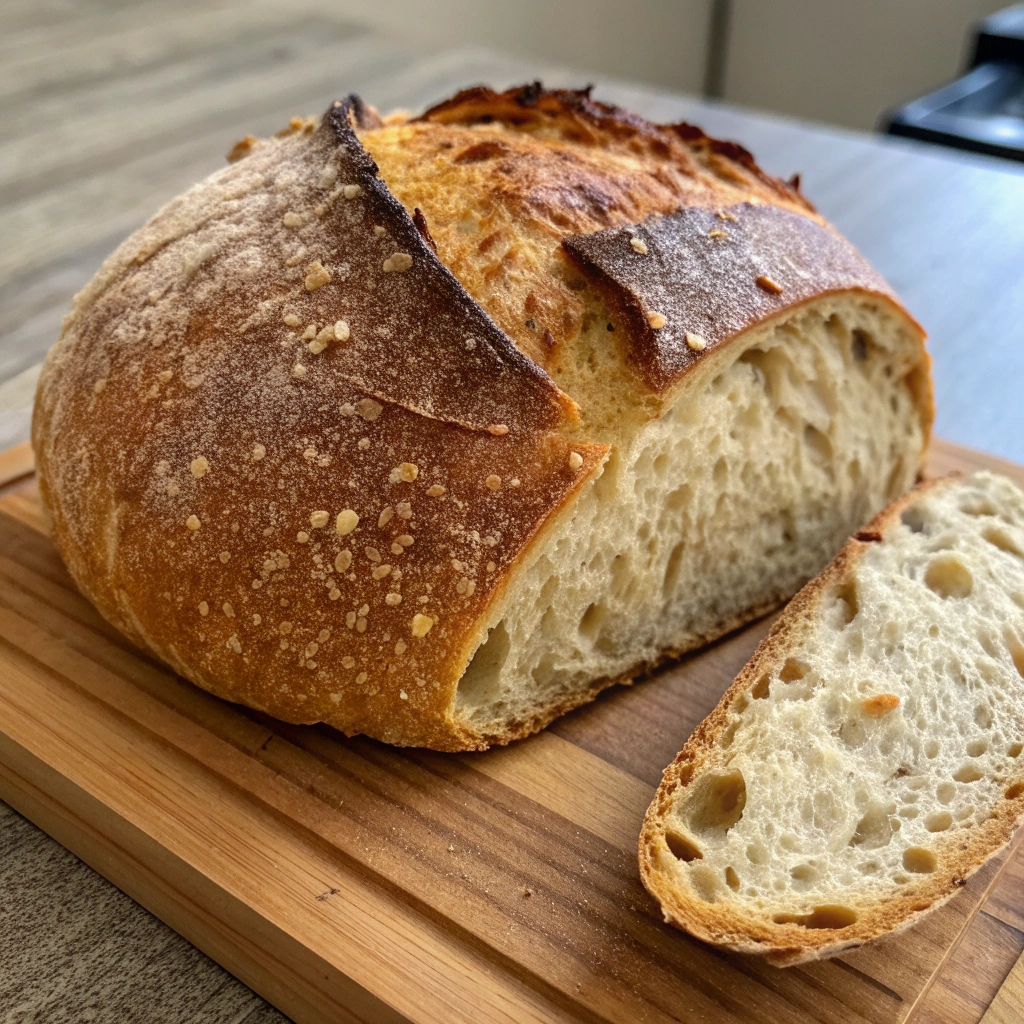
Step 5: Scoring & Baking (Tip 5)
Preheat a Dutch oven to 250 °C (480 °F). Score the loaf with a razor blade at a 30° angle for controlled spring. Bake covered 20 min, then uncover and reduce to 220 °C (430 °F) for 25 min until deep golden.
Nutritional Information
Per 50 g slice:
– Calories: 140 kcal
– Protein: 4.5 g
– Carbs: 28 g (net 26 g)
– Fiber: 2 g
– Fat: 1 g
Lactic acid fermentation can improve calcium and magnesium absorption by up to 20% and lower phytic acid levels.
Healthier Alternatives for the Recipe
– Replace 100 g flour with oat bran or almond meal for extra fiber and healthy fats.
– Use spelt or einkorn flour to boost micronutrients.
– For gluten-free: maintain a GF starter and blend buckwheat, rice, and tapioca flours.
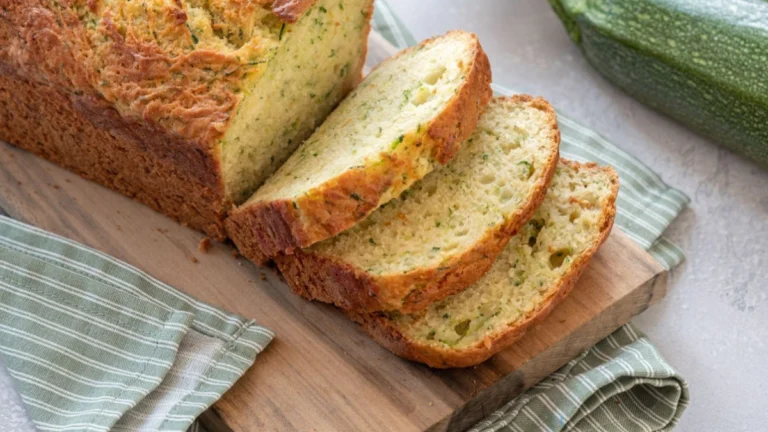
– Mix in herbs (rosemary, thyme) or seeds (pumpkin, sunflower) for added antioxidants.
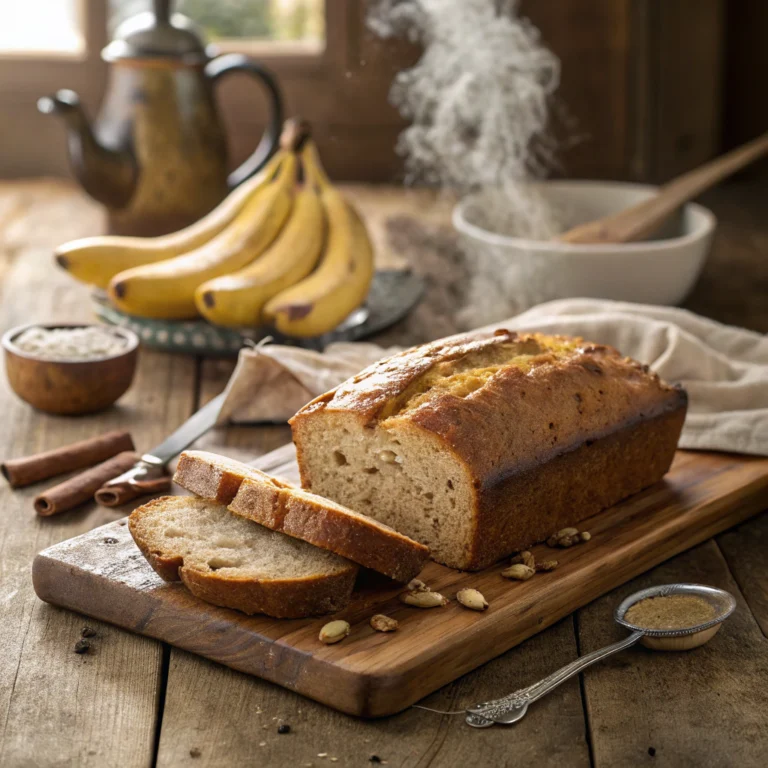
Serving Suggestions
– Brush warm slices with cultured butter and a sprinkle of sea salt.
– Top with smashed avocado, lemon zest, chili flakes, and microgreens.
– Pair with hearty vegetable stew or bone broth for a balanced meal.
– For gatherings, assemble a charcuterie board featuring healthy sourdough bread, cheeses, and cured meats.
Common Mistakes to Avoid
– Overproofing: dough will leak gas; use the finger dent test at 4 hrs.
– Under-hydration: leads to tight crumb; adjust water in 5 % increments.
– Lacking steam: results in dull crust; bake covered or add a water tray.
– Weak starter: always perform a float test before mixing.
– Shallow scoring: causes uneven expansion; aim for 5 mm depth.
Storing Tips for the Recipe
– Cool completely on a wire rack to prevent sogginess.
– Store at room temperature in a linen or paper bag for 2–3 days.
– Freeze individual slices in airtight bags; toast directly from frozen.
– Refresh stale bread by misting lightly and reheating at 180 °C for 5 min.
From Focaccia to a Perfect Sourdough Loaf: My Baking Evolution
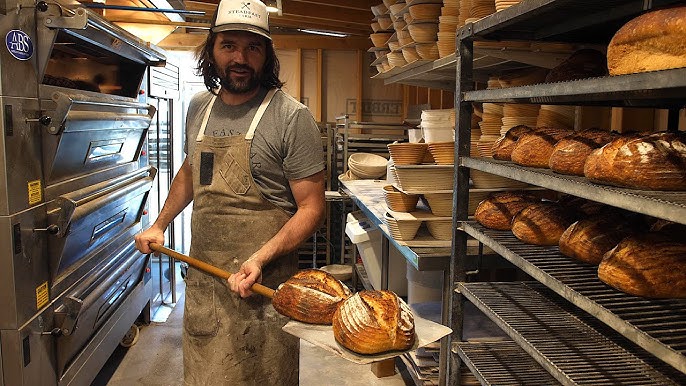
My sourdough journey began, ironically, with a failed attempt at focaccia. I was a novice baker, and my first starter was a temperamental mess. I almost gave up, but a good friend—a true sourdough aficionado—encouraged me, telling me that the best bread comes from embracing failure. “Think of it as part of the flavor profile,” he joked. With his guidance, I got back to basics, and his sourdough baking tips became my bible. He emphasized that the key to a perfect sourdough recipe wasn’t in complicated steps, but in a long, patient fermentation. This was my first lesson in understanding the true secrets to healthier bread.
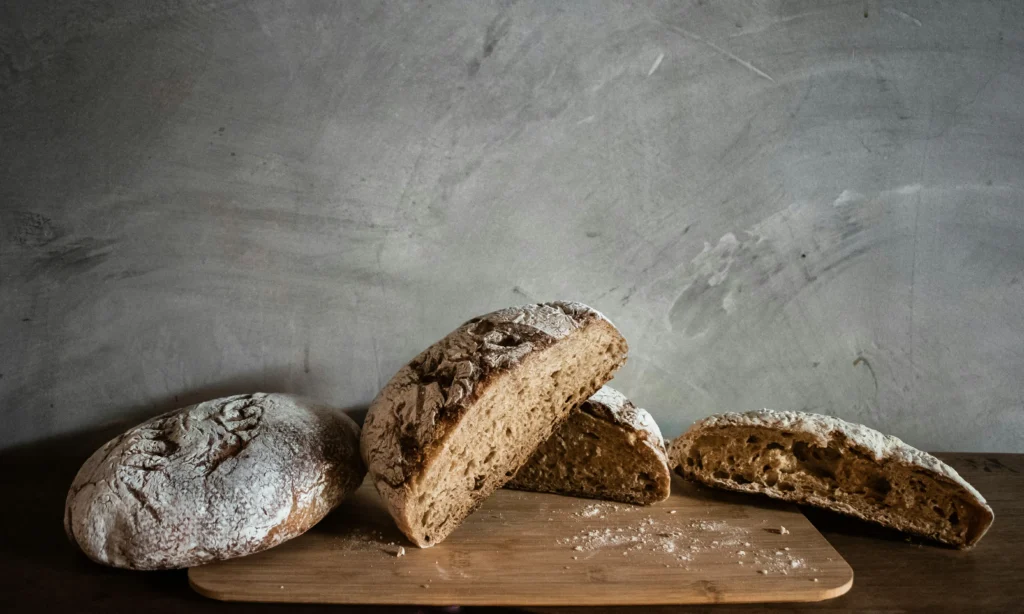
The biggest breakthrough came when I started to see my starter as a partner in the process. I learned its rhythms, feeding it at the same time each day, a routine that transformed the bland flour-and-water mixture into a bubbly, fragrant life form. My first successful loaf was a revelation. The crust was crisp, the crumb was airy and open, and the taste was a revelation—a subtle tang that was a world away from store-bought bread. It was truly a healthy sourdough bread and a testament to my perseverance.
This experience became my personal homemade sourdough guide, proving that the most rewarding things in life come from dedication. I’ve since shared my starter with family and friends, passing on the joy and satisfaction of artisan bread techniques and proving that anyone can master the craft, even if they start with a disastrous focaccia.What are the specific signs of a healthy sourdough starter?What are some other types of healthy bread I can bake?Provide a simple sourdough recipe for beginners.
Conclusion
By mastering autolyse, temperature control, folding, and cold proofing, you’ll transform your loaf into an artisan-quality, nutrient-dense staple. Embrace these five tips, experiment with grains, and share your results in the comments! Ready for more baking adventures? Check our related posts and continue leveling up your skills.
FAQs
1. How do I know if my starter is ready?
A healthy starter doubles in 5–6 hrs, has abundant bubbles, a tangy aroma, and passes the float test (it should float on water).
2. Can I shorten fermentation time?
Yes—raise room temp by 2–3 °C or add 5–10 % more starter. This speeds activity but may slightly reduce depth of flavor.
3. My crumb is dense—what went wrong?
Likely under-hydration or too few folds. Aim for 65–70 % hydration and incorporate three to four stretch-and-fold sessions.
4. How do I get a crisp crust?
Bake in a covered vessel (Dutch oven) or introduce steam in the first 10 min. A quick spray of water before baking also helps.