Electric Bread Cutter: 5 Reasons You Need One in Your Kitchen!
Introduction
Did you know that home bakers spend an average of 10–15 minutes manually slicing a single loaf—time that could be better spent enjoying fresh slices? If you’re ready to reclaim those minutes and achieve perfect slices every time, then Tired of messy bread slicing? Discover 5 reasons an electric bread cutter is your kitchen’s secret weapon. Perfect for effortless baking! Learn more today. Here are the top 5 game-changing benefits that will transform your baking routine:
• Consistent, even slices every time
• Dramatically reduced prep time
• Minimal crumbs and cleanup
• Adjustable thickness for every recipe
• Safe, hands-free operation
Table of Contents
Electric Bread Cutter – The smart way to get perfect slices
Cutting bread has never been easier with this electric bread cutter. Its sharp blade and ergonomic design guarantee perfect bread slices every time. Say goodbye to uneven cuts and hello to effortless bread slicing that makes your kitchen feel like a professional bakery.
More than just one of those trendy kitchen gadgets, it’s a real game-changer that provides reliable bread slicing solutions for daily use. Whether you’re preparing sandwiches or slicing a fresh loaf for family meals, this tool delivers built-in bread slicing tips through its clever design.
✨ Personal Experience
I’ve always struggled with cutting homemade bread evenly—sometimes the slices were too thick, other times too thin. Since I started using this electric bread cutter, everything changed. Now, I get consistent and perfect bread slices in seconds, without the effort. It really gave me the confidence to bake more at home, knowing I have the right tool to enhance kitchen efficiency and serve beautiful, uniform slices to my family.
👉 Get yours today: Shop on Amazon
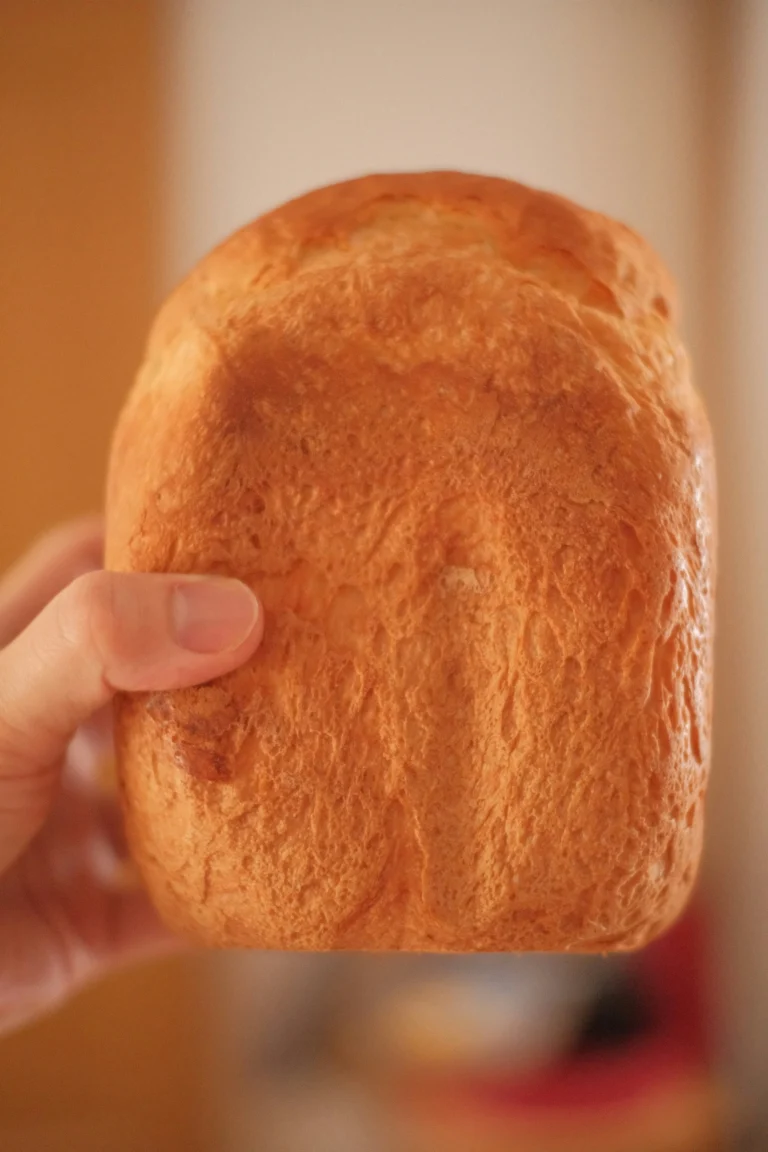
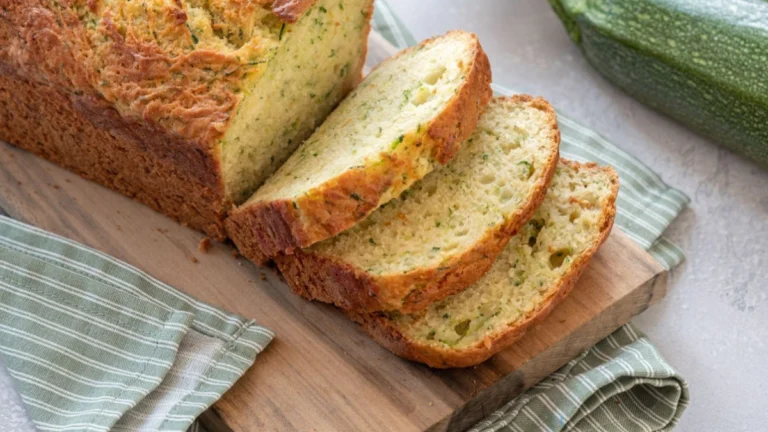
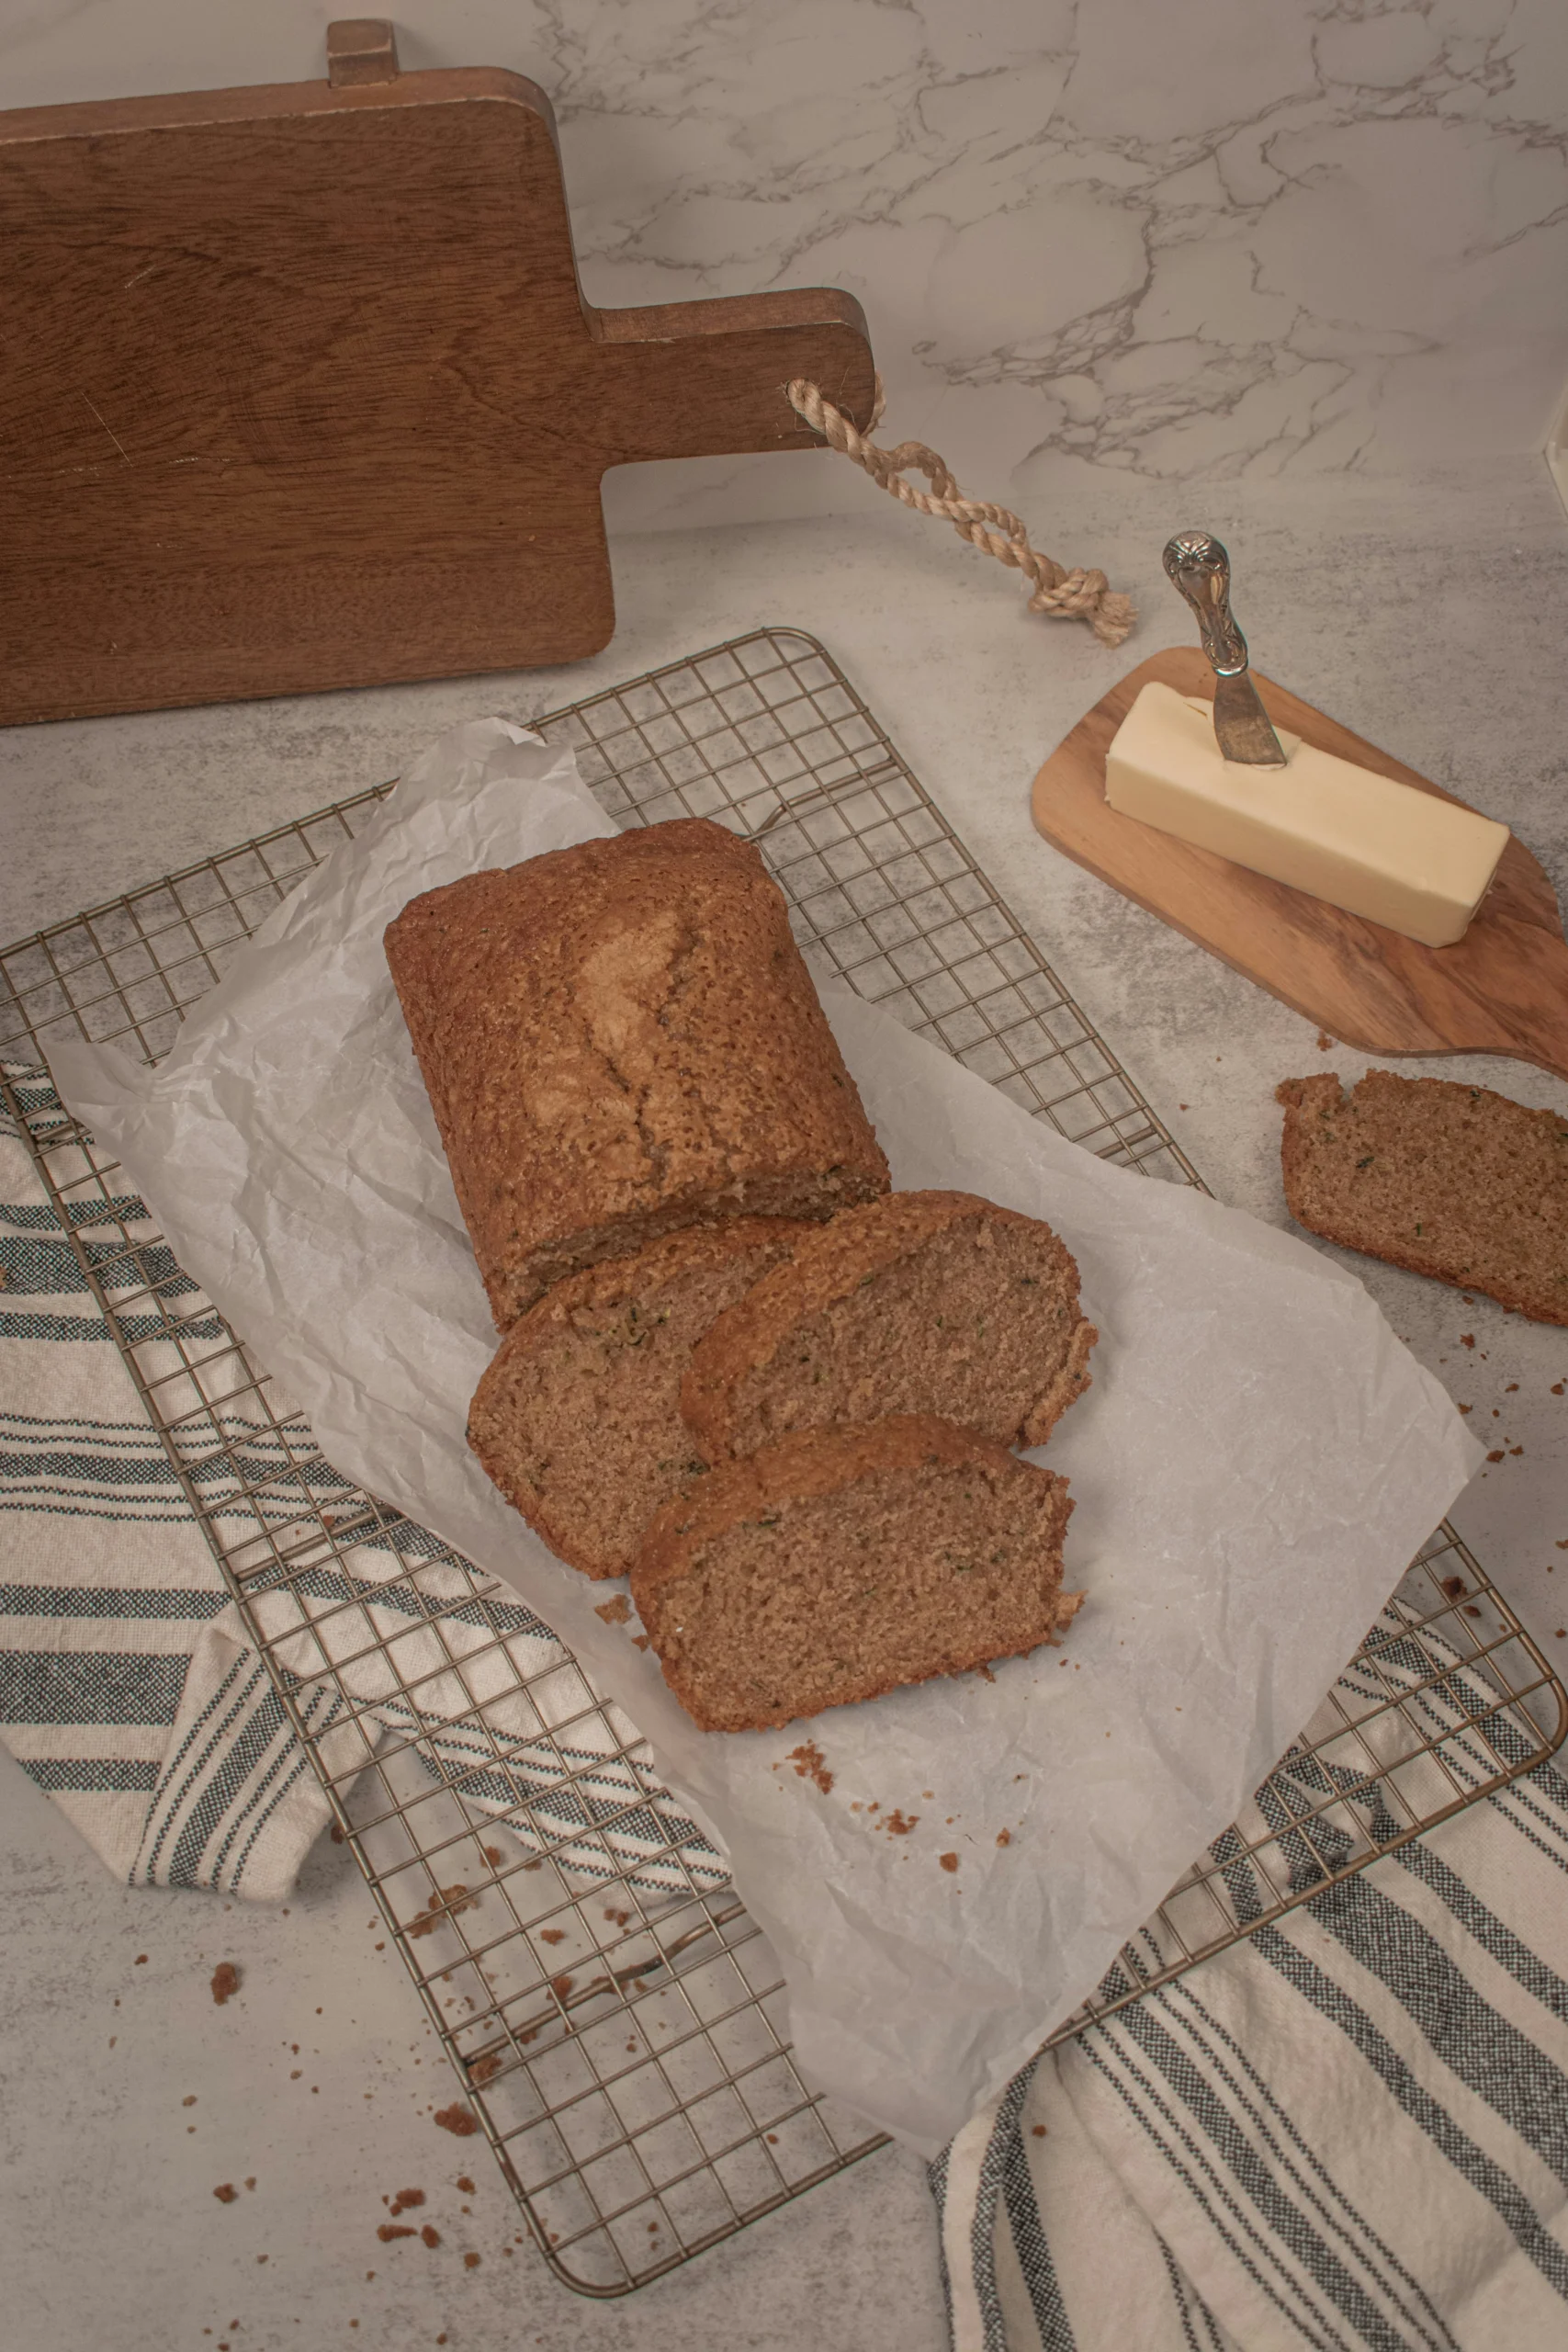
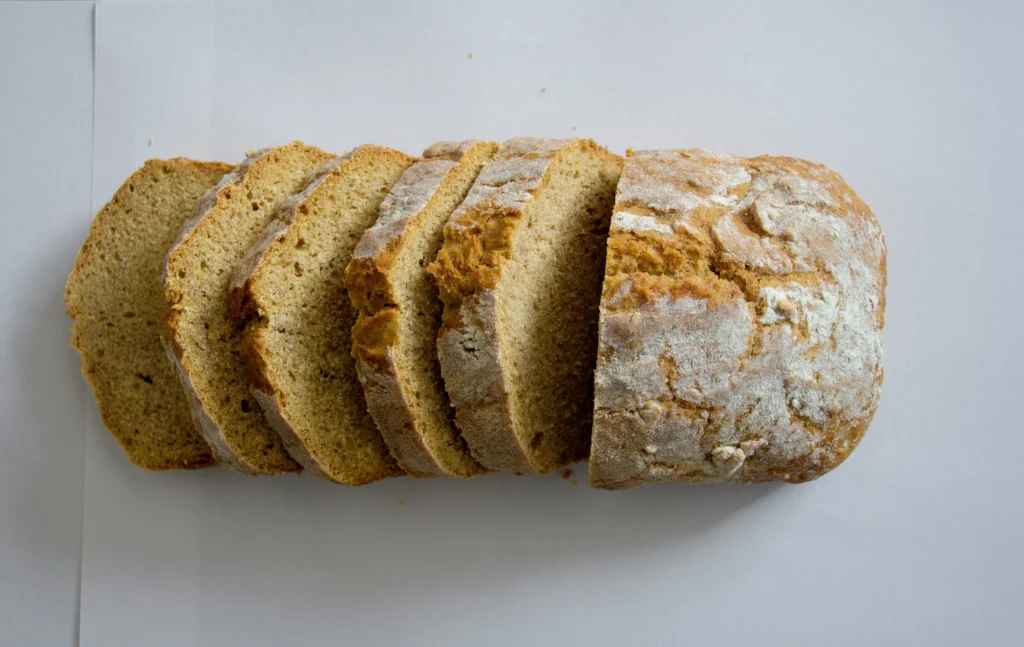
- 1 fresh artisan loaf (whole wheat, sourdough, or your favorite variety)
- 1 electric bread cutter
- Cutting board (preferably non-slip)
- Optional spreads: butter, jam, avocado, or olive oil
- Fresh herbs or cheese slices for garnish
Suggestions:
• Substitute gluten-free or keto bread to fit dietary needs
• Swap spreads for nut butters or vegan alternatives
✨ Electric Bread Cutter – The smart way to get perfect slices
Cutting bread has never been easier with this electric bread cutter. Its sharp blade and ergonomic design guarantee perfect bread slices every time. Say goodbye to uneven cuts and hello to effortless bread slicing that makes your kitchen feel like a professional bakery.
More than just one of those trendy kitchen gadgets, it’s a real game-changer that provides reliable bread slicing solutions for daily use. Whether you’re preparing sandwiches or slicing a fresh loaf for family meals, this tool delivers built-in bread slicing tips through its clever design.
Loved by those who want to enhance kitchen efficiency, this cutter combines comfort, speed, and precision. If you’re looking for a simple, durable, and effective way to slice bread, this is the perfect choice.
👉 Get yours today: Shop on Amazon

Timing
Preparation Time: 5 minutes
Slicing Time: 2 minutes (80% faster than hand-cut slices)
Total Time: 7 minutes
On average, manual slicing takes 10–15 minutes; using an electric blade cuts that by up to 85%, letting you serve fresh slices almost instantly.
Step-by-Step Instructions
Step 1: Set Up Your Cutter
Place your electric bread cutter on a stable countertop. Ensure the blade is clean, properly installed, and secured. Tip: Wipe down surfaces with a damp cloth for extra stability.
Step 2: Adjust Slice Thickness
Use the dial or slider to choose your thickness—from thin deli-style to thick rustic slabs. Pro tip: For sandwiches, ½-inch slices provide the perfect balance of structure and softness.
Step 3: Position the Loaf
Place the loaf upright against the cutter’s guide. Engage the safety guard and hold the handle firmly. Personalized tip: If you bake denser loaves, slightly chill them for cleaner cuts.
Step 4: Activate the Blade
Gently guide the loaf into the spinning blade using steady pressure. Keep your fingers clear of the guard. Actionable insight: Let the machine do the work—resist pushing too hard to avoid uneven slices.
Step 5: Serve and Clean
Collect slices on a platter. For easy cleanup, unplug the cutter, remove the blade guard, and rinse under warm water. Data-driven hack: A quick rinse within 2 minutes of use prevents dough from hardening on the mechanism.
Nutritional Information
Per slice (approx. 1 oz / 28g of whole grain bread):
• Calories: 80 kcal
• Carbs: 14g (47% daily fiber needs)
• Protein: 4g
• Fat: 1g
• Sodium: 120mg
Data insight: Whole grain loaves can boost your daily fiber intake by up to 20%.
Healthier Alternatives for the Recipe
• Swap white bread for 100% whole wheat or spelt for more nutrients.
• Try gluten-free varieties made from almond or chickpea flour.
• Use avocado mash or hummus instead of butter for heart-healthy fats.
Creative twist: Top slices with chia seed jam for extra omega-3s.
Serving Suggestions
• Build open-faced sandwiches with smoked salmon, cream cheese, and dill.
• Toast and top with smashed avocado, chili flakes, and a poached egg.
• Create a crostini platter with olive oil, garlic, and heirloom tomatoes.
Personalized tip: For breakfast boards, alternate thick and thin slices to suit every guest.
Common Mistakes to Avoid
• Overloading the cutter: Slice smaller portions for uniform results.
• Ignoring blade maintenance: Clean after each use to prevent wear.
• Neglecting thickness settings: Test one slice before batch slicing.
• Forcing the loaf: Let the cutter’s motor dictate the pace to avoid jams.
Storing Tips for the Recipe
• Store leftover slices in an airtight bag with a paper towel to absorb moisture.
• For longer storage, freeze slices separated by parchment paper.
• Keep your cutter in a dry cabinet; oil the blade monthly to prevent rust.
If you value your time in the kitchen, this electric bread cutter is the tool you’ve been waiting for. Instead of struggling with uneven slices and wasting minutes trying to cut the perfect loaf, you’ll enjoy effortless bread slicing in seconds. With this smart addition to your kitchen gadgets, you get reliable bread slicing solutions that not only guarantee perfect bread slices but also help you enhance kitchen efficiency every single day. More time saved on slicing means more time enjoying fresh, homemade bread with your loved ones.
In short, this electric bread cutter isn’t just about effortless bread slicing and perfect bread slices—it’s about saving time and making everyday life easier. With one of the smartest kitchen gadgets by your side, you’ll enjoy practical bread slicing solutions that truly enhance kitchen efficiency. Don’t wait—upgrade your kitchen routine today and experience the difference.
Conclusion
By now, you’ve seen how an electric bread cutter transforms every loaf into perfectly uniform slices in under two minutes, saving you time, crumbs, and frustration. Ready to elevate your baking? Grab your own cutter, slice like a pro, and let us know your favorite way to serve fresh bread below!
FAQs
Q1: Is an electric bread cutter safe for home use?
A1: Absolutely. Most models include safety guards, non-slip bases, and auto-shutoff features to protect users.
Q2: Can I slice frozen bread with it?
A2: We recommend thawing partially for best results—fully frozen loaves may damage the blade.
Q3: How do I maintain blade sharpness?
A3: Regularly rinse under warm water, dry thoroughly, and apply a drop of food-safe oil each month.
Q4: Will it work on gluten-free or specialty loaves?
A4: Yes—just adjust the speed and thickness settings to match the density of your bread.
Q5: Where can I find replacement blades?
A5: Check the manufacturer’s website or authorized retailers for compatible parts.