Bread Slicer Guide: 5 Simple Tips for Bakery-Perfect Slices
Are you tired of uneven slices ruining your homemade loaf? Achieving bakery-perfect slices can elevate your baking game and make your creations more enjoyable. With the right techniques and tools, you can transform your baking experience.
Thank you for reading this post, don't forget to subscribe!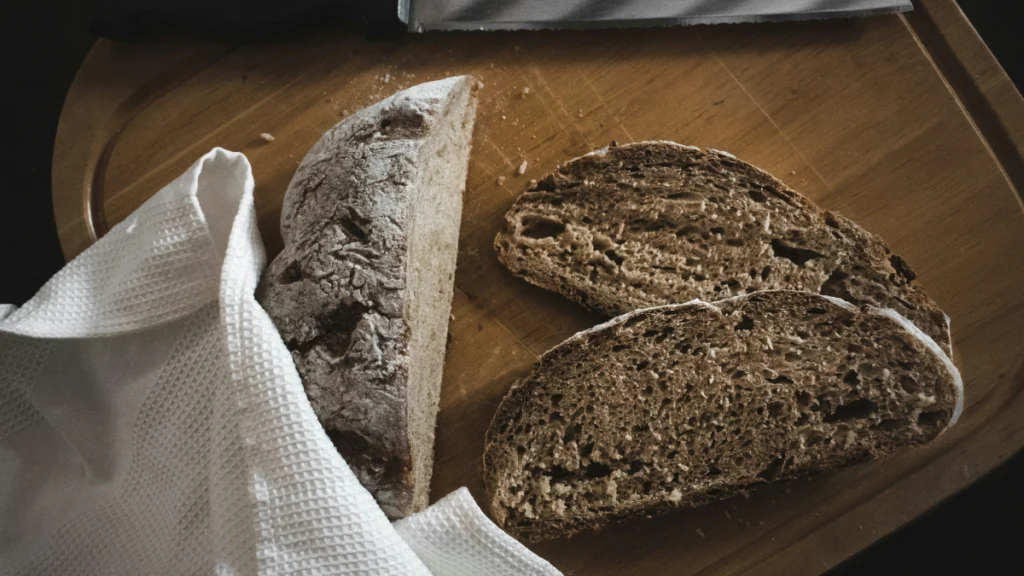
bread slicer guide
Using a bread slicer effectively is key to consistent results. This guide will walk you through 5 simple tips to improve your bread slicing skills, ensuring your slices are always uniform and visually appealing.
Table of Contents
The Art and Science of Perfectly Sliced Bread
Even slices of bread can elevate your baking experience, making it more enjoyable and professional. The art of achieving uniform slices lies in understanding the techniques and tools involved in bread slicing.
Why Even Slices Transform Your Bread Experience
Even slices are not just visually appealing; they also ensure that each bite is consistent in texture and flavor. When you achieve even bread slices, you’re able to fully appreciate the craftsmanship that goes into baking. This consistency is key to enhancing your overall bread experience.
To achieve this consistency, it’s essential to follow tips for bread slicing that professionals use. One of the primary benefits of even slices is the ability to control portion sizes accurately, making it easier to serve and enjoy your bread.
The Professional Touch: How Bakeries Achieve Uniform Slices
Bakeries achieve uniform slices through a combination of high-quality equipment and precise techniques. Commercial bakeries rely on advanced bread slicers that are designed to produce consistent results.
Thickness Standards in Commercial Bakeries
Commercial bakeries adhere to specific thickness standards to ensure their bread meets customer expectations. The thickness of slices can vary depending on the type of bread and its intended use. For example, sandwich bread is typically sliced to a uniform thickness to accommodate fillings.
Visual Appeal and Practical Benefits
The visual appeal of evenly sliced bread cannot be overstated. It adds a professional touch to your baked goods, making them more appealing to consumers. Moreover, even slices have practical benefits, such as easier handling and storage. When you achieve even bread slices, you’re not just improving the look of your bread; you’re also enhancing its usability.

Types of Bread Slicers for Home Bakers
The quest for perfectly sliced bread begins with selecting the ideal bread slicer for your home baking needs. Achieving bakery-perfect bread results is more accessible than ever, thanks to the variety of bread slicers available in the market.
Manual Bread Slicers: Styles and Features
Manual bread slicers offer a hands-on approach to slicing your bread. They are available in different styles, each with unique features.
Guillotine-Style Slicers
Guillotine-style slicers are known for their simplicity and effectiveness. They work by placing the bread on a flat surface and slicing it with a downward motion, using a sharp blade. This style is ideal for those who prefer a straightforward slicing process.
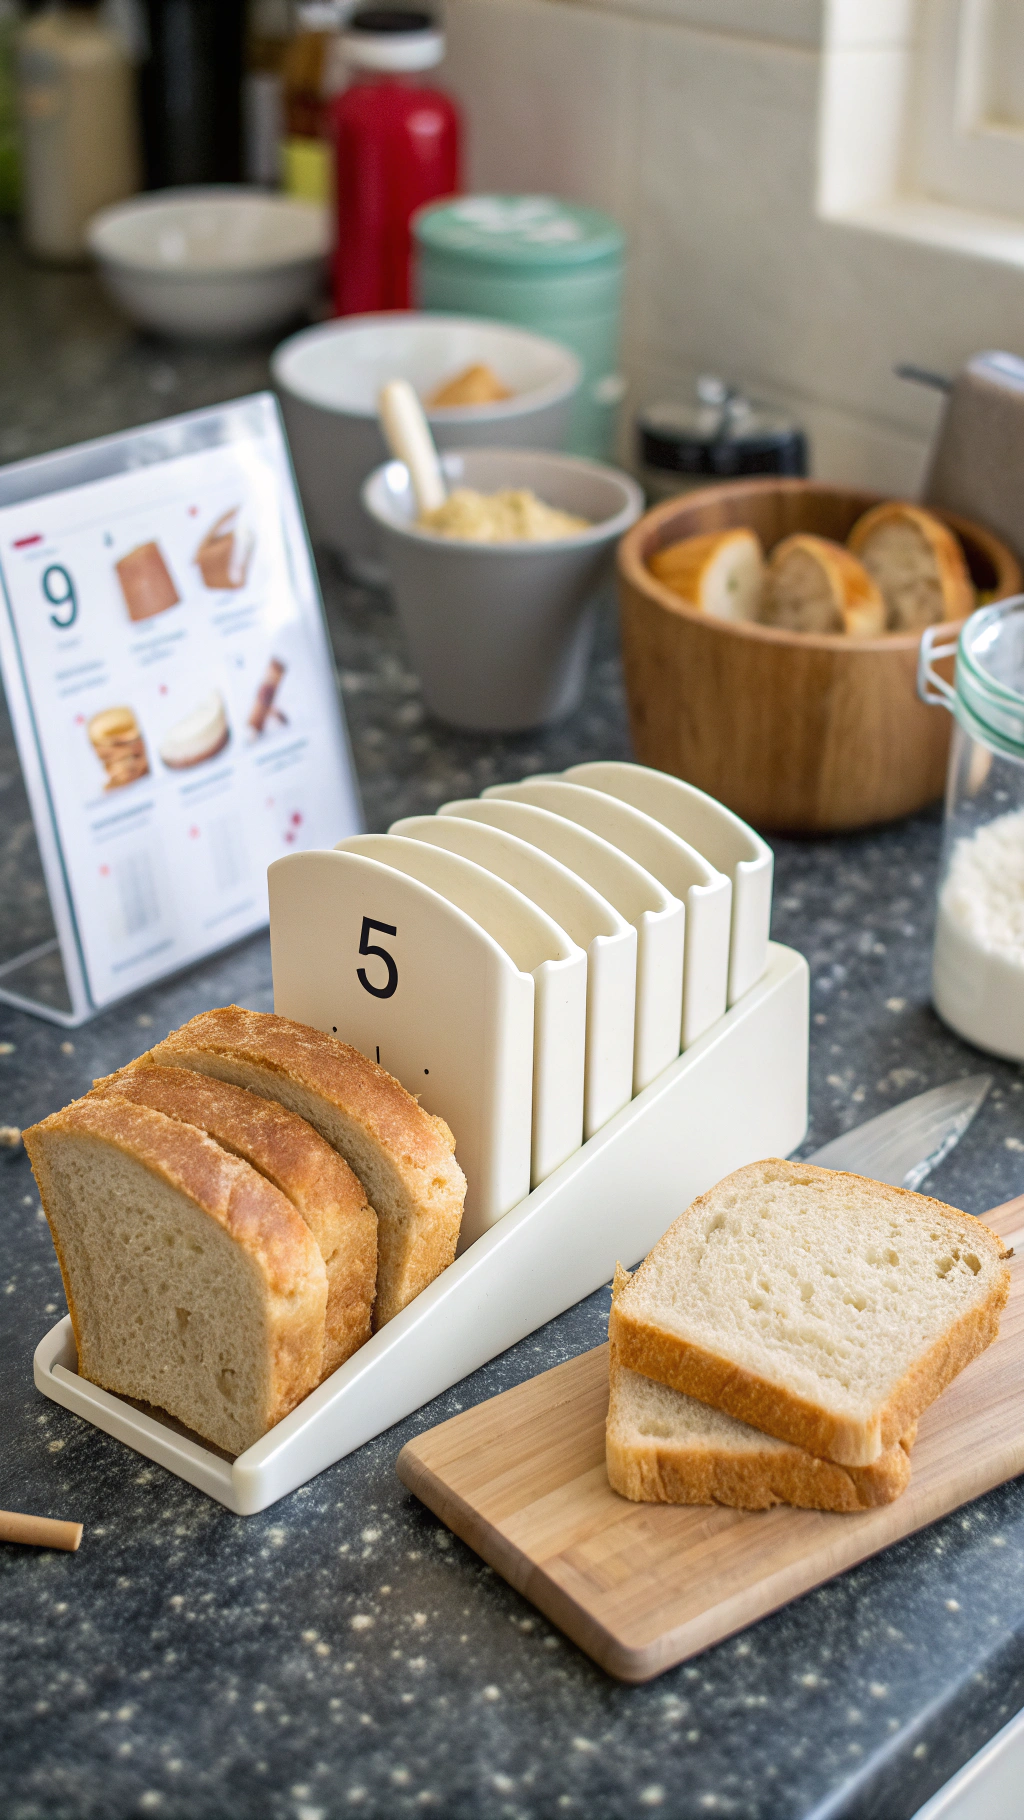
Slicing Guides and Boxes
Slicing guides and boxes provide a more controlled slicing experience. They help in achieving uniform slices by holding the bread firmly in place. These are particularly useful for slicing artisan loaves or bread with irregular shapes.
Electric Bread Slicers: When to Invest
Electric bread slicers are a great investment for those who slice bread frequently. They offer convenience and speed, making the slicing process effortless. If you’re looking to achieve bakery-perfect bread results with minimal effort, an electric slicer might be the right choice.
Foldable vs. Stationary Models: Space Considerations
When choosing a bread slicer, consider the space you have available in your kitchen. Foldable models are ideal for those with limited counter space, as they can be easily stored away. Stationary models, on the other hand, are designed to stay on your countertop, offering a more permanent slicing solution.
Ultimately, the choice between manual and electric, or foldable and stationary, depends on your specific needs and preferences. By considering these factors, you can select a bread slicer that helps you achieve your desired bakery-perfect bread results.
Comprehensive Bread Slicer Guide for Beginners
As a beginner, getting started with your bread slicer can seem daunting, but with the right guidance, you’ll be slicing like a pro in no time. Achieving seamless bread slicing techniques requires understanding your tool and practicing a few simple steps.
First-Time Setup: Unpacking and Assembly
Begin by carefully unpacking your bread slicer and all its components. Most models come with a user manual that provides detailed assembly instructions. Take your time to read through the manual and understand each part’s function. Typically, you’ll need to attach the slicing blade, adjust the slice thickness controller, and secure any other removable parts.

Understanding Your Slicer’s Components
Familiarize yourself with the different parts of your bread slicer. The slicing blade is the most critical component, and its quality significantly affects the slicing performance. Other essential parts include the slice thickness adjuster, bread holder, and crumb tray. Understanding how each component works will help you achieve more consistent results.
Adjusting Slice Thickness Settings
One of the key features of a bread slicer is its ability to adjust slice thickness. This feature allows you to customize your slices according to your needs.
Standard Thickness Options
Most bread slicers come with standard thickness options ranging from very thin to quite thick. For example, you might have settings for delicate sandwiches or hearty toast. Experiment with these settings to find what works best for your favorite bread types.
Customizing for Different Bread Uses
Different bread types and uses require different slice thicknesses. For instance, thin slices are ideal for sandwiches, while thicker slices are better for toast or bread croutons. Adjusting the slice thickness according to the bread’s intended use will enhance your overall bread experience and help you achieve those seamless bread slicing techniques.
By following these steps and practicing with your bread slicer, you’ll become more comfortable and proficient in achieving perfectly sliced bread every time.
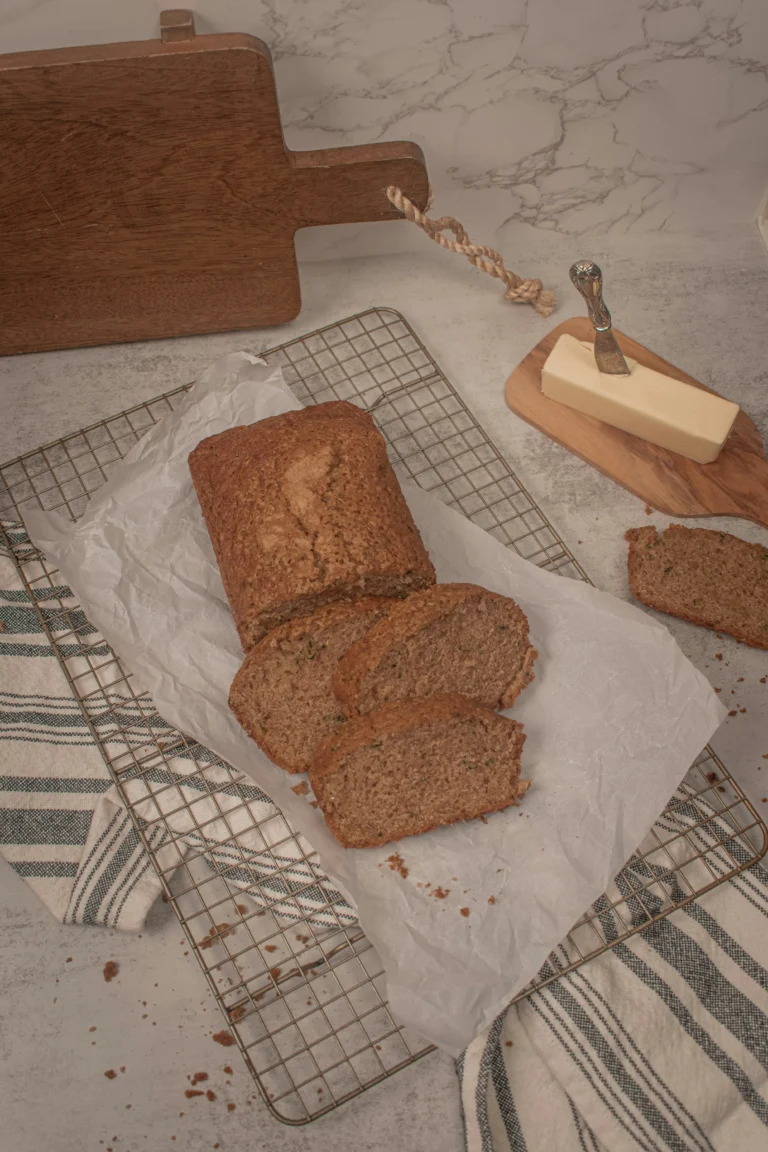
Tip #1: The Critical Cooling Period Before Slicing
The secret to perfectly sliced bread lies in patience – waiting for it to cool. Slicing bread too early can lead to a less-than-desirable texture, making it essential to understand the importance of the cooling period.
Why Slicing Hot Bread Ruins Texture
Slicing bread when it’s hot can cause the slices to become dense and gummy. This happens because the starches in the bread are still in the process of setting. When you slice hot bread, these starches haven’t fully gelatinized, leading to an unpleasant texture.
Optimal Cooling Times by Bread Type
Different types of bread require different cooling times. Understanding these variations is key to achieving the perfect slice.
Crusty Artisan Loaves
For crusty artisan loaves, it’s recommended to cool them for at least 30 minutes to an hour. This allows the crust to set properly and the interior to cool slightly, making it easier to slice without damaging the texture.
Soft Sandwich Breads
Soft sandwich breads typically require a shorter cooling time, usually around 15 to 30 minutes. This helps maintain their soft texture while still making them easier to slice.
Sweet and Enriched Doughs
Sweet and enriched doughs, like brioche or challah, benefit from a longer cooling period, often between 1 to 2 hours. This longer cooling time helps the complex flavors to mature and the bread to firm up, making it slice more cleanly.
Testing for Slicing Readiness
To determine if your bread is ready to be sliced, you can perform a simple test. Gently press the bread; if it feels firm and springs back quickly, it’s ready. If it still feels soft and yielding, it needs more time to cool.
| Bread Type | Cooling Time | Texture After Cooling |
| Crusty Artisan Loaves | 30 minutes to 1 hour | Firm crust, slightly cool interior |
| Soft Sandwich Breads | 15 to 30 minutes | Soft, but firmer than when hot |
| Sweet and Enriched Doughs | 1 to 2 hours | Firm, with complex flavors matured |
Tip #2: Perfect Positioning and Stabilization Techniques
Achieving perfectly sliced bread requires more than just a good bread slicer; it demands precise positioning and stabilization techniques. To master the art of bread slicing, you need to understand how to correctly position your bread and keep it stable during the slicing process.
Correct Bread Orientation in Different Slicers
The way you orient your bread in the slicer can significantly affect the quality of your slices. For most slicers, placing the bread with the crust side facing the blade can help achieve cleaner cuts. However, the specific orientation might vary depending on whether you’re using a manual or electric slicer.
Hand Placement for Maximum Control
Proper hand placement is crucial for maintaining control over the bread as you slice. Hold the bread firmly but gently, keeping your fingers away from the blade. For added stability, consider using a bread clamp or a non-slip mat under the slicer.
Mastering Oddly Shaped Artisan Loaves
Artisan loaves, with their irregular shapes, can be challenging to slice. Here are some tips for common shapes:
Round Boules and Oval Batards
For round or oval loaves, place the bread on its side and slice from the top down. This method helps maintain stability and achieves even slices.
Baguettes and Long Loaves
Baguettes and other long loaves can be sliced by placing them on a flat surface and slicing from one end to the other. You can also use a baguette holder to keep the bread steady.
| Bread Type | Recommended Orientation | Slicing Tip |
| Round Boules | On its side | Slice from top down |
| Baguettes | Flat on surface | Use a baguette holder for stability |
| Oval Batards | On its side | Slice from top down |
Tip #3: Pressure Control and Slicing Rhythm
The secret to uniform bread slices lies in understanding the nuances of pressure control and slicing rhythm. To achieve even bread slices, you need to master the technique of applying the right amount of pressure at the right pace.
Finding Your Perfect Slicing Cadence
Developing a consistent slicing rhythm is crucial for achieving uniform slices. Practice slicing at different speeds to find what works best for you. Start with a slow, gentle pace and gradually increase your speed as you become more comfortable.
Adjusting Pressure for Different Bread Textures
Different types of bread require different levels of pressure. For soft breads, a light touch is essential to prevent squishing.
Soft Breads: Light Touch Techniques
When slicing soft breads, apply gentle pressure to avoid compressing the bread. This will help you achieve clean, even slices.
Crusty Breads: Firm and Steady Approach
For crusty breads, a firmer touch is necessary to cut through the crust effectively. Maintain a steady hand and apply consistent pressure.
Common Pressure Mistakes That Ruin Slices
One of the most common mistakes is applying too much pressure, which can cause the bread to tear or crumble. Another mistake is using too little pressure, resulting in uneven or incomplete slices.
| Bread Type | Recommended Pressure | Slicing Technique |
| Soft Breads | Light | Gentle, smooth motion |
| Crusty Breads | Firm | Steady, consistent pressure |
| Artisan Breads | Variable | Adjust pressure based on texture |
By mastering pressure control and slicing rhythm, you’ll be able to achieve perfectly sliced bread every time. Practice makes perfect, so don’t be discouraged if it takes a few tries to get the hang of it.
Tip #4: Blade Selection for Different Bread Varieties
The secret to seamless bread slicing techniques lies in selecting the appropriate blade for your bread type. Different bread varieties have unique characteristics that require specific blade features to achieve bakery-perfect bread results.
Serrated vs. Straight Edge Blades: When to Use Each
Serrated blades are ideal for cutting through crusty breads or those with a hard exterior and soft interior. The serrations help grip the bread, reducing tearing and crushing. On the other hand, straight-edge blades are better suited for soft or delicate breads, providing a clean cut without crushing the bread.
Blade Thickness and Material Considerations
The thickness and material of the blade also play a crucial role in bread slicing. Thinner blades are more precise and cause less compression, while thicker blades are more durable. Stainless steel and high-carbon steel blades are popular choices due to their durability and resistance to corrosion.
Specialized Blades for Challenging Bread Types
Some breads, like those with seeded crusts or very soft/hard textures, require specialized blades. For seeded crusts, blades with a more pronounced serration can help navigate the seeds without causing damage.
Dealing with Seeded Crusts
When slicing bread with seeded crusts, use a serrated blade with deep serrations to grip the seeds and prevent the bread from tearing.
Solutions for Very Soft or Very Hard Breads
For very soft breads, a straight-edge blade can provide a clean cut, while very hard breads may require a serrated or a specialized blade designed for cutting through hard crusts.
By choosing the right blade for your bread type, you can significantly improve your bakery-perfect bread results and enjoy a more satisfying bread slicing experience.
Tip #5: Essential Cleaning and Maintenance Practices
A well-maintained bread slicer is essential for achieving perfect slices every time. To improve your bread slicing skills, it’s crucial to keep your slicer in top condition. Regular cleaning and maintenance not only ensure consistent performance but also prolong the lifespan of your device.
Daily Quick-Clean Routines
After each use, take a moment to clean your bread slicer. Remove any bread crumbs or debris from the blade and surrounding areas. Use a soft brush or cloth to gently wipe down the surfaces. This simple routine prevents buildup and makes deeper cleaning easier.
Weekly Deep Cleaning Procedures
Once a week, perform a more thorough cleaning. Disassemble the parts according to the manufacturer’s instructions, and wash them in warm, soapy water. Rinse thoroughly and dry before reassembling. This deep clean helps maintain hygiene and keeps your slicer running smoothly.
Blade Care: Sharpening and Replacement Schedule
Proper blade care is vital for expert bread slicing insights. Regularly inspect your blade for signs of wear.
Signs Your Blade Needs Attention
- Dull or uneven cuts
- Visible rust or corrosion
- Increased pressure required for slicing
Professional vs. DIY Sharpening Options
Depending on your comfort level and the type of slicer, you can either sharpen the blade yourself or take it to a professional. Some manufacturers offer sharpening services, while others provide DIY kits.
By following these cleaning and maintenance tips, you’ll be able to enjoy perfectly sliced bread for years to come, enhancing your overall bread slicing experience.
Safety First: Preventing Accidents While Using Bread Slicers
When it comes to using a bread slicer, safety should always be your top priority. Achieving even bread slices is not just about the technique; it’s also about ensuring you’re using your bread slicer safely.
Proper Hand Positioning to Avoid Cuts
One of the most critical aspects of safely using a bread slicer is maintaining proper hand positioning. Keep your fingers curled under and away from the blade. Use a gentle, consistent pressure to guide the bread through the slicer.
Child Safety Considerations
Bread slicers can be particularly hazardous around children. Always supervise children when they’re near the bread slicer, and teach them about the dangers of the sharp blade. Consider using a slicer with a safety feature that prevents accidental start-ups.
Storage Practices to Prevent Accidents
Proper storage of your bread slicer is crucial for preventing accidents. Always unplug the device when not in use and store it in a secure location out of reach of children.
Blade Guards and Covers
Using a blade guard or cover can significantly reduce the risk of cuts. Many modern bread slicers come equipped with these safety features. If your slicer doesn’t have one, consider purchasing a universal blade guard.
Safe Storage Solutions
When storing your bread slicer, consider using a protective case or bag to cover the blade. This not only prevents accidents but also keeps the blade clean and dust-free.
By following these safety guidelines, you can enjoy perfectly sliced bread while keeping your kitchen a safe environment for everyone.
Conclusion: Elevating Your Bread Experience Through Perfect Slicing
By following the tips for bread slicing outlined in this guide, you can significantly enhance your bread experience. Perfectly sliced bread not only looks appealing but also elevates the texture and overall enjoyment of your favorite loaves.
Expert bread slicing insights have shown that the right techniques, combined with the appropriate tools, can make a substantial difference. Whether you’re using a manual or electric bread slicer, mastering the art of slicing is key to achieving bakery-perfect results at home.
As you continue to practice and refine your slicing skills, you’ll notice an improvement in the quality of your slices. With patience and the right guidance, you’ll be able to slice your bread with confidence and precision, making every meal a delight.
FAQ
What type of bread slicer is best for home bakers?
The best bread slicer for home bakers depends on personal preference, budget, and the type of bread being sliced. Manual and electric models are available, with features such as adjustable slice thickness and foldable designs for convenient storage.
How do I achieve even bread slices using a bread slicer?
To achieve even bread slices, ensure your bread is cooled properly before slicing, position the bread correctly, and apply consistent pressure. Adjusting the slice thickness setting and using the right blade for your bread type can also help.
Can I use a bread slicer for different types of bread?
Yes, a bread slicer can be used for various types of bread, including soft sandwich breads, crusty artisan loaves, and sweet breads. However, you may need to adjust the slice thickness and blade type to accommodate different bread textures and densities.
How do I clean and maintain my bread slicer?
Regular cleaning and maintenance are essential to keep your bread slicer in good condition. Daily quick-clean routines and weekly deep cleaning procedures can help prevent the buildup of crumbs and debris. Additionally, sharpening or replacing the blade as needed will ensure optimal performance.
Are there any safety precautions I should take when using a bread slicer?
Yes, to ensure safe usage, always position your hands correctly to avoid cuts, keep children away from the slicer, and store the device properly when not in use. Using blade guards or covers and following safe storage practices can also help prevent accidents.
What are some common mistakes to avoid when slicing bread?
Common mistakes to avoid include slicing hot bread, applying too much or too little pressure, and not adjusting the slice thickness setting correctly. Being mindful of these potential pitfalls can help you achieve bakery-perfect slices and improve your overall bread slicing experience.
How can I improve my bread slicing skills?
To improve your bread slicing skills, practice regularly, and experiment with different slice thickness settings and blade types. Paying attention to bread orientation, hand placement, and pressure control can also help you achieve more consistent and even slices.