How to Make Breadmaker Bread Recipe: 5 Easy Steps
There’s something special about baking homemade bread that fills your home with warmth and comfort. With a breadmaker, you can enjoy freshly baked bread without the hassle of kneading dough. Whether you’re a beginner or an experienced baker, making bread using a breadmaker is a straightforward process that yields delicious results.
Thank you for reading this post, don't forget to subscribe!
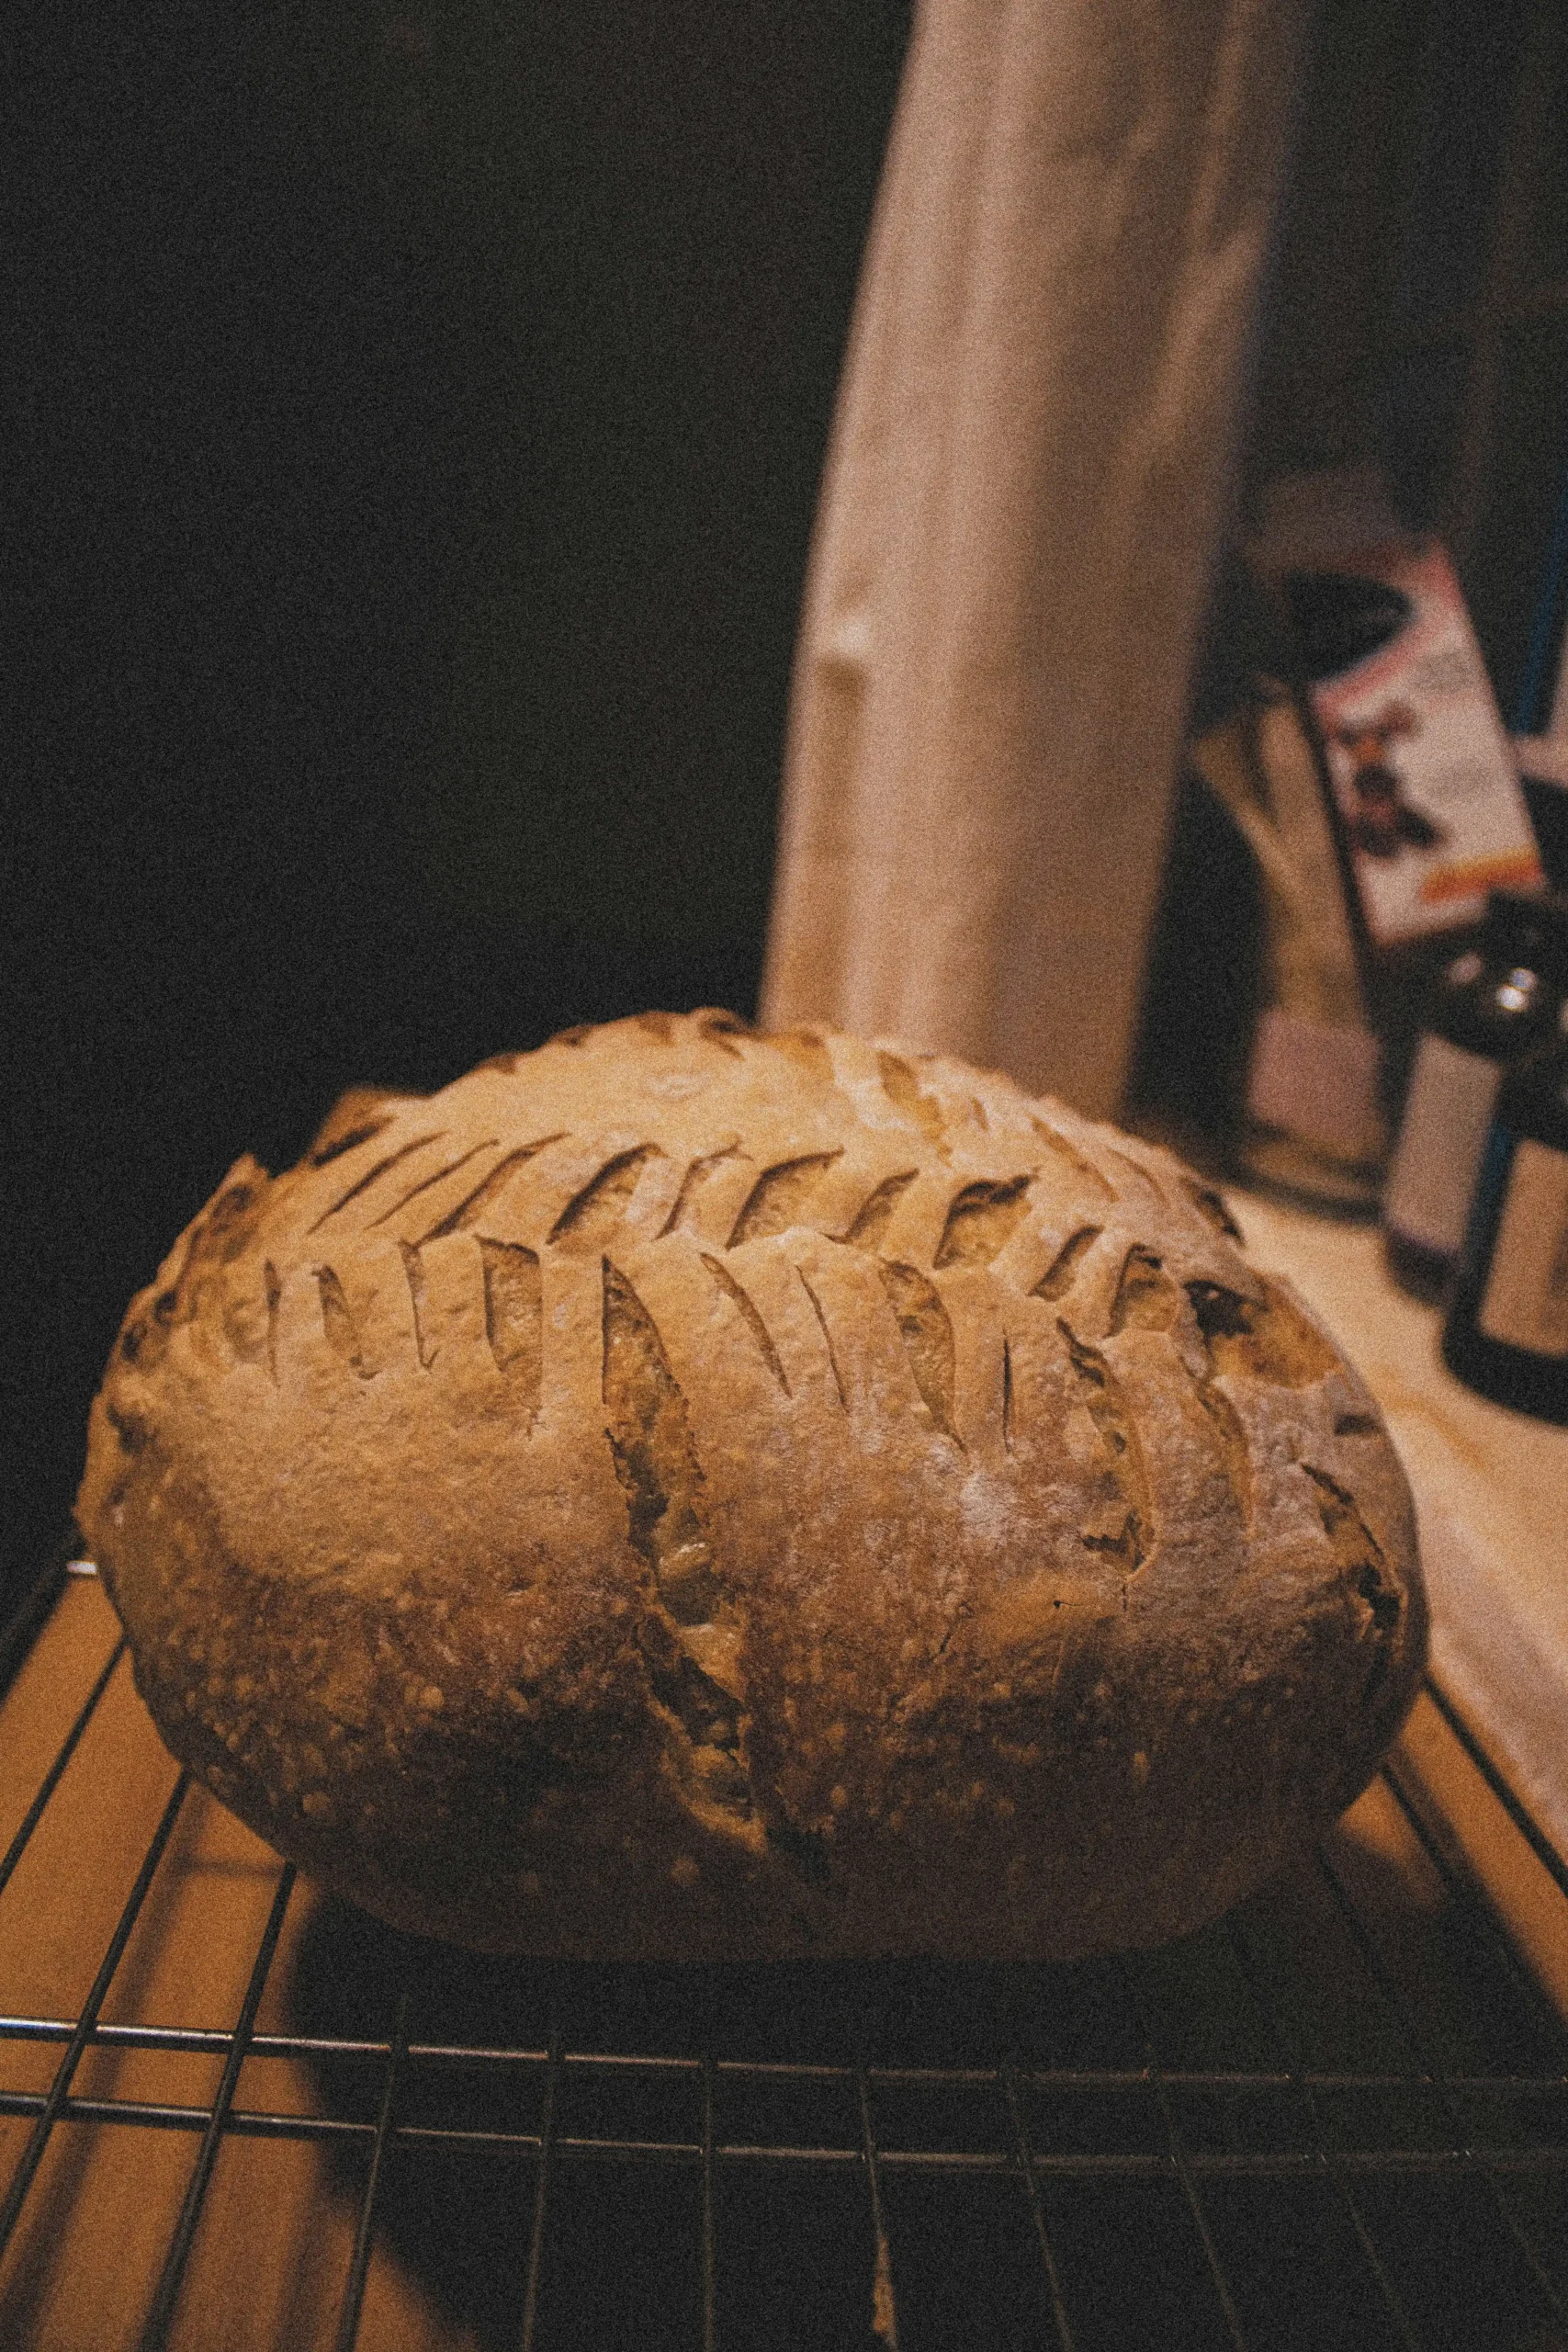
breadmaker bread recipe
You can achieve the perfect loaf by following a simple breadmaker bread recipe. Our guide will walk you through 5 easy steps to make delicious homemade bread. With this easy breadmaking process, you’ll be enjoying fresh, homemade bread in no time.
Ever since I started using my breadmaker, easy breadmaking has become part of my weekly routine. This breadmaker bread recipe is my go-to for fresh bread with a soft inside and golden crust—perfect every time with minimal effort baking.
What I love most is the simplicity: just add the ingredients, press start, and let the machine work its magic. If you’re new to baking or just want something foolproof, try this simplified baking method. You’ll be amazed how satisfying it is to make your own bread—give this breadmaker recipe a try today! And don’t miss my favorite breadmaking tips to make each loaf even better.
Table of Contents
The Benefits of Using a Breadmaker for Homemade Bread
Using a breadmaker for homemade bread simplifies the baking process, making it easier than ever to enjoy fresh bread at home. With a breadmaker, you can achieve simplified baking and enjoy the benefits of homemade bread without the complexity of traditional baking.
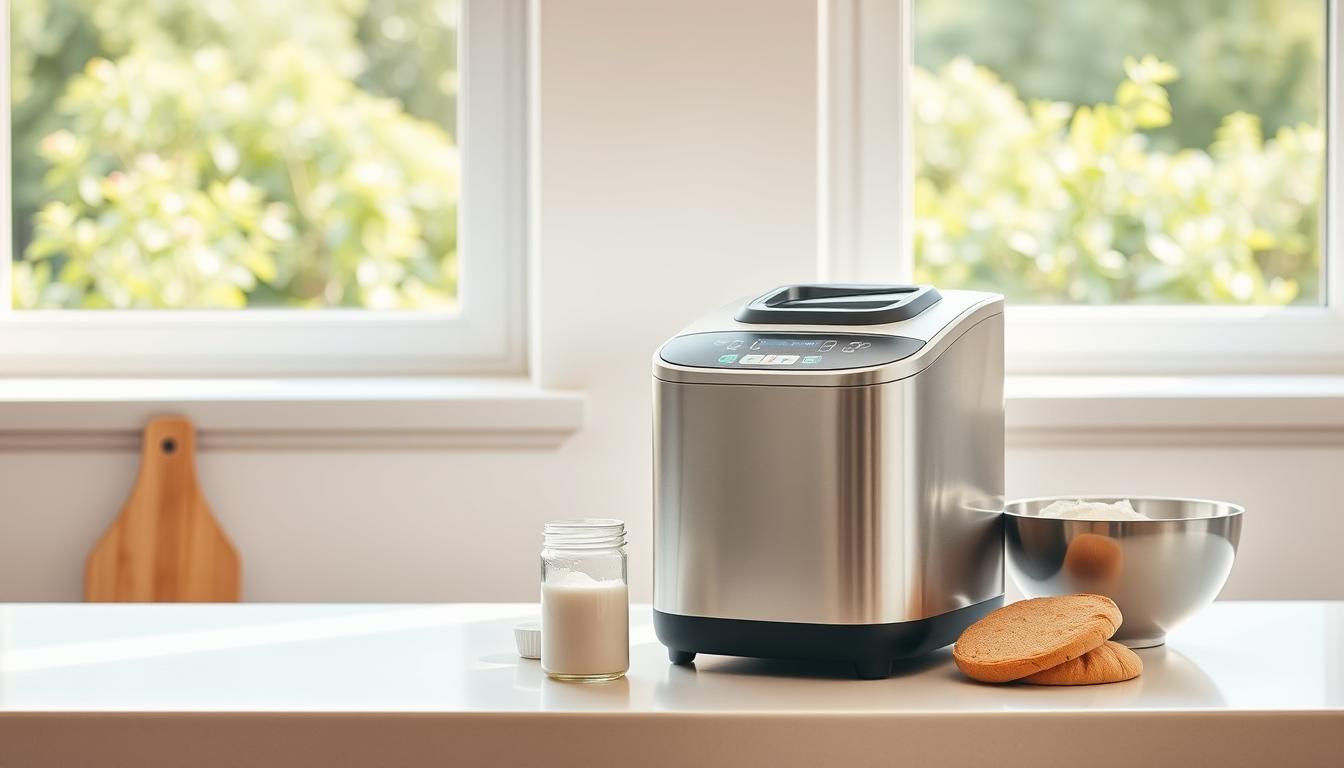
simplified baking
Time-Saving Convenience
One of the primary advantages of using a breadmaker is the time-saving convenience it offers. Simply measure out your ingredients, add them to the machine, and let it do the rest. This allows you to go about your day while your breadmaker works on making your bread.
Consistent Results Every Time
A breadmaker ensures consistent results every time. The machine precisely controls the mixing, kneading, rising, and baking processes, resulting in perfectly baked bread with minimal effort. This consistency is a significant advantage for those who struggle with traditional bread baking.
Cost-Effectiveness of Homemade Bread
Making bread at home with a breadmaker is also cost-effective. By buying ingredients in bulk and avoiding the markup on store-bought bread, you can save money. Additionally, having control over the ingredients means you can make healthier choices, avoiding preservatives and additives found in commercial bread.
Overall, using a breadmaker for homemade bread offers a combination of minimal effort baking, consistent results, and cost-effectiveness, making it an attractive option for anyone looking to enjoy fresh, homemade bread.
Understanding Your Breadmaker: Essential Functions and Features
To get the most out of your breadmaker, it’s essential to understand its various functions and features. Familiarizing yourself with your breadmaker’s capabilities can significantly enhance your bread-making experience, allowing you to experiment with a variety of recipes and achieve consistent results.
Different Types of Breadmakers
Breadmakers come in various types, each designed to cater to different needs and preferences. The most common types include compact breadmakers ideal for small kitchens, mid-size breadmakers that offer a balance between capacity and space, and large breadmakers suitable for families or for making multiple loaves at once. Some models also feature specialty settings for making dough, jam, or even cakes.
Key Settings and Programs
Most breadmakers come with a variety of settings and programs that allow you to customize your bread-making process. Basic settings typically include options for crust color, loaf size, and the type of bread you’re making, such as white, whole wheat, or gluten-free. More advanced models may offer additional programs for making sourdough, artisan bread, or even pizza dough. Understanding these settings can help you tailor your bread-making to achieve the desired results.
Understanding the Control Panel
The control panel is the interface through which you communicate with your breadmaker. It usually consists of a display screen and a set of buttons or a dial that allow you to select your desired settings. Taking the time to understand the control panel’s layout and functions can streamline your bread-making process, making it easier to select the right options and monitor the progress of your bread. For valuable breadmaking tips, pay attention to the delay start feature, which allows you to schedule your bread-making in advance, and the keep-warm function, which keeps your bread at the right temperature until you’re ready to serve it.
By mastering these essential functions and features, you’ll be well on your way to becoming a proficient breadmaker user, capable of producing a wide range of delicious breads with ease.
Essential Ingredients for the Perfect Breadmaker Bread Recipe
Making great bread in a breadmaker starts with selecting the right ingredients for your fresh bread recipe. The quality of your bread depends heavily on the type and freshness of the ingredients you use.
Flour Types and Their Effects
The type of flour you use is crucial in determining the texture and flavor of your bread. Common types include all-purpose flour, bread flour, whole wheat flour, and ancient grain flours. Bread flour, with its higher protein content, is ideal for chewier bread, while all-purpose flour is a versatile option for a variety of bread types.
| Flour Type | Protein Content | Bread Characteristics |
| Bread Flour | 12-14% | Chewy, dense |
| All-Purpose Flour | 10-12% | Versatile, soft |
| Whole Wheat Flour | 14-16% | Nutty, hearty |
Yeast Selection and Storage
Yeast is a critical ingredient that makes your bread rise. You can choose between active dry yeast or instant yeast. Active dry yeast needs to be rehydrated before use, while instant yeast can be added directly to the dry ingredients. Store yeast in a cool, dry place to maintain its potency.
Additional Ingredients: Salt, Sugar, and Fats
Salt enhances flavor and controls yeast growth, while sugar provides food for the yeast, promoting fermentation. Fats, such as butter or oil, add moisture and tenderness to the bread. Salt also strengthens the gluten structure, improving the bread’s texture.
Optional Add-ins for Flavor
To customize your fresh bread recipe, consider adding nuts, seeds, dried fruits, or herbs. These add-ins not only enhance the flavor but also the texture and nutritional value of your bread. Experiment with different combinations to find your favorite.
By understanding and selecting the right ingredients, you can create a variety of delicious breads using your breadmaker. Experiment with different ingredients and settings to perfect your fresh bread recipe.
Step 1: Measuring and Adding Ingredients in the Correct Order
The foundation of a perfect breadmaker bread recipe lies in accurately measuring and adding ingredients in the right order. To try breadmaker recipe today, you need to understand the basics of ingredient measurement and preparation.
Proper Measuring Techniques
Measuring ingredients accurately is crucial for achieving the perfect loaf. Use a digital scale for precision, as it allows you to measure both dry and liquid ingredients with ease. For dry ingredients like flour, use a measuring cup designed for dry ingredients and level it off with a straight edge.
The Correct Order of Ingredients
The order in which you add ingredients to your breadmaker can affect the final product. Typically, you should add liquid ingredients first, followed by dry ingredients, and finally yeast. This order helps prevent the yeast from activating too early, ensuring a better rise.
Common Measuring Mistakes to Avoid
Common mistakes include not leveling off dry ingredients, using the wrong type of measuring cup for liquids, and not accounting for the humidity in your environment. To avoid these mistakes, always check your recipe for specific instructions and adjust as necessary.
| Ingredient | Measuring Tip | Common Mistake |
| Flour | Use a dry measuring cup and level off. | Not leveling off can add extra flour. |
| Liquids | Use a liquid measuring cup on a flat surface. | Measuring on an angle can give incorrect readings. |
| Yeast | Use a precise measuring spoon or scale. | Too much yeast can cause over-proofing. |
Preparing Your Breadmaker
Before adding ingredients, ensure your breadmaker is clean and dry. Remove any residual dough or debris from previous uses, as this can affect the performance of your breadmaker and the quality of your bread.
By following these guidelines, you’ll be well on your way to making delicious bread with your breadmaker. Remember, the key to a great loaf is in the preparation and measurement. So, try breadmaker recipe today and enjoy the process of creating your perfect bread.
Step 2: Selecting the Right Program and Settings
Once you’ve added your ingredients, it’s time to choose the right program and settings for your breadmaker. This step is crucial as it directly impacts the final outcome of your bread. Your breadmaker comes with various settings to accommodate different types of bread and preferences.
Basic Bread Setting vs. Specialty Settings
Most breadmakers have a basic bread setting for standard loaves and specialty settings for different types of bread, such as whole wheat, gluten-free, or sweet bread. The basic bread setting is ideal for everyday white or mixed bread, while specialty settings allow you to experiment with various recipes.
Crust Color Options
Crust color is a matter of personal preference. Breadmakers typically offer options for light, medium, or dark crust. Choosing the right crust color can enhance the flavor and appearance of your bread. For a crispier crust, select the dark setting, or opt for light if you prefer a softer crust.
Timing Your Bread with Delay Start
The delay start feature allows you to schedule your bread-making process. This is particularly useful if you want freshly baked bread in the morning without having to be present during the process. Simply load the ingredients, set the timer, and wake up to the aroma of freshly baked bread.
When to Use Custom Settings
Some advanced breadmakers come with custom settings that allow you to adjust parameters like kneading time, rising time, and temperature. Use these settings when you’re experimenting with new recipes or need to make adjustments based on the ingredients you’re using.
By understanding and utilizing the various programs and settings on your breadmaker, you can achieve a wide range of bread types and flavors, making the bread-making process both easy and enjoyable.
Step 3: Monitoring the Mixing and Kneading Process
Monitoring the mixing and kneading process is essential to ensure your bread turns out as expected. During this phase, your breadmaker combines ingredients, develops gluten, and prepares the dough for rising.
What Happens During This Phase
The mixing and kneading phase involves your breadmaker combining dry and wet ingredients, then kneading the mixture into a cohesive dough. This process develops gluten, which gives bread its structure and texture.
When to Check the Dough Consistency
It’s a good practice to check the dough consistency during the kneading cycle, usually around 5-10 minutes into the process. This allows you to adjust the moisture or flour as needed to achieve the right consistency.
Adjusting Moisture and Flour as Needed
If the dough is too dry, you can add a small amount of water. Conversely, if it’s too wet, add a bit more flour. Make adjustments gradually to avoid over-correcting.
Signs of Proper Dough Development
- The dough forms a smooth, elastic ball.
- It has a slightly sticky texture but doesn’t stick to your fingers excessively.
- The dough springs back when pressed gently.
By monitoring the mixing and kneading process and making necessary adjustments, you ensure your breadmaker produces a well-developed dough, crucial for a successful breadmaker bread recipe.
Step 4: Understanding the Rising and Baking Phases
After you’ve prepared your dough, the breadmaker takes over, managing the rising and baking phases. This crucial step transforms your mixture into a perfectly baked loaf. Understanding these phases can enhance your bread-making experience, making it a more simplified baking process.
The Science Behind Bread Rising
Bread rising is a natural process where yeast fermentation produces carbon dioxide, causing the dough to expand. The warmth and controlled environment of the breadmaker facilitate this process, ensuring consistent results.
Optimal Environment for Rising
The breadmaker provides an ideal environment for the dough to rise, maintaining the right temperature and humidity. This controlled setting allows for optimal yeast activity, resulting in a well-risen loaf.
How to Tell When Bread is Properly Baked
A properly baked loaf is golden brown and sounds hollow when tapped on the bottom. The breadmaker’s settings and sensors work together to achieve this perfect bake.
Troubleshooting Common Baking Issues
| Issue | Cause | Solution |
| Underbaked | Insufficient baking time | Check crust color setting and adjust as needed |
| Overbaked | Too much baking time | Adjust crust color to a lighter setting |
| Uneven baking | Dough not evenly distributed | Ensure dough is spread evenly before baking |
By understanding the rising and baking phases, you can troubleshoot common issues and achieve a perfectly baked loaf every time, enjoying the benefits of simplified baking with your breadmaker.
Step 5: Cooling, Removing, and Storing Your Freshly Baked Bread
With your bread now baked to perfection, the next steps involve cooling, removing, and storing it correctly. This final stage is crucial for maintaining the quality and freshness of your homemade bread.
Safe Removal Techniques
To remove your bread from the breadmaker, first, unplug the machine and let it cool for a few minutes. Then, carefully take out the bread pan and gently shake it to loosen the bread. If necessary, use a rubber spatula to help release the bread from the pan.
Proper Cooling Methods
Place the bread on a wire rack to cool. This allows air to circulate around the bread, helping it cool evenly and preventing sogginess. Let the bread cool for at least 30 minutes before slicing to allow the interior to set properly.
Storage Solutions for Maximum Freshness
Once cooled, store your bread in a cool, dry place. You can wrap it in a paper bag or a clean cotton cloth to maintain freshness. For longer storage, consider freezing your bread. Simply wrap it tightly in plastic wrap or aluminum foil and store it in the freezer.
Extending the Life of Your Homemade Bread
To keep your bread fresh for longer, avoid storing it in direct sunlight or humid environments. If you won’t be consuming the bread within a few days, slicing and freezing it can be a great way to preserve its freshness. Simply thaw and refresh in the oven when you’re ready to enjoy it.
By following these breadmaking tips, you can enjoy your homemade bread at its best, with minimal effort baking providing you with delicious results every time.
Variations and Customizations of Basic Breadmaker Bread Recipes
Now that you’ve mastered the basic breadmaker bread recipe, it’s time to explore the endless possibilities of customizing your homemade bread. With a few simple tweaks, you can create a variety of delicious bread recipes that suit your taste preferences and dietary needs.
Whole Grain and Multigrain Options
Switching to whole grain or multigrain flours can add texture, flavor, and nutrition to your bread. Try using whole wheat, rye, or a blend of different grains to create a hearty and wholesome loaf. You can also experiment with ancient grains like quinoa or Kamut for added nutrition.
Sweet Bread Variations
If you have a sweet tooth, you can easily make sweet bread using your breadmaker. Add ingredients like dried fruits, nuts, or chocolate chips to create a delicious treat. Cinnamon, vanilla, or orange zest can also be added to give your sweet bread a unique flavor.
Savory Herb and Cheese Breads
Savory herb and cheese breads are perfect for sandwiches or as a side to your favorite soups. Mix in fresh or dried herbs like rosemary, thyme, or oregano, and add grated cheese for a rich and savory flavor.
Gluten-Free Breadmaking Techniques
For those with gluten intolerance or sensitivity, gluten-free breadmaking is a great option. Use gluten-free flours like almond, coconut, or rice flour, and adjust the liquid content accordingly. You can also try adding xanthan gum to improve texture.
By experimenting with these variations and customizations, you can try breadmaker recipe today and discover a world of flavors. Whether you’re looking for a healthier whole grain option or a sweet treat, your breadmaker is the perfect tool to create fresh bread recipe after fresh bread recipe.
Conclusion
You now have the tools and knowledge to create delicious homemade bread using your breadmaker. By following the 5 easy steps outlined in this article, you can enjoy fresh, warm bread whenever you want. Easy breadmaking is all about understanding your breadmaker and using the right ingredients.
With a breadmaker, you can experiment with various breadmaker bread recipes, from classic white bread to whole grain and sweet bread variations. The key to success lies in measuring ingredients correctly, selecting the right program, and monitoring the mixing and kneading process.
As you continue on your breadmaking journey, you’ll discover the joy of creating customized bread recipes that suit your taste preferences. So, get baking and enjoy the satisfaction of freshly baked bread, made easy with your trusty breadmaker.
FAQ
What is the best type of flour to use in a breadmaker?
The best type of flour to use in a breadmaker depends on the type of bread you’re making. All-purpose flour is a good starting point, but you can also experiment with bread flour, whole wheat flour, or other specialty flours. When using a new type of flour, you may need to adjust the liquid content and yeast amount to achieve the right consistency.
How do I store my homemade bread to keep it fresh?
To keep your homemade bread fresh, store it in an airtight container at room temperature for up to 3 days. You can also freeze the bread for longer storage. Simply wrap the cooled bread tightly in plastic wrap or aluminum foil and place it in a freezer-safe bag. When you’re ready to eat it, thaw the bread at room temperature or reheat it in the oven.
Can I customize my breadmaker recipe to make different types of bread?
Yes, you can customize your breadmaker recipe to make different types of bread. Try adding different ingredients, such as nuts, seeds, herbs, or spices, to create unique flavor combinations. You can also experiment with different types of flour, yeast, and liquid content to create a variety of bread styles, from crusty baguettes to hearty whole grain loaves.
What are some common mistakes to avoid when making breadmaker bread?
Common mistakes to avoid when making breadmaker bread include overmixing the dough, using incorrect ingredient ratios, and not monitoring the dough’s consistency. You should also ensure that your breadmaker is clean and well-maintained, and that you’re using the right type of yeast for your recipe.
How do I know when my bread is properly baked?
You can check if your bread is properly baked by looking for a golden-brown crust, listening for a hollow sound when you tap on the bottom, or using a thermometer to check the internal temperature. Most breads are done when they reach an internal temperature of 190°F to 200°F.
Can I make gluten-free bread in a breadmaker?
Yes, you can make gluten-free bread in a breadmaker. Use a gluten-free flour blend and adjust the liquid content and yeast amount as needed. You may also need to add xanthan gum or guar gum to help with texture and structure. Experiment with different gluten-free recipes and ingredients to find the one that works best for you.
How can I simplify the breadmaking process for a beginner?
To simplify the breadmaking process, start with a basic bread recipe and use a breadmaker to automate the mixing, kneading, and baking. Follow the manufacturer’s instructions for your breadmaker, and don’t be afraid to experiment and adjust the recipe as needed. You can also try using a breadmaker recipe book or online resources for inspiration and guidance.
What are some tips for achieving the perfect loaf with minimal effort?
To achieve the perfect loaf with minimal effort, use a breadmaker to automate the breadmaking process. Choose a simple recipe, measure your ingredients accurately, and follow the manufacturer’s instructions. You can also try using a delay start feature to have your bread ready when you need it.