Beginner’s Guide to Gluten Free Bread Flour for Homemade Bread
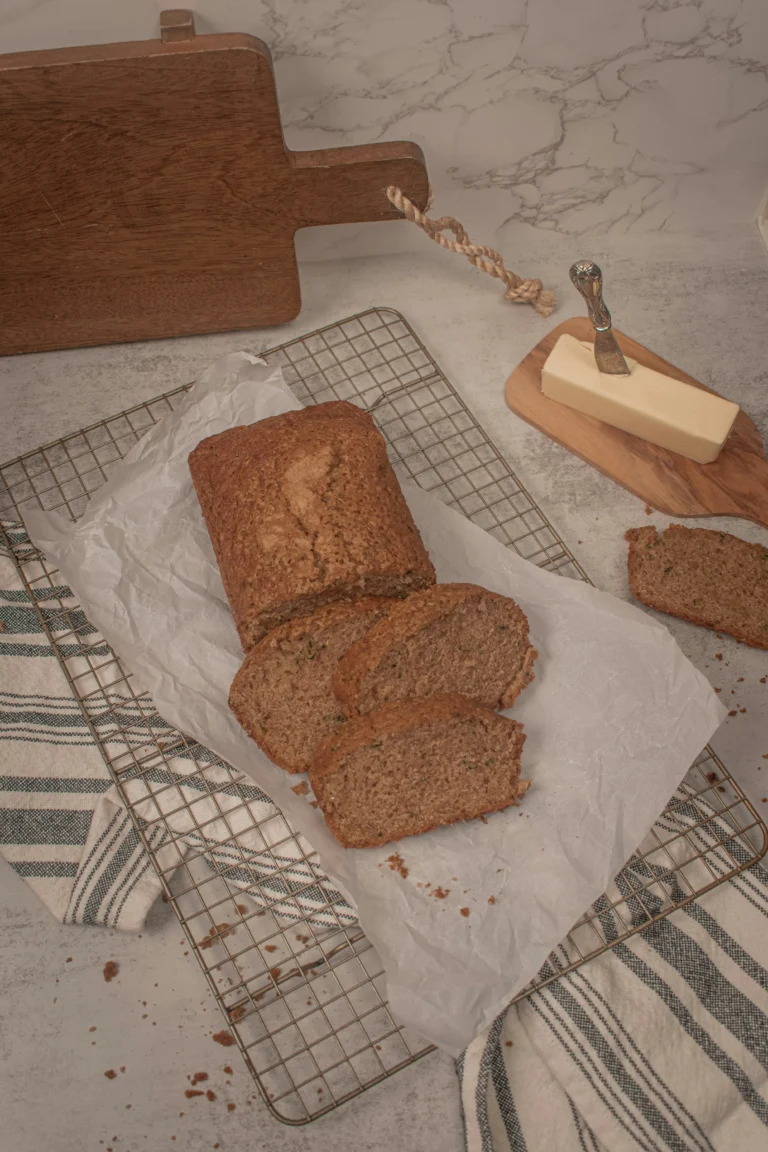
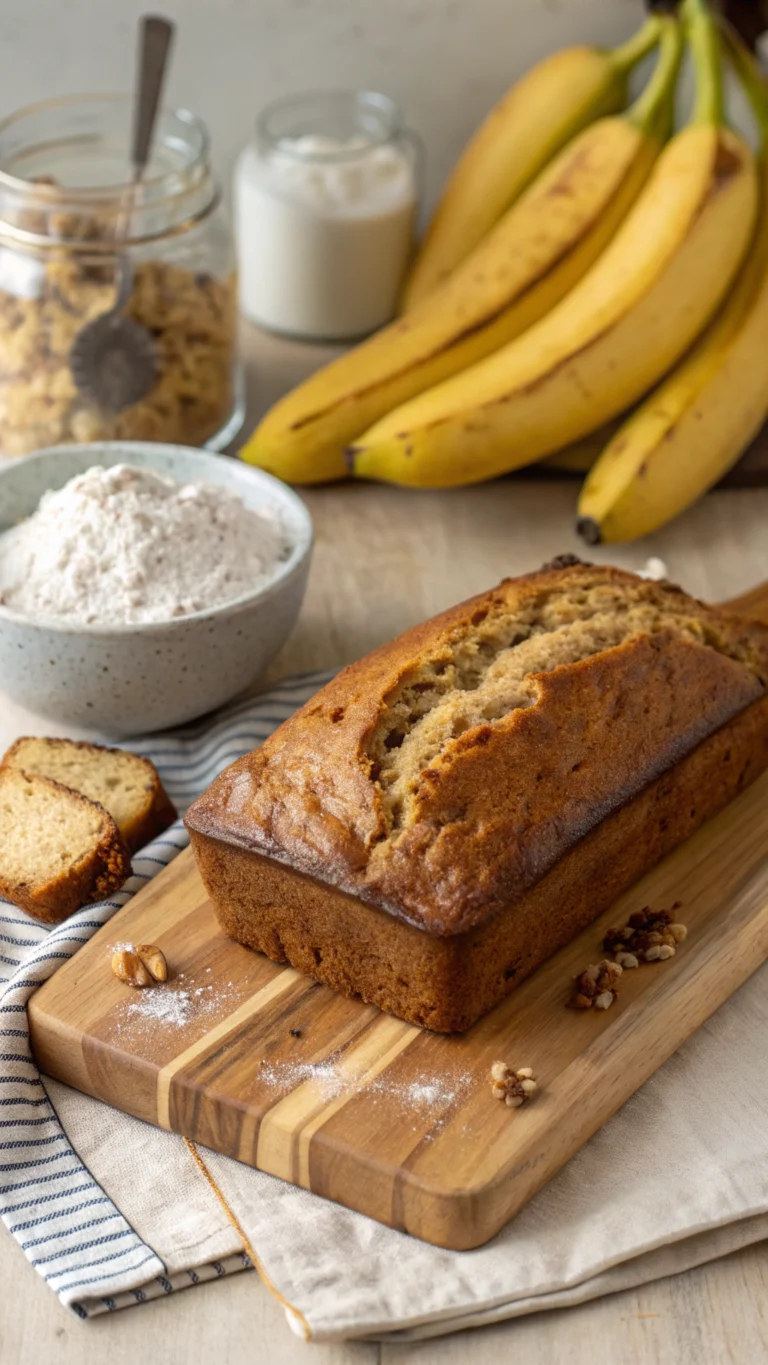
I remember the disappointment of biting into a store-bought loaf that crumbled into dust. It felt like I was missing out on the simple joy of a warm, chewy slice of toast. Finding a reliable alternative at the grocery store often feels like a losing battle.
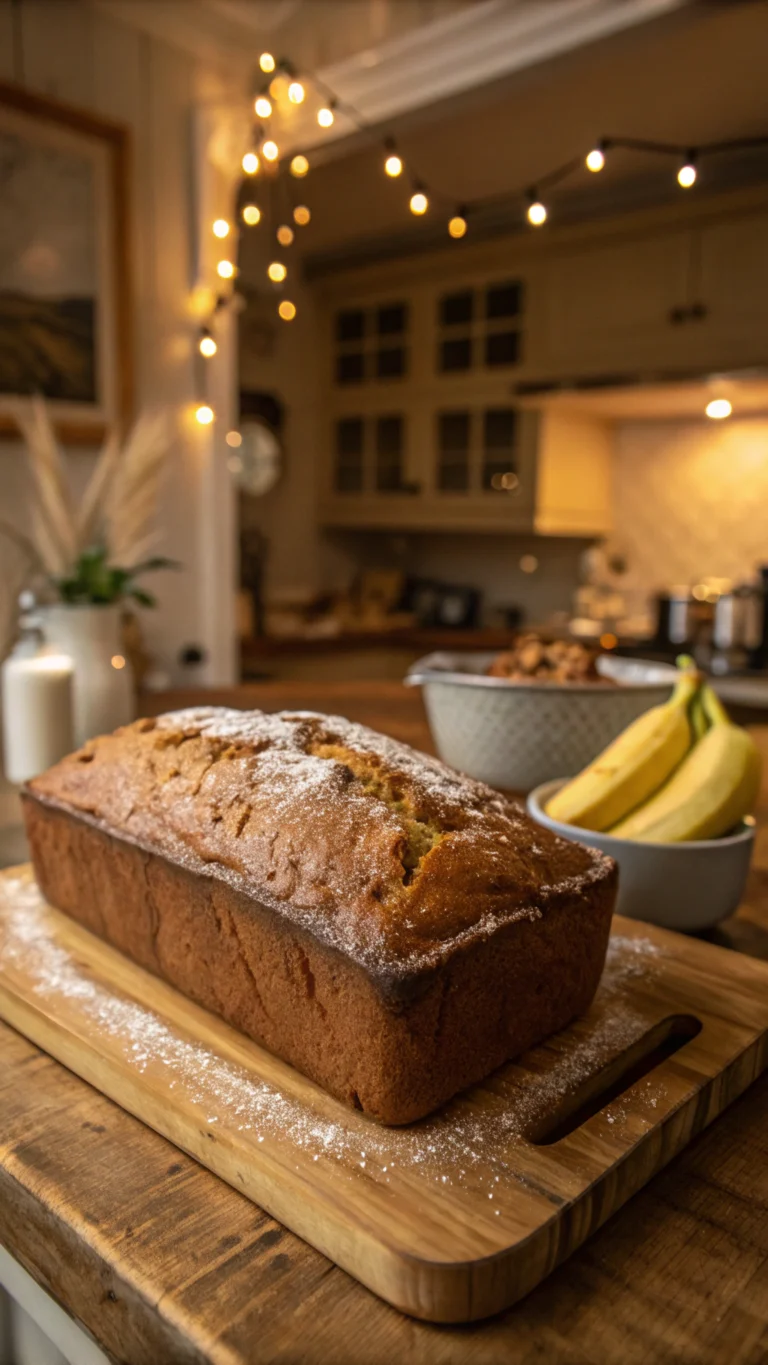
Thank you for reading this post, don't forget to subscribe!That is why I started baking in my own kitchen. Switching to a high-quality gluten free bread flour changed everything for me. It turned my frustrating kitchen experiments into a truly rewarding hobby.
Understanding the science behind these specialized ingredients is the secret to success. When you use the right gluten free bread flour, you gain control over the texture and taste of your favorite baked goods. Let me help you master the art of homemade baking so you never have to settle for dry, store-bought options again.
Table of Contents
Understanding the Science of Gluten Free Baking
When I first started my journey, I realized that gluten is the secret architect of traditional bread. It acts as a structural framework that holds everything together during the fermentation process. Without this foundation, the chemistry of your dough changes significantly, which is why choosing the right gluten free flour for baking is so vital for success.
The Role of Gluten in Traditional Bread
In standard wheat-based baking, two proteins called glutenin and gliadin combine with water to form gluten. This creates an elastic network that traps carbon dioxide bubbles produced by yeast. As the dough rises, this network stretches, allowing the bread to expand into a light, airy loaf with a satisfying chew.
Without this protein structure, bread would simply be a dense, flat disk. The gluten acts like a balloon, holding the gas inside while the heat of the oven sets the crumb. It is truly the backbone of traditional baking, providing both texture and volume.
Why Gluten Free Flour Behaves Differently
When you switch to gluten free flour for baking, you are essentially removing that structural balloon. Most alternative flours, such as rice or almond, lack the protein chains necessary to trap gas effectively. Because these flours cannot form a cohesive web on their own, the dough often feels more like a thick batter than a kneadable mass.
To compensate for this, I often rely on binding agents like xanthan gum to mimic the elasticity of wheat. Understanding these differences helps me adjust my expectations and techniques when working with new recipes. The following table highlights the key differences between these two approaches to bread making.
| Feature | Wheat Flour | Gluten Free Flour |
|---|---|---|
| Structural Base | Gluten Protein | Starches & Binders |
| Dough Texture | Elastic & Stretchy | Sticky & Batter-like |
| Gas Retention | High (Strong Network) | Low (Requires Additives) |
| Final Crumb | Chewy & Airy | Soft & Delicate |
By mastering these scientific principles, you can confidently select the best gluten free flour for baking to suit your specific needs. It is all about finding the right balance of starches and proteins to create that perfect loaf.
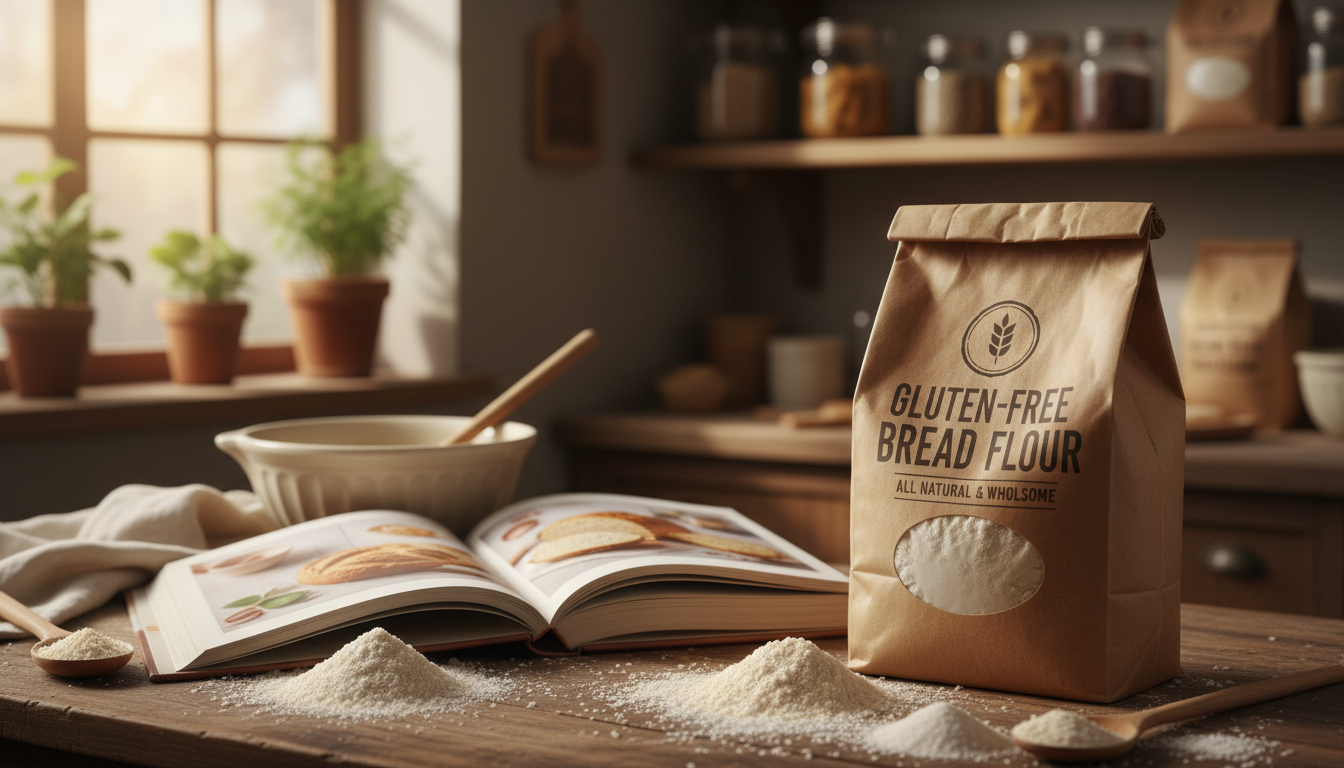
Why You Need Specialized Gluten Free Bread Flour
I often get asked why a simple swap of flour does not produce the same airy, tall loaf as traditional wheat bread. When you start your journey into baking, it is tempting to grab whatever is on the shelf. However, using a gluten free all purpose flour for yeast-leavened recipes often leads to dense, flat results that crumble easily.
Distinguishing Between All Purpose and Bread Flour Blends
The primary difference lies in the formulation of the blend. A gluten free all purpose flour is typically designed for cookies, cakes, and muffins where you want a tender crumb. These blends often lack the structural integrity required to hold the gases produced by yeast during the long proofing process.
In contrast, a dedicated gluten free bread flour is specifically engineered to handle the unique hydration requirements of yeast doughs. These specialized blends contain a higher ratio of starches and proteins that work together to create a sturdy network. This network mimics the elasticity of wheat, allowing your bread to rise properly without collapsing.
The Importance of Protein and Binding Agents
Without the natural elasticity of gluten, your dough needs help to maintain its shape. This is where protein sources and binding agents become essential. Specialized blends often incorporate ingredients like pea protein or egg white powder to provide the necessary structural support for a rising loaf.
Binding agents such as xanthan gum or guar gum act as the glue that holds everything together. When you use a high-quality gluten free bread flour, these components are already balanced to provide the perfect texture. Relying on a standard gluten free all purpose flour usually means you have to guess the ratios yourself, which rarely leads to consistent success in the kitchen.
Key Ingredients Found in Top Gluten Free Flour Blends
When I look at a bag of gluten free baking flour, I see a carefully engineered mix of science and nutrition. Achieving the perfect texture in bread requires more than just swapping out wheat; it demands a precise balance of proteins, starches, and binders. Understanding these components is the first step toward becoming a confident baker in your own kitchen.
The Role of Xanthan Gum and Guar Gum
In traditional baking, gluten acts as the glue that holds everything together. Since we lack that protein, we must rely on xanthan gum or guar gum to provide the necessary elasticity. These ingredients act as essential binders that trap air bubbles, allowing your bread to rise without crumbling apart.
I find that using just the right amount is critical for success. Too little, and your loaf will be fragile; too much, and the texture can become unpleasantly gummy. Most high-quality blends include these gums already, which simplifies the process for beginners.
Common Base Flours: Rice, Sorghum, and Millet
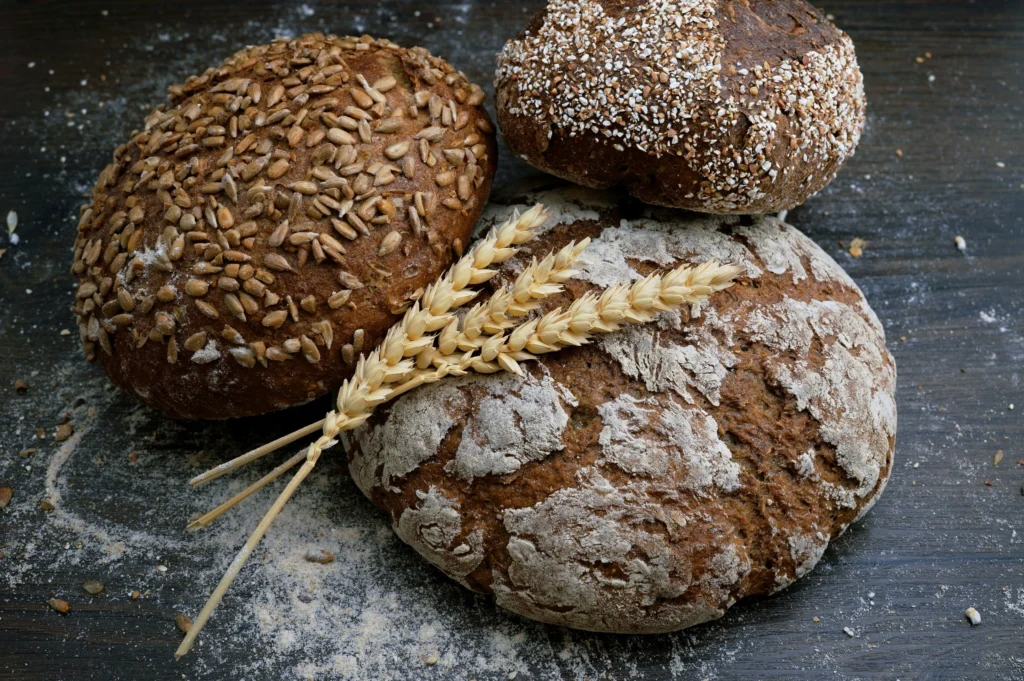
The foundation of any reliable gluten free flour blend is its base flour. Brown rice flour is a popular choice because it offers a neutral flavor and a hearty texture. I often look for blends that incorporate sorghum or millet, as these ancient grains add a wonderful depth and nutritional value to the final product.
These flours provide the bulk of the loaf, but they do not possess the structure of wheat on their own. By combining different grains, manufacturers create a more complex flavor profile. This variety helps mimic the taste of traditional artisan breads that we all know and love.
Starches That Provide Structure: Tapioca and Potato Starch
To achieve that light, airy crumb, you need starches like tapioca and potato starch. These ingredients are the secret weapons that provide the necessary lift and chewiness. Without them, your bread would likely turn out dense and heavy.
I always check the label to ensure these starches are present in the right proportions. They work in harmony with the base flours to create a soft interior while helping the crust develop a beautiful golden color. Balancing these starches is truly an art form that elevates your homemade baking to a professional level.
How to Choose the Best Gluten Free Bread Flour
When I started baking without gluten, I quickly learned that not all flour blends are created equal. Finding the best gluten free bread flour is the foundation for a successful loaf that actually tastes like bread. I have spent years testing various products to see which ones provide the right structure and flavor.
Evaluating Top Gluten Free Flour Brands
There are several top gluten free flour brands that consistently perform well in home kitchens. Companies like King Arthur Baking and Bob’s Red Mill have dedicated years to perfecting their ratios. I often recommend starting with these established names because they provide reliable results for beginners.
When you compare these options, look for blends specifically labeled for yeast-based baking. A high-quality gluten free bread flour will usually contain a mix of rice flour, starches, and binding agents. These components work together to mimic the elasticity of wheat flour.
Reading Labels for Hidden Additives
I always make it a habit to flip the bag over and read the ingredient list carefully. Some commercial blends include unnecessary fillers, artificial flavors, or excessive amounts of sugar. You want a clean list that focuses on high-quality starches and protein sources.
Be wary of additives that might cause digestive discomfort if you have a sensitive stomach. While gums are necessary for structure, some people prefer blends that use psyllium husk instead. Always check for potential cross-contamination warnings if you have celiac disease.
Considering Your Specific Dietary Needs
Your personal health goals should dictate which flour you bring home. If you are managing multiple food allergies, you might need to avoid blends that contain soy, corn, or dairy derivatives. Many top gluten free flour brands now offer allergen-free facilities to ensure safety.
Think about your texture preferences as well. Some people prefer a heartier, grain-heavy loaf, while others want a light and airy crumb. Choosing the best gluten free bread flour is ultimately about finding the balance that makes your homemade bread a joy to eat.
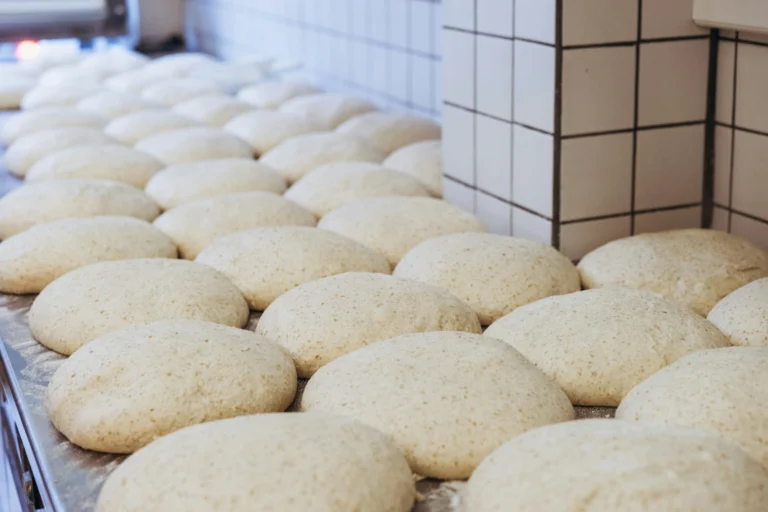
Step-by-Step Guide to Preparing Your Dough
When you start working with gluten free flour for baking, the process of preparing your dough is quite different from traditional methods. Unlike wheat-based doughs that you can knead by hand, gluten-free mixtures usually resemble a thick, sticky batter. Embracing this unique consistency is the first step toward achieving a successful rise and a light, airy crumb.
Measuring Your Ingredients for Accuracy
Precision is the foundation of success in this type of baking. I highly recommend using a digital kitchen scale to measure your ingredients by weight rather than volume. Measuring by weight ensures that your hydration levels remain consistent every time you bake.
“Baking is a science, and when you remove gluten, you must rely on precise ratios to maintain the structural integrity of your bread.”
Mixing Techniques for Optimal Hydration
Proper hydration is vital when using gluten free flour for baking. You want to ensure that all the starches and gums are fully hydrated to prevent a gritty texture in your final loaf. Use a sturdy spatula or a stand mixer with a paddle attachment to combine your ingredients until the mixture is smooth and uniform.
Be careful not to over-mix your batter once the binding agents are activated. Consistent mixing allows the xanthan or guar gum to create the necessary structure that replaces traditional gluten. If the batter looks too dry, add a small amount of warm water until it reaches a thick, spreadable consistency.
Managing the Proofing Process
Managing the proofing process is where you can truly influence the volume and texture of your bread. Because gluten-free dough lacks the elasticity of wheat, it typically only requires a single, focused rise. Keep your dough in a warm, draft-free spot to encourage the yeast to work effectively.
Watch your dough closely rather than relying solely on a timer. You are looking for the loaf to expand by about 50% to 75% in size. If you let it proof for too long, the structure may collapse, so patience and observation are your best tools when using gluten free flour for baking.
Essential Techniques for Working with Gluten Free Flour
When I started my journey with gluten free baking flour, I quickly learned that technique is just as important as the ingredients themselves. Achieving a bakery-quality loaf at home requires a shift in how you approach the mixing and proofing stages.
The Importance of Room Temperature Ingredients
I always make sure my eggs, milk, and butter are at room temperature before I begin. Cold ingredients can shock the yeast, leading to sluggish activity and a dense, flat loaf. Consistency is key when you want your dough to rise properly.
Mastering the Consistency of Your Batter
Unlike traditional wheat dough, gluten free baking flour blends often create a batter that resembles thick cake mix rather than a kneadable ball. You should look for a texture that is smooth and holds its shape slightly without being overly dry. If the mixture feels too stiff, add a tiny splash of warm water to improve the hydration.
Using the Right Equipment for Success
Precision is non-negotiable in this process, so I highly recommend using a digital kitchen scale. Measuring by volume can lead to errors that ruin your gluten free baking flour results. Using the correct loaf pan also provides the necessary support for the bread to rise upward instead of spreading outward.
| Tool | Purpose | Benefit |
|---|---|---|
| Digital Scale | Weight measurement | Ensures exact ratios |
| Silicone Spatula | Mixing batter | Prevents over-aeration |
| Metal Loaf Pan | Structural support | Promotes even browning |
Troubleshooting Common Issues in Gluten Free Bread
I have spent many hours in my kitchen fixing loaves that just didn’t rise quite right. It is completely normal to face hurdles when you first start using a new gluten free flour blend. By learning to spot these common issues early, you can turn your baking process into a success story.
Fixing Dense or Gummy Loaves
If your bread feels heavy or has a gummy texture, the issue is often related to moisture levels. You might have added too much water, or perhaps the flour did not have enough time to hydrate properly. Always measure your ingredients by weight rather than volume to ensure consistency.
Another common culprit is under-baking. A gluten free flour blend often requires a longer bake time than traditional wheat flour to set the structure. If you suspect your loaf is gummy, try extending the bake time by ten minutes or checking the internal temperature with a digital thermometer.
Preventing Bread from Collapsing After Baking
There is nothing more frustrating than a beautiful loaf that sinks in the middle once it leaves the oven. This usually happens when the structure is not strong enough to hold the air bubbles created by the yeast. You may need to increase your binding agents, such as xanthan gum, to provide better support.
Avoid opening the oven door too early, as the sudden change in temperature can cause the loaf to deflate. Let your bread cool completely on a wire rack before slicing it. Cutting into a hot loaf releases steam that can turn the interior crumb into a gummy mess.
Adjusting for Humidity and Altitude
Environmental factors play a massive role in how your dough behaves. High humidity can make your dough feel sticky, so you might need to add a tablespoon of extra flour to your mix. Conversely, dry air might require a splash more water to keep the dough hydrated.
If you live at a high altitude, your yeast will likely rise much faster than expected. You should consider reducing the amount of yeast in your recipe to prevent the bread from over-proofing and collapsing. Adjusting your technique based on your local climate is the secret to mastering any gluten free flour blend.
Where to Buy Gluten Free Flour and Storage Tips
Building a reliable pantry starts with knowing exactly where to buy gluten free flour. Whether you are a casual baker or a dedicated enthusiast, having the right supplies on hand makes every recipe easier to manage. I have found that a mix of local shopping and online ordering provides the best variety for my kitchen.
Finding Quality Blends at Local Grocery Stores
Most major supermarkets in the United States now carry a dedicated section for gluten-free products. You can often find reliable, high-quality options in the natural foods aisle or near the baking supplies. I always recommend checking the ingredient list carefully to ensure the blend contains the necessary binders for your specific recipe.
When shopping locally, look for brands that clearly label their products as certified gluten-free. This extra layer of verification provides peace of mind, especially if you are baking for someone with severe sensitivities. Local stores are perfect for picking up smaller quantities when you need to experiment with a new brand.
Ordering Specialty Flours Online
If you are looking for the best gluten free bread flour, online retailers often offer a wider selection than physical stores. Many specialty mills provide unique blends that are specifically formulated for yeast-based breads. Ordering online allows you to purchase in bulk, which is often more cost-effective for frequent bakers.
“The secret to great baking is not just the recipe, but the quality of the ingredients you choose to bring into your home.”
Best Practices for Long-Term Storage
Proper storage is vital to keep your flours fresh and prevent them from going rancid. I suggest transferring your flour into airtight glass or BPA-free plastic containers immediately after opening the original packaging. This simple step keeps moisture and pests out of your ingredients.
For the best results, store your containers in a cool, dark, and dry place like a pantry or cupboard. If you buy in large quantities, consider keeping a portion in the freezer to extend the shelf life of the natural oils found in many gluten-free grains. By staying organized, you will always have the best gluten free bread flour ready whenever inspiration strikes.
Comparing Organic Gluten Free Flour vs. Conventional Blends
Many home bakers wonder if switching to organic gluten free flour is truly worth the extra cost. When I started my own baking journey, I spent hours analyzing labels to see if the price difference translated into better bread. It is important to understand that both options can produce delicious results, but they serve different priorities.
Benefits of Choosing Organic Ingredients
Choosing organic gluten free flour often means you are avoiding synthetic pesticides and fertilizers. Many people prefer these products because they feel better about the environmental impact of their ingredients. Soil health is a major factor, as organic farming practices focus on long-term sustainability rather than quick yields.
“The quality of your flour is the foundation of your bread. When you start with clean, organic ingredients, you are already halfway to a successful loaf.”
Cost Considerations and Availability
It is no secret that organic options usually carry a higher price tag at the checkout counter. If you bake bread daily, these costs can add up quickly for your household budget. However, you can often find better deals by buying in bulk online or through local cooperatives.
- Conventional blends: Widely available and budget-friendly.
- Organic blends: Often found in health food stores or specialty online shops.
- Bulk buying: A smart way to lower the cost per pound for high-quality flour.
Flavor Profiles and Nutritional Differences
Beyond the price, you might notice subtle differences in how your bread tastes. Some bakers find that organic gluten free flour retains more of the natural, earthy flavor of the grains. This is often due to the way the crops are processed and stored after harvest.
| Feature | Conventional | Organic |
|---|---|---|
| Pesticide Use | Standard | None |
| Price | Lower | Higher |
| Flavor | Neutral | Robust |
Ultimately, the choice depends on your personal values and your specific dietary goals. I recommend trying a small bag of each to see which one performs best in your favorite recipes. You may find that a mix of both works perfectly for your kitchen needs.
Conclusion
Baking delicious bread without wheat is a rewarding journey that blends science with creativity. I find that success relies on choosing the right ingredients and respecting the unique needs of your dough.
You might start your journey using a standard gluten free all purpose flour for your first few attempts. This is a great way to learn how different binders and starches react in your oven. Over time, you will discover which blends from brands like King Arthur Baking or Bob’s Red Mill suit your personal taste best.
Patience remains your most important tool in the kitchen. Remember that your bread continues to set its structure while it cools on the counter. I suggest waiting at least one full hour before you slice into your loaf to ensure the perfect texture.
Do not be discouraged by early challenges. Every baker learns through trial and error. Keep experimenting with your favorite gluten free all purpose flour to refine your technique. Your persistence will lead to professional-quality results that you can share with your family and friends.