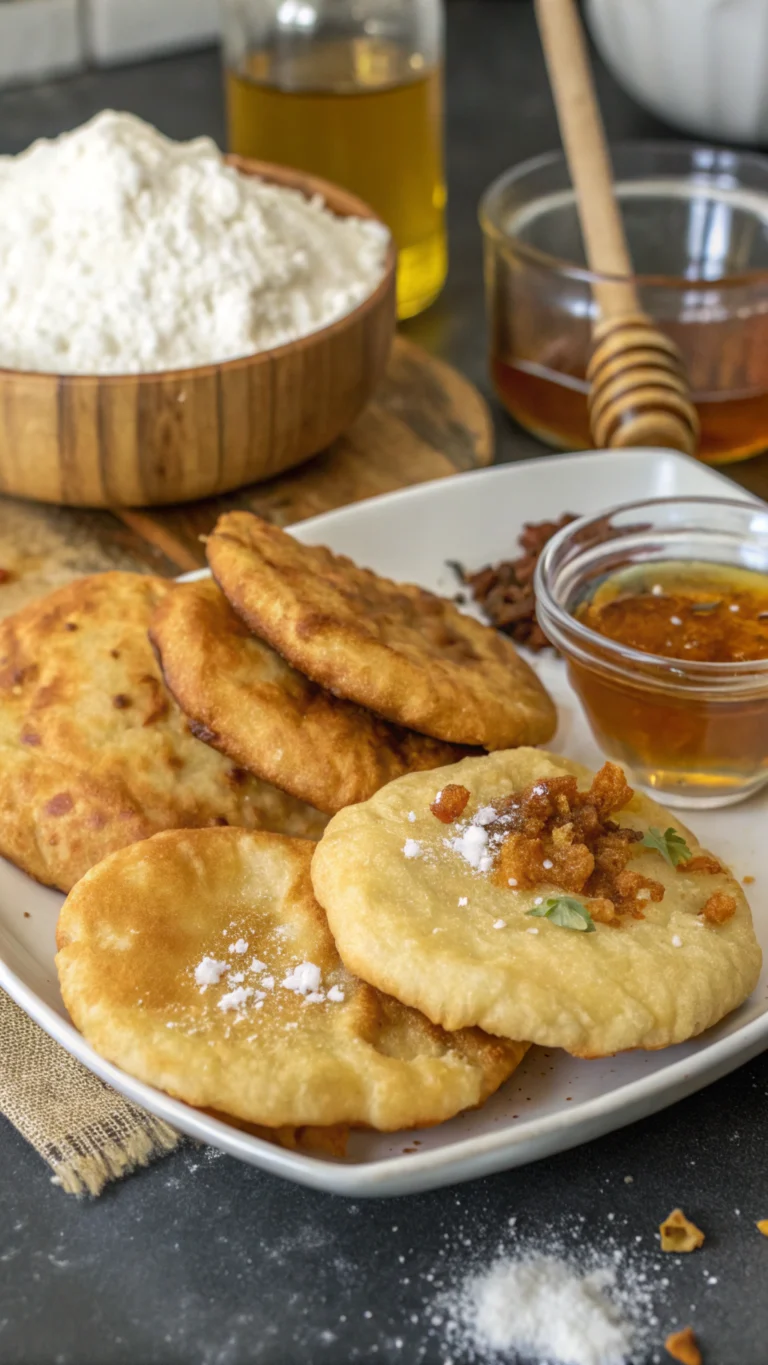
Homemade Bread Garlic: 5 Easy Steps for Perfect Flavor!
I still remember the first time I made garlic-infused bread at home. The aroma that filled my kitchen was incredible, and the taste was even better! Since then, I’ve been hooked on making delicious homemade garlic bread.
Thank you for reading this post, don't forget to subscribe!With this article, I’m excited to share with you my simple 5-step guide to creating the perfect flavor. You’ll learn how to make mouth-watering garlic bread that’s sure to impress your family and friends.

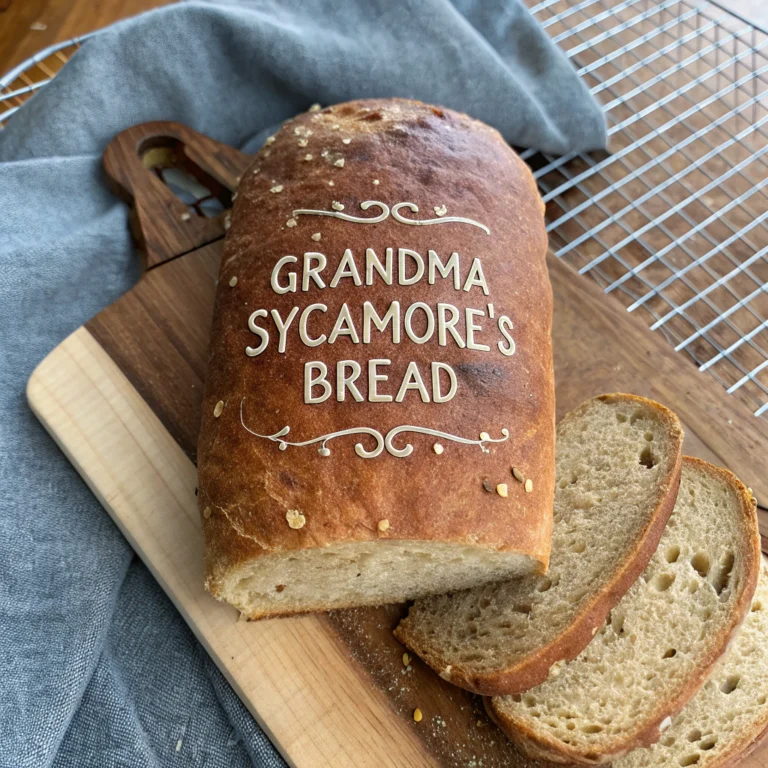
homemade bread garlic
By following these easy steps, you’ll be able to create a flavorful garlic bread that’s perfect for any occasion.
Table of Contents
The Magic of Homemade Bread Garlic
The magic of homemade bread garlic lies in its ability to combine simple ingredients into a culinary masterpiece. When you make it from scratch, you can control the quality of the ingredients and the amount of garlic used, ensuring that every bite is flavorful and aromatic.
Looking for a quick and easy way to add flavor and crunch to your favorite dishes? Progresso Garlic and Herb Bread Crumbs are the perfect addition to your kitchen. Whether you’re making crispy chicken cutlets, baked zucchini, or classic meatballs, these seasoned crumbs bring rich Italian taste to every bite.
Crafted with a blend of garlic, herbs, and spices, they give your recipes that homemade touch — without the extra prep.
Why You’ll Love It:
- Pre-seasoned with garlic and Italian herbs
- Ready to use straight from the box
- Great for oven-baked dishes and traditional breaded recipes
- Comes in a value 2-pack (15 oz each)
Upgrade your cooking with a flavorful crunch!
🍞 Click here to get them on Amazon and bring Italian-style goodness to your meals.
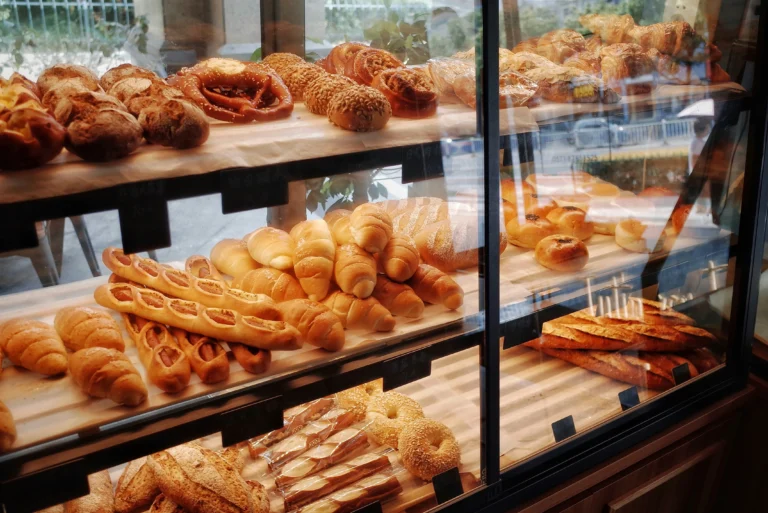
Why Store-Bought Can’t Compare
Store-bought garlic bread often lacks the freshness and depth of flavor that homemade versions offer. By making your own flavorful garlic bread, you avoid preservatives and additives commonly found in commercial products. Moreover, the process of baking allows you to customize the garlic intensity and other flavors to your liking.
Here’s a comparison of key differences:
| Feature | Homemade | Store-Bought |
| Ingredients | Fresh, high-quality | Preservatives, additives |
| Flavor Customization | Adjustable garlic intensity | Fixed flavor profile |
| Baking | Freshly baked | Pre-baked, often frozen |
Health Benefits of Making Your Own
Making your own garlic bread from scratch not only tastes better but also offers health benefits. You can choose to use whole wheat bread, reduce the amount of butter, or add herbs for extra nutrition. Garlic itself has numerous health benefits, including antibacterial properties and cardiovascular health support.
By following baking tips and using the right ingredients, you can create a delicious and healthier version of garlic bread that suits your dietary needs.
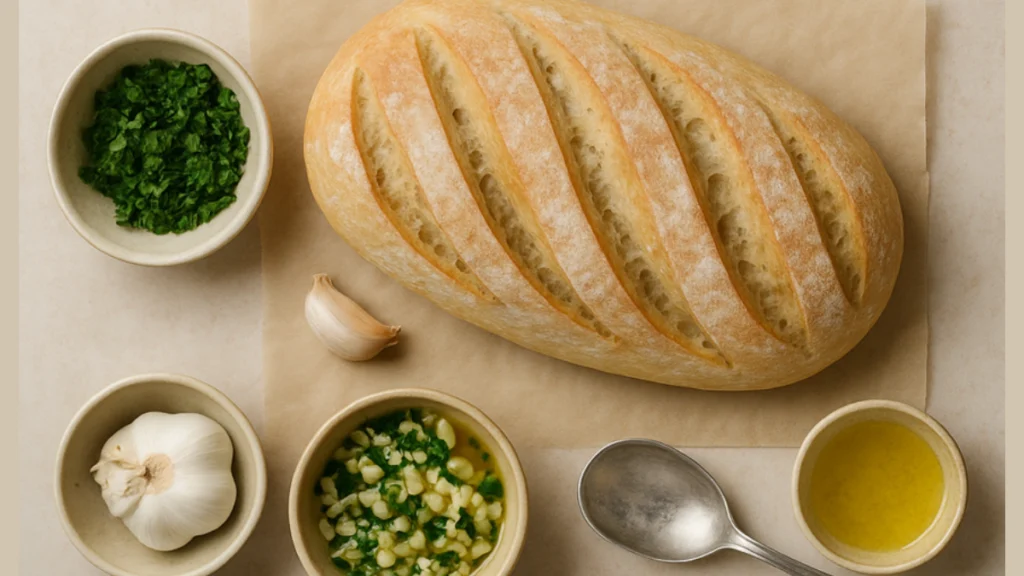
Essential Ingredients for Flavorful Garlic Bread
Creating the perfect garlic bread starts with understanding the essential ingredients that make it flavorful. The right combination of ingredients can elevate this simple dish into a culinary delight.
Selecting the Right Bread Base
The foundation of great garlic bread is the bread itself. For an easy bread making experience, you can start with a high-quality store-bought bread or make your own. If you’re making your bread from scratch, consider using a simple bread recipe that involves basic ingredients like flour, yeast, water, salt, and sometimes sugar.
For garlic bread, a crusty bread like baguette or ciabatta works well because they have a firm texture that holds up to the garlic butter. If you prefer a softer garlic bread, you can use a bread with a softer interior, like Italian bread.
Choosing Quality Garlic
Garlic is the star of garlic bread, and its quality can make or break the dish. Fresh garlic is essential; it should be firm and have a sweet, nutty aroma. Avoid garlic that is sprouting or has a strong, unpleasant smell.
To get the best flavor, you can use either raw garlic, roasted garlic, or a combination of both. Raw garlic provides a pungent, sharp flavor, while roasted garlic is sweeter and milder. You can adjust the amount of garlic according to your taste preferences.
- Raw garlic for a strong flavor
- Roasted garlic for a milder taste
- Combination of raw and roasted for a balanced flavor
Butter, Herbs, and Other Flavor Enhancers
Butter is another crucial ingredient that brings richness and depth to garlic bread. Use high-quality, salted butter for the best results. You can also enhance the flavor by mixing in herbs like parsley, oregano, or thyme.
Other flavor enhancers you can consider include grated Parmesan cheese, minced onions, or a sprinkle of sea salt. These ingredients can add complexity and depth to your garlic bread, making it even more delicious.
Tools and Equipment You’ll Need
Having the right equipment is crucial for creating the perfect homemade garlic loaf. With the right tools, you can ensure that your garlic bread turns out delicious and flavorful every time.
Basic Kitchen Essentials
To start, you’ll need some basic kitchen essentials. These include a large mixing bowl for combining ingredients, a measuring cup and spoons for accurate measurements, and a wooden spoon or dough scraper for mixing and handling the dough.
- A mixing bowl for combining ingredients
- Measuring cups and spoons for accurate measurements
- A wooden spoon or dough scraper for mixing
- A baking sheet or bread stone for baking
Optional Tools for Better Results
While not necessary, some optional tools can enhance your homemade garlic loaf experience. These include a stand mixer for easier dough mixing, a garlic press for mincing garlic, and a pastry brush for applying butter or egg wash.
Step 1: Mixing the Perfect Dough
To create mouth-watering homemade bread garlic, we start with the basics: mixing the perfect dough. This foundational step is crucial for achieving that irresistible flavor and texture. As we mix, we’ll be combining simple ingredients in a precise manner to lay the groundwork for our garlic bread masterpiece.
Measuring Ingredients Accurately
Accuracy is key when measuring ingredients for your homemade bread garlic. Using a digital kitchen scale can make a significant difference, ensuring that your flour, yeast, salt, and other ingredients are measured precisely. This attention to detail helps in achieving a consistent dough quality.
Here are some tips for accurate measurement:
- Use a digital scale for dry ingredients.
- Spoon dry ingredients into measuring cups and level off.
- Measure liquids at eye level.
Kneading Techniques for Beginners
Kneading is a vital step in developing the dough’s gluten, which gives bread its structure. For beginners, it’s essential to understand the basic kneading techniques. Start by placing the dough on a floured surface and then:
- Push down on the dough with the heel of your hand.
- Fold it back onto itself.
- Rotate the dough 90 degrees and repeat.
Kneading for about 10 minutes, either by hand or using a stand mixer with a dough hook attachment, will develop the dough sufficiently.
Signs Your Dough Is Ready
Knowing when your dough is ready can be a bit tricky, but there are a few clear indicators. A well-developed dough will:
- Feel smooth and elastic.
- Spring back when pressed lightly.
- Have a slightly shiny surface.
These signs indicate that your dough has been kneaded enough and is ready for the next step in making delicious homemade bread garlic.
Step 2: Mastering Homemade Bread Garlic Flavor
The secret to a mouth-watering garlic bread lies in mastering the art of homemade bread garlic flavor. To achieve this, we need to explore different garlic preparation methods, create a garlic-infused butter spread, and understand the importance of timing when adding garlic.
Different Garlic Preparation Methods
Garlic can be prepared in various ways to bring out its unique flavor. Minced garlic is a popular choice, as it distributes flavor evenly throughout the bread. Crushed garlic, on the other hand, releases more of its natural oils, creating a deeper flavor profile.
Other methods include using garlic powder for a subtle flavor or roasted garlic for a sweeter, nuttier taste. Experimenting with these different methods can help you find the perfect garlic flavor for your homemade bread.
| Garlic Preparation Method | Flavor Profile | Usage |
| Minced Garlic | Pungent, evenly distributed | Mix into butter or sprinkle on top |
| Crushed Garlic | Deep, rich flavor | Mix into dough or spread on bread |
| Garlic Powder | Subtle, savory | Sprinkle on top or mix into dough |
Creating a Garlic-Infused Butter Spread
A garlic-infused butter spread is a game-changer for homemade garlic bread. To make it, simply mix softened butter with minced or crushed garlic, and add a pinch of salt. You can also include other herbs like parsley or thyme to enhance the flavor.
Timing: When to Add the Garlic
The timing of adding garlic is crucial to achieving the perfect flavor. Adding garlic too early can result in a bitter taste, while adding it too late may not allow the flavors to meld together properly.
For the best results, add garlic during the last few minutes of baking or mix it into the butter spread just before applying it to the bread.
Step 3: Proofing and Shaping Your Garlic Bread
Proofing and shaping are crucial steps in creating the perfect garlic bread, and I’m excited to share my insights with you. As we dive into this stage, remember that patience is key to achieving that delicious homemade garlic loaf.
The Science of Proper Proofing
Proper proofing is essential for developing the flavor and texture of your garlic bread. During this stage, the yeast ferments the sugars, producing carbon dioxide and causing the dough to rise. To ensure proper proofing, follow these baking tips: maintain a warm, draft-free environment, and let the dough rest for the recommended time.
Some key signs that your dough is proofing correctly include a noticeable increase in size and a few large bubbles on the surface. If you’re unsure, gently poke the dough; if it springs back slowly, it’s ready. If not, give it a bit more time.
Shaping Techniques for Different Styles
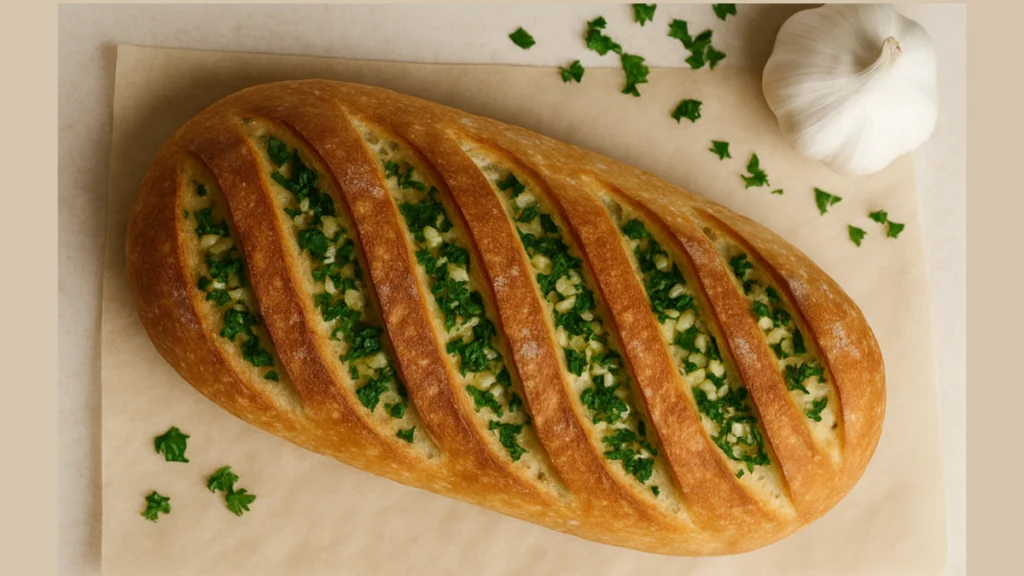
Once your dough has proofed, it’s time to shape it. The shaping technique you choose depends on the style of garlic bread you’re making. For a classic loaf, gently fold the dough into a rectangle and roll it up, tucking the ends under. For a more rustic look, simply shape the dough into a round or oblong form.
- For a baguette-style garlic bread, roll the dough into a long, thin cylinder.
- For a garlic bread boule, shape the dough into a round ball.
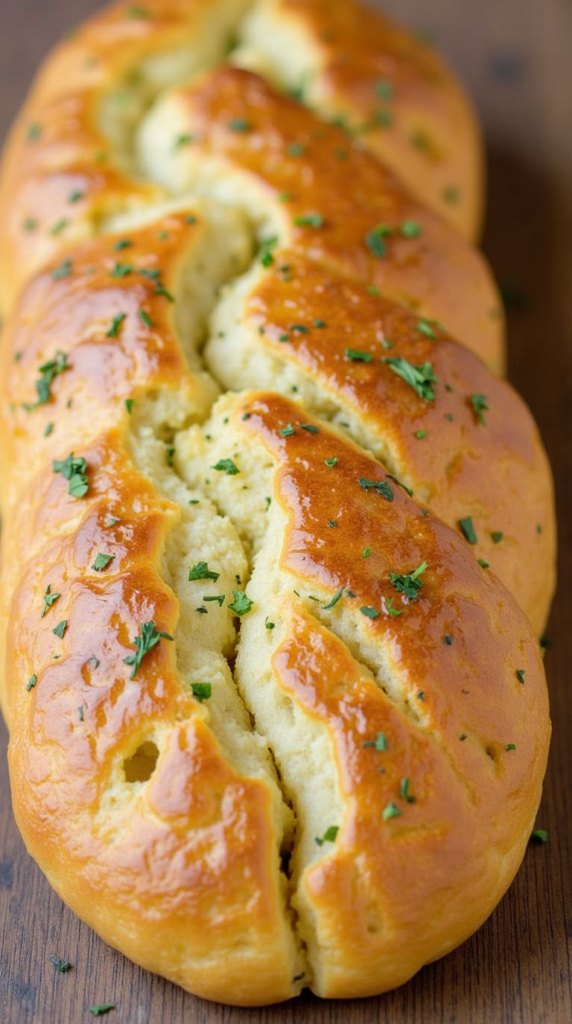
- For a garlic bread braid, divide the dough into three equal pieces and braid them together.
Adding Final Flavor Touches
Before baking, you can add some final flavor touches to your garlic bread. Brush the top with garlic butter or sprinkle with minced garlic for an extra boost of flavor. You can also sprinkle some grated Parmesan cheese or chopped herbs like parsley or rosemary on top for added depth.
By following these steps and tips, you’ll be well on your way to creating a delicious homemade garlic loaf that’s sure to impress. Happy baking!
Step 4: Baking to Perfection
As we move to the fourth step in our 5-step bread guide, we’ll explore the techniques for baking garlic bread that will make your taste buds dance. Baking is a crucial step that requires attention to detail to achieve that perfect golden-brown crust and aromatic flavor.
Temperature and Timing Guidelines
To bake our garlic bread to perfection, we need to get the temperature and timing just right. Preheat your oven to 375°F (190°C), which is ideal for achieving a crispy crust without burning the garlic. The baking time will depend on the size of your bread and your oven’s performance.
- For a standard-sized garlic bread, bake for 12-15 minutes.
- For a larger or smaller bread, adjust the time accordingly, checking every 2-3 minutes to avoid overcooking.
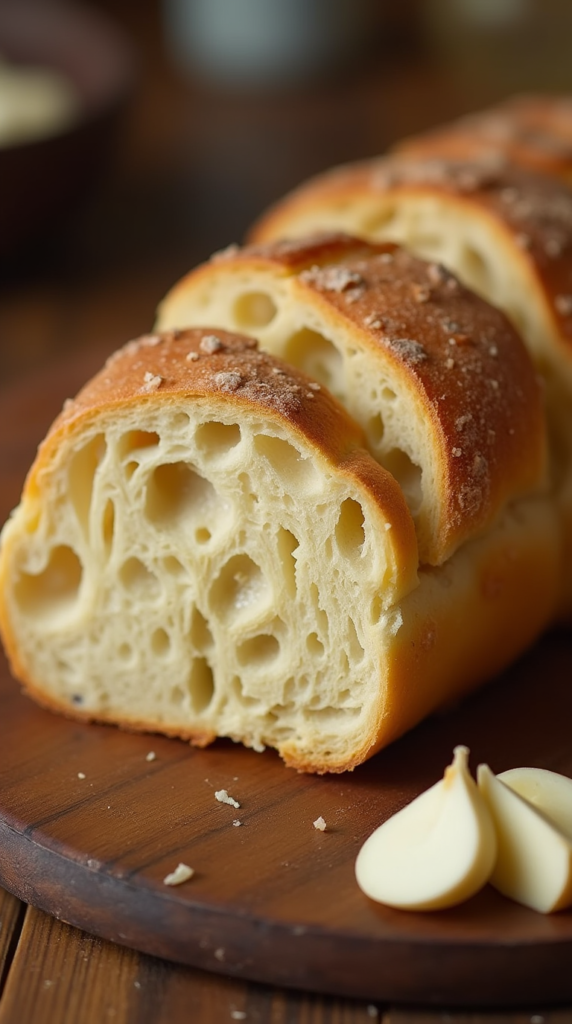
Creating the Perfect Crust
A perfect crust is a combination of the right temperature, baking time, and a bit of technique. To achieve this, make sure your bread is properly proofed before baking, as this will help create a crust that’s crispy on the outside and soft on the inside.
Here are some tips to enhance your crust:
- Brush the bread with a little water or egg wash before baking to give it a golden glow.
- Use a baking stone or a preheated baking sheet to help crisp the crust.
- Keep an eye on your bread as it bakes, as the crust can go from perfect to burnt quickly.
Visual Cues for Doneness
Knowing when your garlic bread is done can be a bit tricky, but there are some visual cues to look out for. A perfectly baked garlic bread will have a golden-brown crust that’s evenly colored. The bread should also sound hollow when tapped on the bottom.
If you’re unsure, it’s always better to err on the side of underbaking slightly, as you can always bake it for a few more minutes if needed.
Step 5: Serving and Storing Your Creation
Serving and storing your homemade garlic bread is just as important as making it, and I’ll guide you through the best practices. The way you present your garlic bread can elevate the dining experience, whether you’re serving it as a side dish or a snack.
Presentation Ideas for Different Occasions
When it comes to presenting your flavorful garlic bread, the possibilities are endless. For a casual gathering, consider slicing the bread and arranging it on a wooden board or a rustic platter. You can drizzle some olive oil around the bread and sprinkle chopped herbs like parsley or thyme for added color and freshness. For more formal events, you might want to slice the bread into uniform pieces and serve them on a decorative plate or a tiered server.
If you’re serving garlic bread as part of a meal, it pairs well with pasta dishes, soups, or salads. You can also use it as a base for bruschetta or as a side to your favorite dips. The key is to be creative and have fun with the presentation!
Proper Storage Methods
To keep your homemade bread garlic fresh for as long as possible, proper storage is crucial. Once the bread has cooled completely, wrap it tightly in plastic wrap or aluminum foil. You can also store it in a bread box or a paper bag, but be sure to seal it well to prevent drying out.
If you don’t plan to consume the garlic bread within a day or two, consider freezing it. Wrap the cooled bread tightly in plastic wrap, then place it in a freezer-safe bag. When you’re ready to enjoy it again, simply thaw at room temperature or reheat directly from the freezer.
Reheating Without Losing Flavor
Reheating your garlic bread without losing its flavor can be a challenge. One of the best methods is to wrap the bread in foil and heat it in the oven at 350°F (175°C) for about 10-15 minutes. This helps retain moisture and flavor.
Alternatively, you can reheat slices of garlic bread in a toaster oven or even under the broiler for a crispy top. Just be sure to keep an eye on it to prevent burning. The goal is to warm the bread through while maintaining its crispy crust and flavorful interior.
Conclusion
Now that you’ve learned the 5 easy steps to making homemade bread garlic with perfect flavor, it’s time to get baking! With these simple steps, you can create delicious garlic bread that’s sure to impress family and friends. By following these easy bread making tips, you’ll be able to achieve a flavorful and aromatic loaf that’s perfect for any occasion.
By mastering the art of homemade garlic bread, you’ll not only enjoy a tasty treat, but you’ll also have the satisfaction of creating something from scratch. Plus, with our baking tips, you’ll be able to experiment with different flavors and ingredients to make the recipe your own.
So why not give it a try? Gather your ingredients, preheat your oven, and start baking your way to a delicious homemade garlic bread. With practice and patience, you’ll be a pro at easy bread making in no time!
FAQ
What type of bread is best for homemade bread garlic?
I recommend using a crusty bread like baguette or ciabatta for homemade bread garlic, as they hold up well to the garlic butter spread and baking.
Can I use pre-minced garlic for homemade bread garlic?
While pre-minced garlic is convenient, I prefer using fresh garlic cloves for the best flavor. Simply mince or crush the garlic to release its oils and flavor compounds.
How do I prevent my garlic bread from becoming too greasy?
To avoid a greasy garlic bread, I suggest using a moderate amount of butter and garlic, and baking the bread until it’s golden brown. You can also try using a garlic-infused oil instead of butter for a lighter flavor.
Can I make homemade bread garlic ahead of time?
Yes, you can prepare the garlic bread dough ahead of time and store it in the refrigerator or freezer. Simply thaw and bake the bread when you’re ready.
What’s the best way to store leftover garlic bread?
To keep leftover garlic bread fresh, I recommend storing it in an airtight container at room temperature for up to a day. You can also freeze it for longer storage and reheat it in the oven or toaster.
How do I reheat garlic bread without losing its flavor?
To reheat garlic bread without losing its flavor, I suggest wrapping it in foil and baking it in a preheated oven at 350°F (175°C) for 5-10 minutes, or until it’s warmed through.