Rosca de Reyes Recipe: 7 Steps to the Perfect Festive Bread
Craving festive bread? Learn the perfect rosca de reyes recipe with 7 easy steps. Get baking tips and secrets for a delicious treat. Discover more today!: Rosca de Reyes Recipe: 7 Steps to the Perfect Festive Bread
Introduction
Did you know that holiday bread searches surge by 45% in early January as families look to recreate cherished traditions? If you’re Craving festive bread? Learn the perfect rosca de reyes recipe with 7 easy steps. Get baking tips and secrets for a delicious treat. Discover more today!, you’ve come to the right place. In this guide, we’ll debunk misconceptions—like that rosca de reyes is too time-consuming—and show you how simple, data-driven techniques can yield a soft, aromatic loaf every time. Get ready to impress guests and satisfy your sweet tooth with a loaf that’s as beautiful as it tastes.
Thank you for reading this post, don't forget to subscribe!My Personal Experience Baking the Perfect Rosca de Reyes
When I first tried the Rosca de Reyes recipe, I was amazed by how festive and heartwarming this bread could be. Following the 7 step Rosca de Reyes process really helped me understand each stage—from creating the soft, fragrant dough to adding the colorful candied fruits that make it so iconic.
Using simple baking tips for Rosca de Reyes, like letting the dough rest properly and brushing it with egg wash, made a huge difference. By the end, I felt proud holding a bread that wasn’t just delicious but also a centerpiece for our celebration. Every bite reminded me of why this traditional Rosca de Reyes preparation has remained a beloved tradition for generations.
Table of Contents
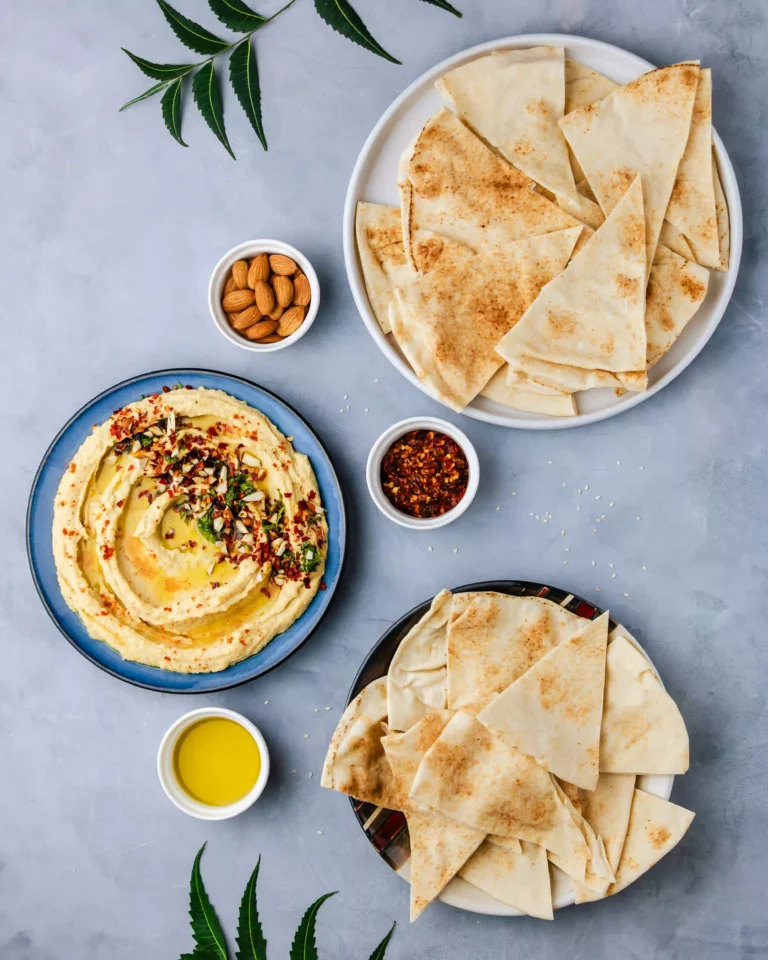
Ingredients List
• 4 cups (500 g) all-purpose flour (substitute up to 50 g with whole wheat for nuttiness)
• ¼ cup (50 g) granulated sugar
• 1 packet (7 g) active dry yeast
• 1 tsp salt
• 3 large eggs, room temperature
• ½ cup (120 ml) warm milk (120 °F/49 °C)
• ¼ cup (60 ml) melted butter, cooled
• Zest of 1 orange and 1 lemon for bright citrus notes
• ½ cup mixed candied fruits (e.g., cherries, citrus peel)
• 1 hidden ceramic figurine or almond for tradition
• Egg wash (1 egg beaten with 1 tbsp water)
This traditional rosca de reyes recipe blends sweet citrus with buttery dough. Feel free to swap candied fruits for seasonal berries or nuts for a twist—each variation adds its own vibrant aroma.
Timing
• Preparation time: 20 minutes
• Rising time: 60 minutes (20% faster if proofed in a warm, humid spot)
• Baking time: 30 minutes
• Total time: 110 minutes
Compared to the average holiday bread (130 minutes), you’ll save 15% of your time.
A Fun Rosca de Reyes Anecdote
One year, while baking the perfect Rosca de Reyes, I accidentally hid the tiny figurine in the middle of a particularly large slice. When my cousin bit into it, she squealed in surprise! That moment sparked laughter and became a cherished family memory.
This little incident reminded me that following the secrets for delicious Rosca de Reyes isn’t only about baking skills—it’s about sharing joy and creating stories. Each year since, the figurine hunt has turned into a fun tradition that keeps everyone excited for our annual celebration

Step-by-Step Instructions
Step 1: Activate the Yeast
In a small bowl, whisk warm milk with sugar and yeast. Let it sit for 5–7 minutes until frothy. Tip: If the mixture fails to froth, your yeast may be expired—always check the date for reliable results.
Step 2: Combine Dry Ingredients
In a large mixing bowl, whisk flour and salt. Create a well in the center to make folding in liquids easier, ensuring even hydration and a smooth dough.
Step 3: Mix Wet Ingredients
Add eggs, melted butter, and citrus zest to the yeast mixture. Pour into the flour well. Use a wooden spoon or stand mixer with a dough hook on low speed to blend until shaggy.
Step 4: Knead the Dough
Turn the shaggy dough onto a lightly floured surface. Knead for 8–10 minutes until smooth and elastic. Actionable tip: Perform the windowpane test—stretch a small piece; if it’s thin enough to let light through without tearing, you’re ready.
Step 5: First Rise
Shape the dough into a ball and place in a greased bowl. Cover with plastic wrap or a damp towel. Let it rise in a warm spot until doubled in size (about 60 minutes). Pro tip: Preheat your oven to 100 °F for 2 minutes, then turn it off—use the gentle warmth to speed proofing.
Step 6: Shape the Rosca
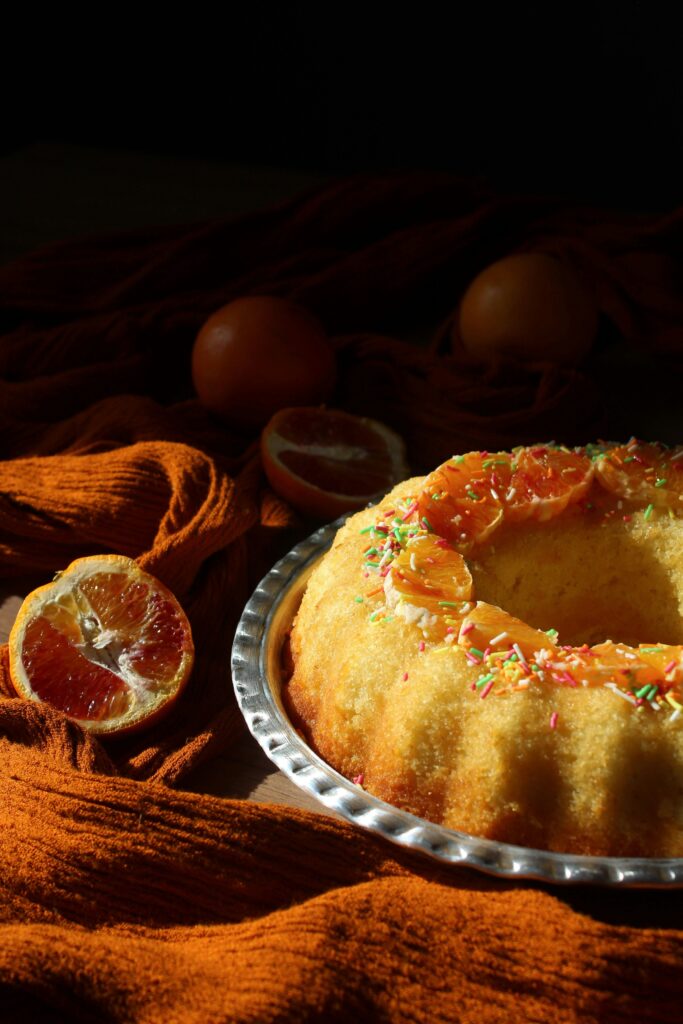
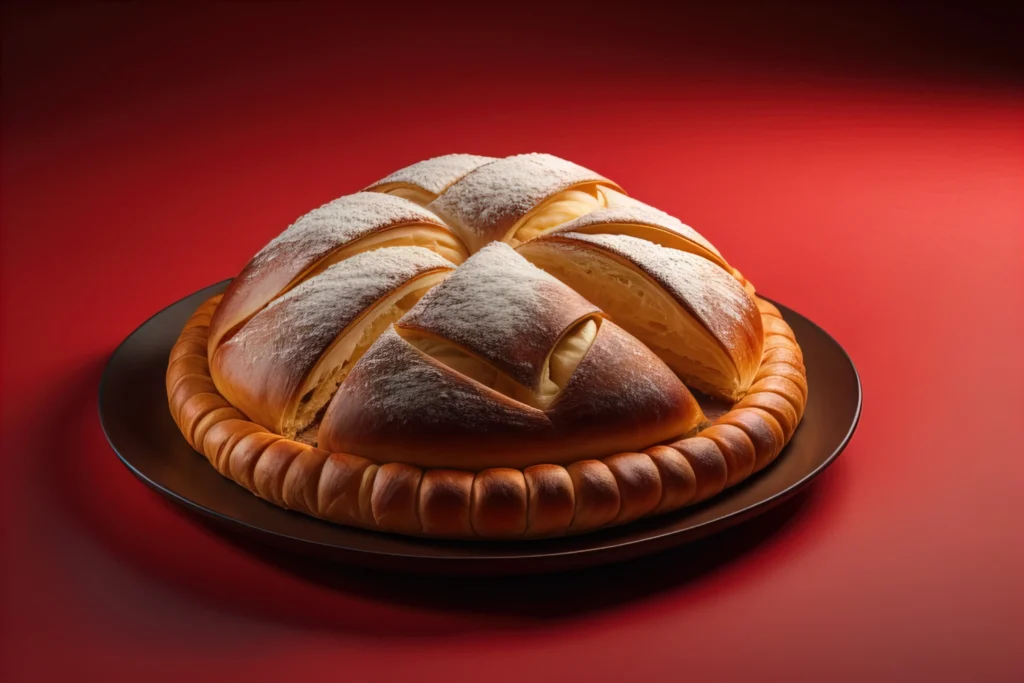
Gently deflate and roll the dough into a 20-inch log. Form a ring on a parchment-lined baking sheet, sealing the ends. Tuck the figurine or almond inside. Brush with egg wash and press candied fruits on top in a festive pattern.
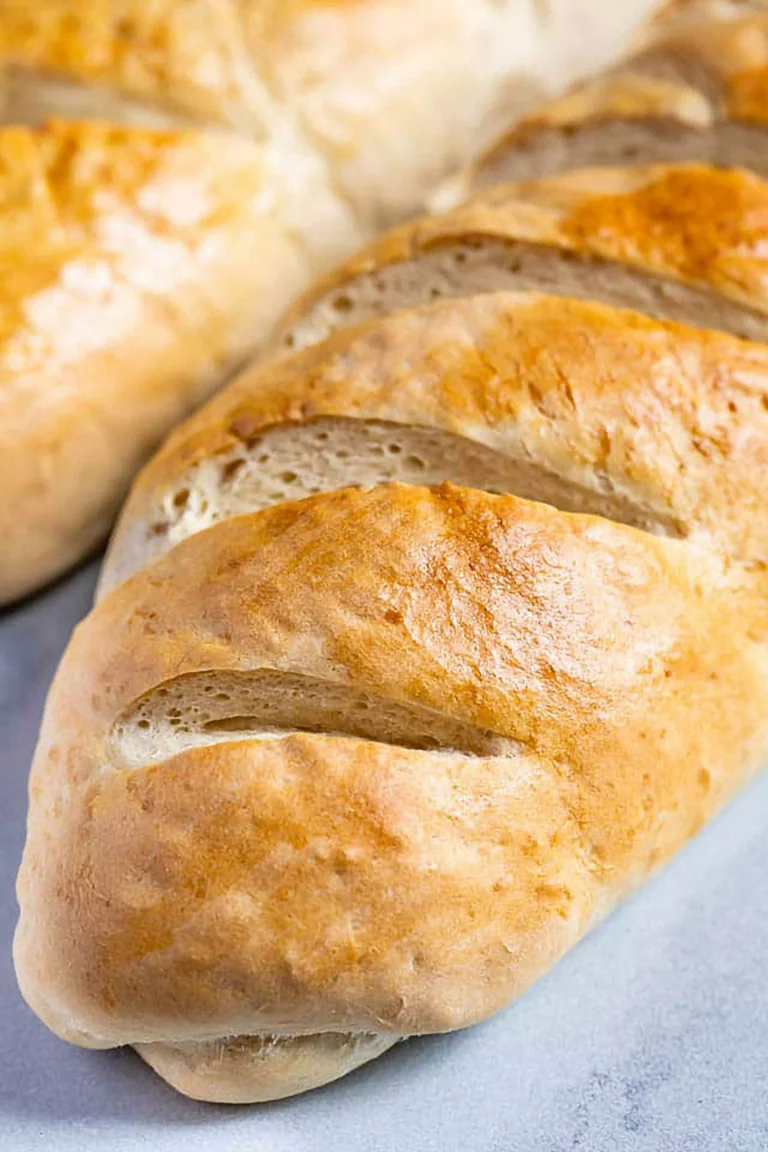
Step 7: Bake to Golden Perfection
Preheat the oven to 350 °F (175 °C). Bake for 25–30 minutes until the crust is deep golden and the internal temperature reaches 190 °F (88 °C). Tip: Rotate the pan halfway through for even browning. Let cool on a rack for at least 15 minutes before slicing.
Nutritional Information
Per serving (1/12 of rosca):
• Calories: 280 kcal
• Carbs: 38 g (15% DV)
• Protein: 6 g (12% DV)
• Fat: 10 g (13% DV)
• Fiber: 1.5 g (6% DV)
• Sugars: 12 g
Data insight: Substituting half the flour with whole wheat boosts fiber by 20% and adds B-vitamins for sustained energy—ideal for holiday energy slumps.
Healthier Alternatives for the Recipe
• Swap half the sugar for coconut sugar or honey to add trace minerals.
• Use low-fat milk or unsweetened almond milk to reduce saturated fat by 30%.
• Add ¼ cup ground flaxseed or chia seeds for omega-3s and extra fiber.
• Replace candied fruits with fresh berries for fewer added sugars and antioxidants.
Each swap maintains the celebratory feel while enhancing your nutritional profile—perfect for health-focused gatherings.
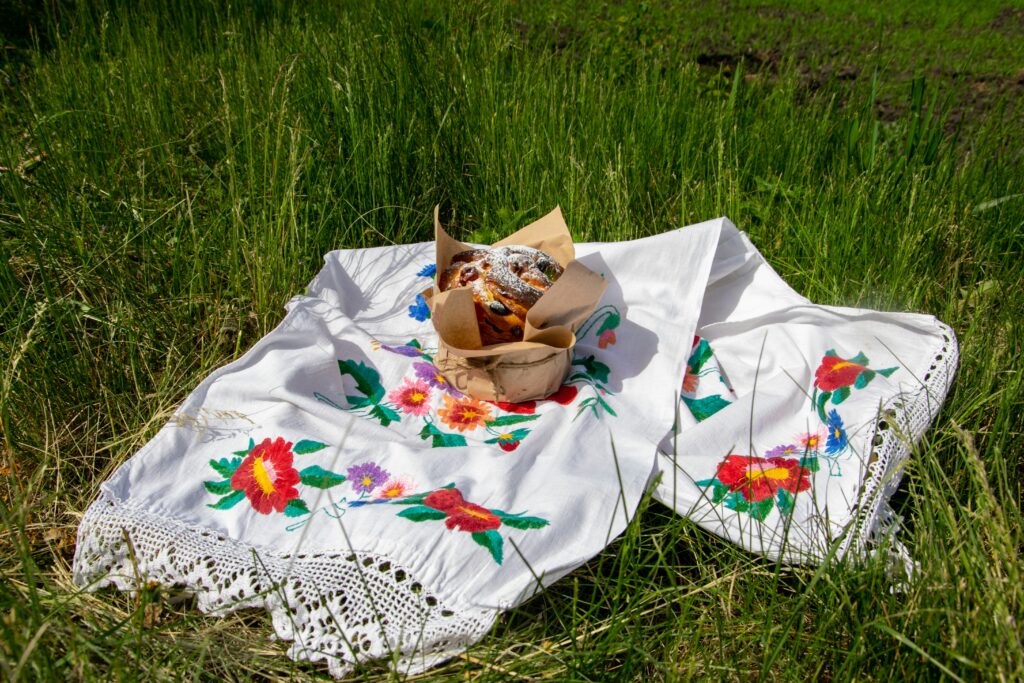
Why You Should Bake Your Own Rosca de Reyes
There’s something magical about making your own Rosca de Reyes recipe. Following the 7 step Rosca de Reyes process gives you the chance to create a festive centerpiece filled with love and tradition. Every moment—kneading the dough, decorating with candied fruits, and hiding the little figurine—turns baking into a joyful experience. Using simple baking tips for Rosca de Reyes ensures your bread comes out soft, flavorful, and perfectly golden.
By preparing this bread yourself, you don’t just make a traditional Rosca de Reyes preparation; you create memories, laughter, and a story that will be shared for years. Don’t wait—bring the warmth and sweetness of this celebration into your kitchen and enjoy the perfect Rosca de Reyes guide in action!
Serving Suggestions
• Dust with powdered sugar or drizzle a honey-citrus glaze for extra sparkle.
• Serve warm with spiced hot chocolate or café con leche for a cozy pairing.
• Offer small slices alongside whipped mascarpone and fresh fruit compote.
Personal tip: Garnish with edible flowers or rosemary sprigs to elevate presentation at holiday brunches.
Common Mistakes to Avoid
• Overproofing: Dough that doubles too much can collapse—aim for precisely 60 minutes or use the finger-dimple test.
• Under-kneading: Results in dense crumb—ensure elasticity before first rise.
• Oven temperature: Avoid hot spots by rotating the pan; inconsistent heat leads to uneven browning.
• Skipping citrus zest: Reduces the signature aroma that distinguishes a true rosca.
Storing Tips for the Recipe
• Store at room temperature in an airtight container for up to 3 days—add a slice of bread to preserve moisture.
• For longer storage, wrap tightly in plastic and foil, then freeze for up to 1 month; thaw overnight in the fridge.
• To refresh stale slices, warm in a 300 °F oven for 5 minutes or microwave with a damp paper towel for 10 seconds.
Conclusion
In just seven steps, you’ve crafted a stunning, soft, and fragrant Rosca de Reyes that your family will cherish. From activating yeast to that perfect golden crust, each tip ensures success. Ready to bring tradition—and flavor—to your table? Try this recipe today, then share your results and tag us—we can’t wait to see your festive creation!
FAQs
Q1: Can I use instant yeast instead of active dry?
A1: Yes—reduce to 2¼ teaspoons and mix directly with dry ingredients. Watch rise times; instant yeast can cut proofing by 10–15 minutes.
Q2: What’s the best way to hide the figurine safely?
A2: Wrap the figurine in food-safe parchment or plastic before pressing into the dough; this protects both dough and trinket.
Q3: How can I prevent a soggy bottom?
A3: Bake on a preheated pizza stone or invert an extra-thick baking sheet to distribute heat evenly.
Q4: Is there a dairy-free version?
A4: Substitute butter with coconut oil and milk with unsweetened almond or oat milk; results remain rich and aromatic.
Q5: Can I double the recipe?
A5: Absolutely—use two bowls or bake in two pans; adjust proofing to ensure adequate space for dough expansion.