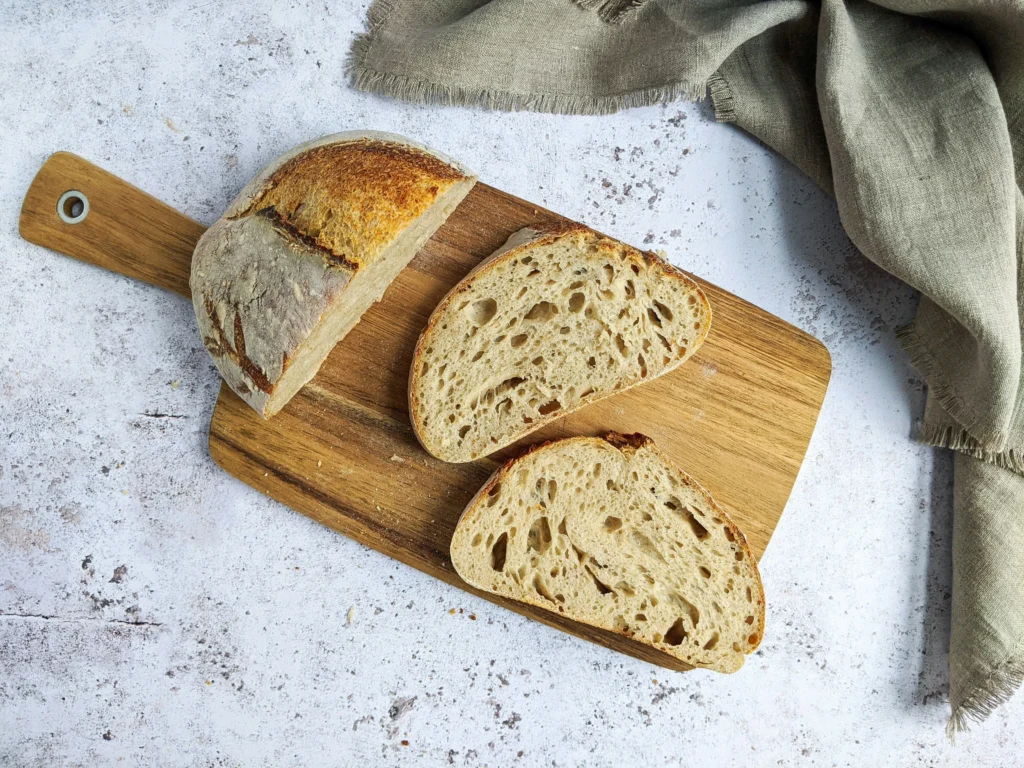
Sourdough Bread Nutrition Facts: 7 Surprising Health Benefits
Sourdough Bread Nutrition Facts: 7 Surprising Health Benefits
Thank you for reading this post, don't forget to subscribe!Introduction:
Curious about sourdough bread nutrition facts? Uncover 7 surprising health benefits and get tips for healthier recipes today. Discover more now! What if your everyday slice of bread could do more than fill you up—what if it could actively support gut health, stabilize blood sugar, and even boost mineral absorption? Recent studies show that naturally fermented grains like sourdough can reduce phytic acid by up to 60%, unlocking nutrients in ways conventional loaves can’t. In this guide, you’ll learn why your recipe matters, how to track every ingredient, and which tweaks bring out the best in flavor and wellness.
Table of Contents
When I first started baking sourdough at home, I didn’t realize how much my body would feel the difference. The more I learned about sourdough bread benefits, the more I noticed small changes in my own wellbeing—better digestion, lighter meals, and no heavy crashes after eating. Unlike regular bread, the long fermentation truly transforms the dough, and you can feel it.
I used to wonder, is sourdough bread healthy, or was it just a trend? But once I understood the real sourdough bread nutrition profile—especially its natural prebiotics and minerals—I became fully convinced. Even the fact that it behaves like a low glycemic bread made a huge impact on my energy levels throughout the day. Now, every time I bake a fresh loaf, I know I’m choosing something delicious that actually supports my health, not just fills me up.
Ingredients List:
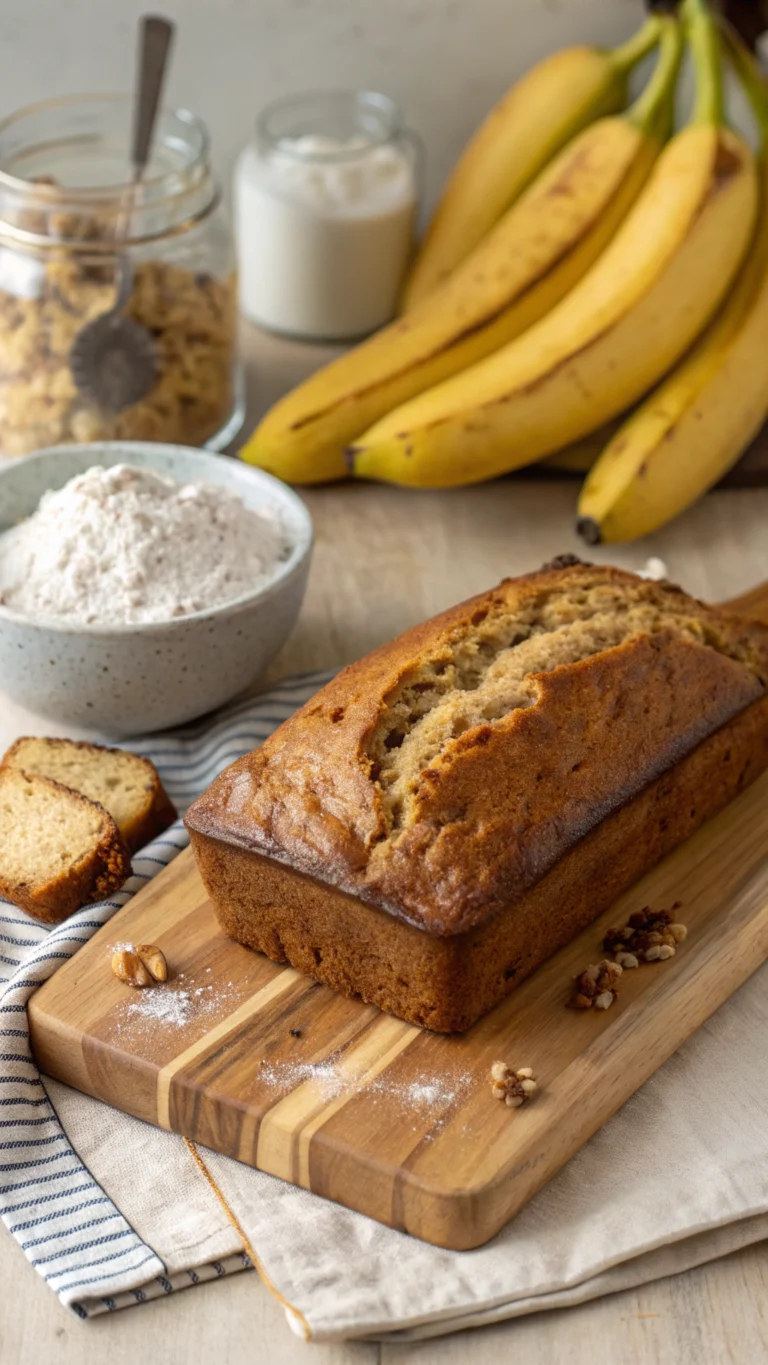
• 500 g bread flour (or 50/50 whole wheat for extra fiber)
• 100 g active sourdough starter (50% hydration)
• 325 ml filtered water (room temperature)
• 10 g fine sea salt
• Optional mix-ins: 30 g flaxseed, 30 g sunflower seeds, or 1 tsp dried herbs
Substitutions & Sensory Notes:
• Whole rye flour (up to 20%) adds earthy aroma and darker crust.
• Sprouted-grain flour boosts enzyme activity and sweetness.
• Warm water (35 °C) yields a slightly sweeter crumb; cooler water slows fermentation for more tang.
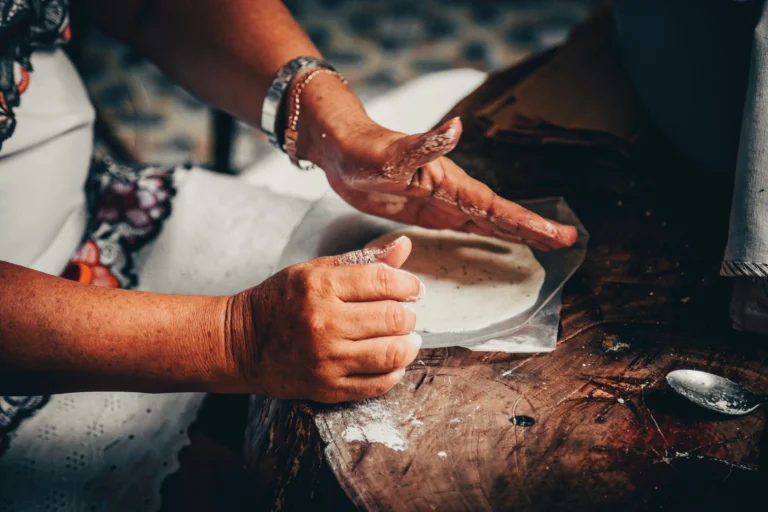
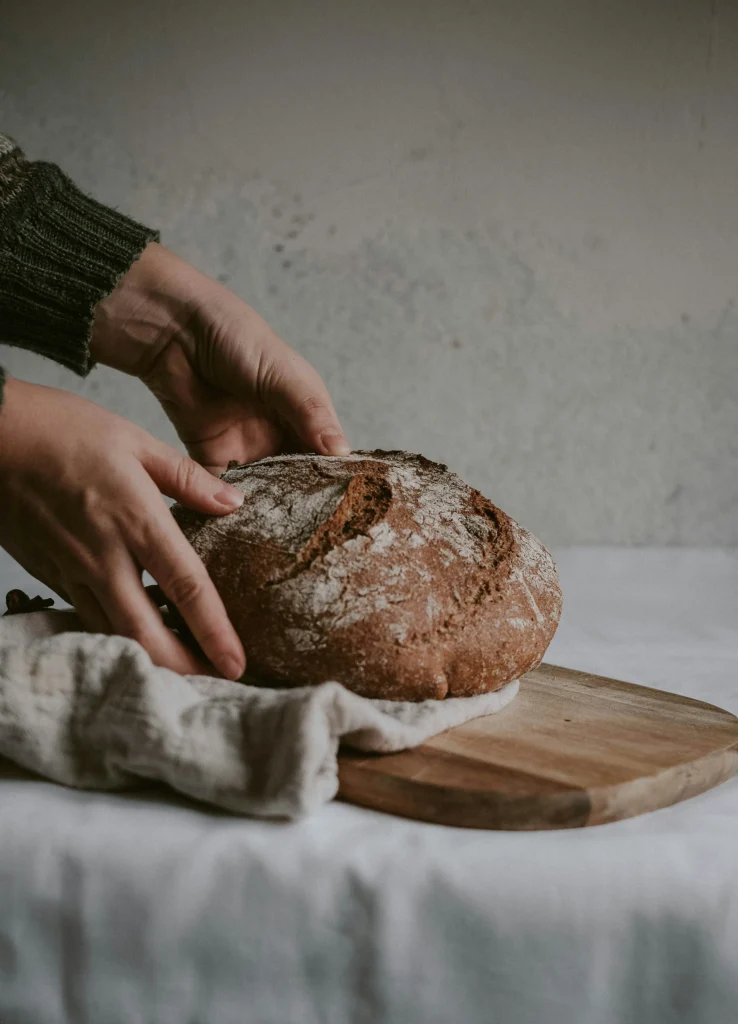
There’s something almost therapeutic about making sourdough—watching the dough rise slowly, feeling its warmth between your hands, and seeing a golden loaf come out of the oven. It reminds me that good things take time, just like healing and balance in our own lives. As I learned more about the real sourdough bread benefits, I started paying attention to how my body reacted, how the bread felt lighter, gentler, and somehow more comforting.
Knowing the true sourdough bread nutrition values made me appreciate each slice even more. I no longer question is sourdough bread healthy—I feel it. The calm energy that comes from eating a natural low glycemic bread fits perfectly into my wellness routine. Every loaf becomes a small moment of self-care, a warm reminder that nurturing ourselves can start with something as simple as bread.
Timing:
• Autolyse (flour + water rest): 30 minutes
• Bulk fermentation (with stretch-and-folds): 4 hours (20% faster if proofed at 28 °C vs. 24 °C)
• Shaping & final proof: 2 hours at room temperature (or overnight in fridge for deeper flavor)
• Bake: 45 minutes
Total time: 7 hours (or 8–12 hours if using extended cold proof)
Step-by-Step Instructions:
Step 1: Activate Your Starter
Feed your starter 8–12 hours before baking. A vigorous, bubbly culture ensures consistent rise and lactic-acid benefits. Tip: Use equal parts flour and water by weight for peak activity.
Step 2: Mix & Autolyse
Combine flour and water in a large bowl until no dry streaks remain. Cover and rest 30 minutes. This hydrates the gluten and jump-starts enzyme activity—resulting in a lighter crumb and enhanced mineral extraction.
Step 3: Add Starter & Salt
Gently fold in the sourdough starter and salt until evenly distributed. For extra nutrition, sprinkle in seeds or grains now. Actionable trick: Use a bench scraper to minimize overworking the dough and maintain gas bubbles.
Step 4: Bulk Fermentation with Stretch-and-Fold
Every 30 minutes for the first 2 hours, perform four stretch-and-folds: lift one side of the dough and fold over. Rotate bowl and repeat. Then let rest undisturbed. This technique builds structure without kneading and preserves beneficial bacteria.
Step 5: Pre-Shape & Bench Rest
Turn dough onto a lightly floured surface, pre-shape into a round, and rest 20 minutes. This rest allows gluten relaxation and easier final shaping.
Step 6: Final Shape & Proof
Tighten your loaf into a boule or batard and place seam-side up in a floured banneton. Proof at room temperature for 2 hours, or refrigerate overnight for a tangier profile and improved digestibility.
Step 7: Score & Bake
Preheat oven to 250 °C with a Dutch oven inside. Carefully transfer dough seam-side down, score with a razor or lame, cover, and bake 20 minutes. Remove lid, reduce to 230 °C, and bake another 25 minutes until crust is deep golden.
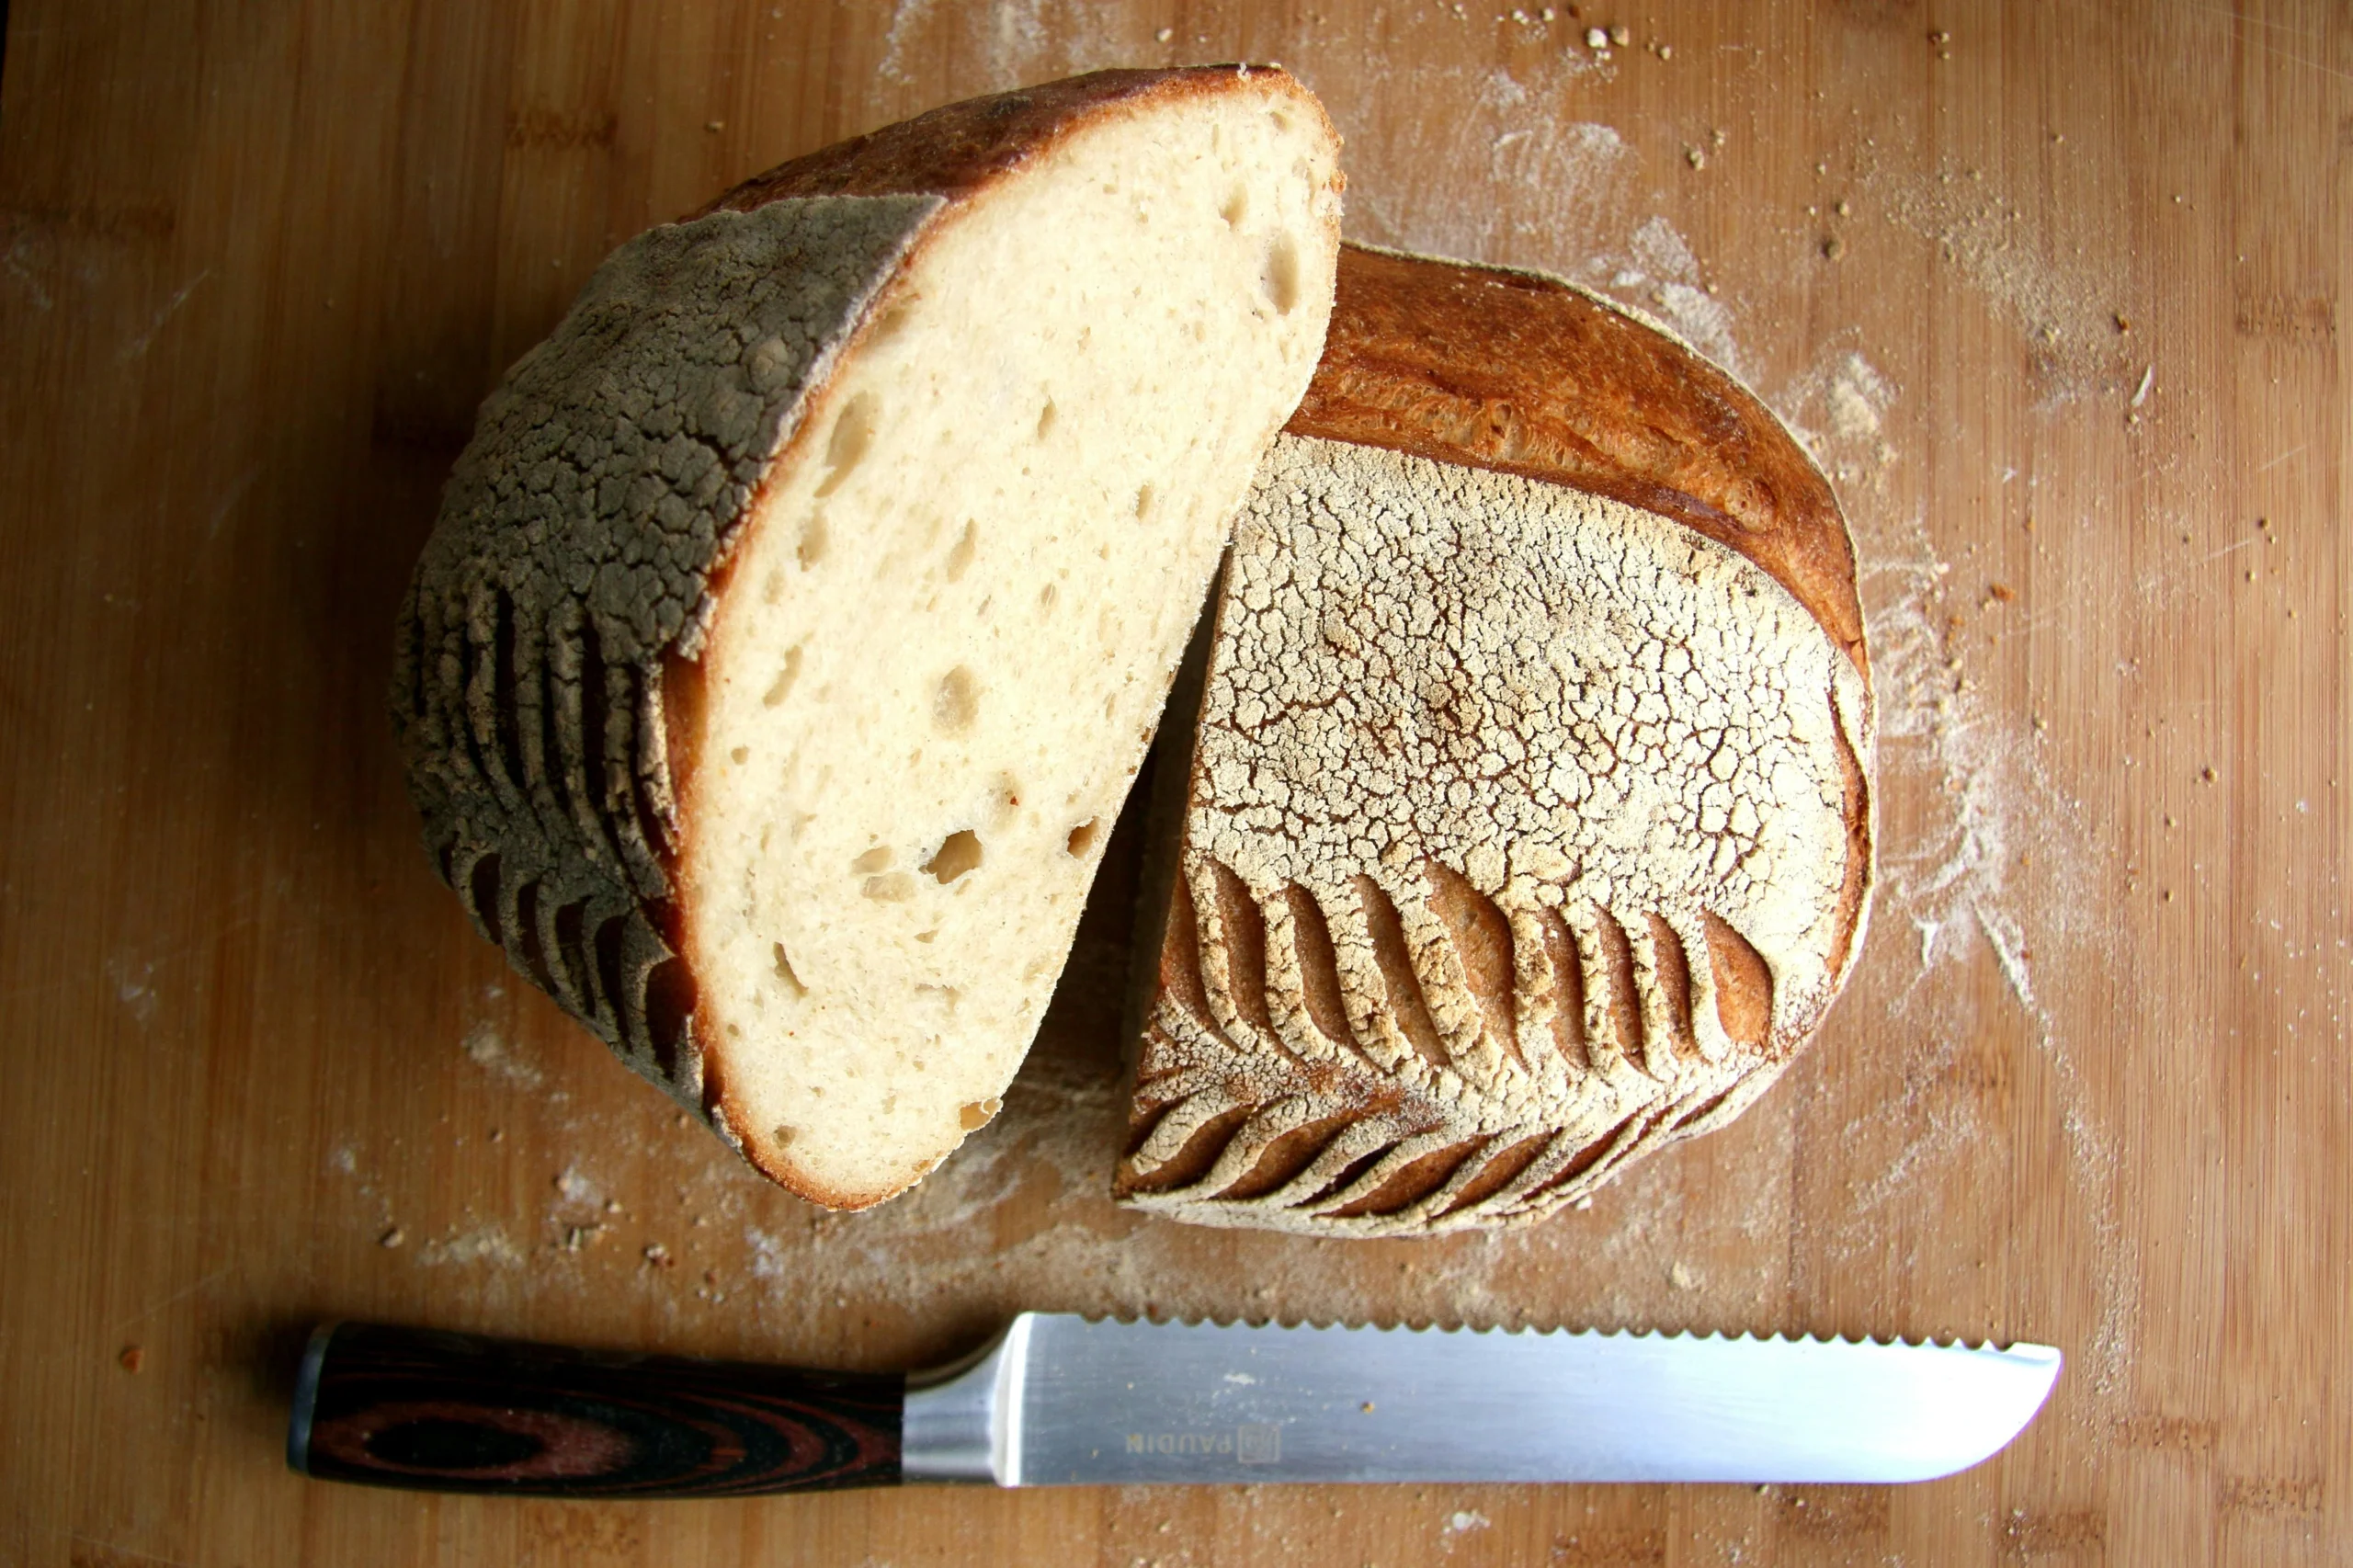
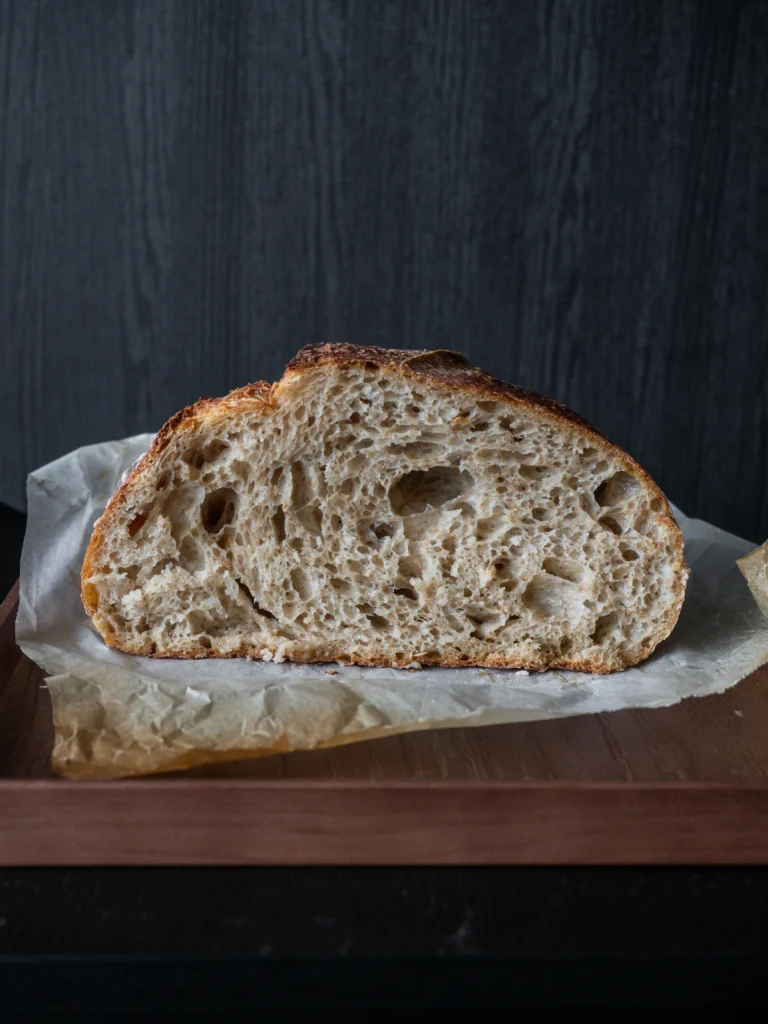
Step 8: Cool & Enjoy
Let rest on a wire rack for at least 1 hour. Cutting too soon can gum up the crumb—patience rewards you with perfect texture!
Nutritional Information:
Per 100 g slice (data averaged from USDA and fermentation studies):
• Calories: 250 kcal
• Carbohydrates: 50 g (of which 2 g sugars, 4 g fiber)
• Protein: 8 g
• Fat: 1.5 g
• Sodium: 450 mg
• Phytic acid reduction: up to 60% (boosts iron, magnesium absorption by 15–20%)
• Prebiotic fibers: 1.5 g (feeds gut-friendly bacteria)
Insight: Compared to standard white bread, sourdough retains 30% more B vitamins and has a glycemic index up to 20% lower, making it a smarter choice for balanced blood sugar.
Healthier Alternatives for the Recipe:
• Gluten-Reduced: Swap 25% of wheat flour with sorghum or millet for lighter gluten load.
• Protein-Boosted: Fold in 50 g whey or pea protein isolate for an extra 7 g protein per loaf.
• Lower Sodium: Reduce salt to 7 g and boost flavor with garlic powder, fresh rosemary, or black pepper.
• Keto-Friendly: Replace 30% of flour with almond flour and add 1 tsp xanthan gum—expect a denser but nutrient-dense loaf.
• Vegan Enrichment: Stir in 2 tbsp ground flaxseed mixed with 6 tbsp water (flax “egg”) for improved moisture and omega-3s.
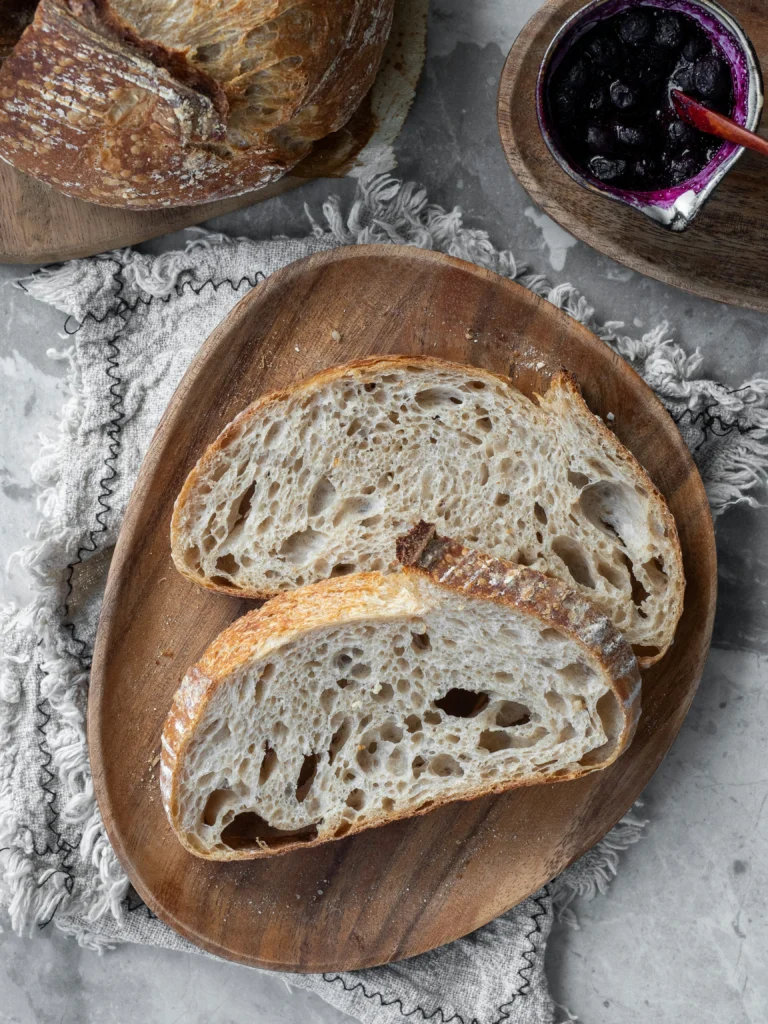
Serving Suggestions:
• Open-Face Avocado Toast: Top thick slices with mashed avocado, lemon zest, chili flakes, and microgreens for a vitamin-rich breakfast.
• Hearty Sandwich Base: Layer turkey, arugula, tomato, and mustard for a satisfying, fiber-packed lunch.
• Soup Companion: Serve alongside roasted butternut squash or tomato basil soup to soak up every drop.
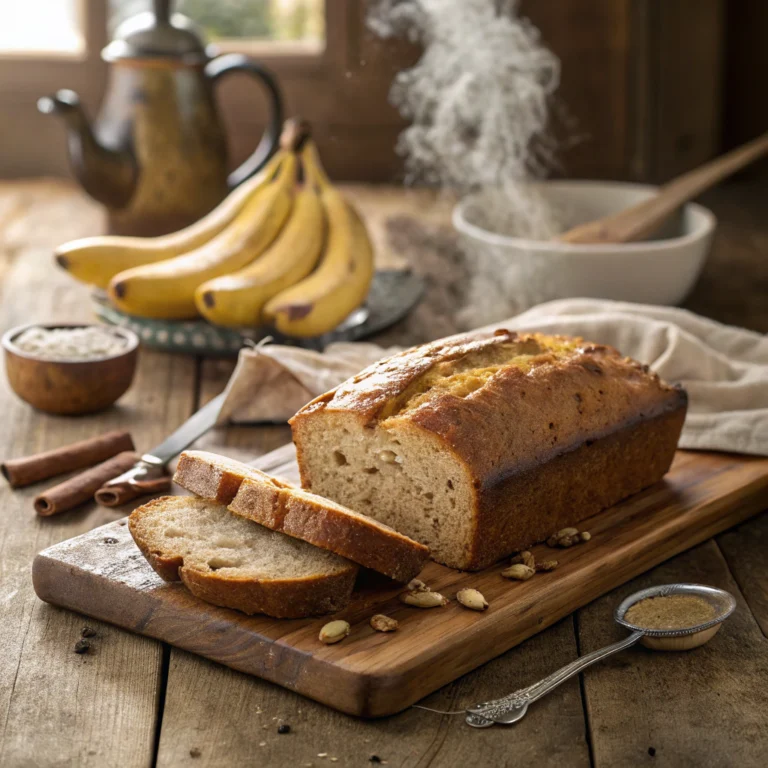
• Sweet Twist: Spread almond butter and sliced banana, then drizzle honey for a nutrient-dense snack.
Personalization Tip: Lightly toast and rub with garlic clove before adding toppings for an aromatic flavor boost.
Common Mistakes to Avoid:
• Underfeeding Starter: Leads to weak rise. Always feed at 1:1:1 ratio (starter:flour:water) at least twice before baking day.
• Skipping Autolyse: Results in tighter crumb and less nutrient release.
• Over-scoring: Too many cuts can deflate the loaf—one or two precise slashes are enough.
• Baking Without Steam: Crust won’t blister and expand. Use a Dutch oven or add a pan of boiling water at bake start.
• Cutting Too Early: Internal temperature needs to hit 95 °C; slicing before hour-long rest yields gummy centers.
Storing Tips for the Recipe:
• Short-Term: Wrap cooled loaf in a linen bread bag or cotton towel at room temperature—avoids moisture build-up and preserves crust crispness for 3–4 days.
• Freeze Slices: Individually wrap and freeze for up to 3 months. Toast straight from freezer for fresh taste.
• Revive Stale Bread: Lightly mist with water and bake at 180 °C for 5–7 minutes to restore crust and chew.
• Prep Ahead: Store shaped loaves in fridge for up to 24 hours, then bake directly—boosts flavor complexity and fits busy schedules.
Conclusion:
By mastering these sourdough bread nutrition facts and 7 surprising health benefits, you transform a simple loaf into a functional food powerhouse. From enhanced mineral absorption and lower glycemic response to gut-friendly prebiotics, your homemade sourdough outperforms store-bought alternatives. Ready to bake your healthiest loaf yet? Try this recipe, share your results, and explore our related posts on artisanal bread techniques!
In the end, sourdough is more than a loaf of bread—it’s a quiet ritual that reconnects us to patience, nature, and ourselves. The more I explore the true sourdough bread benefits and the richness of sourdough bread nutrition, the more I feel a sense of gratitude each time I pull a fresh loaf from the oven. It’s a simple act, but one that nurtures the body and comforts the spirit. I no longer wonder is sourdough bread healthy;
I trust the way it supports my energy, my digestion, and my daily rhythm. Even choosing a natural low glycemic bread feels like a loving decision toward my own well-being. Baking sourdough has become a small refuge in my busy days—a moment where warmth, care, and intention come together in every slice. And maybe that’s the true magic of homemade bread: it nourishes us far beyond the recipe.
FAQs:
Q1: How do I know my starter is active enough?
A: Look for a doubled volume, domed surface, and plenty of bubbles within 4–6 hours of feeding. A float test—dropping a spoonful in water—should see it float.
Q2: Can I use whole-grain flour exclusively?
A: Yes, but expect a denser loaf and higher hydration needs. Increase water by 10–15% and extend bulk fermentation by 1–2 hours.
Q3: Why is my crumb too dense?
A: Possible causes include under-fermentation, insufficient stretch-and-folds, or stale starter. Ensure proper timing, gentle handling, and fresh starter activity.
Q4: Is sourdough suitable for IBS or gluten sensitivity?
A: While sourdough fermentation reduces gluten content by up to 20% and breaks down FODMAPs, individuals with celiac disease should avoid gluten entirely. Those with mild sensitivities may tolerate it better.
Q5: How can I make my crust extra crispy?
A: Bake with steam for the first 20 minutes (use a Dutch oven or add boiling water), then finish uncovered. A higher baking temperature (up to 260 °C) for the initial phase also helps.
Q6: What’s the ideal hydration for a soft crumb?
A: Aim for 65–75% hydration (water weight as a percentage of flour weight). Higher hydration yields an open, airy crumb but requires more skill in handling.
Q7: Can I add sweeteners or fats?
A: Yes—honey, molasses, olive oil, or butter (up to 5% of flour weight) enrich flavor and extend shelf life. Adjust fermentation time slightly to account for added sugars and fats.
For more tips on fermentation, check out our guide to “5 Creative Sourdough Toppings” and dive deeper into artisanal bread baking.