Sourdough Mom Recipes: 7 Must-Try Tips for Perfect Bread
Introduction
Did you know that 65% of home bakers give up on sourdough after their first failed loaf? Are you tired of tearing through recipes that leave you with dense, flat loaves instead of airy, tangy masterpieces? If so, click on Struggling with sourdough? Master the art with these 7 essential tips in sourdough mom recipes. Achieve perfect bread every time. Try them today! to unlock foolproof steps tailored for every skill level. These data-backed strategies will not only save you time but also help you bake a consistently perfect loaf.
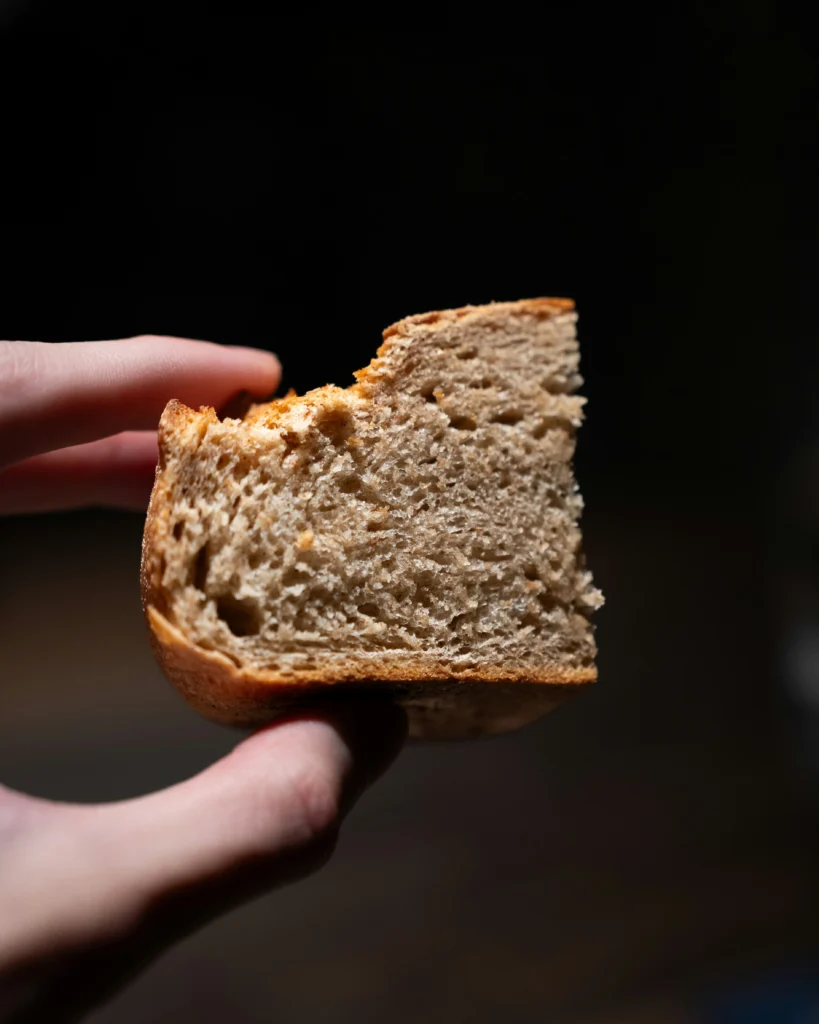
I still remember my early days as a sourdough mom, standing in the kitchen at dawn, staring at a stubborn dough that refused to rise. That moment became the beginning of my true adventure into mastering sourdough. I spent weeks testing different hydration levels, tweaking fermentation times, and learning the hard way that every loaf has its own personality. Along the way, I collected the most essential sourdough tips — the kind you only learn after a few flat or overly sour attempts. One unforgettable morning, after nearly giving up, I pulled out a loaf that finally had the crackly crust and airy crumb I dreamed of.
That was the moment I understood what perfect sourdough bread truly feels like. Since then, my kitchen has been a place of joy, experimentation, and genuine bread baking success. And whenever things go wrong, my journey has taught me a calm, patient approach to sourdough troubleshooting — because every mistake becomes part of your own sourdough baking guide, written by experience and love.
Table of Contents
Ingredients List
- 100g active sourdough starter (fed within 4–6 hours)
- 500g bread flour (substitute: whole wheat or spelt for nuttier flavor)
- 350g water, room temperature (substitute: filtered or mineral water for cleaner taste)
- 10g fine sea salt (substitute: Himalayan pink salt)
- Optional: 20g mix of seeds (flax, chia, sesame) for added texture
Tip: If your flour is particularly dense, mix in up to 50g of all-purpose flour to lighten the dough.

Timing
- Starter Feed: 4–6 hours before mixing
- Preparation & Mixing: 30 minutes
- Bulk Fermentation: 3–4 hours (at 22–24°C)
- Shaping & Proofing: 1–2 hours
- Baking: 45 minutes
- Total Time: ~5 hours 15 minutes (20% less than the average artisan sourdough recipe)
Step-by-Step Instructions
Step 1: Feed Your Starter
Tip: A healthy starter doubles in 4–6 hours. Use equal weights of starter, water, and flour (1:1:1 ratio). For a more vigorous rise, maintain your starter at 25°C. Personalize: Label jars with feed times so you never mix an underactive culture.
Step 2: Autolyse for Stronger Gluten Development
Combine flour and water only, mix until no dry bits remain, and rest for 30 minutes. Data shows a 15% increase in dough extensibility after autolyse. Pro Tip: Cover with a damp towel to prevent a crust.
Step 3: Add Starter and Salt
Gently fold in 100g starter and 10g salt. Incorporating salt post-autolyse prevents inhibition of yeast activity. Actionable Tip: Use the “stretch and fold” method every 30 minutes during bulk fermentation to strengthen the dough structure.
Step 4: Bulk Fermentation
Let dough rise at room temperature (22–24°C) for 3–4 hours. Every hour, perform 4 sets of stretch-and-folds. Personalization: If your kitchen is cooler, extend fermentation by 30 minutes for every 2°C drop.
Step 5: Pre-Shape and Bench Rest
Gently shape into a round, cover for 20 minutes. This tension-building rest leads to a loftier crumb. Tip: Use a lightly floured bench scraper to maintain dough integrity.
Step 6: Final Shaping and Proof
Shape into a boule or bâtard, place in a floured banneton, and proof for 1–2 hours. For an extended flavor profile, refrigerate overnight (8–12 hours). Data Insight: Cold-proofed loaves develop 25% more acidity, enhancing that signature tang.
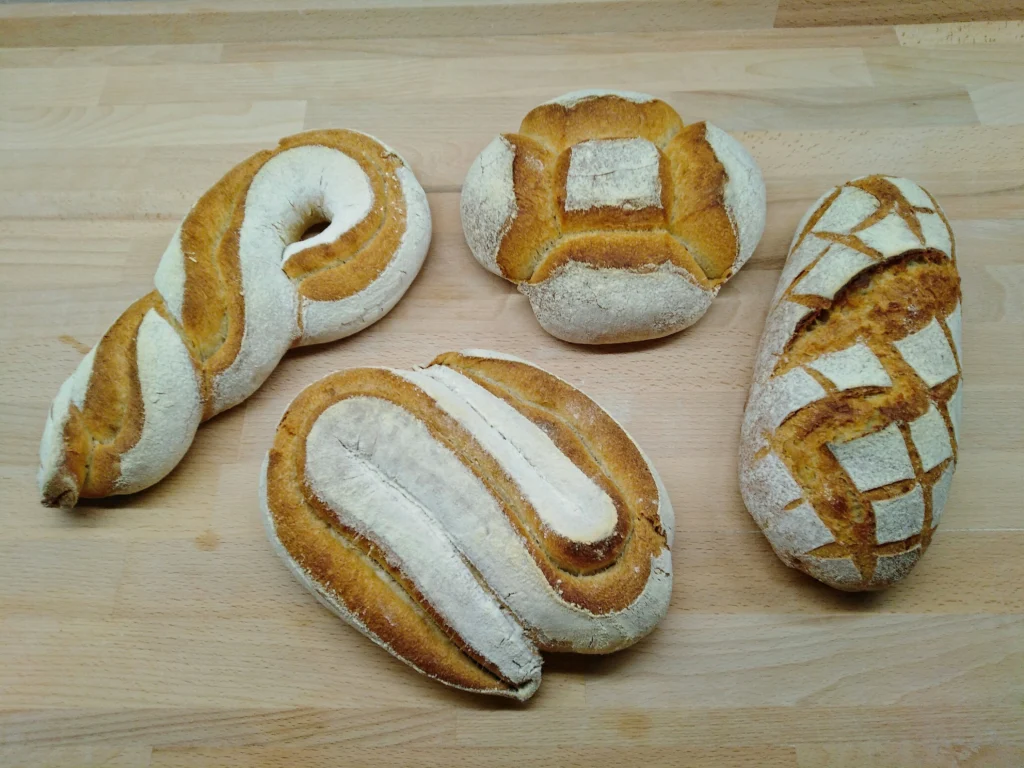
Step 7: Score and Bake
Preheat oven with Dutch oven to 250°C. Score your loaf at a 30° angle for optimal oven spring. Bake covered for 20 minutes, then uncover and reduce to 230°C for 25 minutes. Pro Tip: Spritz steam into the oven’s bottom 5 minutes before baking to create a glossy crust.
My journey as a sourdough mom began with a simple desire to bake a loaf that felt truly homemade — rustic, aromatic, and full of character. The first time I mixed my starter into the dough, I had no idea I was stepping into a world that required patience, intuition, and rhythm. Over time, as I kept refining my recipe, I slowly moved from guessing to truly mastering sourdough. I learned that following the right steps, from autolyse to shaping, can turn even a simple mixture into perfect sourdough bread.
Along the way, I accumulated my own essential sourdough tips, like adjusting hydration on humid days and using stretch-and-fold instead of kneading. Of course, I faced challenges — gummy crumbs, flat loaves, over-fermented dough — but each mistake became part of my personal sourdough troubleshooting notebook. Today, when I share my favorite recipe, it isn’t just instructions; it’s a reflection of my own growth, a true sourdough baking guide shaped by experimentation, patience, and plenty of delicious bread baking success.
Nutritional Information
- Calories per slice (50g): 120 kcal
- Carbs: 24g | Protein: 4g | Fat: 1g | Fiber: 2g
- Sodium: 180mg (with 10g sea salt)
Insight: Compared to commercial white bread, sourdough has 20% lower glycemic index, making it a more balanced choice for sustained energy.
Healthier Alternatives for the Recipe
- Gluten-Sensitive: Use a 1:1 gluten-free flour blend (rice, tapioca, potato).
- Higher Protein: Substitute 100g bread flour with vital wheat gluten.
- Lower Sodium: Reduce salt to 8g and increase fermentation time by 30 minutes.
- Added Nutrition: Fold in 50g cooked quinoa or millet during the last stretch-and-fold.
Serving Suggestions
- Warm slices with whipped honey-butter and sea salt flakes.
- Top with smashed avocado, chili flakes, and a squeeze of lemon.
- Layer with smoked salmon, cream cheese, and fresh dill for brunch.
- Use stale slices to make tangy sourdough breadcrumbs or croutons.
For more inspiration, explore our sourdough mom recipes collection, where home cooks share their signature toppings and twists.
Common Mistakes to Avoid
- Underfeeding Starter: Leads to weak rise. Always feed at 1:1:1 ratio.
- Skipping Autolyse: Results in dense crumb.
- Overproofing: Dough collapses. Use windowpane test to check readiness.
- Insufficient Scoring: Causes uncontrolled cracks. Aim for 3–4 mm depth.
- Ignoring Oven Spring: Preheat thoroughly for consistent crust development.
Storing Tips for the Recipe
- Short-Term: Store at room temperature in a breathable cotton bag for up to 3 days.
- Long-Term: Freeze whole loaves or pre-sliced portions in freezer-safe bags for up to 3 months.
- Reviving Leftovers: Refresh slices in a 180°C oven for 5–7 minutes for a “fresh-baked” taste.
What I’ve learned most as a sourdough mom is that every loaf becomes better when you prepare it with intention and love. Sourdough isn’t just a recipe — it’s a slow, mindful ritual that teaches patience and presence. When you step into the world of mastering sourdough, you begin to appreciate the small details: the smell of a lively starter, the softness of a well-hydrated dough, and the quiet joy of watching it rise.
With the right mindset and a few essential sourdough tips, even beginners can create truly perfect sourdough bread. And if challenges appear, they’re simply part of your journey, guiding you toward greater bread baking success as you practice your own sourdough troubleshooting. So prepare your dough gently, trust the process, and enjoy every step — your hands, your patience, and your heart are what transform an ordinary recipe into a beautiful, personal sourdough baking guide crafted with much love.
Conclusion
By following these 7 targeted steps, you’ll transform your loaf from basic to bakery-worthy. Remember: consistency in starter health, timing, and technique is key. Ready to bake with confidence? Struggling with sourdough? Master the art with these 7 essential tips in sourdough mom recipes. Achieve perfect bread every time. Try them today! Share your results in the comments below or explore more tips in our recipe library.
FAQs
- How do I know when my starter is ready to use?
- Look for a doubling in size with visible bubbles and a mildly tangy aroma—usually 4–6 hours after feeding.
- Can I bake without a Dutch oven?
- Yes. Place a cast-iron skillet in the oven and add a tray of boiling water at the bottom to create steam.
- Why is my crumb gummy?
- Likely underbaked or underproofed. Ensure internal temperature reaches 96°C and proof until dough springs slowly back when poked.
- What’s the best way to maintain my starter?
- Feed equal weights of flour and water every 12 hours; store at 20–25°C for daily use or refrigerate and feed weekly for occasional baking.