Simple Gluten Free Sourdough Bread Recipe for Perfect Results
Do you ever feel like the joy of baking is out of reach? I remember staring at my oven, convinced that creating homemade bread without traditional wheat was an impossible dream. I felt frustrated by dense loaves and complicated steps that never seemed to work.
Thank you for reading this post, don't forget to subscribe!Think again! You truly can master this craft in your own kitchen. My goal is to turn your kitchen into a bakery where you feel confident and inspired every single day.
This guide is more than just a gluten free sourdough bread recipe; it is a complete beginner’s manual. I have designed this resource to be your go-to companion for achieving consistent, delicious results that will impress your family and friends.
Table of Contents
The Science and Art of Gluten Free Sourdough Baking
Baking gluten-free sourdough bread is not just about following a recipe; it’s about grasping the science and art behind natural yeast fermentation. As I delve into the world of gluten-free sourdough, it becomes clear that understanding the intricacies of this process is key to achieving perfect results.
Understanding Natural Yeast Fermentation
Natural yeast fermentation is the backbone of sourdough baking. It’s a process where wild yeast and bacteria work together to break down the sugars in the dough, producing lactic acid and creating the characteristic tang of sourdough.
This process is not only crucial for the flavor but also for the texture and structure of the bread. A healthy sourdough starter is essential, as it is the natural yeast bread’s leavening agent.
Why Gluten Free Flour Behaves Differently
Gluten-free flours behave differently from their gluten-containing counterparts because they lack the structural network provided by gluten.
This absence means that gluten-free dough tends to be more delicate and prone to crumbling. Understanding these differences is vital for adjusting recipes and techniques to achieve the desired outcome.
For instance, using the right blend of gluten-free flours and incorporating ingredients like psyllium husk can significantly improve the texture and structure of the bread.

By grasping these fundamental concepts, bakers can better navigate the challenges of gluten-free sourdough baking and produce bread that is not only delicious but also has a satisfying texture.
Essential Tools and Ingredients for Success
The journey to perfecting gluten-free sourdough bread begins with understanding the essentials. To create a delicious and authentic gluten-free sourdough, one must carefully select the right ingredients and tools.
Selecting the Right Gluten Free Flour Blends
The choice of flour is critical in gluten-free baking. I’ve found that using a blend of flours yields the best results. Brown Rice Flour is a staple in my baking; it’s my original starter flour and works wonderfully for bread making. Another key player is Sorghum Flour, which I consider my MVP due to the excellent texture it creates in the bread.
When selecting a gluten-free flour blend, consider the following factors:
- The type of grain used (e.g., rice, sorghum, millet)
- The protein content of the flour
- The starch content and how it affects the bread’s texture
As Stanley Ginsberg, a renowned bread expert, once said, “The art of bread making is not just about following a recipe; it’s about understanding the ingredients and their interactions.”
“The quality of your bread is directly related to the quality of your flour.”
| Flour Type | Characteristics | Usage |
|---|---|---|
| Brown Rice Flour | High in fiber, nutty flavor | Ideal for starter and bread making |
| Sorghum Flour | Mild flavor, good texture | Excellent for creating a tender crumb |
Must-Have Kitchen Equipment for Sourdough
Having the right equipment is just as important as having the right ingredients. For gluten-free sourdough baking, you’ll need a few essential tools.
A digital scale is crucial for measuring ingredients accurately. A mixing bowl that can handle sticky dough is also necessary. Additionally, a dutch oven is ideal for baking, as it provides the steamy environment that sourdough bread needs to develop its characteristic crust.

Investing in these tools will significantly improve your gluten-free sourdough baking experience and the quality of your bread.
Cultivating Your Own Gluten Free Sourdough Starter
The journey to making exceptional gluten-free sourdough bread begins with cultivating a healthy starter. This process, while straightforward, requires attention to detail and a bit of patience.
Choosing Your Base Flour for the Starter
Choosing the right base flour for your starter is crucial. I feed my starter with brown rice flour, but you can also use sorghum, millet, or most other whole grain flours. The key is to select a flour that provides the necessary nutrients for the natural yeast and bacteria to thrive.
When selecting a flour, consider its protein content and how it might affect the starter’s activity. Some flours may promote a more vigorous starter, while others might result in a more sluggish one.
Maintaining a Consistent Feeding Schedule
Maintaining a consistent feeding schedule is vital for the health and vitality of your starter. Regular feeding ensures that the microorganisms in your starter remain active and robust, which is essential for leavening your bread.
A consistent schedule helps in creating a predictable environment for your starter to flourish. This involves discarding a portion of your starter and replenishing it with fresh flour and water at regular intervals.
Signs Your Starter Is Ready for Baking
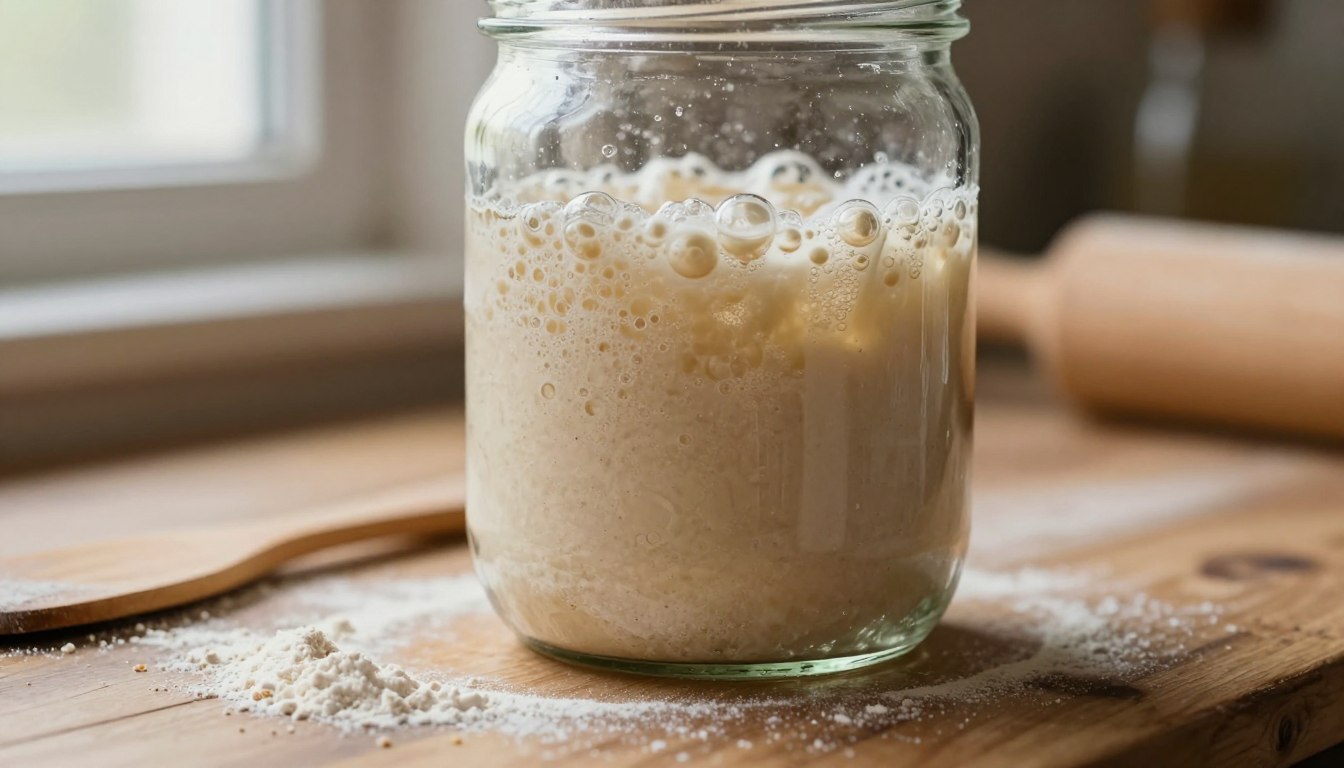
Recognizing when your starter is ready to use in baking is crucial. A healthy, active starter will be bubbly, have a tangy aroma, and double in size after feeding. These signs indicate that your starter is ready to leaven your gluten-free sourdough bread effectively.
Before using your starter in bread making, ensure it passes the float test: a small amount of the starter should float when dropped into a cup of water. This simple test confirms that your starter is active and ready for baking.
My Proven Gluten Free Sourdough Bread Recipe
After months of experimentation, I’m excited to share my proven gluten-free sourdough bread recipe that yields perfect results every time. This recipe is the culmination of trial and error, focusing on the critical elements that make gluten-free sourdough bread successful.
The key to a great gluten-free sourdough bread lies in understanding the intricacies of its components and how they interact. Measuring ingredients accurately is paramount because the balance between different flours, water, and other ingredients directly affects the final product.
Measuring Ingredients for Precision
To achieve consistency in your gluten-free sourdough, it’s crucial to measure your ingredients with precision. Using a digital scale is indispensable for this task. The ratio of flours, water, salt, and psyllium husk (which acts as a binder) must be exact to ensure the dough develops correctly.
A common issue with gluten-free baking is the lack of structure, which is typically provided by gluten. Psyllium husk helps to fill this gap by providing the necessary binding properties and elasticity, making the dough more workable.
The Role of Binders Like Psyllium Husk
Psyllium husk is often referred to as the “gluten” of gluten-free bread because it provides the binding properties and elasticity that are typically missing. It helps to create a dough that is not only workable but also holds its shape during proofing and baking.
The hydration level of the dough is another critical factor. When bakers refer to “100% hydration” or “85% hydration,” they’re talking about the ratio of water to flour. This ratio significantly impacts the crumb structure of the bread.
Hydration Levels and Their Impact on Crumb
The hydration level affects the crumb’s texture and openness. A higher hydration level can lead to a more open crumb, but it also makes the dough more challenging to handle. Finding the right balance is key to achieving the desired texture.
| Hydration Level | Crumb Texture | Dough Handling |
|---|---|---|
| Low (60%) | Dense | Easier |
| Medium (80%) | Moderate | Moderate |
| High (100%) | Open, airy | Challenging |
By understanding and controlling these elements, you can produce a gluten-free sourdough bread that rivals its gluten-containing counterparts. My recipe incorporates these principles to guide you toward baking success.
Step-by-Step Mixing and Fermentation Process
Now that your preferment is ready, let’s move on to the step-by-step guide on mixing and fermenting the dough for our gluten-free sourdough bread. This stage is crucial as it lays the foundation for the bread’s texture and flavor.
Combining Ingredients for a Smooth Dough
To begin, combine your gluten-free flours, water, salt, and active sourdough starter in a mixing bowl. It’s essential to mix the ingredients until they form a cohesive dough. Using a stand mixer with a dough hook attachment can simplify this process, but mixing by hand is also effective. Ensure that all ingredients are well incorporated to avoid any unevenness in the dough.
Tip: The order of adding ingredients can affect the final dough. Typically, starting with the liquid ingredients (water and sourdough starter) and then gradually adding the dry ingredients (flour and salt) helps in achieving a uniform mix.
Managing Bulk Fermentation Temperatures
After mixing, the dough undergoes bulk fermentation, a critical phase where the dough starts to rise due to the fermentation process. Maintaining an optimal temperature is vital for this stage. Ideally, the temperature should be between 75°F to 78°F (24°C to 25°C). You can achieve this by placing the dough in a warm, draft-free area of your kitchen or using a proofing box if available.
Recognizing When the Dough Has Doubled
During bulk fermentation, it’s crucial to monitor the dough’s progress. A key indicator that the fermentation is proceeding correctly is when the dough has doubled in size. This usually takes several hours, depending on factors like the strength of your sourdough starter, the ambient temperature, and the specific ingredients used. Gently poking the dough can also help assess its readiness; if it springs back slowly, it’s ready for the next step.
By carefully managing the mixing and fermentation process, you’ll be well on your way to creating a delicious gluten-free sourdough bread with a satisfying crumb and crust.
Shaping and Proofing Techniques for Better Structure
Mastering the art of shaping and proofing is crucial for achieving a well-structured gluten-free sourdough bread. These steps are critical in developing the dough’s final texture and appearance.
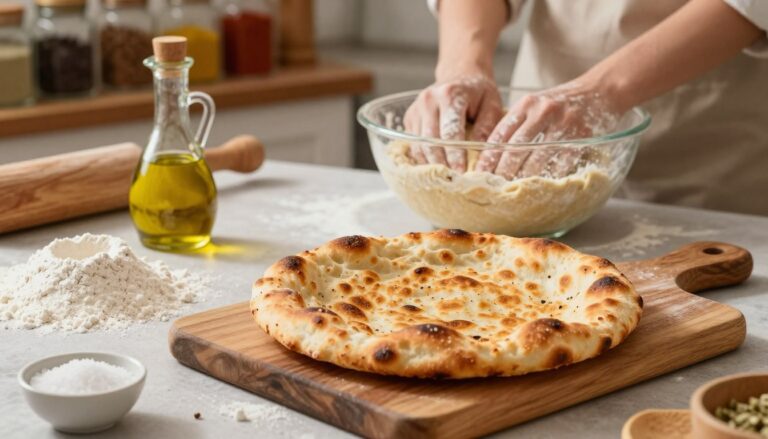
Handling Sticky Gluten Free Dough
One of the challenges of working with gluten-free dough is its tendency to be sticky. To handle this, I recommend using a generous amount of flour when shaping the dough. To shape into an oval, I flatten the dough into a rough square and roll it up tightly, much like rolling a jelly roll. Pinching the seam to seal and placing it in a well-floured banneton basket, seam side up, helps maintain the dough’s structure.
Using Proofing Baskets for Support
Proofing baskets, or bannetons, provide essential support to the dough during the proofing stage. They help maintain the shape of the loaf and add a decorative touch to the crust. When using a proofing basket, make sure to flour it generously to prevent the dough from sticking.
The Importance of Cold Retardation
Cold retardation, or slowing down the fermentation process by refrigerating the dough, is a technique that can significantly improve the structure and flavor of gluten-free sourdough bread. It allows for a more complex flavor development and helps in achieving a better texture.
The benefits of cold retardation can be seen in the improved texture and crust formation of the bread. Here’s a comparison of the effects of cold retardation on gluten-free sourdough bread:
| Characteristics | Without Cold Retardation | With Cold Retardation |
|---|---|---|
| Crust Texture | Thinner, more prone to cracking | Thicker, more evenly textured |
| Crumb Texture | Denser, less airy | Airier, more open structure |
| Flavor Development | Less complex, more yeasty | More complex, sour flavor |
Baking Your Loaf to Perfection
With your gluten-free sourdough bread shaped and proofed, it’s time to bake it to perfection. This final step is crucial as it transforms your carefully prepared dough into a beautifully baked loaf.
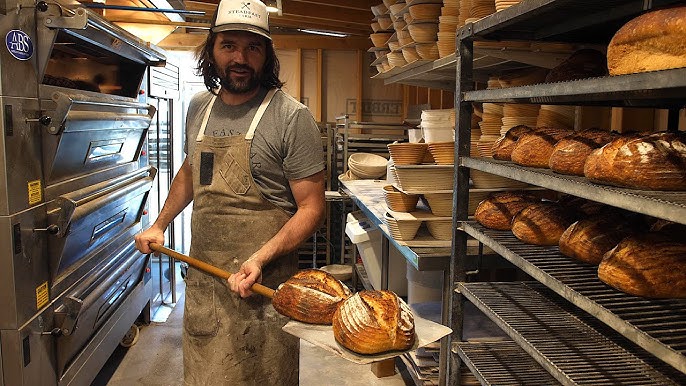
Preheating Your Dutch Oven
An hour before your gluten-free sourdough bread is ready to go into the oven, preheat your oven to 425°F/218°C. If you’ll be baking in a Dutch Oven, allow it to heat inside the oven. Preheating your Dutch Oven is essential for achieving a crispy crust. As Jeffrey Hamelman, a renowned baker, notes, “Preheating the oven, and especially a Dutch Oven, is crucial for the initial burst of steam and heat that contributes to the bread’s rise and crust formation.”
Preheating ensures that your bread starts baking in a hot environment, which is vital for the initial rise and crust development. Make sure to handle the preheated Dutch Oven with care, using oven mitts to protect your hands from burns.
Scoring the Dough for Controlled Expansion
Before baking, scoring the dough is a step that should not be skipped. Scoring controls the way your bread expands during baking, allowing it to develop its characteristic cracked appearance and preventing it from bursting open randomly. Use a sharp blade or razor to make clean cuts on the surface of your loaf.
The technique and depth of scoring can vary depending on the type of bread you’re making and your personal preference. For gluten-free sourdough, a few decisive cuts are usually sufficient to allow for expansion while maintaining the loaf’s integrity.
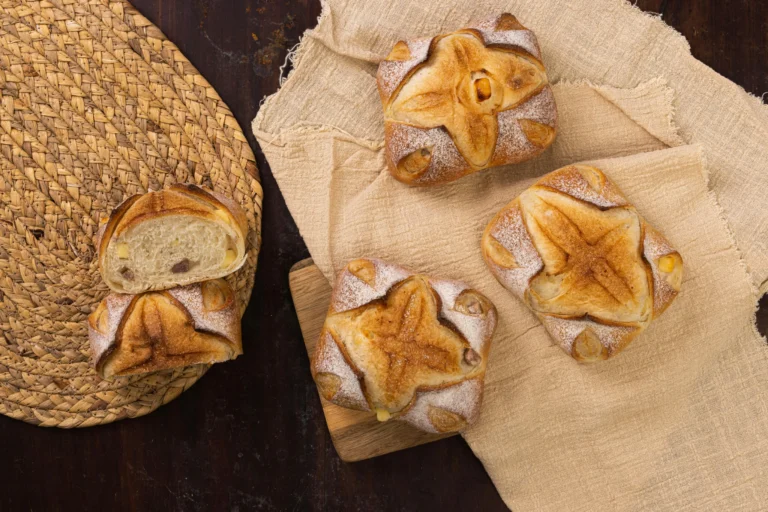
Achieving the Ideal Crust and Interior Texture
Achieving the perfect crust and interior texture is the ultimate goal when baking gluten-free sourdough bread. The crust should be crispy and caramelized, while the interior should be soft and airy. To achieve this, maintaining the right temperature and steam during baking is crucial.
Baking in a preheated Dutch Oven helps to create a steamy environment that promotes a well-cooked crust. The initial high heat helps to burst the dough, creating a beautiful rise, while the subsequent baking at the right temperature ensures the interior is cooked through without burning the crust.
As a baker once said, “The art of bread baking is not just about following a recipe; it’s about understanding the process and making adjustments as needed to achieve perfection.”
Troubleshooting Common Gluten Free Sourdough Bread Issues
If your first gluten-free sourdough loaf didn’t turn out as expected, you’re not alone; let’s troubleshoot together. Making gluten-free sourdough bread can be a bit challenging, but understanding the common issues can help you achieve better results.
Fixing Dense or Gummy Loaves
A dense or gummy loaf can be disappointing, but there are several factors to check. First, ensure your starter is fully active and healthy. An underactive starter can lead to poor rise and dense bread. Additionally, check your baking time and temperature; sometimes, a gummy center can result from underbaking.
To fix a dense loaf, try adjusting your starter’s feeding schedule to ensure it’s robust and active. For a gummy center, try extending the baking time or increasing the oven temperature slightly.
Adjusting for Humidity and Altitude
Environmental factors like humidity and altitude can significantly impact your bread. High humidity can make your dough too sticky, while low humidity can cause it to dry out. Similarly, high altitude can affect yeast activity and dough rise.
To adjust for humidity, you might need to tweak your flour blend or adjust the hydration levels in your recipe. For altitude, consider reducing yeast activity or adjusting proofing times.
Reviving a Sluggish Starter
A sluggish starter can be a significant setback, but it’s often easy to revive. First, check the temperature of your environment; starters prefer a warm, draft-free space. If your starter is too cold, try moving it to a warmer location.
Next, adjust the feeding schedule. Sometimes, a starter just needs more frequent feeding to become active again. Use a consistent and high-quality flour for feeding to help revive your starter.
| Issue | Cause | Solution |
|---|---|---|
| Dense Loaf | Underactive starter, insufficient proofing | Adjust starter feeding schedule, ensure proper proofing time |
| Gummy Center | Underbaking | Extend baking time, check internal temperature |
| Sluggish Starter | Incorrect temperature, inadequate feeding | Adjust environment temperature, increase feeding frequency |
Conclusion
Making gluten free sourdough bread can seem daunting at first, but with a clear understanding of the process, it becomes an achievable and rewarding task. By following a simple gluten free sourdough bread recipe and understanding the science behind it, you can create delicious loaves with incredible flavor and texture.
The key to success lies in cultivating a healthy gluten free sourdough starter, using the right ingredients, and being patient with the fermentation process. With an easy gluten free sourdough bread recipe, you can enjoy freshly baked bread that’s free from gluten and full of character.
By applying the techniques and tips outlined in this article, you’ll be well on your way to baking beautiful and delicious gluten free sourdough bread. So, get started with your gluten free sourdough bread recipe today and experience the joy of homemade bread without the gluten.