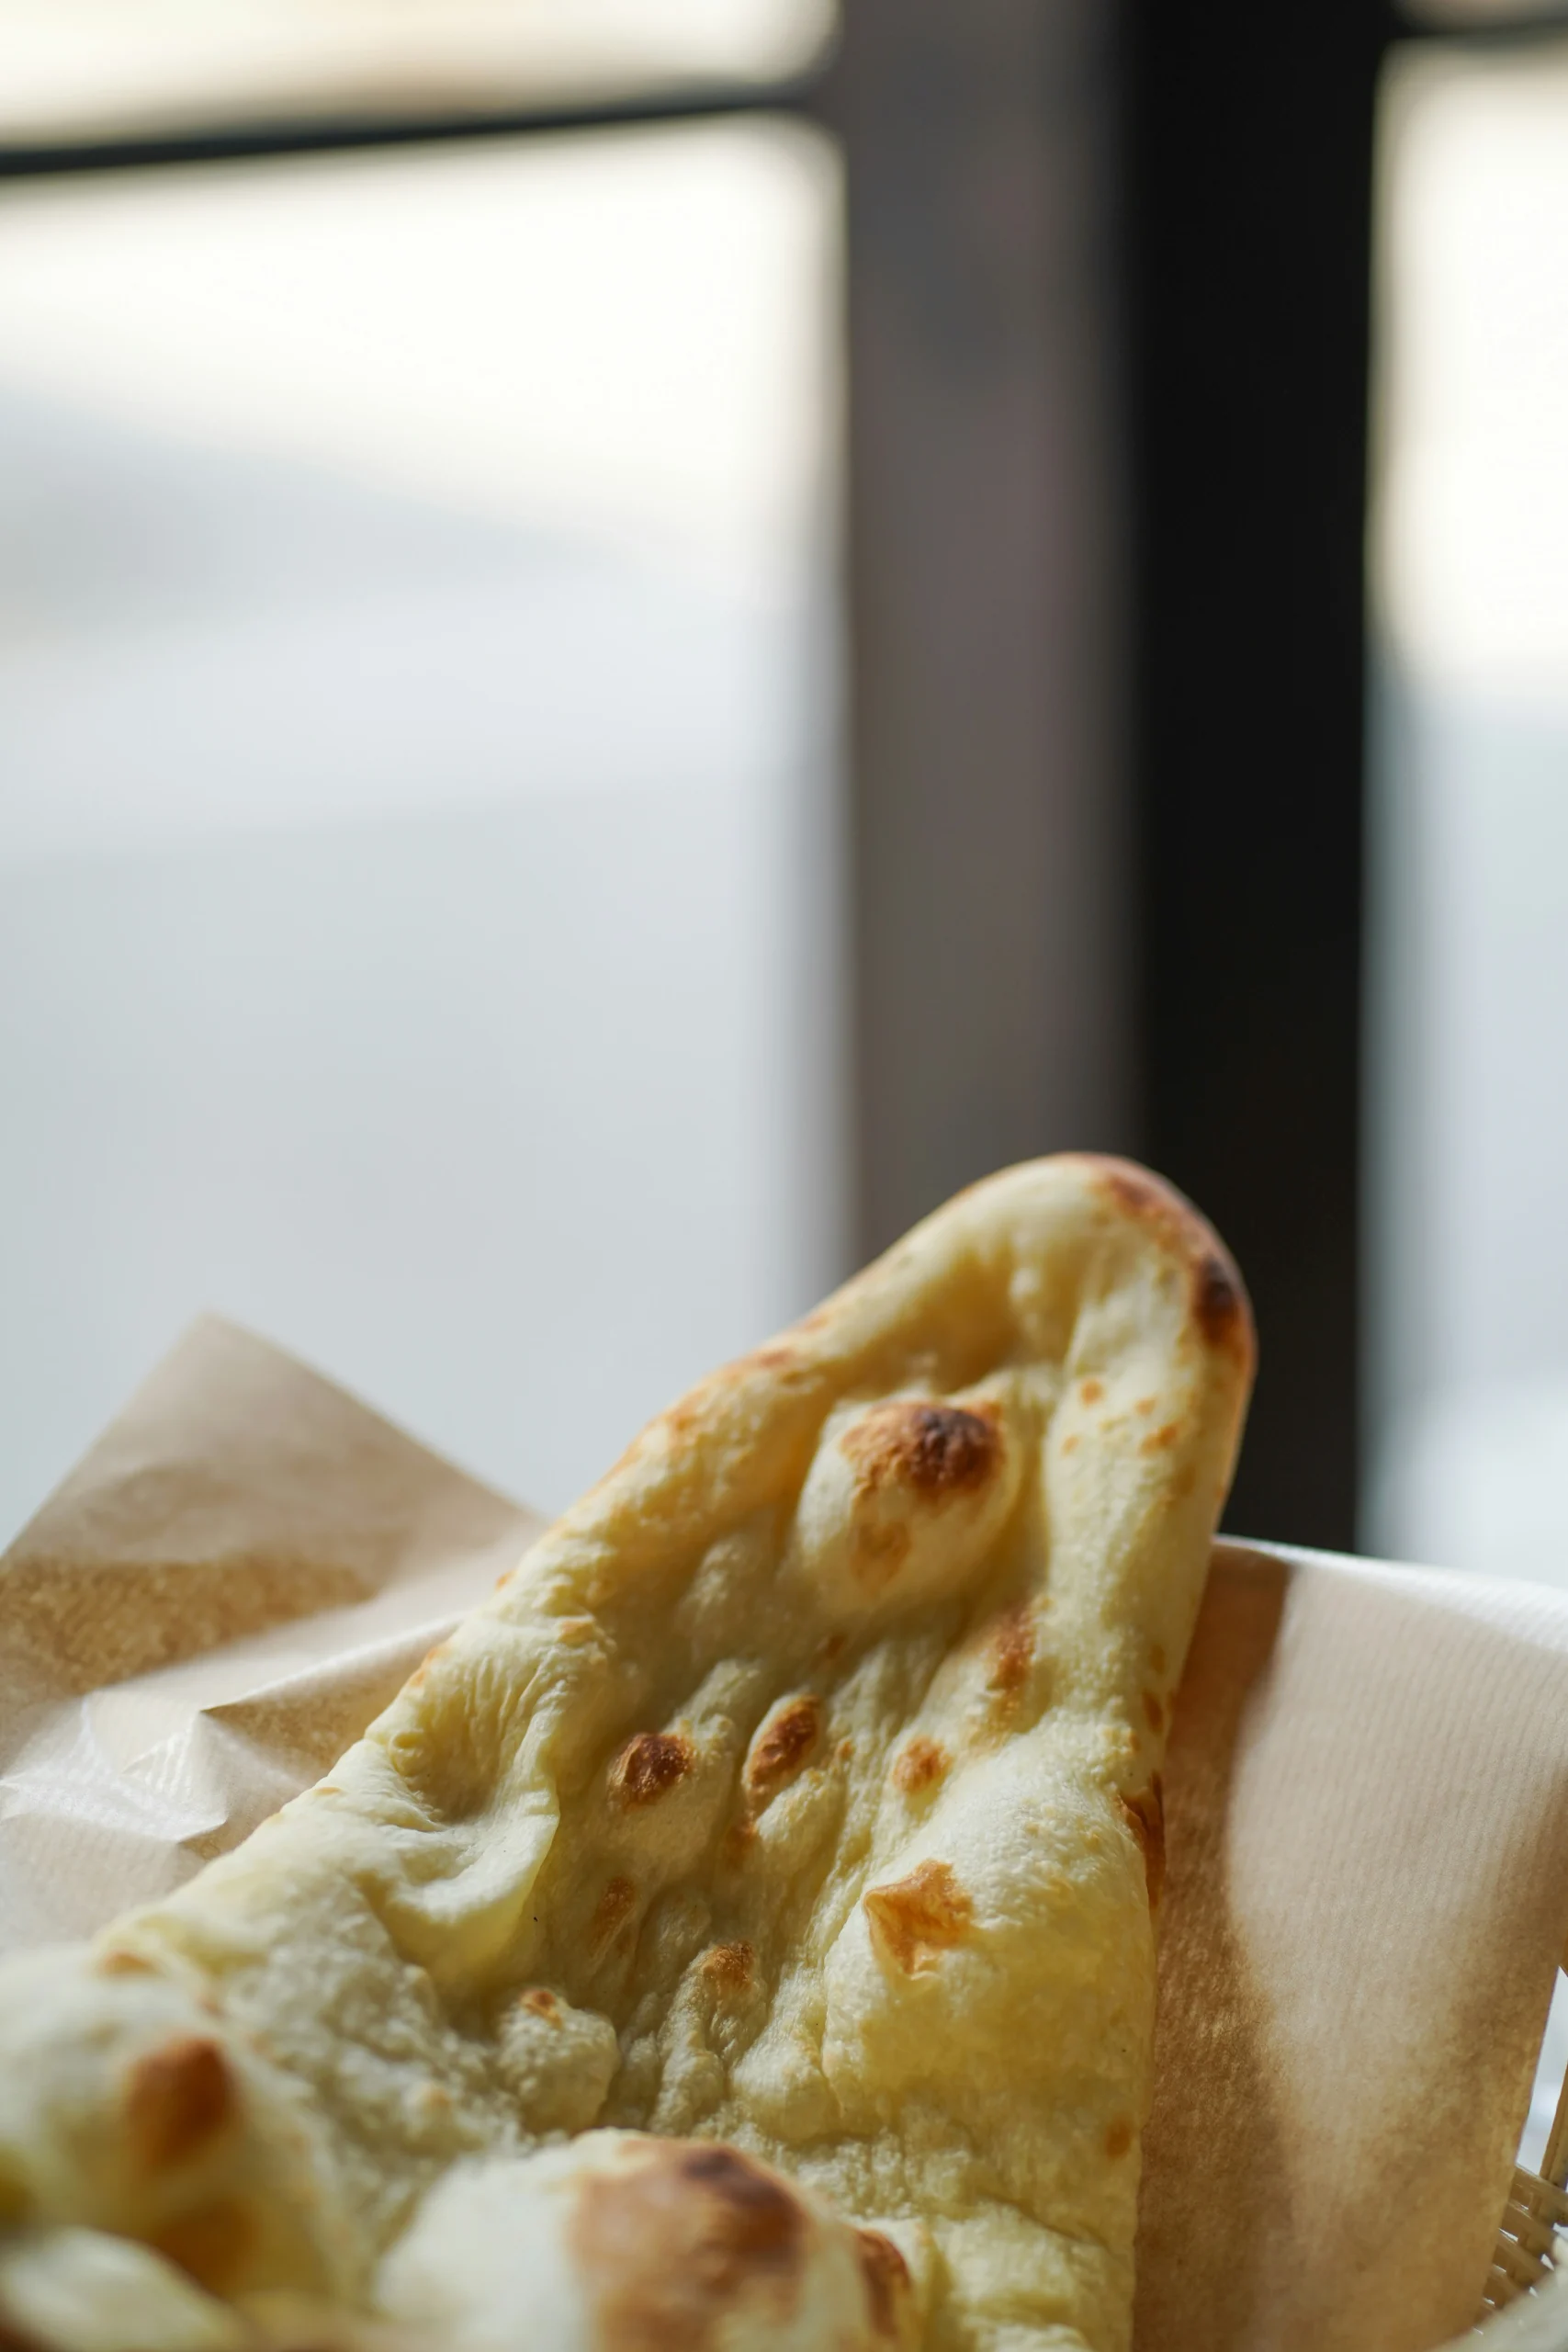
Traditional Naan Bread Recipe: Soft and Authentic Homemade Flatbread
There is something truly magical about the smell of warm dough rising in your own kitchen. I remember the first time I pulled a perfectly blistered, golden disc from my oven; it felt like I had unlocked a secret culinary superpower. Making this homemade flatbread is far more rewarding than picking up a stale, plastic-wrapped package from the grocery store shelf.
Thank you for reading this post, don't forget to subscribe!You might think that achieving that signature, pillowy texture requires professional equipment, but it is surprisingly simple to master at home. By following this traditional naan bread recipe, you can elevate your favorite curries and stews into a restaurant-quality feast. Let me show you how to bring these authentic flavors to your dinner table with ease.
Table of Contents
The Magic of Authentic Homemade Naan
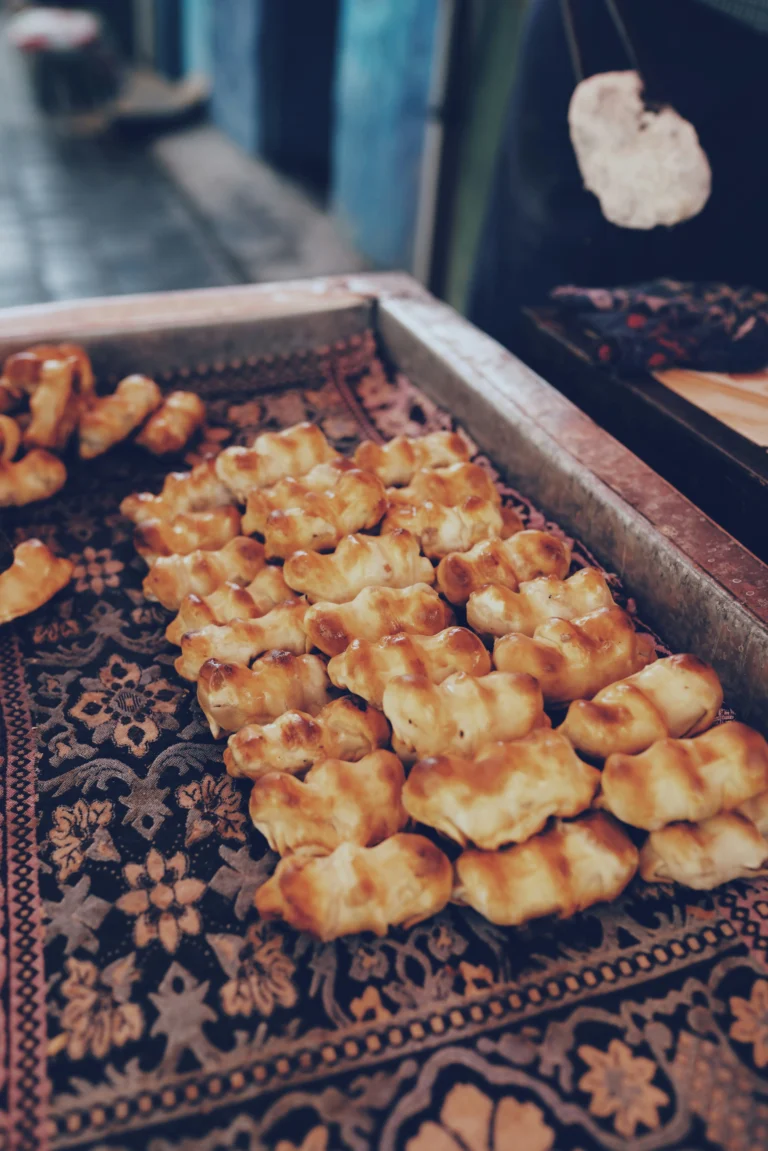
Exploring the history of this beloved Indian flatbread reveals why it holds such a special place in South Asian culture. Unlike the humble roti, which serves as an everyday staple, this bread is often reserved for special occasions and festive gatherings. It represents a celebratory spirit that brings families together around the dinner table.
When I prepare authentic naan, I am always struck by the unique balance of textures required to get it right. A truly soft naan should possess a signature elasticity that allows it to be pulled apart with ease. This quality, combined with a delicate crumb integrity, is what separates a mediocre flatbread from a masterpiece.
Many home cooks strive to recreate that elusive restaurant-style naan in their own kitchens. The secret lies in understanding how the dough reacts to heat and moisture. By mastering the right techniques, you can achieve that perfect, pillowy bite that feels both professional and deeply personal.
Ultimately, the magic of this Indian flatbread is found in its versatility and warmth. Whether you are serving it alongside a rich curry or enjoying it on its own, the experience of eating soft naan is unmatched. It is a labor of love that transforms a simple meal into an unforgettable culinary event. Achieving restaurant-style naan at home is not just about following a recipe; it is about honoring the authentic naan traditions that have been passed down through generations.
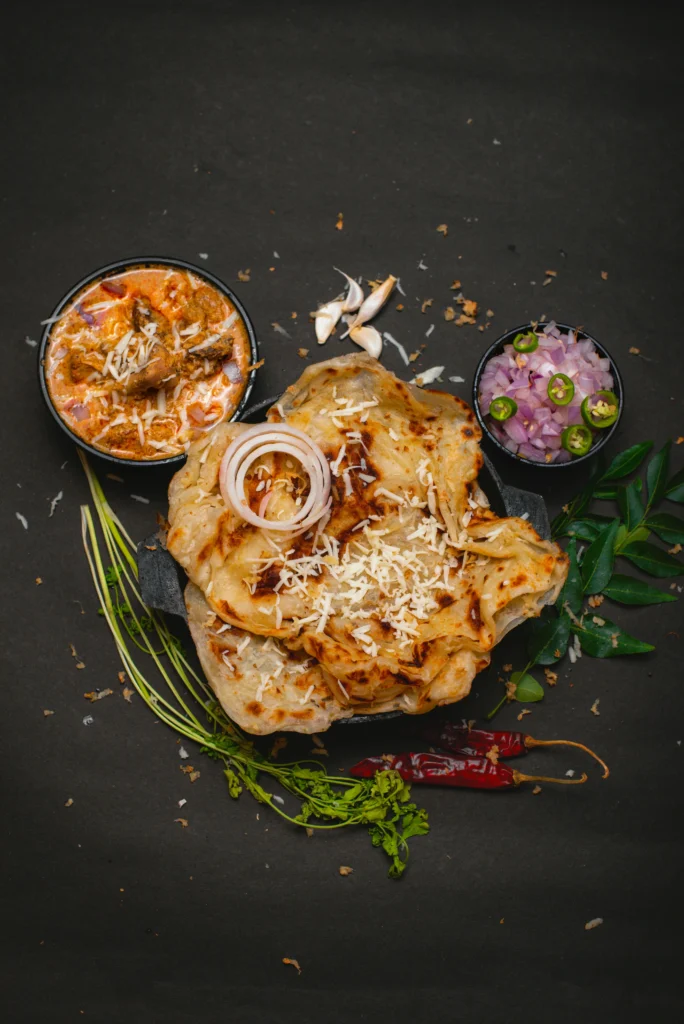
Essential Ingredients for Your Traditional Naan Bread Recipe
Mastering a traditional naan bread recipe starts with understanding the chemistry of your pantry staples. While the process might seem simple, the specific interaction between your chosen components determines whether your bread turns out airy or dense. I always recommend sourcing fresh, high-quality items to ensure the best possible rise and flavor profile.
Selecting the Right Flour and Yeast
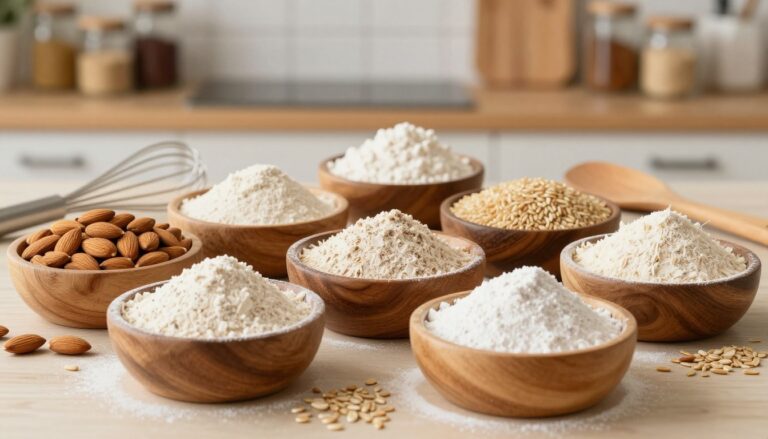
The foundation of any great Indian flatbread is the flour. I prefer using all-purpose flour for a tender crumb, though bread flour can be used if you desire a slightly chewier texture. The protein content in your flour directly impacts the gluten structure, which is vital for holding those signature air pockets.
When it comes to leavening, instant yeast is my go-to choice for consistency. It integrates seamlessly into the dry mix without needing a separate proofing step in warm water. This efficiency helps you maintain a steady rhythm while preparing your dough.
The Role of Yogurt and Dairy in Softness
To achieve that iconic pillowy softness, you must incorporate the right dairy elements. Yogurt is perhaps the most critical of all naan ingredients because its acidity tenderizes the gluten strands. This process ensures the bread remains soft even after it cools down.
Adding milk instead of water provides a richer flavor and a more golden crust. Furthermore, brushing the finished bread with melted ghee adds a luxurious finish that is simply unmatched. These fats coat the flour particles, preventing the dough from becoming tough during the high-heat cooking process.
“The beauty of traditional flatbread lies in the simplicity of its components; when you treat each ingredient with respect, the result is nothing short of magic.”
| Ingredient | Primary Function | Impact on Texture |
|---|---|---|
| All-Purpose Flour | Structure | Soft and tender |
| Yogurt | Acidity | Increases tenderness |
| Ghee | Flavor/Fat | Adds richness and sheen |
| Instant Yeast | Leavening | Creates airy bubbles |
Preparing the Dough for Perfect Texture
Achieving a soft, pillowy texture begins long before the bread hits the hot skillet. When I look at how to make naan, I find that the secret lies in how I treat the ingredients during the initial stages. By focusing on the right technique, you can ensure your soft naan turns out light and airy every single time.
Mixing and Kneading Techniques
I prefer to start by combining my wet and dry ingredients until a shaggy mass forms. You do not need to overwork the yeast dough to get great results. A gentle touch is often better than aggressive kneading, as it keeps the gluten structure relaxed and easy to shape later.
Simply fold the dough over itself a few times on a lightly floured surface. Once the surface feels smooth and elastic, you are ready to move on. This simple approach prevents the bread from becoming tough or chewy after cooking.
The Importance of Proofing Time
Proper proofing dough is the most critical step for developing the right structure. I always place my bowl in a warm, draft-free spot to allow the yeast to work its magic. You should wait until the dough has visibly doubled in size before proceeding.
If you rush this process, the bread will lack the signature bubbles that make it so delicious. Patience is truly a virtue when you are working with yeast dough. Use the following guide to understand how different environments affect your results.
| Environment | Temperature | Estimated Time |
|---|---|---|
| Warm Kitchen | 75°F – 80°F | 60 – 90 Minutes |
| Cool Room | 65°F – 70°F | 2 – 3 Hours |
| Inside Oven (Off) | 80°F+ | 45 – 60 Minutes |
By monitoring your proofing dough carefully, you ensure the best possible rise. This consistency is exactly what you need to create soft naan that rivals your favorite local restaurant.
Step-by-Step Guide to Shaping Your Naan
Learning how to make naan involves mastering the art of the perfect shape. While the flavor comes from your ingredients, the texture and appearance depend entirely on your technique during this stage. I find that taking your time here ensures a much more consistent result every single time you bake.
Dividing the Dough into Equal Portions
To begin, turn your proofed dough out onto a lightly floured surface. I recommend using a bench scraper to divide the mass into six or eight equal pieces. This tool prevents you from tearing the delicate gluten strands you worked so hard to develop.
Once divided, gently tuck the edges of each piece underneath itself to form a smooth, tight sphere. Consistency is key when you are learning how to make naan, as uniform balls ensure that every piece of bread cooks at the same rate.
Rolling Techniques for the Classic Teardrop Shape
After the dough balls have rested for a few minutes, it is time to roll them out. Start by flattening a ball with your palm, then use a rolling pin to create an oval shape. To achieve the classic teardrop silhouette, apply slightly more pressure to one end while leaving the other end a bit thicker.
Try to keep the dough about a quarter-inch thick for the best results. If you roll it too thin, the bread may become brittle rather than soft and chewy. Remember that knowing how to make naan is a skill that improves with practice, so do not worry if your first few attempts look a bit rustic.
Cooking Methods for Authentic Results
Once your dough is shaped, the real excitement begins at the stove. While traditional recipes rely on a clay tandoor, you can easily achieve authentic naan in your own kitchen. The key is to mimic that intense, dry heat using simple tools you likely already own.
Using a Cast Iron Skillet on the Stovetop
A heavy cast iron skillet is the best tool for this job because it retains heat exceptionally well. Unlike thin pans, cast iron provides the steady, high temperature needed to puff the dough quickly. I always recommend preheating your skillet for several minutes until it is smoking hot to ensure the best results.
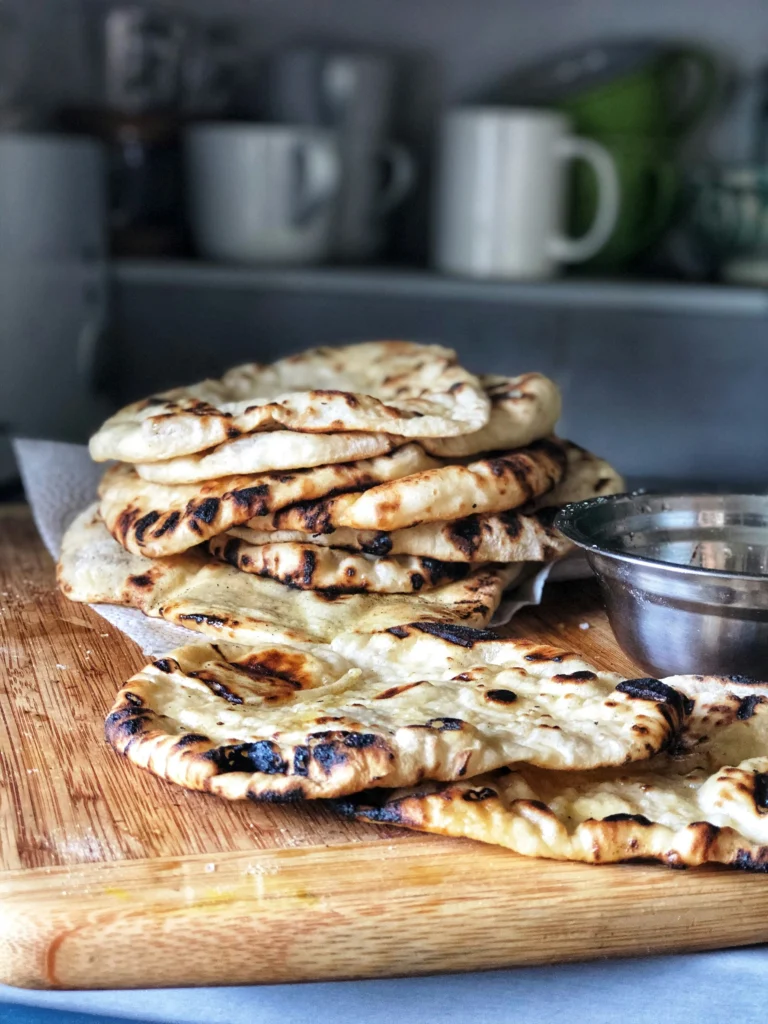
Achieving the Signature Char and Bubbles
To get that restaurant-style naan look, you want to see those beautiful, dark charred spots on the surface. These bubbles form when the moisture in the dough turns to steam, causing the bread to rise rapidly. If you want extra color, you can briefly hold the cooked bread over an open flame with tongs for a smoky finish.
Managing Heat Levels for Even Cooking
Consistency is vital when working with high heat. You should keep your burner on medium-high to prevent the bottom from burning before the inside is cooked through. If the skillet becomes too hot, simply remove it from the heat for a moment to stabilize the temperature.
| Cooking Surface | Heat Retention | Char Quality | Best For |
|---|---|---|---|
| Cast Iron Skillet | Excellent | High | Authentic Naan |
| Non-Stick Pan | Low | Minimal | Quick Reheating |
| Stainless Steel | Moderate | Medium | General Flatbreads |
By following these steps, you will consistently produce restaurant-style naan that tastes just as good as your favorite takeout. Remember that practice makes perfect, so do not be discouraged if your first few pieces look a bit different. Enjoy the process of mastering this cast iron skillet technique for your next meal.
Flavor Variations and Toppings
Transforming your plain flatbread into a gourmet experience is easier than you might think. Once you have mastered the base recipe, you can experiment with bold ingredients to suit your personal taste. Customization is the secret to making your kitchen feel like a professional bakery.
Classic Garlic and Cilantro Infusion
To create a delicious garlic naan, I recommend brushing the dough with a mixture of melted butter, minced garlic, and fresh cilantro just before it hits the hot skillet. The heat releases the aromatic oils, creating that signature restaurant scent. You can also press the garlic directly into the dough during the final rolling stage for a deeper flavor profile.
“Cooking is like love. It should be entered into with abandon or not at all.”
Adding Nigella Seeds and Butter Glazes
For a more traditional touch, sprinkle nigella seeds over the surface of your dough before cooking. These tiny black seeds offer a subtle, onion-like pop of flavor that pairs perfectly with the charred bubbles of the bread. After the bread is cooked, a generous brush of ghee or melted butter ensures a soft, luxurious finish.
If you are feeling particularly indulgent, you can easily prepare a cheese naan by stuffing the dough with shredded mozzarella or paneer before sealing it shut. Simply roll the stuffed ball carefully to keep the filling inside, then cook as usual. This variation creates a gooey, melted center that is absolutely irresistible when served warm.
Common Mistakes to Avoid When Making Naan
I have learned that even small errors in the kitchen can impact the final texture of your bread. While learning how to make naan is a rewarding journey, it is normal to encounter a few bumps along the way. Understanding these common pitfalls will help you achieve that perfectly soft naan every single time.
Troubleshooting Dry or Tough Dough
If your bread feels stiff or chewy rather than light and airy, your hydration levels might be off. A common mistake is adding too much flour during the kneading process, which creates a dense yeast dough. I always suggest adding flour only a tablespoon at a time until the dough is just tacky to the touch.
Another factor is the kneading duration. If you overwork the gluten, the bread becomes tough instead of tender. Aim for a smooth, elastic texture, but stop once the dough bounces back when poked.
Preventing Over-Proofing Issues
The process of proofing dough is delicate and requires your full attention. If you leave your mixture to rise for too long, the yeast consumes all the sugars, leading to a flat, sour, or collapsed bread. You can tell your dough is over-proofed if it looks deflated or smells overly acidic.
“Baking is a science, but it is also an art that rewards those who learn from their mistakes.”
To keep your yeast dough in the sweet spot, keep it in a draft-free area and set a timer. If your kitchen is particularly warm, the proofing dough stage will happen much faster than expected. Always check the dough’s volume rather than just relying on the clock.
| Issue | Primary Cause | Simple Fix |
|---|---|---|
| Tough Texture | Too much flour | Add water gradually |
| Flat Bread | Over-proofing | Reduce rise time |
| Dry Surface | Low humidity | Cover with damp cloth |
Storing and Reheating Your Homemade Flatbread
Proper storage ensures that your hard work in the kitchen pays off long after the meal ends. Whether you have made a large batch of homemade flatbread or simply have a few pieces left over, knowing the right techniques is essential. By storing naan correctly, you can maintain that signature pillowy texture for days to come.
Best Practices for Freezing Naan
Freezing is the best way to keep your bread fresh for weeks. I always wait for the bread to cool completely on a wire rack before I pack it away. If you freeze it while warm, condensation will make the bread soggy.
To keep your bread in top shape, follow these simple steps:
- Wrap each piece individually in plastic wrap to prevent freezer burn.
- Place the wrapped pieces into a heavy-duty freezer bag.
- Squeeze out as much air as possible before sealing the bag tightly.
- Label the bag with the date so you can track freshness.
Reviving Leftover Naan to Restore Softness
When you are ready to eat, reheating naan is a quick process that brings back that fresh-baked quality. You do not need to thaw the bread before heating it. Simply take it from the freezer and use one of these reliable methods to restore its softness.
Using a cast iron skillet is my favorite way to revive the bread. Place the frozen naan directly into the hot pan over medium heat for about one minute per side. You can also lightly brush the surface with a little water or melted butter to add moisture.
“The secret to perfect flatbread is a quick blast of heat that warms the center without drying out the crust.”
If you prefer using an oven, wrap the bread in aluminum foil and heat it at 350°F for about five to seven minutes. This gentle approach ensures the bread stays soft and pliable, just like it was when you first pulled it off the heat.
Serving Suggestions for a Complete Meal
Elevating your dining experience starts with how you present your fresh, warm bread. Whether you are hosting a dinner party or enjoying a quiet night in, this versatile flatbread acts as the perfect foundation for many delicious meals. I love how a simple piece of bread can turn a standard dinner into a restaurant-quality feast.
Pairing Naan with Curries and Dips
The most traditional way to enjoy your bread is by pairing it with rich, aromatic curries. The soft texture is ideal for scooping up thick sauces like butter chicken or spicy chana masala. If you want to add an extra layer of flavor, a warm garlic naan provides a savory punch that complements the spices in your curry perfectly.
Beyond curries, consider serving your bread with a variety of vibrant dips. Hummus, raita, or even a spicy mango chutney can transform your meal into a shared experience. Using a piece of garlic naan to dip into these bowls is a simple way to impress your guests with minimal effort.
Creating Naan-Based Appetizers and Wraps
You can also think outside the box by using your bread as a base for creative appetizers. A cheese naan works beautifully when topped with fresh tomatoes, basil, and a drizzle of balsamic glaze for a fusion-style flatbread pizza. These small bites are incredibly satisfying and disappear quickly at any gathering.
If you are looking for a quick lunch, try turning your bread into a hearty wrap. Simply fill a warm cheese naan with grilled vegetables, seasoned meats, and a dollop of yogurt sauce. Rolling it up creates a portable, delicious meal that is far superior to any store-bought alternative.
Conclusion
Baking a traditional naan bread recipe transforms your kitchen into a vibrant culinary space. I find that the simple act of kneading dough connects me to centuries of baking heritage.
You now possess the skills to create authentic naan that tastes better than takeout. This homemade flatbread serves as the perfect canvas for your favorite spices and fresh herbs.
I encourage you to share these warm, pillowy rounds with your family and friends. Experimenting with different heat levels and toppings makes every batch a unique experience.
Your journey into artisan baking starts with these foundational techniques. I hope you feel empowered to keep refining your craft and exploring new flavor combinations in your own kitchen.