morrocan bread: Traditional Homemade Khobz Recipe for Beginners
morrocan bread
Thank you for reading this post, don't forget to subscribe!There is something deeply comforting about the smell of fresh dough rising in your own kitchen. I still remember the first time I pulled a warm, golden loaf from the oven, feeling a sense of pride that only baking can provide. Mastering this traditional khobz recipe is the perfect way to bring the authentic flavors of North Africa into your home.
You do not need to be a professional chef to create this homemade bread. With just a few simple pantry staples, you can craft a crusty, delicious loaf that serves as the foundation for countless meals. I designed this guide to be friendly and accessible, ensuring you feel confident throughout every step of the process.
Table of Contents
The Cultural Significance of Moroccan Bread
When I first sat down to a traditional meal in Morocco, I quickly realized that bread is the most important tool on the table. In this vibrant culture, traditional Moroccan bread is far more than just a side dish; it is the heartbeat of every meal. It serves as a primary utensil, replacing forks and spoons as you scoop up savory tagines and fresh salads.
You will often hear this staple referred to by various names, such as kesra or agroum, depending on the region. This Moroccan flatbread is a constant presence in households, representing both sustenance and hospitality. It is truly a sacred element that brings families together during daily gatherings.
Understanding the history of Moroccan cuisine helps you appreciate why this bread is so deeply cherished. For generations, the act of baking has been a communal experience that defines the rhythm of life. By learning the context behind these recipes, you gain a much deeper connection to the food you prepare in your own kitchen.
Ultimately, Moroccan food is built on the foundation of sharing and connection. When you break bread with others, you are participating in a beautiful, time-honored tradition. I hope that as you begin your baking journey, you feel the warmth and history baked into every single loaf.
Essential Ingredients for Authentic Moroccan Bread
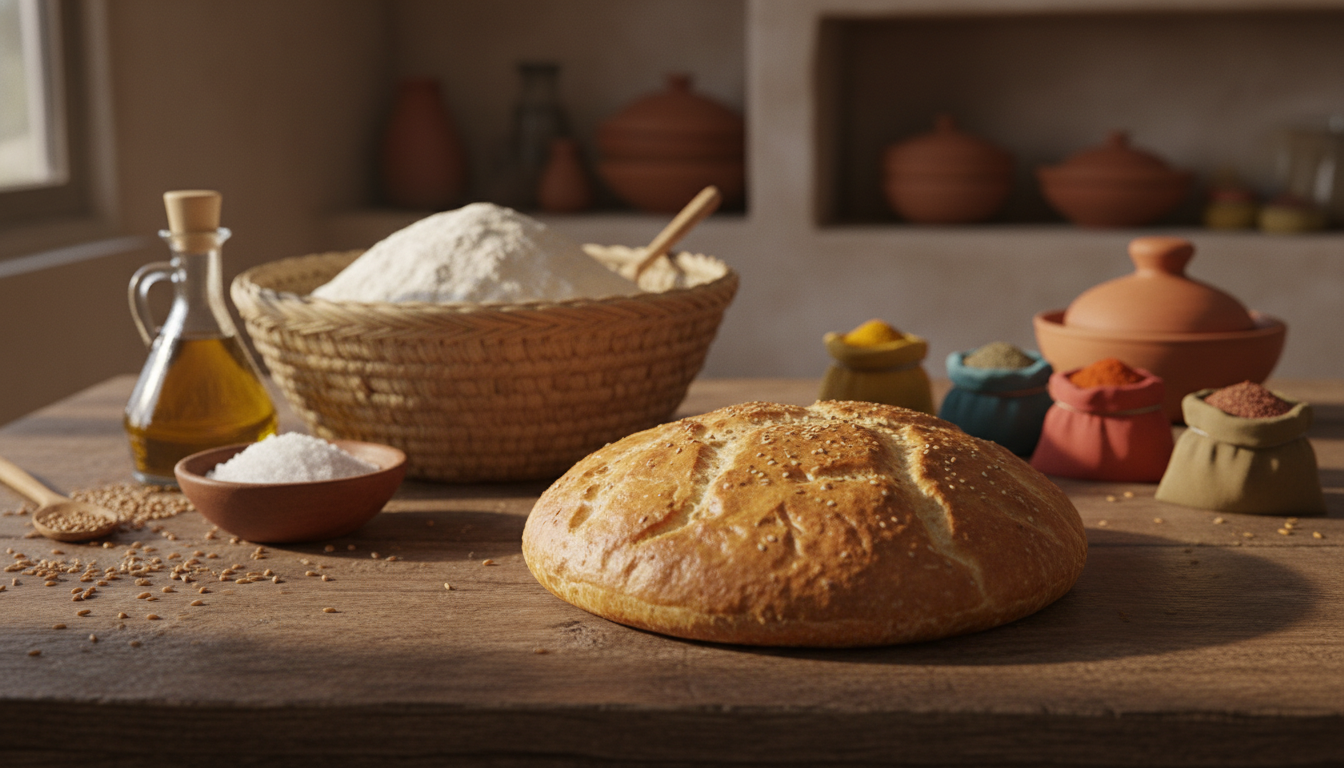
The secret to authentic Moroccan bread lies in the quality of the ingredients you choose. When you prepare a khobz recipe, your pantry staples act as the foundation for the final flavor and texture. Using fresh, high-quality components ensures that your baking experience is both rewarding and delicious.
Understanding the Role of Semolina
Semolina flour is the heart of a classic loaf. It provides a distinct, slightly nutty flavor that sets this bread apart from standard white loaves. Beyond taste, it contributes to the signature golden color and a satisfyingly crisp crust that everyone loves.
When you incorporate semolina flour into your dough, you create a unique crumb structure. This ingredient helps the bread maintain its shape while remaining soft on the inside. It is truly the defining element of traditional Moroccan bread.
Selecting High-Quality All-Purpose Flour
While semolina provides the character, choosing the right bread flour is critical for achieving the perfect elasticity. High-quality flour contains the necessary protein content to develop strong gluten strands. This structure allows your dough to trap air bubbles effectively during the rising process.
I always recommend using a high-protein bread flour to ensure your loaf has the right chew. If you cannot find specific bread flour, a high-quality all-purpose variety will work, provided it has a decent protein percentage. Consistency is key when you want to achieve professional results in your own kitchen.
The Importance of Fresh Yeast
The final piece of the puzzle is the yeast. Using fresh yeast is essential to ensure your bread rises beautifully every single time. It acts as the engine of your dough, converting sugars into the gases that make your bread light and airy.
Always check the expiration date on your yeast before you begin mixing. Fresh yeast provides a more reliable rise and a deeper, more complex flavor profile compared to older alternatives. When your ingredients are fresh, you are already halfway to baking success.
Choosing the Right Flour and Yeast
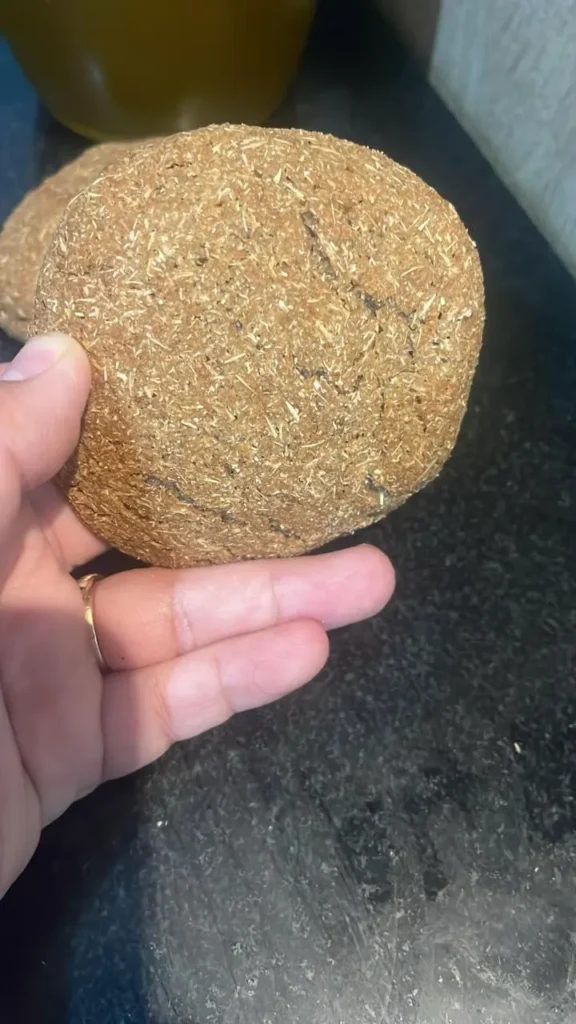
I have found that the secret to a perfect loaf lies in understanding how your ingredients interact before you even start mixing. When baking Moroccan bread, the specific combination of proteins and leavening agents determines whether your final product is airy or dense. Taking a moment to evaluate your pantry staples will save you from common frustrations later on.
Why Flour Ratios Matter
The structure of your bread relies on the gluten network formed during the kneading process. While traditional recipes often call for standard all-purpose flour, incorporating a portion of bread flour can significantly improve the chewiness of your crust. I recommend experimenting with these ratios to find the texture that best suits your personal taste.
If you prefer a lighter, more delicate crumb, stick to a higher percentage of all-purpose flour. For those who enjoy a heartier, more rustic loaf, increasing the amount of high-protein flour will provide the necessary strength. The following table highlights how different flour choices impact your results:
| Flour Type | Protein Content | Resulting Texture |
|---|---|---|
| All-Purpose | Low to Medium | Soft and Tender |
| Bread Flour | High | Chewy and Structured |
| Semolina | High | Golden and Gritty |
Testing Your Yeast for Activity
Nothing is more disappointing than waiting for dough to rise only to realize your yeast was inactive. Before you begin baking Moroccan bread, always perform a quick proofing test to ensure your yeast is alive and ready to work. Simply combine a small amount of warm water, a pinch of sugar, and your yeast in a bowl.
If the mixture begins to foam and bubble within ten minutes, your yeast is healthy and active. If the surface remains flat or still, it is time to discard that batch and start with a fresh packet. Reliable yeast is the engine of your bread, so never skip this vital step in your preparation.
Preparing Your Workspace and Equipment
You do not need a professional bakery to create delicious, authentic loaves in your own home. Preparing your kitchen properly is the secret to a stress-free and enjoyable baking experience. By organizing your space before you start, you ensure that every step of making homemade bread flows smoothly.
Essential Tools You Likely Already Own
You will be happy to discover that you likely already own most of the necessary equipment. There is no need for expensive gadgets to achieve professional results. You simply need a few reliable items to get started:
- A large mixing bowl for combining your ingredients.
- A clean, flat surface for kneading your dough.
- A kitchen towel to cover your dough during the rise.
- Standard baking sheets for the final bake.
Having these items within reach allows you to focus entirely on the craft of baking. Keeping your workspace tidy helps you maintain consistency throughout the process.
Creating the Ideal Environment for Dough
Yeast is a living organism that thrives in specific conditions. To ensure your homemade bread rises perfectly, you must create a warm, draft-free environment. I find that the inside of a turned-off oven with the light on is often the best spot for proofing.
Avoid placing your dough near open windows or cold air vents. A stable, cozy temperature is the key to achieving that beautiful, airy texture we all love. With your tools ready and your environment set, you are now prepared to begin your baking journey.
Mixing and Kneading the Dough
I find that the magic of bread making truly begins when you start mixing your dry and wet ingredients. This is the moment you learn how to make khobz by transforming simple pantry staples into a living, breathing creation.
Combining Dry and Wet Ingredients
To begin, I combine my high-quality bread flour and semolina in a large bowl before slowly incorporating the warm water and yeast mixture. It is important to add the liquid gradually to ensure the yeast dough hydrates evenly without becoming too sticky.
I use my fingers to gently pull the flour from the edges of the bowl toward the center. Once a shaggy mass forms, I know it is time to move the mixture onto a clean surface to begin the real work.
Mastering the Traditional Kneading Technique
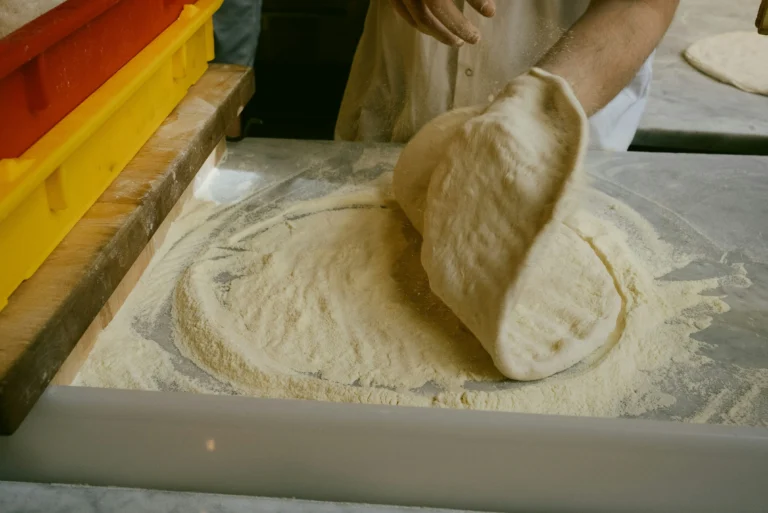
Kneading dough is a rhythmic, meditative process that develops the gluten structure necessary for that signature chewiness. I push the dough away from me with the heel of my hand, fold it back over itself, and give it a slight turn.
I repeat this motion consistently for about ten minutes. You will notice the texture change from rough and shaggy to smooth, elastic, and supple under your palms.
Hand Kneading vs. Stand Mixer
While I personally prefer the tactile connection of hand kneading, a stand mixer is a fantastic tool for those with a busy lifestyle. Using a dough hook on a low setting can save time and effort while still achieving excellent results.
- Hand Kneading: Offers better control over the dough’s texture and temperature.
- Stand Mixer: Provides consistent power and is ideal for larger batches.
Regardless of the method you choose, the goal remains the same: a dough that springs back when poked. Once you reach this stage, your dough is perfectly prepared for its first rest.
The Art of the First Rise
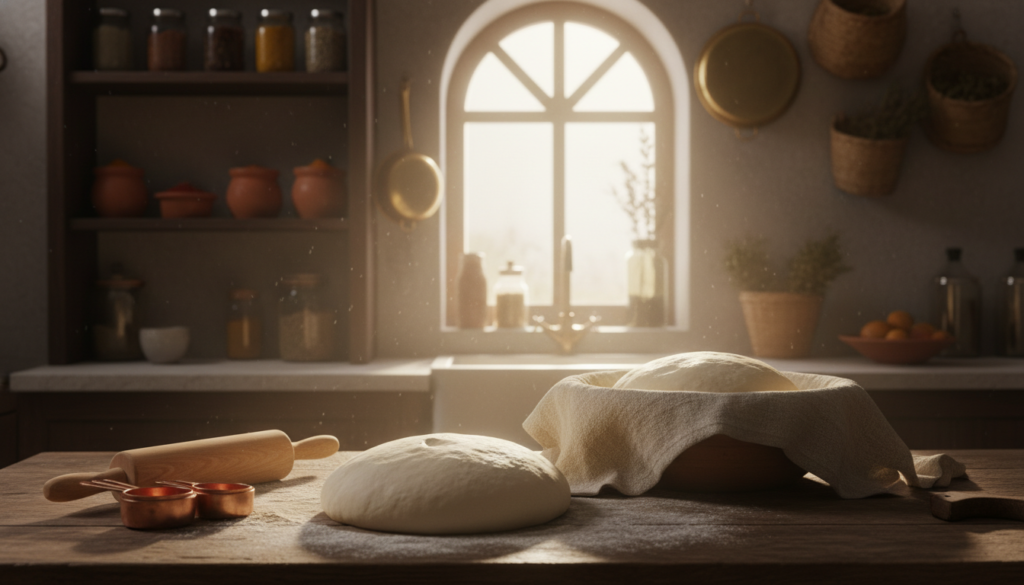
The first rise is where your yeast dough truly begins to transform into something special. This stage is not just about waiting; it is a vital period where the yeast ferments, creating the complex flavors and light structure that define authentic bread. Learning how to make khobz requires you to embrace this slow, steady process with confidence.
“Patience is the secret ingredient that turns simple flour and water into a masterpiece of flavor.”
Finding the Perfect Warm Spot
To encourage a consistent rise, you need to find a draft-free location in your kitchen. Yeast thrives in temperatures between 75°F and 80°F, so look for a spot that stays cozy without being too hot. I often place my bowl inside a turned-off oven with the light on, as this creates a gentle, stable environment for the yeast dough to expand.
If your kitchen is particularly chilly, you can also set your bowl on top of the refrigerator or near a sunny window. Avoid placing it directly on a cold granite countertop, as the surface will sap the heat from the bottom of your bowl. A little extra care here makes a significant difference in how to make khobz that rises beautifully every time.
Signs That Your Dough Has Doubled
Knowing when the dough is ready is a skill you will quickly master through observation. The most reliable sign is that the volume of the dough has visibly doubled in size. You should also notice that the surface looks smooth and slightly domed rather than flat or sunken.
You can perform a simple tactile test by gently pressing two fingers into the dough about an inch deep. If the indentation remains and the dough does not spring back immediately, it is perfectly proofed and ready for the next step. Consistency is key, so trust your eyes and your touch as you continue your baking journey.
Shaping Your Moroccan Bread
I find that the secret to a beautiful loaf lies in how you handle the dough during the shaping process. Proper shaping ensures that your Moroccan flatbread bakes evenly and maintains its classic, rustic appearance. By taking your time here, you set the stage for a professional-looking crust.
Dividing the Dough Evenly
Before you begin shaping, you must divide your dough into equal portions. I recommend using a kitchen scale to ensure each piece is the same weight, which helps them bake at the same rate.
- Gently deflate the dough to remove large air pockets.
- Use a bench scraper or a sharp knife to cut the dough.
- Weigh each portion to ensure consistency across your loaves.
Creating the Classic Round Loaf Shape
Once your portions are ready, it is time to form the signature rounds. I always keep a small bowl of semolina flour nearby to prevent the dough from sticking to my hands or the workspace.
Dust your surface lightly with the semolina flour to provide a nice texture to the exterior. This step is essential for achieving that authentic, slightly gritty crust that defines traditional bread.
Techniques for a Smooth Surface
To get a smooth top, you need to create surface tension. I like to pull the edges of the dough toward the center, creating a tight ball, and then flip it over so the seam side is down.
Gently rotate the dough against the counter using your palms to seal the bottom. This simple technique creates a taut skin on top, which will expand beautifully in the oven. Your patience during this stage will result in a stunning, perfectly shaped loaf every time.
The Second Rise and Scoring
The final stage of preparation involves a brief rest and a touch of artistic detail. Many beginners wonder how to make khobz that looks as good as it tastes, and this phase is the secret to that success. By allowing the dough to settle, you ensure the final product has the perfect crumb structure.
Why the Second Rise is Crucial
The second rise, often called proofing, is essential because it allows the gluten network to relax after the shaping process. If you rush this step, the dough may remain tight and tough, leading to a dense loaf. Patience is your best friend during this final rest period.
During this time, the yeast continues to produce small gas bubbles that expand the dough. This expansion creates the light, airy texture that defines authentic Moroccan bread. You will notice the loaf becoming slightly puffy and soft to the touch, which indicates it is ready for the oven.
Scoring Patterns and Their Purpose
Scoring is the act of making shallow cuts on the surface of your dough. While it adds a beautiful, rustic look to your bread, it serves a very practical function. These cuts act as controlled vents for steam to escape during the baking process.
Without these vents, the bread might burst in random spots as it expands rapidly in the heat. Learning how to make khobz with consistent results often comes down to mastering these simple techniques:
- The Cross Pattern: A simple X across the center helps the loaf rise evenly.
- Parallel Lines: Three or four diagonal slashes create a classic, professional appearance.
- The Circular Cut: A light ring around the edge helps the crust develop a distinct shape.
Always use a very sharp knife or a razor blade to ensure clean cuts. Light pressure is all you need to score the surface without deflating your beautifully risen dough. Once you finish these patterns, your bread is officially ready for the heat.
Baking Techniques for the Perfect Crust
I find that the secret to professional-quality khobz lies entirely in how you manage your oven. When baking Moroccan bread, the transition from a soft, proofed dough to a crusty, aromatic loaf depends on precise heat control. Mastering these final steps will ensure your kitchen smells like a traditional bakery.
Preheating Your Oven for Maximum Heat
You must start with a very hot oven to achieve the best results. I recommend preheating your oven to at least 450°F (230°C) for at least thirty minutes before you slide the dough inside. This intense initial heat causes the dough to spring up quickly, creating that airy interior we all love.
Achieving the Golden Brown Finish
The dusting of semolina flour on the surface of your loaf is not just for tradition; it adds a wonderful crunch and color. To get that deep, appetizing glow, keep a close eye on your oven during the last few minutes of the bake. These baking tips are essential for ensuring the crust is firm without burning the bottom.
Using Steam to Enhance Crust Texture
If you want to replicate the authentic texture of street-baked loaves, you need to introduce steam. Simply place a shallow pan of boiling water on the bottom rack of your oven when you start baking. The steam keeps the exterior of the dough soft for a few extra minutes, allowing for a better rise and a thinner, crispier crust. Once you pull that fresh bread out of the oven, let it cool on a wire rack to maintain its perfect texture.
Troubleshooting Common Baking Issues
Mastering the art of baking Moroccan bread takes practice, and sometimes things do not go exactly as planned. Even when you follow every step carefully, variables like temperature or flour quality can change the final result. I want to help you feel confident in your kitchen by learning how to read your dough and make quick adjustments.
Fixing Dense or Heavy Bread
If your loaf feels heavy or lacks a light, airy crumb, the issue often lies in the development of your yeast dough. You might have under-kneaded the mixture, which prevents the gluten structure from trapping air bubbles effectively. Ensure you spend enough time working the dough until it feels smooth and elastic to the touch.
Another common culprit is using water that is too hot, which can kill the yeast before it has a chance to rise. Always use lukewarm water to keep your yeast active and healthy. If the dough feels dense, try letting it rest for an extra twenty minutes in a warm spot next time.
Correcting Over-Proofed Dough
Sometimes, life gets in the way and you leave your dough to rise for too long. If the dough has collapsed or looks deflated, you have likely over-proofed it. These baking tips will help you save your loaf: gently punch the dough down, reshape it into a round, and let it rise for a shorter period before baking.
Keep a close eye on your dough during the second rise to avoid this issue. If it looks like it has doubled in size and springs back slowly when poked, it is ready for the oven. Acting quickly when you notice these signs will ensure your bread maintains its structure.
Adjusting for Humidity and Altitude
Environmental factors play a huge role in how your bread turns out. High humidity can make your dough feel sticky, while dry air might require a bit more moisture. When kneading dough, trust your hands rather than just the recipe measurements; add a tablespoon of flour if it is too wet or a splash of water if it feels stiff.
If you live at a high altitude, your bread may rise much faster than expected. You might need to reduce the amount of yeast slightly to slow down the process. Small, consistent adjustments will help you achieve the perfect crust and texture regardless of your location.
| Issue | Likely Cause | Quick Fix |
|---|---|---|
| Dense Texture | Under-kneading | Knead longer until elastic |
| Flat Loaf | Over-proofing | Reshape and shorten rise |
| Sticky Dough | High humidity | Add flour gradually |
| Dry/Crumbly | Too much flour | Add water by the teaspoon |
Serving and Storing Your Homemade Moroccan Bread
Mastering the craft of baking is rewarding, but knowing how to serve and store your homemade bread is just as important. After all the effort you put into the process, you want to ensure every slice tastes as good as the first one. Let’s explore how to elevate your dining experience with these simple steps.
Traditional Ways to Serve Khobz
In Morocco, bread is the centerpiece of every meal. You can serve your traditional Moroccan bread alongside hearty tagines or vibrant vegetable salads. It acts as the perfect utensil for scooping up savory sauces and tender meats.
Many people enjoy pairing this Moroccan food with flavorful dips like zaalouk, a smoky eggplant spread. Because the bread is so versatile, it works beautifully with both sweet and savory toppings. You will find that it brings a sense of comfort to any table.
Best Practices for Keeping Bread Fresh
To keep your Moroccan flatbread soft, store it in a paper bag or a clean kitchen towel at room temperature. Avoid plastic bags, as they can trap moisture and make the crust soggy. If you want to enjoy fresh bread for a longer period, keep it in a cool, dry place away from direct sunlight.
If you notice the bread starting to dry out, you can lightly mist it with water before warming it up. These simple baking tips help maintain the integrity of the crumb. Remember that homemade loaves lack the preservatives found in store-bought versions, so they are best consumed within two days.
Freezing and Reheating Tips
If you have baked a large batch, freezing is a fantastic option. Wrap each loaf tightly in plastic wrap and then place it inside a freezer-safe bag. This method prevents freezer burn and preserves the quality of the kneading dough work you performed earlier.
When you are ready to eat, thaw the bread at room temperature for a few hours. For a crispier crust, pop it into a preheated oven at 350°F for about five to ten minutes. Your bread will taste just as delicious as the day it was baked.
Conclusion
Baking your own loaf at home brings a unique sense of accomplishment to your kitchen. The process of creating morrocan bread transforms simple pantry staples into a centerpiece for your table. You now possess the skills to bring the authentic taste of Moroccan cuisine into your daily life.
I hope this khobz recipe becomes a staple in your home cooking routine. Sharing fresh bread with family and friends creates memories that last long after the meal ends. Each time you bake, you refine your technique and gain confidence in your ability to prepare classic Moroccan food.
Do not worry if your first attempt is not perfect. Every baker learns through trial and error. Keep practicing your kneading and shaping skills to achieve the best results. I look forward to hearing about your success as you continue your culinary journey with these traditional methods.