I Didn’t Understand Artisan Bread — Until I Tried Making It
I remember staring at a dense, flavorless lump of dough in my kitchen, feeling completely defeated. For years, I assumed that creating homemade bread with a perfect, crackling crust required professional training or secret equipment.
Thank you for reading this post, don't forget to subscribe!I was wrong. My journey shifted the moment I stopped viewing the process as a chore and started seeing it as a creative ritual. It felt like magic when I finally pulled a golden, fragrant loaf from my own oven.
Now, I am dedicated to showing you how to bake artisan bread in your own kitchen. You do not need a culinary degree to succeed. By baking artisan bread at home, you gain a skill that brings warmth and joy to your table every single day.
Table of Contents
What is Artisan Bread?
To truly appreciate the craft, we must first explore what is artisan bread and how it differs from mass-produced options. At its core, this style of baking relies on a simple, honest foundation of ingredients. It is a return to the basics that humans have practiced for thousands of years.
When you strip away the additives and preservatives found in supermarket loaves, you are left with the essentials. I have found that the magic happens when you combine just four items: flour, water, salt, and yeast. These humble components transform into something extraordinary through the power of time and technique.
Definition and Characteristics
The primary definition of what is artisan bread centers on the purity of its composition. Unlike commercial bread, which often uses dough conditioners to speed up production, artisan loaves are shaped by hand and fermented slowly. This process allows the natural flavors of the grain to develop fully.
You will notice that these loaves often feature a crispy, caramelized crust and an airy, open crumb structure. Because there are no artificial shortcuts, the texture is distinct and satisfying. It is not just food; it is a testament to the quality of the raw materials used.
| Feature | Artisan Bread | Commercial Bread |
|---|---|---|
| Ingredients | Flour, Water, Salt, Yeast | Additives, Preservatives, Sugar |
| Fermentation | Long and Slow | Rapid/Mechanical |
| Production | Hand-crafted | Industrial Machinery |
| Shelf Life | Short (Natural) | Long (Preserved) |
The Philosophy Behind Artisan Baking
Beyond the ingredients, the philosophy of what is artisan bread is rooted in patience. I often compare baking to winemaking; you simply cannot rush the process if you want a superior result. It requires a shift in mindset from viewing bread as a cheap commodity to seeing it as a genuine craft.
“Good bread is the most fundamentally satisfying of all foods; and good bread with fresh butter, the greatest of feasts.”
Embracing this philosophy means accepting that the dough needs time to breathe and develop its character. When I bake, I am not just making a loaf; I am participating in a tradition that values quality over speed. Understanding what is artisan bread ultimately changes how you eat and how you value the time spent in your kitchen.
My Journey into Artisan Bread Baking
I started my journey into the kitchen with a bag of flour and a lot of misplaced confidence. My very first attempt at artisan bread baking involved baguettes, which I later learned are considered the most difficult loaves to master. My kitchen quickly became a disaster zone of sticky dough and frustration.
Why I Decided to Bake My Own Bread
I grew tired of buying bland, mass-produced loaves from the grocery store. I craved that distinctive crunch and the complex, airy interior that only true handmade bread can offer. The challenge of creating something so fundamental from just flour, water, and salt felt like a worthy pursuit.
I wanted to understand the science behind the fermentation process. Taking control of my own food became a priority, and I was determined to prove that I could produce professional-quality results at home. Even when my early loaves turned out as hard as rocks, I knew I was on the right path.
Resources That Helped Me Learn
After my initial failures, I realized that passion alone was not enough to succeed in artisan bread baking. I began seeking guidance from established master bakers and diving into dedicated literature. Reading books by experts helped me decode the mysteries of hydration and gluten development.
I also spent hours watching tutorials to refine my technique. These resources were invaluable in helping me overcome my early mistakes. Through persistence and the right study materials, I eventually turned my kitchen into a place where successful artisan bread baking happens every single week.
The Ingredients of Artisan Bread
When I first started, I realized that the secret to a great loaf lies in the quality of my ingredients. You do not need a long list of additives to create something delicious. In fact, the best artisan bread ingredients are often the simplest ones found in any kitchen.
The Importance of Quality Flour
Flour is the backbone of every artisan bread recipe. I always look for unbleached, high-quality flour to ensure the best structure for my loaves. For optimal gluten development, I recommend choosing flour with a protein content between 11.7% and 12.7%.
This specific protein range provides the strength needed for a beautiful rise. If you are curious about what is artisan bread, it is essentially a product of patience and high-quality grain. Using the right flour makes a world of difference in the final texture.
The Role of Water and Salt
Water acts as the hydration source that activates the flour’s proteins. I prefer using filtered water to avoid any chlorine that might interfere with the natural fermentation process. Salt is equally vital, as it controls the yeast activity and enhances the overall flavor profile.
“Bread is the king of the table and all else is merely the court that surrounds it.”
Without salt, your bread will taste flat and lack character. It also helps tighten the gluten structure, which is essential for a well-shaped loaf. Here is a quick breakdown of how these components function:
- Flour: Provides the structure and food for fermentation.
- Water: Hydrates the dough and enables gluten formation.
- Salt: Regulates yeast and balances the flavor.
Do I Need Yeast?
Many beginners ask if they need commercial yeast to get started. While you can use a sourdough starter, commercial yeast is a reliable way to learn the basics of bread making. It provides a consistent rise that helps you understand the timing of your dough.
| Ingredient | Primary Function | Key Tip |
|---|---|---|
| Flour | Structure | Check protein levels |
| Water | Hydration | Use filtered water |
| Salt | Flavor | Do not skip it |
Choosing the right yeast is a personal choice based on your goals. Whether you use instant or active dry yeast, ensure it is fresh to guarantee a successful bake. Mastering these artisan bread ingredients will give you the confidence to experiment with more complex techniques later.
Essential Tools for Baking Artisan Bread
Many people assume that baking artisan bread at home requires expensive, industrial-grade equipment. In reality, you can achieve professional results with items you likely already have in your kitchen. My own experience taught me that focus and technique matter far more than fancy gadgets.

Must-Have Baking Equipment
To get started with artisan bread baking, you need a few reliable staples. A digital scale is non-negotiable, as measuring ingredients by weight ensures consistency that cups simply cannot provide. A sturdy baker’s bench knife is another essential, helping you handle sticky dough with ease.
“The beauty of bread lies in its simplicity; you only need flour, water, salt, and a bit of patience to create something extraordinary.”
Beyond these, a simple kitchen timer keeps your fermentation on track, and a comfortable apron protects your clothes from stray flour. You do not need a specialized proofing basket immediately; a clean bowl lined with a floured kitchen towel works perfectly well for beginners.
| Tool | Purpose | Alternative |
|---|---|---|
| Digital Scale | Precision measuring | Measuring cups (less accurate) |
| Bench Knife | Dividing and shaping | Plastic dough scraper |
| Proofing Basket | Maintaining dough shape | Bowl with floured towel |
| Timer | Tracking fermentation | Smartphone clock |
Tips for Choosing the Right Oven
Optimizing your home oven is the secret to achieving that coveted, crackly crust. While you do not need a deck oven, using a heavy Dutch oven can mimic the steam-trapping environment of a professional bakery. This method creates a humid atmosphere that allows the loaf to expand fully before the crust sets.
If you prefer not to use a Dutch oven, you can still succeed at baking artisan bread at home by placing a shallow pan of hot water on the bottom rack. This generates the necessary steam for a beautiful rise. Always ensure your oven is preheated for at least 45 minutes to guarantee a consistent temperature throughout the bake.
Investing in these basic artisan bread tools will transform your kitchen into a functional bakery. By mastering your environment, you gain the confidence to experiment with different recipes and techniques. Remember that every great baker started with the same basic setup you have today.
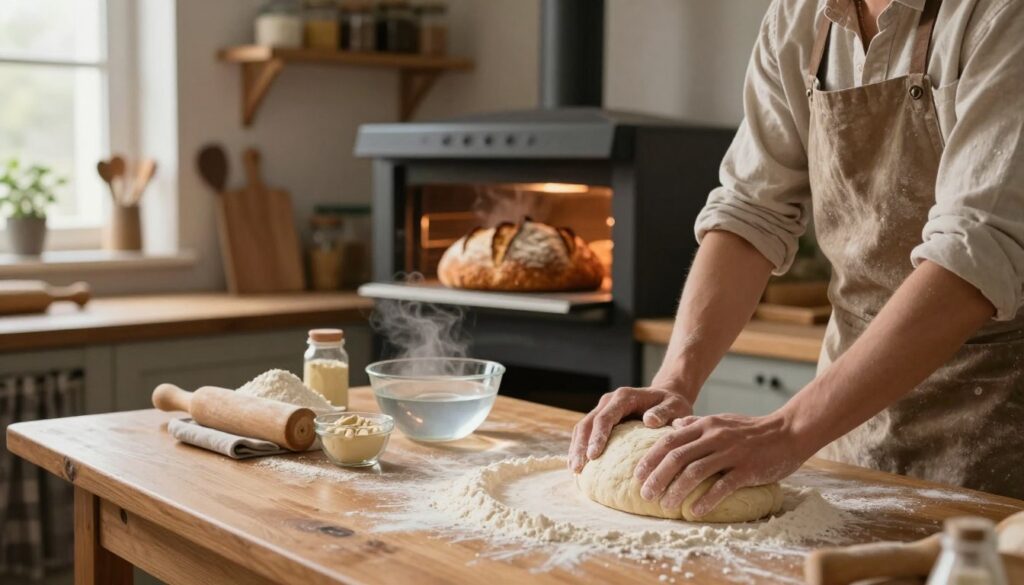
The Art of Kneading Dough
Forget everything you know about aggressive kneading; artisan baking is all about gentle handling. Many beginners assume that bread requires heavy pounding to develop gluten, but this often destroys the delicate structure you want to achieve. By using the right artisan bread techniques, you can create a loaf with a beautiful, open crumb.
Techniques for Hand-Kneading
Instead of traditional pounding, I rely on the stretch and fold method. This approach is incredibly effective for building strength in the dough without deflating the precious air bubbles that form during fermentation. You simply grab one side of the dough, stretch it upward, and fold it over the center.
Repeat this process on all four sides of the dough ball. This gentle movement aligns the gluten strands while keeping the dough light and airy. It is one of the most essential artisan bread techniques for any home baker to master.
When to Use a Mixer
While I love the tactile experience of working by hand, there are times when a stand mixer becomes a helpful addition to your artisan bread tools. If you are working with a high-hydration dough that is extremely sticky, a mixer can save you from a messy kitchen. It provides consistent results when you are preparing multiple loaves at once.
However, do not feel pressured to invest in expensive machinery right away. You can achieve professional results with just your hands and a bit of patience. Using the right artisan bread tools should always support your process rather than replace the joy of feeling the dough transform under your fingertips.
Fermentation: The Heart of Artisan Bread
I quickly learned that the soul of every great loaf lies in the patience of the bread fermentation process. It is not just about making dough rise; it is a biological transformation that builds character in every crumb. When I first started, I wanted instant results, but I soon realized that time is the most important ingredient in my kitchen.
Understanding the Fermentation Process
At its core, this stage is where yeast and beneficial bacteria consume sugars in the flour to produce carbon dioxide and organic acids. Using a sourdough starter acts as a natural leavening agent, introducing wild yeast into the mix. This living culture provides a depth of flavor that commercial yeast simply cannot replicate.
Watching the dough bubble and expand is one of the most rewarding parts of my baking routine. It signals that the microorganisms are hard at work, creating the structure needed for a beautiful loaf. By managing the temperature of my kitchen, I can control how fast this activity happens, ensuring the dough stays healthy and active.
Why Slow Fermentation Matters
I always recommend an overnight rise at room temperature for the best results. This slow approach allows the enzymes to break down starches into simple sugars, which creates a much more complex flavor profile. A rushed loaf often tastes bland, but a slow-fermented one offers a delightful tang and a superior texture.
Beyond taste, a longer fermentation time makes the bread easier to digest. The extended breakdown of gluten and phytic acid is a significant benefit for many home bakers. When you give your dough the time it needs, you are rewarded with a professional-quality crust and an airy, open crumb that makes all the effort worthwhile.
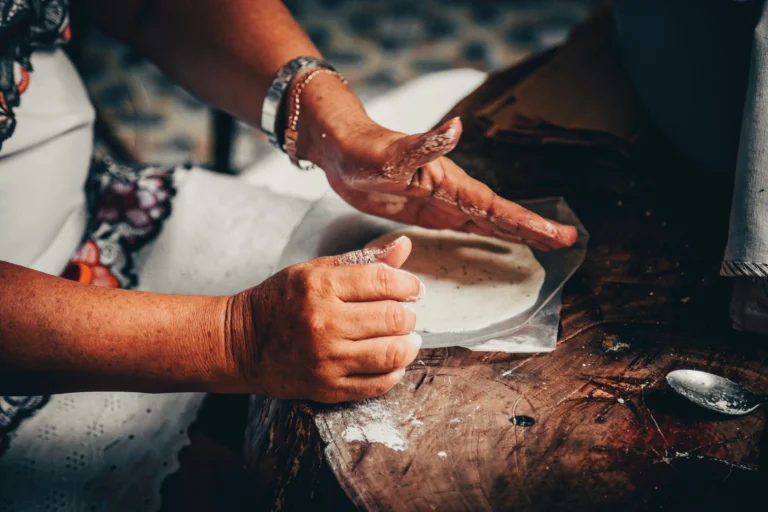
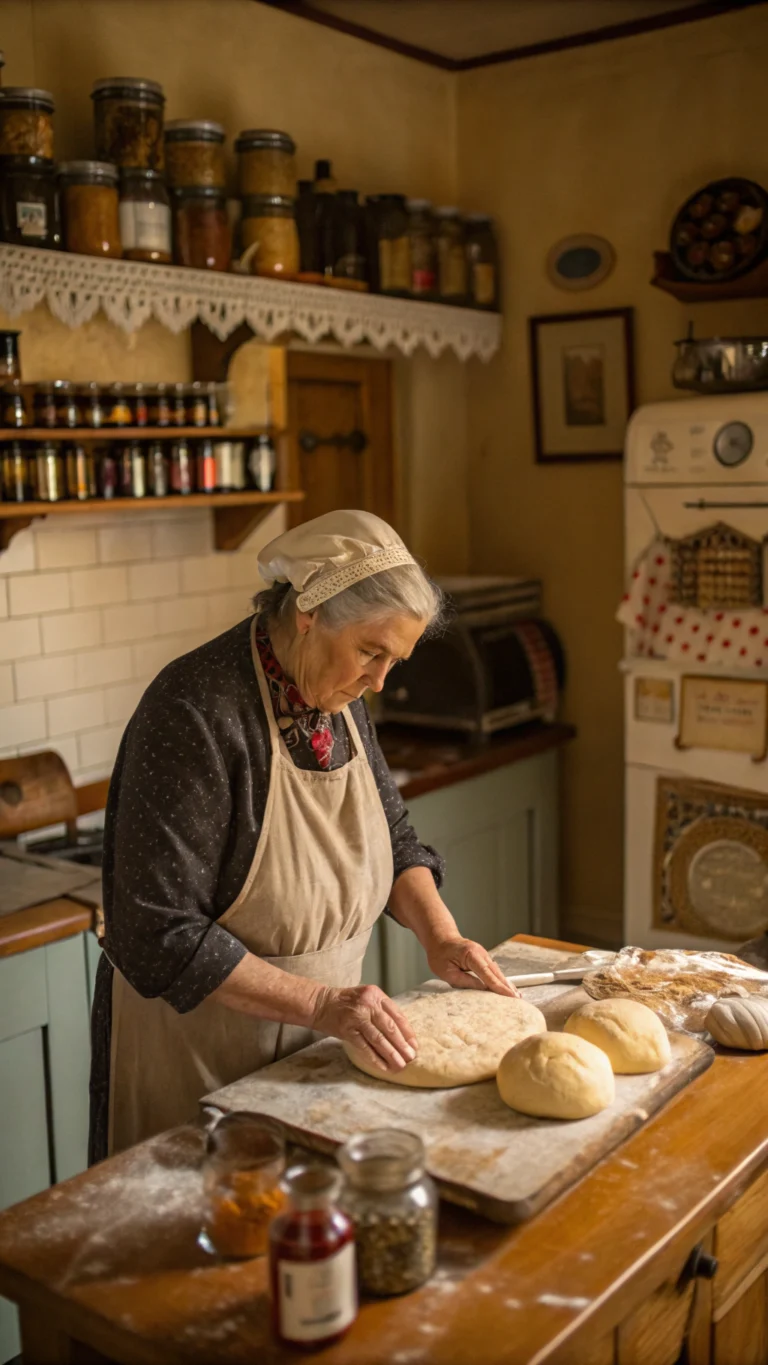
Shaping the Dough
I find that the most critical moment in my baking routine is when I shape the dough. This stage is not just about making the loaf look pretty; it is about building the necessary tension to ensure a beautiful rise in the oven. When you follow a reliable artisan bread recipe, the shaping phase acts as the final structural foundation for your crumb.
Different Techniques for Shaping
To achieve a professional result, you must create a smooth, membrane-like surface on the outside of your dough. I recommend using a light dusting of flour on your work surface, but be careful not to incorporate too much, as this can dry out the crust. Gentle handling is key, especially when working with high-hydration doughs that tend to be sticky.
By folding the edges toward the center and rolling the dough against the counter, you create surface tension. These specific artisan bread techniques help the loaf hold its shape during the final proof and the bake. If you overwork the dough at this stage, you risk deflating the air bubbles you worked so hard to develop during fermentation.
My Favorite Shaping Styles
I personally prefer two main shapes: the round boule and the oval batard. The boule is classic and provides a great crust-to-crumb ratio, while the batard is perfect for slicing into uniform pieces for sandwiches. Choosing the right shape often depends on the type of basket or banneton you have available in your kitchen.
| Shape Style | Best Use Case | Difficulty Level |
|---|---|---|
| Boule (Round) | Rustic loaves and soups | Beginner |
| Batard (Oval) | Sandwiches and toast | Intermediate |
| Baguette (Long) | Appetizers and dipping | Advanced |
Mastering these shapes takes practice, but do not get discouraged if your first few loaves look a bit rustic. Every time you practice these artisan bread techniques, you get closer to the perfect loaf. Remember that even a slightly misshapen loaf will taste delicious if your fermentation was on point.
Baking: The Final Step
The final stage of my baking process is where the magic truly happens in the heat of the oven. Learning how to bake artisan bread effectively requires understanding how heat interacts with your dough. It is the moment when your hard work turns into a beautiful, aromatic loaf.

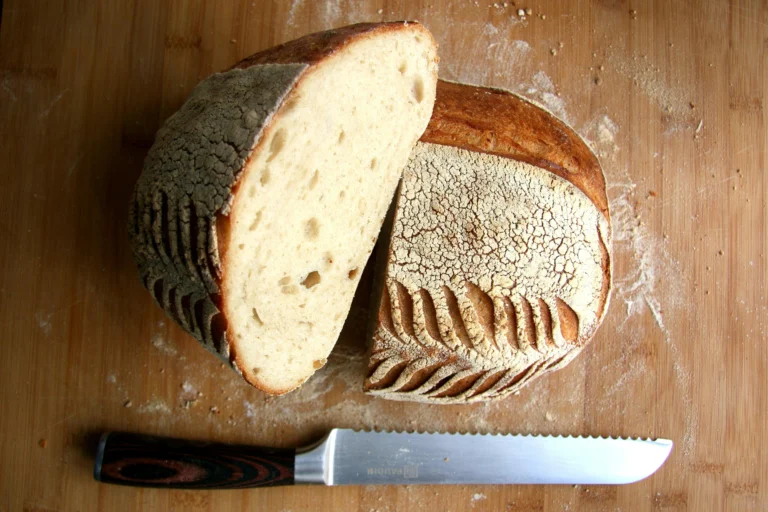
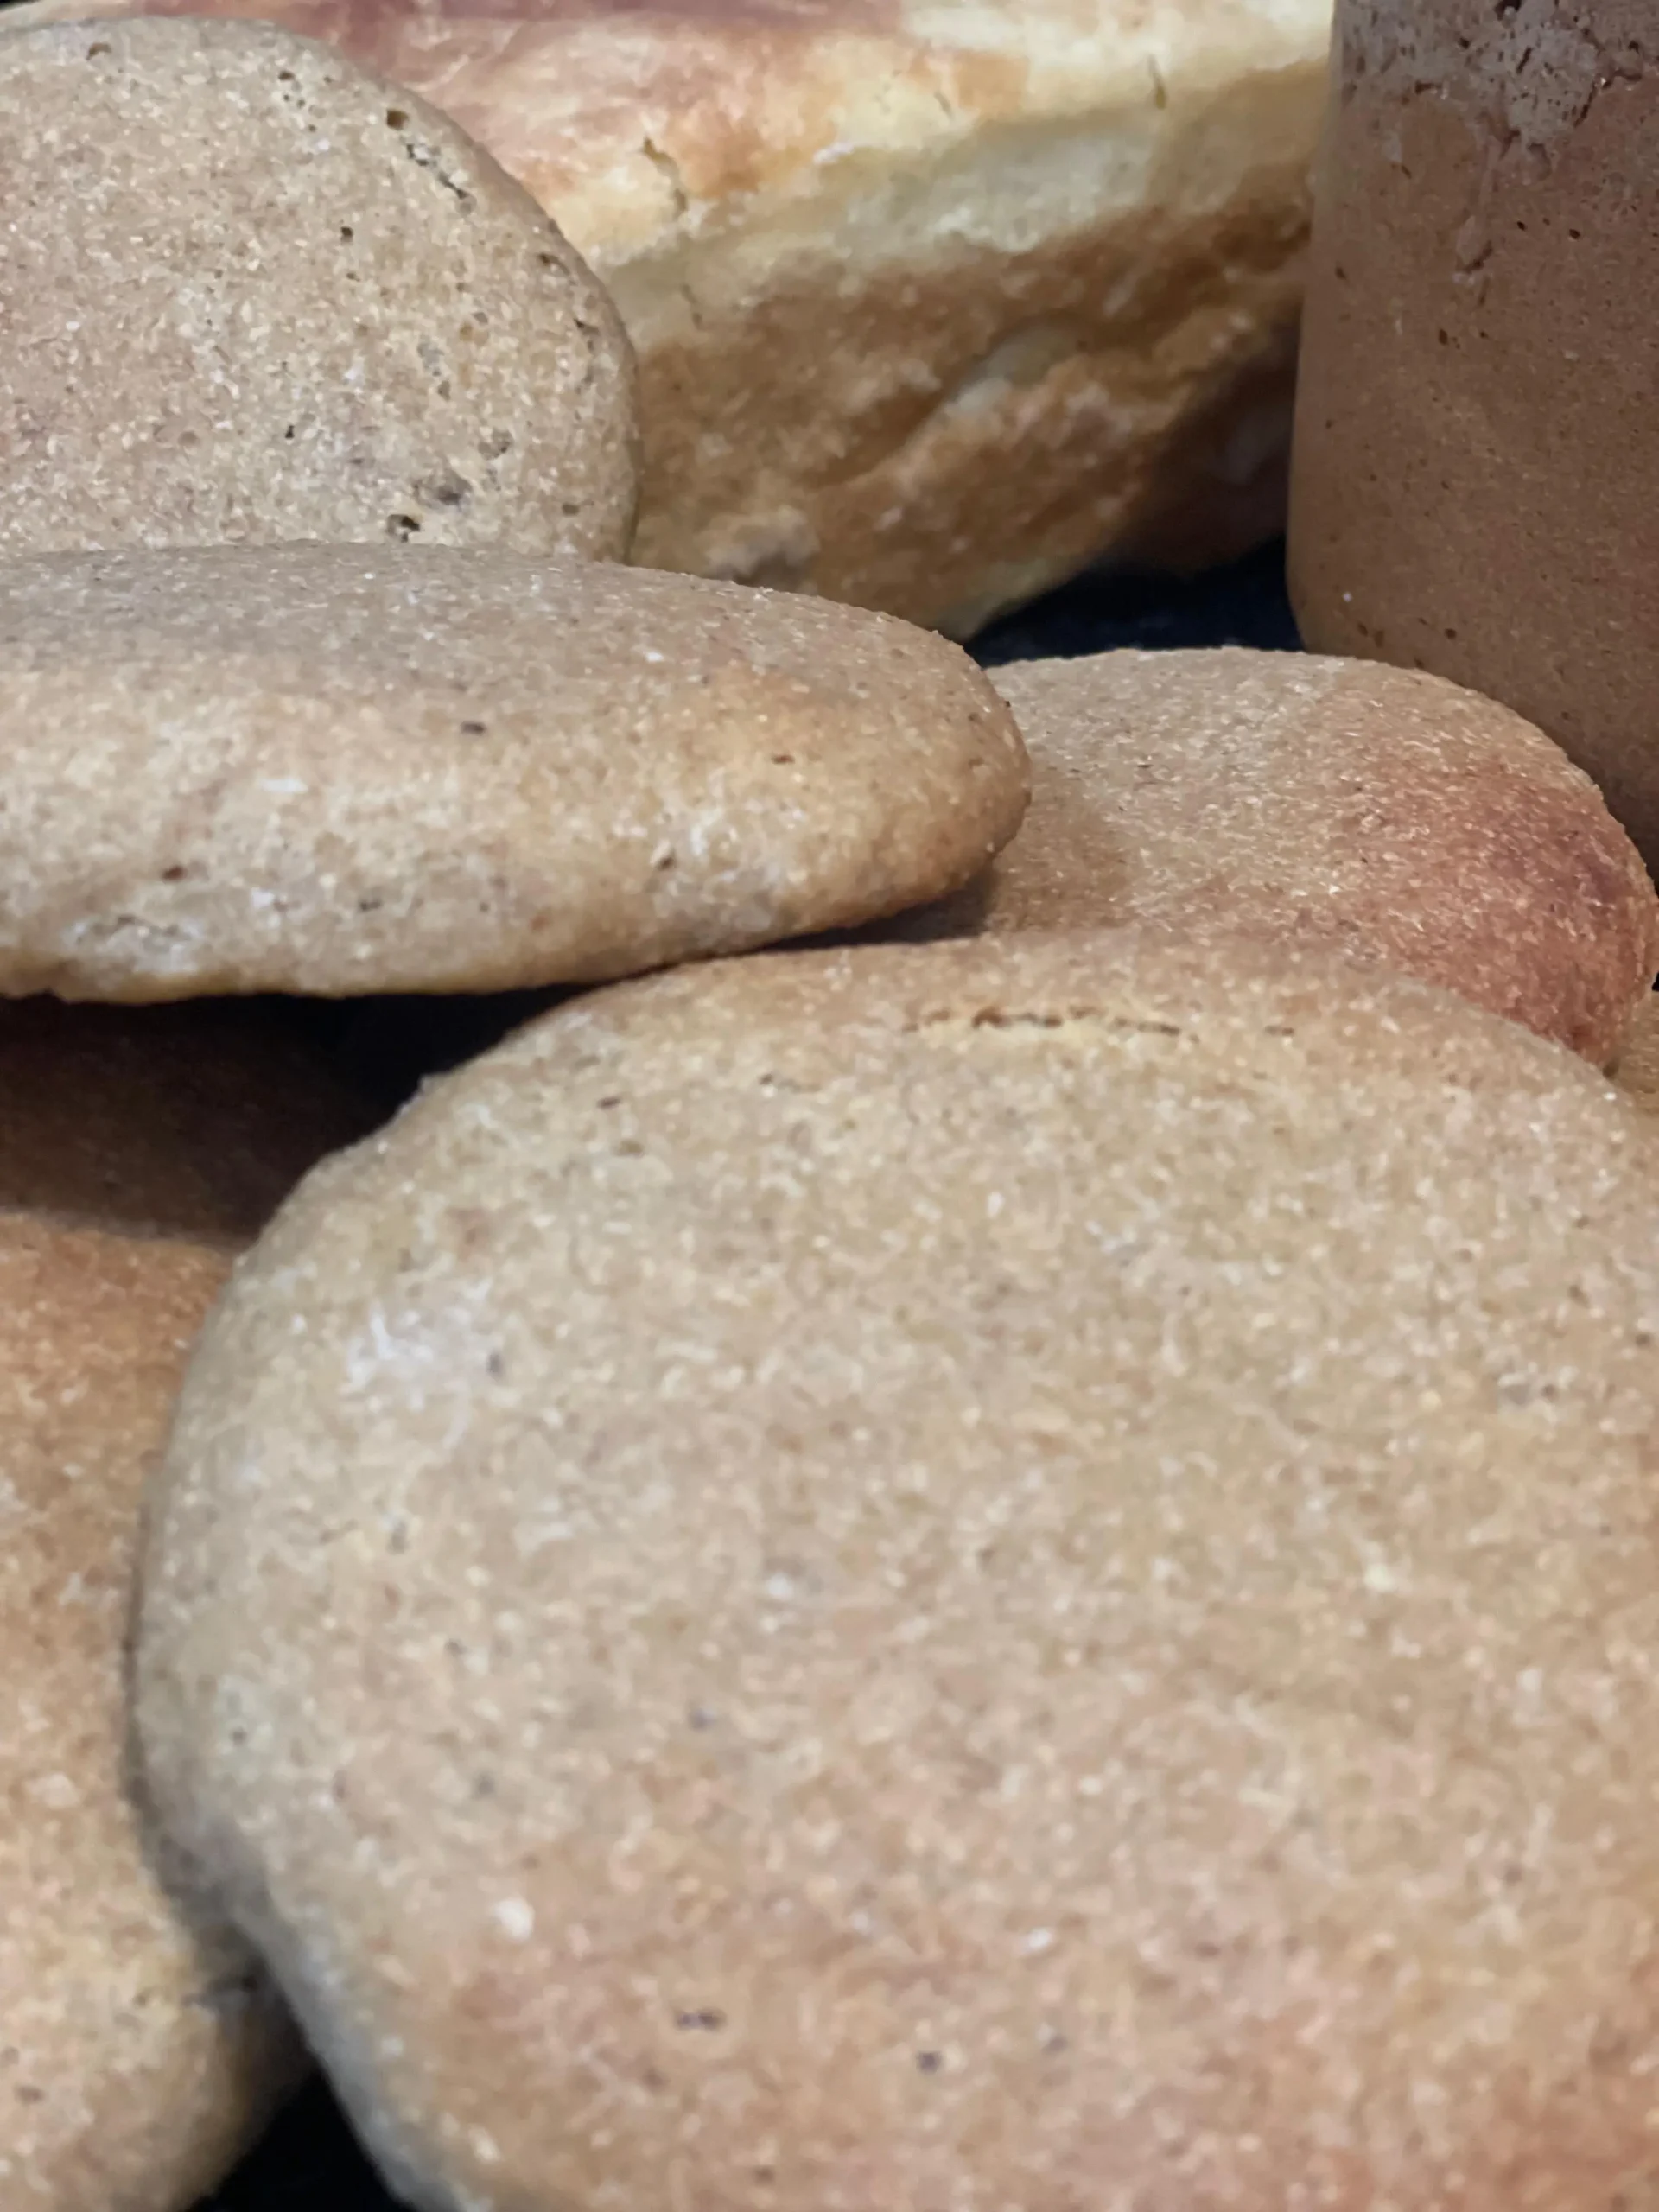
Achieving the Perfect Crust
A professional, crackling crust is the hallmark of a great loaf. To achieve this at home, you must create a steam-filled environment during the first half of the bake. Steam keeps the surface of the dough soft, allowing it to expand fully before the crust sets.
If you do not have a professional steam oven, you can easily replicate this effect. I often use a heavy cast iron pot or two cast iron skillets to trap moisture. By placing a hot skillet with water at the bottom of the oven, you generate the necessary humidity for a shatteringly crisp exterior.
Tips for Baking in a Home Oven
Mastering your home oven is essential for consistent results. I recommend using an oven thermometer to ensure your temperature is accurate, as many home ovens fluctuate significantly. These crusty bread tips will help you avoid burnt bottoms or undercooked centers.
Always preheat your oven for at least 45 minutes to ensure the heat is stable. When you are ready to bake, keep a close eye on the color of the loaf. A deep, dark golden brown is usually the best indicator that your bread is perfectly cooked inside.
| Method | Crust Quality | Ease of Use | Best For |
|---|---|---|---|
| Dutch Oven | Excellent/Crispy | High | Beginners |
| Baking Stone | Good/Rustic | Medium | Advanced |
| Sheet Pan | Soft/Thin | Low | Quick Loaves |
Common Mistakes to Avoid
Even the most experienced bakers encounter hurdles when learning how to bake artisan bread. I remember my first few loaves; they were often dense or oddly shaped because I simply did not understand the science behind the dough. By identifying these frequent pitfalls, you can troubleshoot your own bakes and achieve professional results at home.
Over-proofing vs. Under-proofing
Managing the bread fermentation process is arguably the most challenging part of the craft. If your dough sits too long, it becomes over-proofed, leading to a weak structure that collapses in the oven. Conversely, under-proofing leaves the dough tight and dense, preventing that airy crumb we all crave.
“The secret to great bread is not just the ingredients, but the patience to let the fermentation do its work.”
To avoid these issues, I suggest using the “poke test.” Gently press your finger into the dough; if it springs back slowly, it is ready. If it stays indented, it is likely over-proofed, and if it springs back instantly, it needs more time.
Not Scoring the Dough
Many beginners forget to score their loaves, which is a critical step for success. Scoring the dough with deep, intentional slits acts as a release valve for steam. Without this, the bread cannot expand properly, often resulting in an uneven or ruptured crust.
Here are some essential crusty bread tips to keep in mind for your next bake:
- Always use a very sharp blade or a dedicated lame for clean cuts.
- Score the dough at a 45-degree angle to encourage a beautiful “ear” or ridge.
- Do not hesitate; a quick, confident motion prevents the blade from dragging through the dough.
By mastering these simple techniques, you will notice a significant improvement in your loaves. Remember that every mistake is just a lesson that brings you closer to the perfect bake.
Experimenting with Flavors
I believe that the best part of mastering a basic artisan bread recipe is the freedom to customize it. Once you have the fundamental techniques down, your kitchen becomes a playground for creativity. You can start to adjust your sourdough starter and dough to create unique flavor profiles that reflect your personal taste.
Adding Whole Grains and Seeds
One of my favorite ways to elevate a loaf is by incorporating different grains. Adding whole wheat flour to your sourdough starter provides a deeper, nuttier flavor and a beautiful, rustic color to the final crumb. It is a simple change that makes a world of difference.
You can also fold in toasted seeds like sunflower, flax, or pumpkin seeds during the final fold. These artisan bread ingredients add a delightful crunch and extra nutritional value. Just be sure to soak larger seeds in water first so they do not absorb moisture from your dough.
Infusing with Herbs and Spices
If you want to take your baking to the next level, try infusing your dough with fresh herbs or aromatic spices. Rosemary, thyme, and even cracked black pepper can turn a standard loaf into something truly special. I find that adding these during the bulk fermentation stage allows the flavors to meld perfectly with the wild yeast.
When experimenting with your artisan bread recipe, remember to keep the balance in mind. Too many heavy additions can weigh down the dough and hinder the rise. Start small, observe how your dough reacts, and enjoy the process of making every loaf uniquely yours.
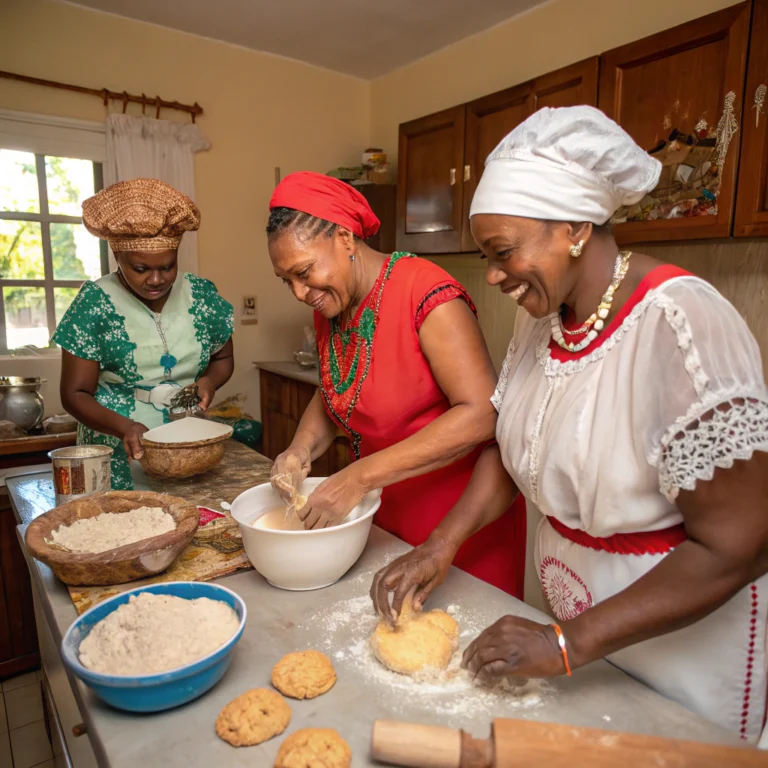
The Joy of Sharing Artisan Bread
Nothing bridges the gap between neighbors quite like the scent of fresh, homemade bread drifting through the air. I have discovered that the true value of my craft is not found in the crust or the crumb, but in the people I feed. Sharing a loaf is an ancient, communal act that instantly turns a simple kitchen into a place of warmth and welcome.
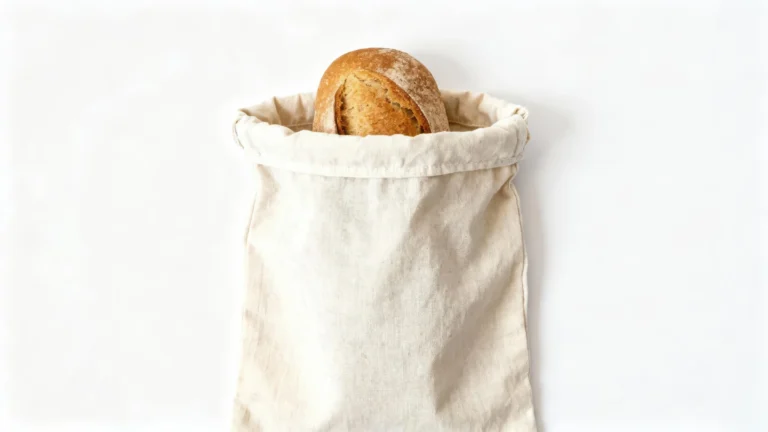
Gifting Homemade Bread
When I decide to gift a loaf, I am offering more than just flour, water, and salt. I am giving away hours of patience and care, which makes the gesture deeply personal. Handing a warm loaf to a friend often sparks a conversation that goes much deeper than the weather.
It is a wonderful way to show appreciation or to offer comfort during difficult times. The simple act of baking artisan bread at home allows me to reach out to those around me in a way that store-bought items never could. The recipient always feels the love poured into the dough.
Creating Community Through Baking
My kitchen has become a hub for connection, all thanks to the loaves I pull from my oven. I have noticed that the aroma of baking bread acts as a natural magnet for neighbors and family alike. It invites people to slow down, sit at the table, and share a moment of genuine human connection.
By baking artisan bread at home, I have built a small, supportive community right in my own neighborhood. We often trade stories while breaking off pieces of a fresh, crusty loaf. This experience reminds me that the most important ingredient in any recipe is the community we build around it.
Final Thoughts on My Artisan Bread Journey
My kitchen feels different now that I understand the rhythm of dough. I spent months learning what is artisan bread, and the effort changed my perspective on food forever.
Reflections on My Baking Experience
The loaves I pull from my oven beat 95% of store-bought options in flavor and texture. Every slice of homemade bread represents a small victory over mass-produced alternatives. I find deep satisfaction in the simple act of feeding my family something crafted by hand.
Encouragement for Beginner Bakers
Mastering artisan bread baking takes patience and a willingness to learn from mistakes. Your first loaf might not look perfect, but the taste will likely surprise you. Keep practicing your technique with high-quality flour and a reliable Dutch oven from brands like Le Creuset or Lodge.
You possess the ability to create something beautiful and nourishing. Grab your apron and start your next batch today. Your journey toward becoming a skilled baker begins with a single mix of flour, water, and salt.