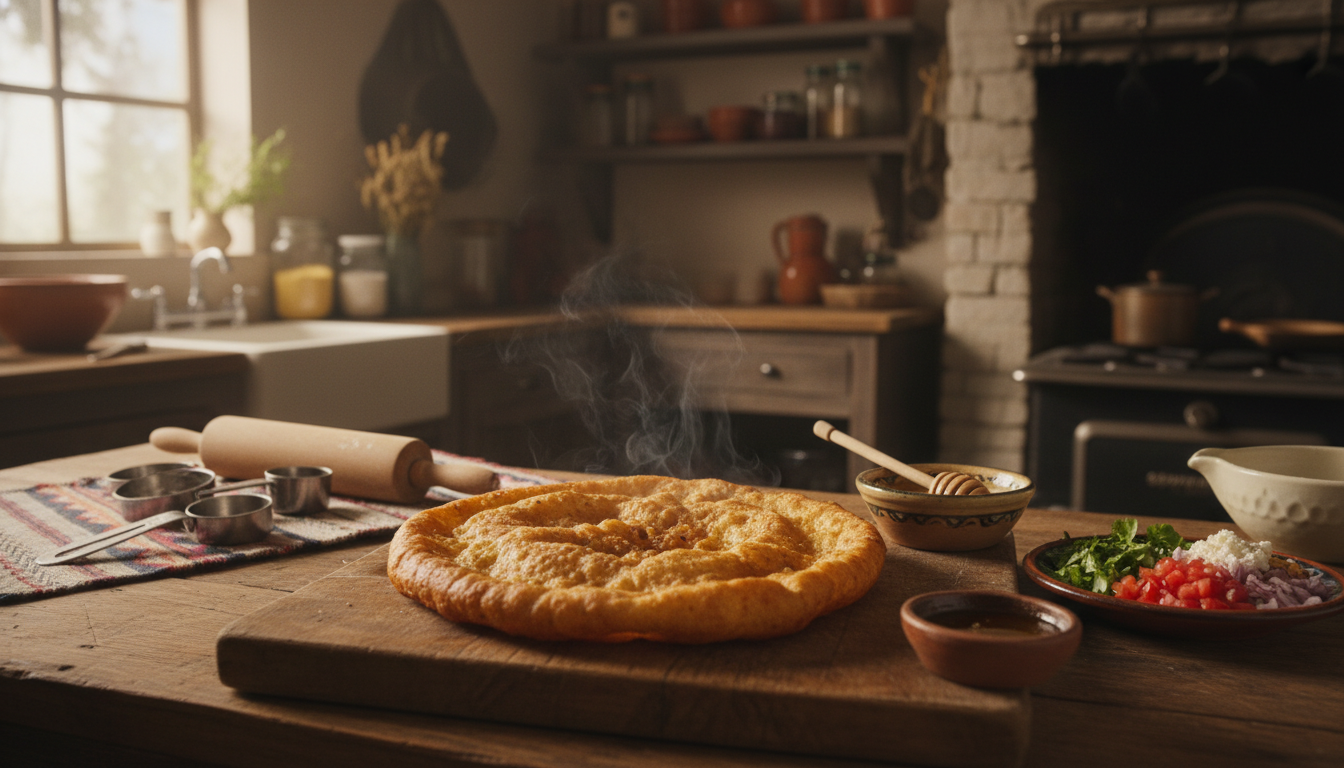
Traditional Fry Bread Recipe: Crispy and Golden Homemade Classic
There is something deeply nostalgic about the smell of dough hitting hot oil. I still remember the first time I watched a simple disc of dough transform into a golden, puffy cloud of joy. It felt like magic, watching those little pillows of happiness rise to the surface of the pan.
Thank you for reading this post, don't forget to subscribe!Creating homemade fry bread in your own kitchen is more than just cooking; it is an act of love. I want to help you master this craft so you can share that same warmth with your family. My goal is to guide you through the simple steps needed to achieve that perfect balance of a crunchy exterior and a soft, airy center.
By following this traditional fry bread recipe, you will learn how to handle the dough with care. We will focus on the small details that turn basic ingredients into a delicious, golden masterpiece. Let’s get started on making your own batch of comfort today.
Table of Contents
The Cultural Significance and History of Fry Bread
When I look at a piece of golden fry bread, I see a story of resilience that spans generations. This dish was born from necessity during a dark period in history, specifically around 1864. At that time, the United States government forced the Navajo people to relocate to New Mexico, a journey now known as the Long Walk.
Because the land at the relocation site was barren, the people could not grow their traditional crops. To survive, they relied on government-issued rations of white flour, sugar, salt, and lard. By combining these simple ingredients, they created what we now recognize as authentic fry bread.
This bread became a symbol of survival and resourcefulness. It represents the ability of a community to adapt under extreme pressure while maintaining their cultural identity. Today, it remains a beloved staple at powwows, family gatherings, and community events across the United States.
Understanding the background of this food helps me appreciate the effort that goes into every batch. When I prepare authentic fry bread, I am not just cooking; I am honoring a tradition that has sustained families for over a century. It serves as a reminder of the strength found in shared meals and collective history.
| Historical Context | Modern Appreciation | Key Value |
|---|---|---|
| Government Rations | Culinary Tradition | Resilience |
| Survival Necessity | Community Bonding | Resourcefulness |
| Limited Ingredients | Diverse Toppings | Adaptability |
Essential Ingredients for Authentic Results
My journey to the perfect bread began by mastering these essential pantry components. When you aim to create an authentic fry bread, the quality of your ingredients dictates the final outcome. I have found that keeping things simple is the secret to success.
Selecting the Right Flour and Leavening Agents
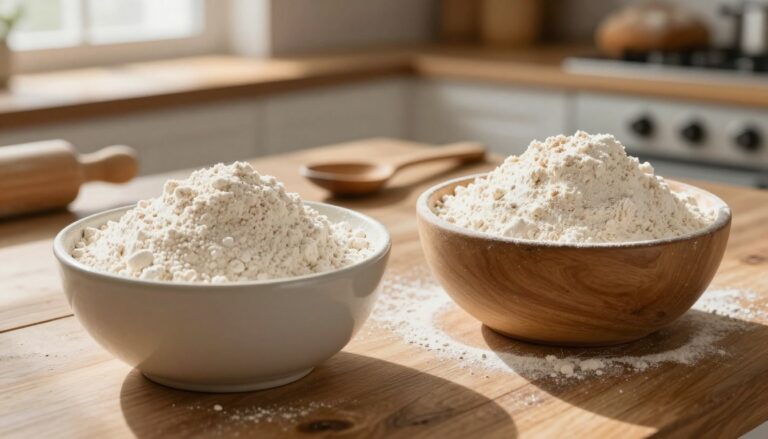
To build the foundation of a traditional fry bread recipe, you only need a few basic items. I always use one cup of high-quality all-purpose flour as my base. This provides the right structure for the dough to puff up beautifully.
The leavening process is equally vital for that airy, light interior. You must combine your flour with exactly 1.5 teaspoons of baking powder and 0.25 teaspoon of salt. Precision is key here, as these ratios ensure your dough rises perfectly without becoming too dense or heavy.
The Importance of Quality Oil for Frying
The choice of oil is often overlooked, yet it plays a massive role in the flavor profile of your authentic fry bread. I recommend using an oil with a high smoke point, such as canola or vegetable oil. These neutral options allow the natural, slightly nutty taste of the fried dough to shine through.
Using fresh, clean oil is essential for achieving that signature golden-brown finish. If the oil is old or has been used for other strong-flavored foods, it will negatively impact your traditional fry bread recipe. Always choose a high-quality oil to ensure your final product is crisp, light, and delicious every single time.
Preparing Your Kitchen and Workspace
Creating the perfect homemade fry bread begins long before the oil hits the pan. A well-organized kitchen allows you to focus on the technique rather than searching for missing items. By setting up your station in advance, you ensure a smooth and enjoyable cooking experience.
Gathering Necessary Tools and Equipment
To achieve consistent results, I recommend gathering all your tools before you begin. Having everything within arm’s reach prevents unnecessary stress while the dough is ready to fry.
- Deep kettle or heavy-bottomed pot: This is essential for maintaining steady oil heat.
- Pastry scraper: Use this to handle sticky dough without making a mess of your hands.
- Dough disc or silicone mat: Placing this on your counter keeps your workspace clean and prevents the dough from sticking.
- Slotted spoon or spider strainer: These tools help you safely remove the bread from the hot oil.
Safety Precautions When Working with Hot Oil
Working with hot oil requires constant vigilance to keep your cooking environment secure. I always keep a fire extinguisher nearby, just in case of an emergency. Never leave your pot unattended, as oil can reach its smoke point very quickly.
“Safety is the most important ingredient in any kitchen, especially when deep-frying at home.”
If you are new to making homemade fry bread, remember to keep your pot only half-full to prevent dangerous splatters. Always lower the dough into the oil away from your body to avoid accidental burns. By following these simple steps, you can enjoy the process of crafting delicious homemade fry bread with total confidence.
Step-by-Step Traditional Fry Bread Recipe
Achieving a light and airy texture starts long before the dough hits the hot oil. When you follow a traditional fry bread recipe, the way you handle your ingredients determines the final quality of your meal.
Mixing the Dry and Wet Ingredients
I always start by whisking my dry ingredients together in a large bowl to ensure the leavening agent is evenly distributed. Creating a small well in the center allows me to pour in the warm water or milk gradually.
Using a wooden spoon, I gently stir the mixture until a shaggy dough begins to form. Patience is key here, as you want to incorporate the flour slowly without overworking the base.
Mastering the Kneading Technique for Perfect Texture
Once the dough comes together, it is time to knead. To ensure your authentic fry bread remains tender rather than tough, you must resist the urge to over-knead.
I typically knead the dough only four or five times on a lightly floured surface. This minimal handling keeps the gluten strands relaxed, which is the secret to that delightfully soft interior you crave.
Allowing the Dough to Rest Properly
After kneading, the dough needs time to relax. I cover the bowl with a clean kitchen towel and let it sit in a warm, draft-free spot for at least thirty minutes.
This resting period is essential for an authentic fry bread experience. It allows the gluten to settle, making the dough much easier to stretch later without it snapping back into a ball.
Shaping the Dough for the Perfect Fry
Once your dough has rested, it is time to focus on the delicate process of shaping it for the fryer. This step is the secret to achieving that iconic, flat, and crispy appearance that defines homemade fry bread. I always treat the dough with care to ensure it maintains its integrity during the cooking process.
Techniques for Stretching the Dough
To begin, gently pull the dough from the edges using your fingertips. I prefer to work in a circular motion, letting gravity help stretch the center naturally. Avoid pulling too hard, as this can cause the dough to tear and ruin the final shape.
“The beauty of the bread lies in the hands of the maker, where patience meets tradition in every stretch.”
Achieving the Ideal Thickness and Size
Consistency is vital when you prepare your homemade fry bread. I recommend rolling or stretching each dough ball into a disc that is exactly 1/4-inch thick. This specific measurement ensures that the center cooks through at the same rate as the edges.
If the dough is too thick, the middle may remain raw while the outside burns. If it is too thin, you lose that signature chewiness. Aim for a uniform size that fits comfortably in your skillet, allowing for even heat distribution across the entire surface.
Mastering the Frying Process
Frying is where the magic happens, and mastering the heat is the secret to success. When you prepare authentic fry bread, the temperature of your oil determines whether the final result is light and airy or heavy and greasy.
Maintaining the Correct Oil Temperature
I always recommend heating your oil to exactly 350°F for the best results. If you do not have a kitchen thermometer, you can use a simple trick to check the heat.
Drop a single popcorn kernel into the oil as it warms up. When the kernel pops, your oil has reached the perfect temperature for frying.
Recognizing the Signs of Golden Perfection
Once the dough hits the oil, watch it closely. You want the bread to develop a beautiful, deep golden-brown color on both sides.
If the edges brown too quickly, your oil is likely too hot. Conversely, if the dough sits in the oil without bubbling vigorously, the temperature is too low, which can lead to a soggy texture.
How to Prevent Excess Oil Absorption
To ensure your authentic fry bread remains light and crispy, never overcrowd your pan. Adding too many pieces at once causes the oil temperature to drop rapidly.
Always place your finished bread on a wire rack or paper towels immediately after removing it from the pot. This simple step helps drain any surface oil, ensuring that every bite of your authentic fry bread is perfectly crisp and delicious.
Troubleshooting Common Fry Bread Challenges
Mastering a traditional fry bread recipe often involves learning how to navigate common kitchen challenges. Even when you follow every step carefully, variables like temperature or technique can occasionally lead to unexpected results. I want to help you feel confident in your kitchen so you can troubleshoot these minor issues with ease.
Why Your Dough Might Be Too Tough
If your finished bread feels chewy or dense rather than light and airy, you likely over-kneaded the dough. Overworking the flour develops too much gluten, which creates a tough structure instead of a tender crumb. Try to handle the dough gently and only until it just comes together.
Another common culprit is adding too much flour during the kneading process. It is tempting to keep dusting your surface to prevent sticking, but this can dry out the dough significantly. Always measure your flour by spooning it into the cup rather than scooping it directly from the bag.
Fixing Issues with Uneven Browning
Uneven color often happens when the oil temperature fluctuates during the frying process. If the oil is too cool, the bread absorbs excess grease and browns slowly, while oil that is too hot burns the outside before the center is cooked. I recommend using a kitchen thermometer to keep your oil steady at the ideal heat.
Additionally, avoid crowding your pan when frying. Placing too many pieces of dough in the oil at once causes the temperature to drop rapidly. Give each piece enough room to float freely so it can achieve that perfect golden-brown finish we all love.
Adjusting for Humidity and Altitude
Environmental factors play a surprisingly large role in how your dough behaves. Humidity and high altitude can change how your flour absorbs moisture, which often requires slight adjustments to your milk or flour ratios. If your dough feels sticky due to high humidity, add a tiny bit more flour, one tablespoon at a time.
Conversely, if you are baking at a high altitude, your dough might dry out faster than expected. In these cases, you may need to increase the liquid slightly to maintain the right consistency. Learning to feel the texture of the dough is the best way to master your traditional fry bread recipe regardless of where you live.
Creative Serving Suggestions and Toppings
I love how a simple piece of fried dough can transform into so many different culinary experiences. Because the base is so neutral and satisfying, it serves as the perfect foundation for a wide variety of flavors. Mastering authentic fry bread allows you to experiment with both sweet and savory profiles depending on your mood.
Classic Sweet Toppings for Dessert
When I want a quick treat, I often turn to traditional sweet pairings that highlight the airy texture of the dough. A simple dusting of powdered sugar is a timeless choice that never fails to please a crowd. You might also enjoy drizzling warm honey or agave nectar over the surface for a sticky, delicious finish.
For those who enjoy a bit of spice, a light coating of cinnamon sugar adds a wonderful warmth to every bite. These sweet versions of authentic fry bread are perfect for weekend brunches or as a comforting evening snack. I find that serving them while they are still slightly warm makes the experience even better.
“Food is the ingredient that binds us together, turning a simple meal into a shared memory of culture and love.”
Savory Ways to Serve Fry Bread as a Meal
If you are looking for a hearty dinner, the most iconic way to serve this dish is by creating Indian Tacos. I like to pile mine high with seasoned ground beef, zesty chili, shredded cheddar cheese, crisp lettuce, and diced onions. A generous dollop of cool sour cream on top balances the heat of the chili perfectly.
You can also get creative by using your authentic fry bread as a base for other savory toppings. Consider these popular additions to elevate your meal:
- Slow-cooked pulled pork with a touch of barbecue sauce.
- Refried beans topped with fresh pico de gallo and avocado slices.
- Sautéed vegetables like bell peppers and onions for a lighter, plant-based option.
The key is to ensure your toppings are ready before the bread comes out of the oil. This way, you can assemble your meal immediately while the dough remains perfectly crispy and golden.
Storing and Reheating Your Homemade Fry Bread
While enjoying your homemade fry bread fresh from the oil is ideal, sometimes you have leftovers that need saving. I find that with the right approach, you can keep these treats delicious for a little while longer. Proper care ensures that your hard work does not go to waste.
Best Practices for Keeping Bread Fresh
If you have extra pieces, let them cool completely on a wire rack before storing them. Placing warm bread into a container creates steam, which leads to a soggy texture. Once cooled, keep your homemade fry bread in an airtight container or a sealed plastic bag.
You can store the bread at room temperature for up to two days. If you need to keep it longer, I recommend freezing the pieces individually. Simply wrap each one in plastic wrap and place them in a freezer-safe bag to maintain their delicate quality.
Reviving Leftovers to Restore Crispiness
When you are ready to eat your stored bread, the goal is to bring back that signature crunch. I have found that the air fryer is the absolute best tool for this job. It circulates hot air to ensure the exterior becomes crispy again without drying out the center.
To reheat, preheat your air fryer to 350°F. Place your homemade fry bread inside for 30 seconds to one minute. This quick blast of heat is usually enough to restore that perfect, pillowy texture you love. Always keep a close eye on the bread to prevent it from becoming too dark or brittle.
Nutritional Considerations and Moderation
Enjoying homemade fry bread is a wonderful experience that deserves a mindful approach to nutrition. While I truly cherish the golden, crispy texture of this classic treat, I also believe in maintaining a healthy perspective on my overall food intake.
Understanding the Traditional Nature of the Dish
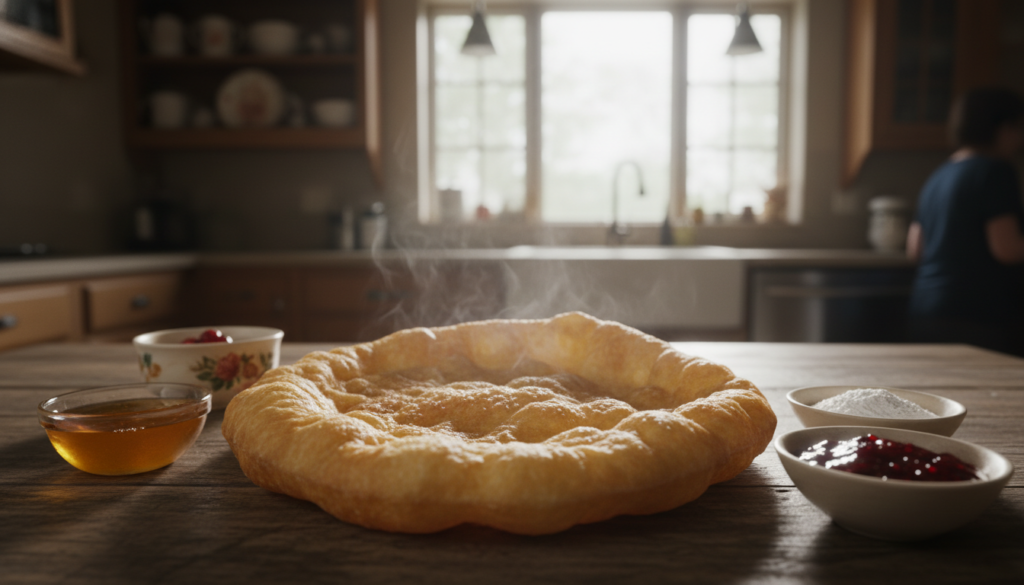
It is important to recognize that this recipe is a cherished cultural staple meant to be savored. One serving of this homemade fry bread contains approximately 149 calories, which makes it a delightful treat to be enjoyed in moderation.
“Food is not just fuel; it is a connection to our history, our families, and our traditions.”
Tips for Balancing Your Meal
I find that the best way to enjoy my homemade fry bread is by pairing it with nutrient-dense ingredients. By serving it alongside a fresh garden salad or lean grilled proteins, I can create a more balanced and satisfying meal.
This approach allows me to honor the tradition of the dish while still supporting my wellness goals. Mindful eating ensures that every bite remains a special occasion rather than a daily habit.
Conclusion
Mastering this craft connects you to a rich heritage with every golden bite. You now possess the skills to prepare a traditional fry bread recipe that honors its deep cultural roots. Each batch you create serves as a bridge between past generations and your own modern table.
I encourage you to experiment with your favorite local ingredients to make this dish your own. Whether you prefer sweet honey drizzles or savory toppings, your kitchen is the perfect place to explore these flavors. Sharing this food with family and friends creates lasting memories that go beyond the plate.
Keep practicing your technique to ensure every piece comes out light and airy. You have everything needed to perfect your traditional fry bread recipe whenever the craving for comfort strikes. Enjoy the process of cooking and the joy of serving a meal made with care and history.