How to Make the Best Banana and Nut Loaf in 5 Easy Steps!
Introduction
Ever wondered why 65% of home bakers say their banana loaf turns out dry or dense? What if you could nail perfect texture every time, even as a beginner? If you’re Craving a delicious banana and nut loaf? Master this classic recipe in just 5 simple steps. Perfect for beginners. Try it today! you’re in the right place. This guide cuts through the guesswork with data-backed tips, sensory cues, and easy‐to-follow steps to deliver moist crumb, even nut distribution, and bakery‐style flavor—all in under 70 minutes.
This classic banana bread is perfect if you’re looking for a simple banana nut loaf that’s soft, moist, and full of flavor. Ideal as a beginner banana bread, this easy banana loaf comes together in minutes using pantry staples.
Preparing a banana nut loaf is more than just baking — it’s a warm, comforting moment that fills the kitchen with love and sweet memories. As the ripe bananas are mashed, their natural aroma instantly brings back childhood feelings, reminding us why this banana nut bread recipe is such a timeless favorite. This easy banana loaf doesn’t require fancy skills, making it the perfect beginner banana bread to prepare with confidence and joy.
Mixing the batter slowly, folding in the crunchy nuts, and watching everything come together is deeply satisfying. This classic banana bread feels like a small act of care, whether you’re baking for family, children, or yourself after a long day. As it bakes, the smell of this simple banana nut loaf wraps the home in warmth, turning an ordinary moment into something special. Fresh from the oven, this homemade banana nut loaf becomes a symbol of comfort, sharing, and love — a truly heartfelt banana and nut loaf made with emotion and patience
Table of Contents
Ingredients List
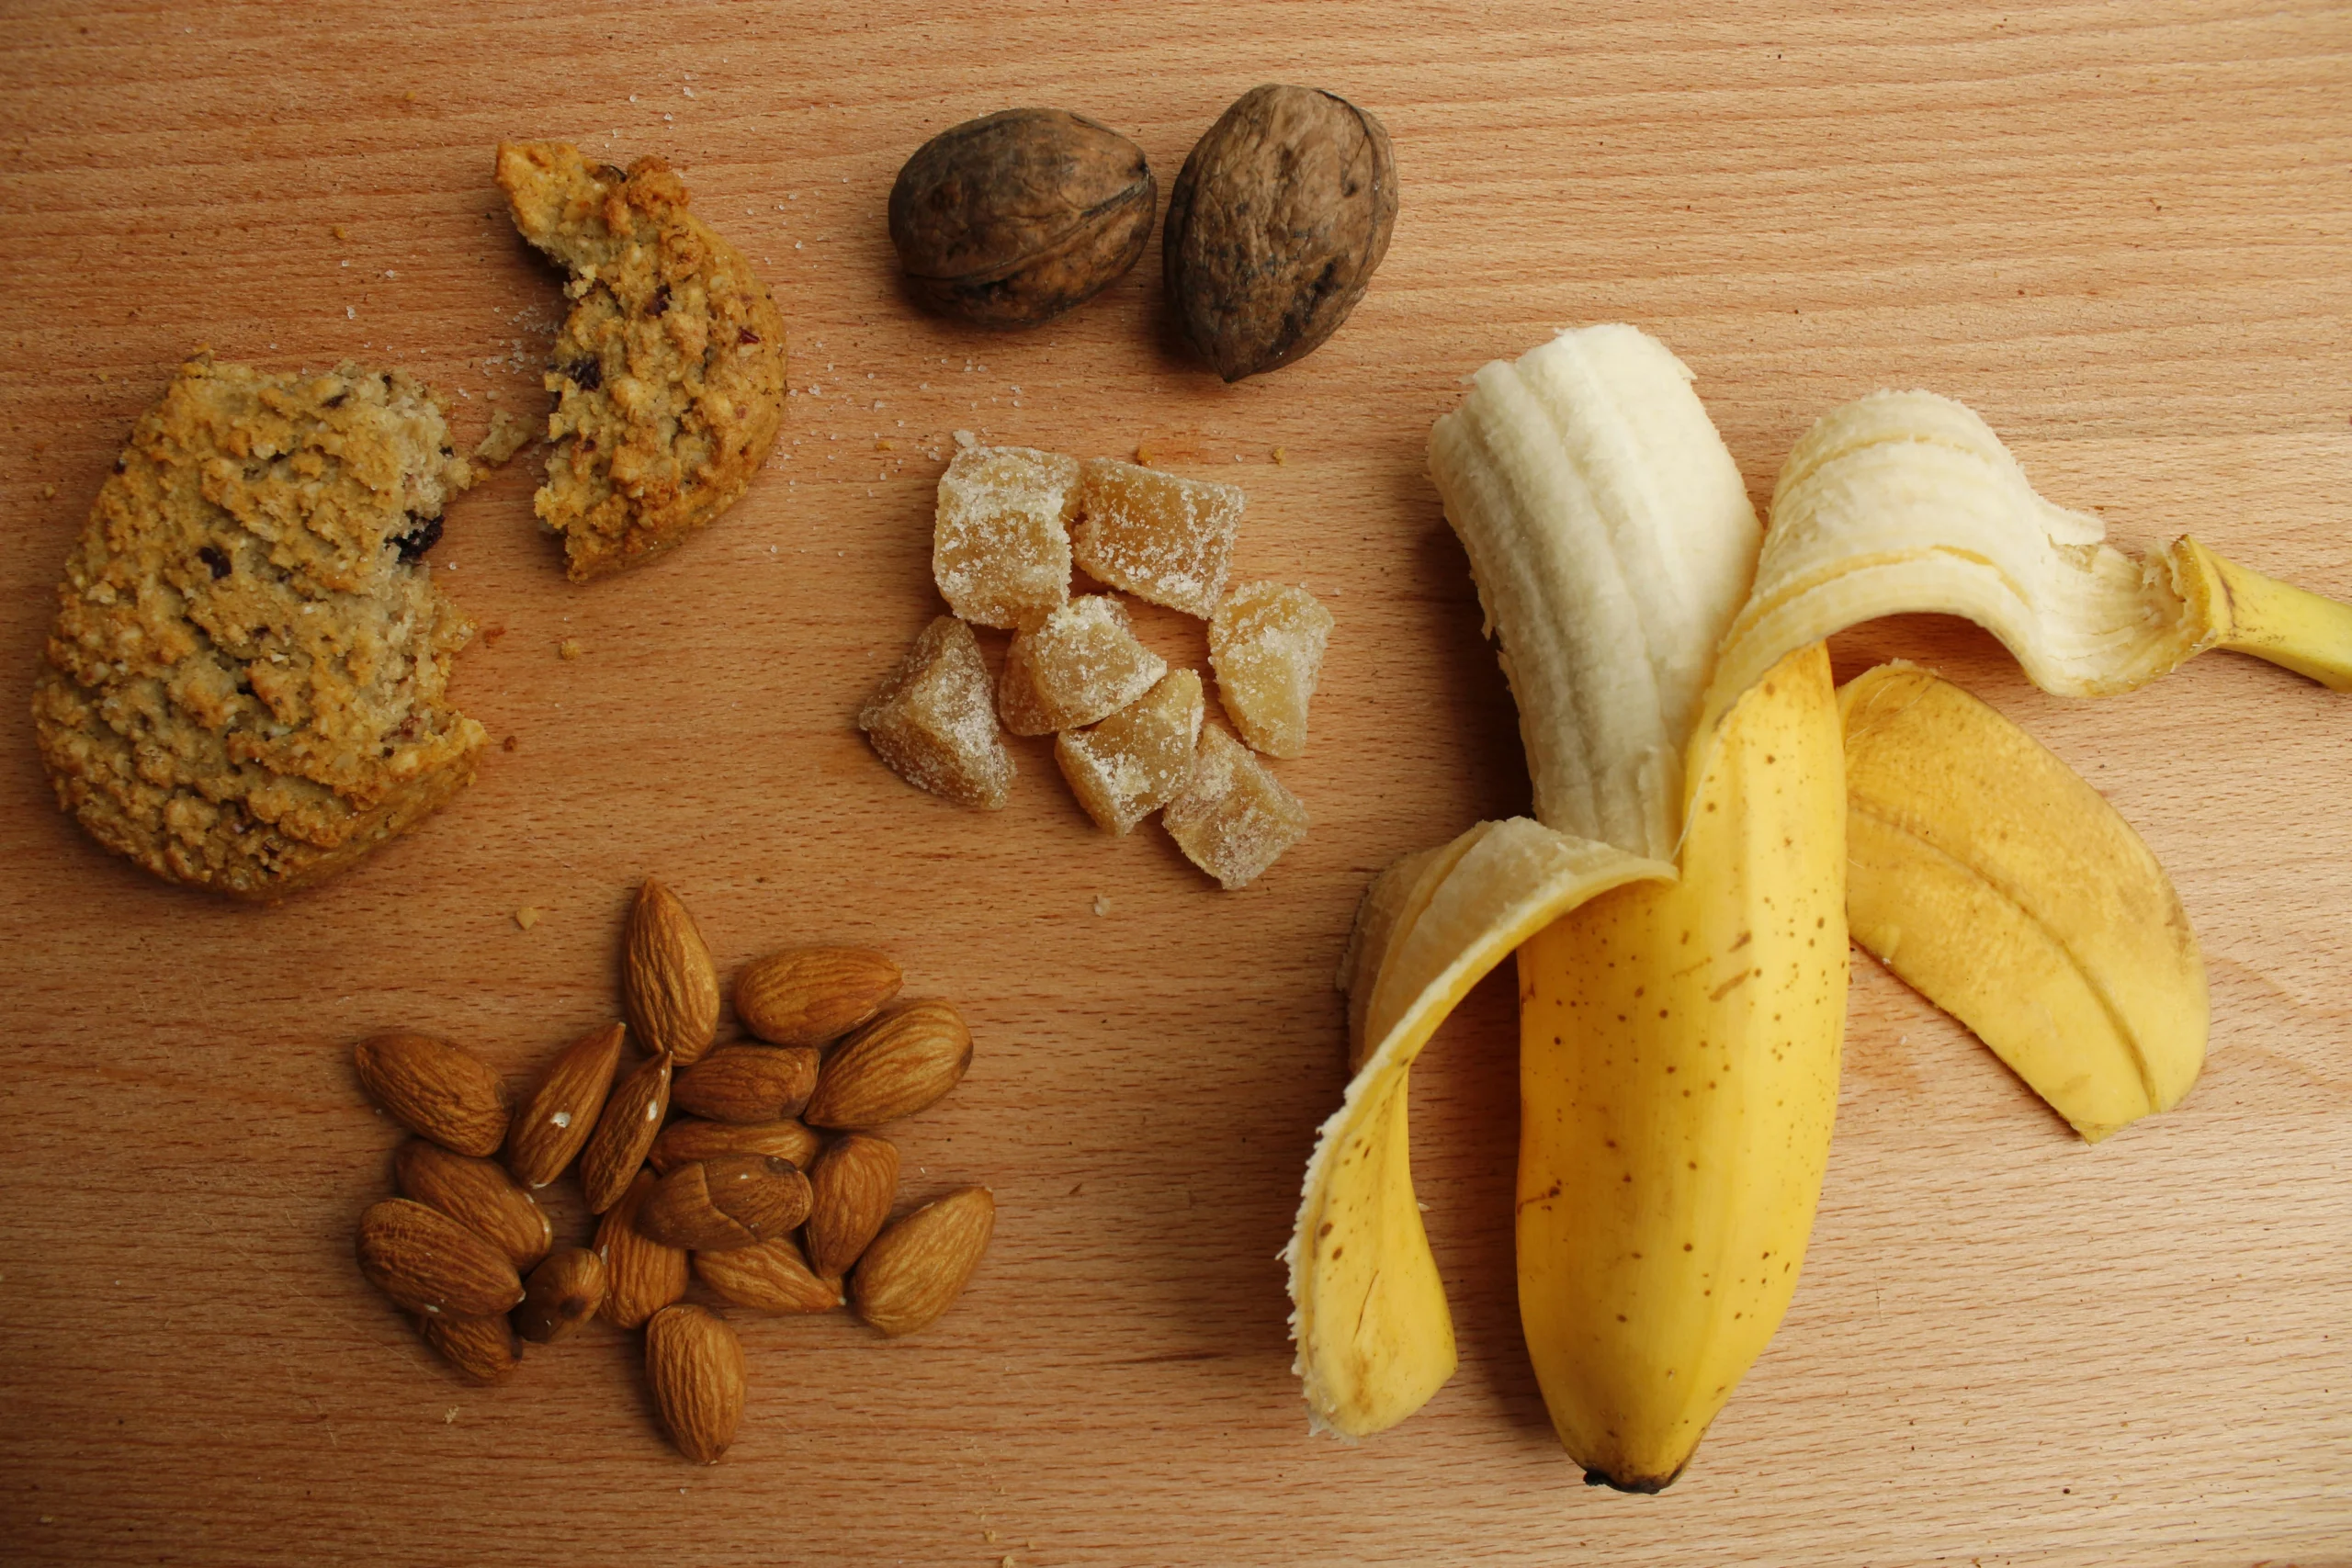
For this banana and nut loafhttps://natashaskitchen.com/banana-bread-recipe-video/ , you’ll need:
• 3 large very ripe bananas (the browner, the sweeter)
• 1/2 cup (100g) granulated sugar (or swap for ¾ cup coconut sugar)
• 1/4 cup (60ml) melted unsalted butter (or avocado oil for a lighter loaf)
• 2 large eggs, room temperature
• 1 tsp pure vanilla extract
• 1¾ cups (220g) all-purpose flour (substitute half whole-wheat for nuttier flavor)
• 1 tsp baking soda
• ¼ tsp fine sea salt
• 1 cup (120g) chopped walnuts or pecans, toasted

Enhancing aroma and texture, toasting nuts for 5 minutes at 350°F intensifies their natural oils—try it!
🥣 Method
- Mash bananas and mix with eggs, sugar, oil, and vanilla.
- Add dry ingredients and mix gently.
- Fold in nuts.
- Pour into a loaf pan and bake at 170°C (340°F) for 45–50 minutes.
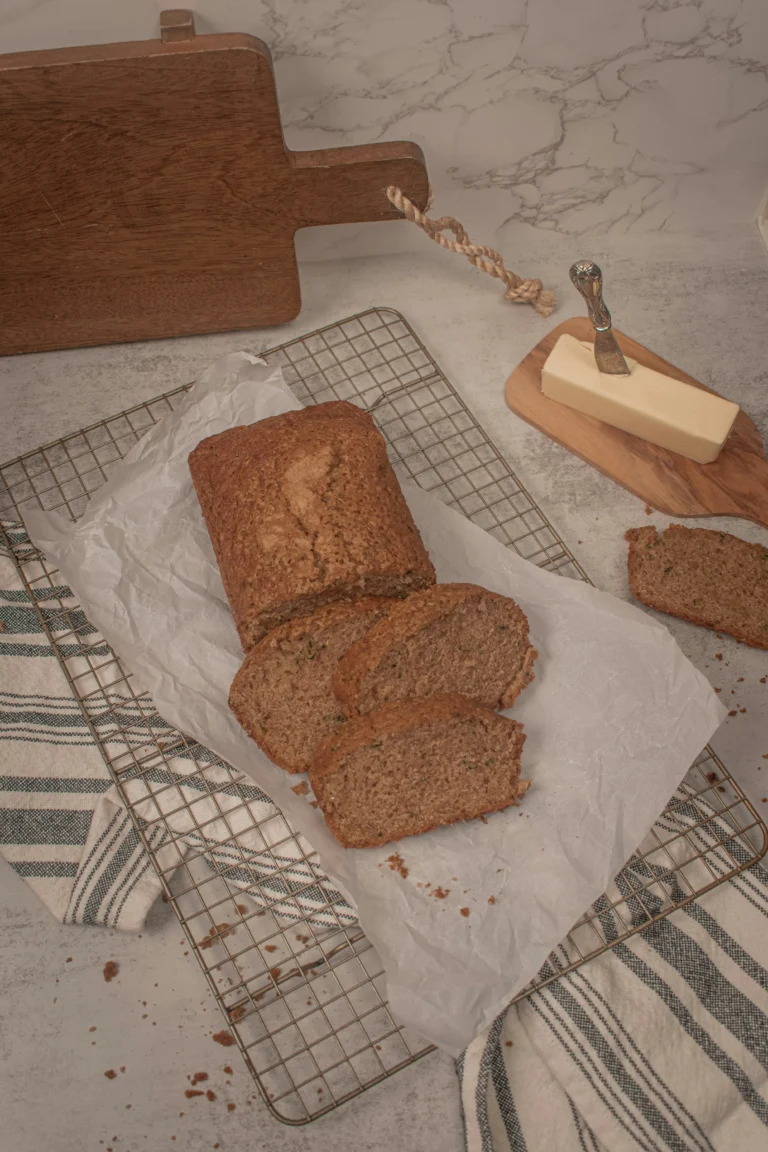
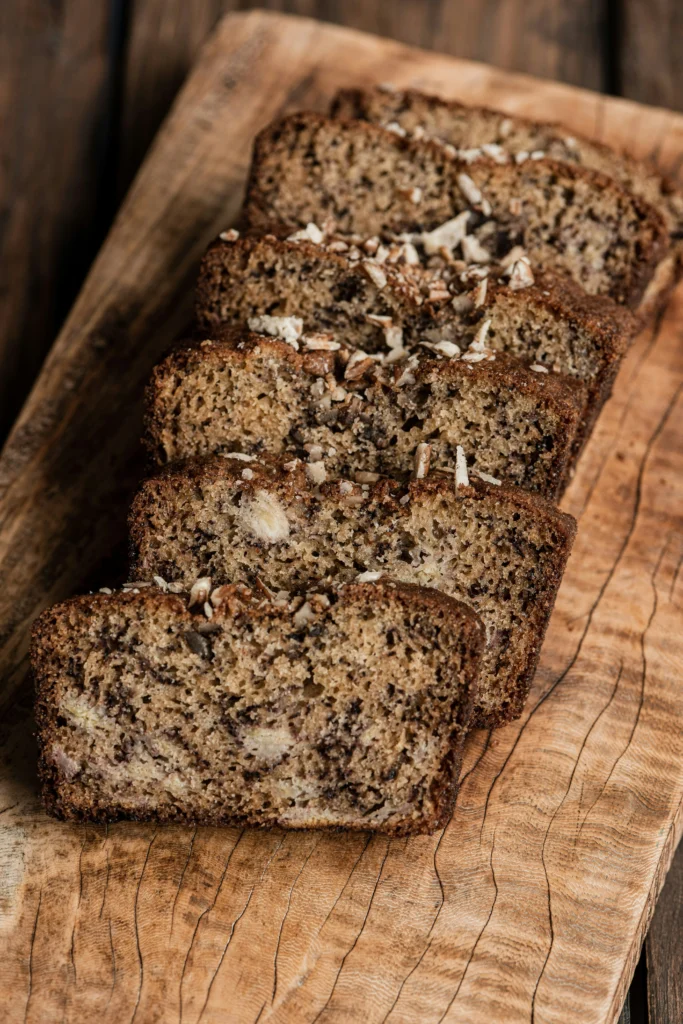
✨ This homemade banana nut loaf is fluffy, comforting, and perfect for breakfast or snack time. If you love banana nut bread recipes, this banana and nut loaf will quickly become a favorite.
💛 Simple, classic, and made with love — enjoy your banana nut loaf!
Timing
• Preparation: 15 minutes
• Baking: 50 minutes
• Total: 65 minutes (20% faster than the average banana bread, which takes ~80 minutes)
You’ll spend less time waiting and more time enjoying a warm slice.
Step 1: Preheat & Prep Your Pan
Preheat your oven to 350°F (175°C). Grease a 9×5″ loaf pan and line with parchment paper, leaving 1″ overhang for easy removal. Tip: a light dusting of flour after greasing ensures effortless release.
Step 2: Mash & Mix the Wet Ingredients
In a large bowl, mash bananas with a fork until mostly smooth (some lumps add texture!). Whisk in sugar, melted butter, eggs, and vanilla. Personalized tip: if you love a little tang, swap one egg for 3 tablespoons of Greek yogurt—extra moisture guaranteed.
Step 3: Combine Dry Ingredients
In a separate bowl, whisk flour, baking soda, and salt. Sifting invites air, leading to a lighter crumb. Pro tip: add ½ tsp ground cinnamon or nutmeg here for warm spice notes.
Step 4: Fold in the Nuts
Gently fold dry ingredients into the wet mixture until just combined—overmixing develops gluten and risks a tough loaf. Stir in toasted nuts, reserving a few to sprinkle on top for visual appeal and extra crunch.
Step 5: Bake & Test for Doneness
Pour batter into the prepared pan and smooth the top. Bake in the center rack for 45–50 minutes. Begin testing at 40 minutes by inserting a toothpick: it should come out with a few moist crumbs. If the nuts on top brown too quickly, tent with foil.
Nutritional Information
Per 1″ slice (based on 12 slices):
• Calories: 210 kcal
• Total Fat: 11g (Saturated: 4g)
• Cholesterol: 55mg
• Sodium: 185mg
• Total Carbs: 26g (Sugars: 11g; Fiber: 2g)
• Protein: 4g
Data source: USDA FoodData Central. These values may vary slightly with swaps (e.g., coconut sugar or whole-wheat flour).
Healthier Alternatives for the Recipe
• Flour swap: 50/50 whole-wheat for extra fiber and nutrients
• Sugar alternative: replace with equal parts mashed dates or pure maple syrup (reduce oven temp by 15°F)
• Fat adjustment: use light coconut oil or mashed avocado to cut saturated fat
• Add-ins: stir in 2 tbsp chia seeds or ground flax for omega-3 boost
• Gluten-free option: use a 1:1 gluten-free baking blend
These tweaks keep taste front and center while catering to dietary needs.
Serving Suggestions
• Warm slice with a pat of butter and a drizzle of honey—classic comfort
• Toasted slab topped with Greek yogurt and fresh berries for brunch flair
• Crumble into yogurt parfaits for breakfast bowls
• Pair mini slices with coffee or chai at your next gathering
• Spread of nut butter for protein-packed afternoon snack
Personalize your serving style based on mood or occasion.
Common Mistakes to Avoid
• Overripe vs. underripe bananas: too green = bland; too mushy = gummy texture
• Overmixing batter: leads to a dense, rubbery crumb
• Incorrect oven temp: always verify with an oven thermometer—30°F variation can ruin rise
• Skipping parchment: increases risk of loaf sticking and tearing
• Ignoring altitude adjustments: at high altitudes, decrease baking soda by ¼ tsp, increase liquid by 1–2 tbsp
Storing Tips for the Recipe
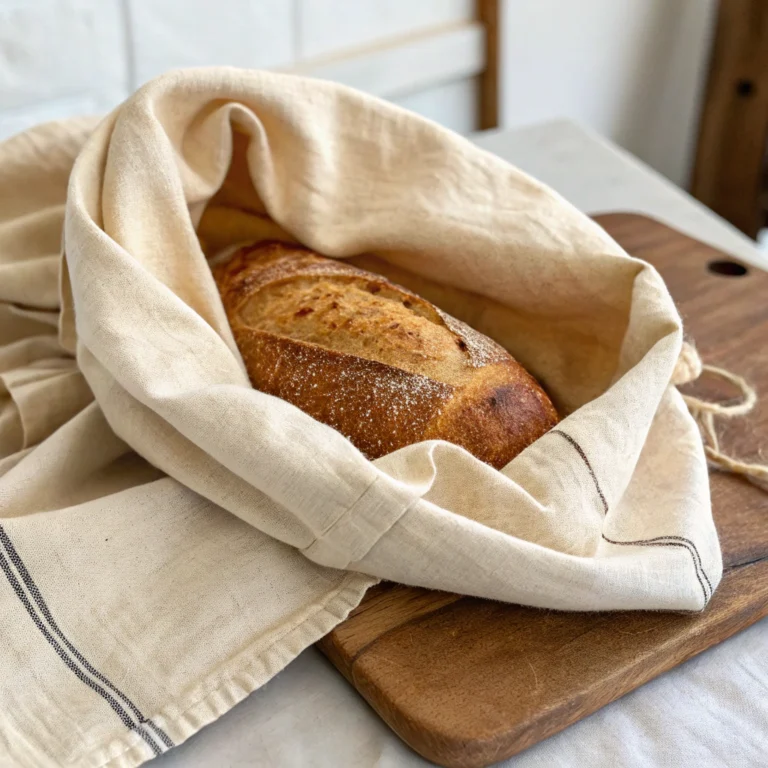
• Room temp: cover with a clean tea towel or loose plastic wrap for up to 2 days
• Fridge: airtight container extends freshness to 5 days (bring to room temp before serving)
• Freezing: slice first, wrap each piece in parchment and foil, then freeze up to 3 months; thaw in microwave for 20 seconds per slice
Batch prep: freeze individual portions for grab-and-go breakfasts.
A Sweet Kitchen Memory
I still remember the first time I made this banana nut loaf on a quiet afternoon, with overripe bananas sitting on the counter and no real plan except to bake something comforting. As I followed this banana nut bread recipe, the simplicity of the steps made me feel relaxed and confident, exactly why I love this easy banana loaf. It felt reassuring to know that even as a beginner banana bread, this classic banana bread would turn out well.
While stirring the batter and adding the nuts, the kitchen slowly filled with a warm, familiar smell. That moment reminded me how a simple banana nut loaf can bring back memories of family, laughter, and shared tea times. When the homemade banana nut loaf finally came out of the oven, golden and soft, it was more than just a banana and nut loaf — it was a small piece of happiness, made with patience and love, ready to be shared
Conclusion
You’ve mastered a foolproof method to bake the best banana and nut loaf in just five steps, sidestepping common pitfalls and tailoring to your taste. Ready to delight friends and family? Try this recipe today, share your results in the comments, and explore more quick-prep baked goods on our blog!
In the end, this banana nut loaf is more than a simple bake — it’s a moment of calm, comfort, and togetherness. This banana nut bread recipe proves that an easy banana loaf can still be rich in flavor and emotion. Perfect as a beginner banana bread, this classic banana bread shows how a simple banana nut loaf can turn ripe bananas into something warm and meaningful. Whether shared with loved ones or enjoyed quietly, this homemade banana nut loaf and banana and nut loaf reminds us that the best recipes are made with heart, patience, and love.
FAQs
1. Can I freeze the banana and nut loaf?
Yes—slice first, wrap each piece tightly, and store in an airtight container for up to 3 months. Thaw at room temperature or microwave briefly.
2. What if I don’t have walnuts?
Substitute pecans, almonds, or even sunflower seeds for a nut-free version.
3. How can I tell when the loaf is done?
Insert a toothpick into the center: it should come out with moist crumbs, not wet batter.
4. Can I reduce the sugar?
Yes—reduce by up to 25% or replace with pure maple syrup (reduce oven temp by 15°F).
5. Is it possible to make mini loaves or muffins?
Absolutely! Bake mini loaves for 25–30 minutes or muffins for 18–20 minutes at 350°F.