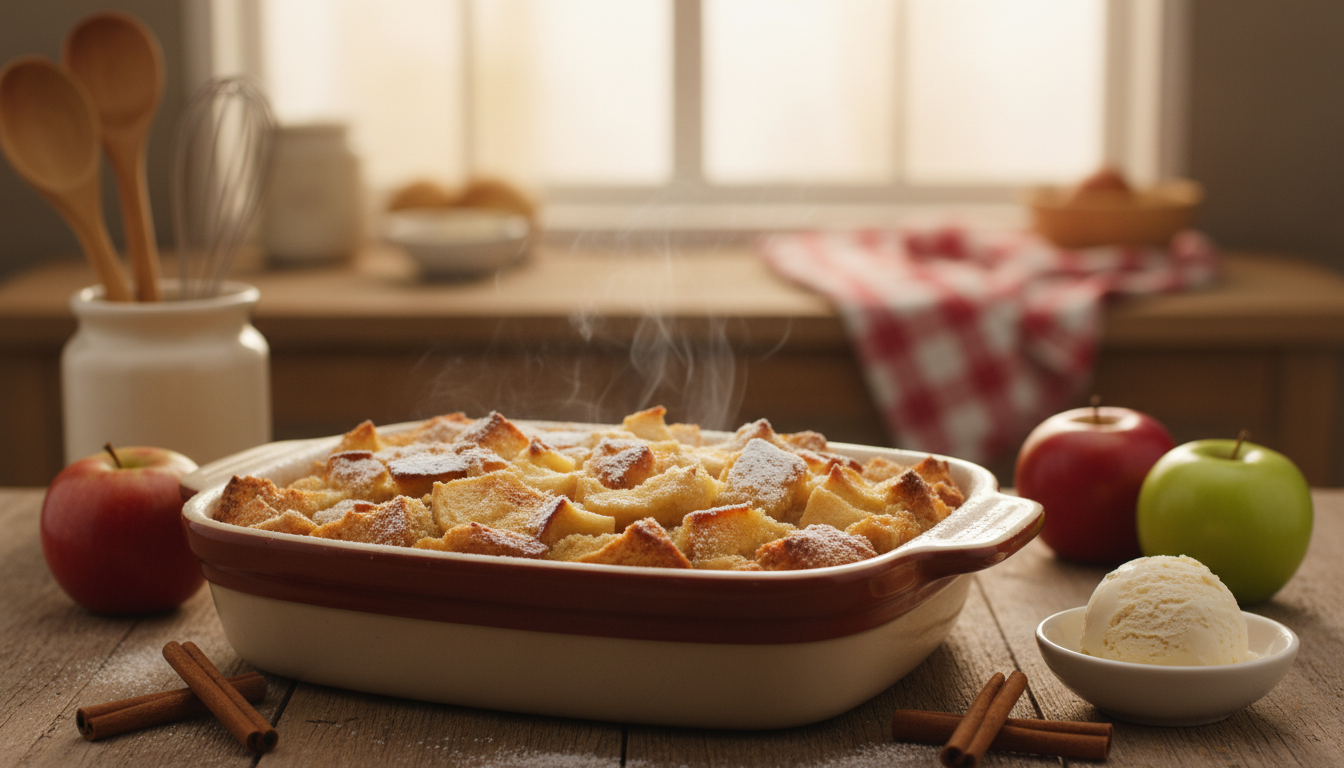
Apple Bread Pudding: Warm and Easy Homemade Comfort Dessert
There is something truly magical about the scent of cinnamon and fruit wafting through the house on a chilly afternoon. I often find that the best way to unwind is by preparing a simple, homemade dessert that brings everyone together at the kitchen table. It is my favorite way to turn a quiet evening into a special memory.
Thank you for reading this post, don't forget to subscribe!Creating a delicious apple bread pudding does not have to be a complicated chore. I believe that easy baking should be accessible to everyone, regardless of their experience in the kitchen. This comfort dessert is the perfect solution when you crave something sweet, warm, and deeply satisfying without spending hours on preparation.
In this guide, I will walk you through the steps to master this classic treat. By using basic ingredients, you can craft a homemade dessert that feels like a warm hug. Let’s embrace the joy of easy baking and make this comfort dessert the highlight of your next family gathering or weekend brunch.
Table of Contents
Why Apple Bread Pudding is the Ultimate Comfort Food
Few things capture the essence of home quite like the aroma of a classic apple dessert wafting through the kitchen. There is something inherently soothing about a warm dish that fills every corner of the house with the sweet scent of cinnamon and melted butter. I find that this apple bread pudding represents the absolute pinnacle of fall baking, offering a cozy experience that makes guests want to linger at the table long after the meal ends.
This dish is warm, soft, and perfectly custardy in the middle. The tender apples practically melt into the bread, creating a texture that feels like a gentle hug for your taste buds. It is the kind of recipe that provides a deep sense of nostalgia, making it a staple for any home cook who values simple yet indulgent flavors.
“Comfort food is the ultimate way to nourish the soul, turning simple ingredients into a memory that lasts long after the last bite.”
When you are seeking a reliable comfort dessert, it helps to understand how this dish stacks up against other traditional favorites. The following table highlights why this specific treat remains a top choice for those chilly evenings.
| Dessert Type | Texture Profile | Primary Appeal |
|---|---|---|
| Apple Bread Pudding | Soft and Custardy | Warm Nostalgia |
| Fruit Crisp | Crunchy and Tart | Textural Contrast |
| Classic Pie | Flaky and Dense | Traditional Presentation |
Whether you are hosting a holiday gathering or simply enjoying a quiet night in, this apple bread pudding never fails to impress. It is truly the ultimate comfort dessert for anyone who appreciates the art of fall baking. By choosing this apple dessert, you are opting for a timeless experience that celebrates the simple joy of good food shared with loved ones.
Selecting the Best Ingredients for Your Pudding
I believe that the secret to a perfect bread pudding recipe lies in the quality of your pantry staples. When you start with excellent components, you ensure that your final dish has the right structure and depth of flavor. This attention to detail is what transforms a simple treat into a truly extraordinary homemade dessert.
Choosing the Right Bread Varieties
The foundation of any great pudding is the bread you choose. I highly recommend using day-old bread, such as brioche, challah, or French bread. These varieties are sturdy enough to hold their shape while soaking up the rich custard base.
Standard sandwich bread often becomes too mushy during the baking process. By selecting a denser, slightly stale loaf, you guarantee a delightful texture in every bite. Refer to the table below to see how different breads perform in this classic dish.
| Bread Type | Texture | Absorption Level |
|---|---|---|
| Brioche | Buttery and Soft | High |
| Challah | Rich and Eggy | High |
| French Bread | Crusty and Firm | Medium |
Selecting Apples for Texture and Flavor
When I prepare an apple dessert, I always focus on selecting fruit that offers the best balance of tartness and sweetness. Granny Smith apples are my go-to choice because they maintain a firm texture even after baking. They provide a sharp, acidic contrast that cuts through the richness of the custard.
If you prefer a sweeter profile, you might consider mixing in some Honeycrisp apples. These varieties hold their shape well and add a lovely, crisp bite to the finished product. Combining two types of apples often creates a more complex flavor profile for your homemade dessert.
The Importance of High-Quality Dairy and Spices
The custard base acts as the glue for your entire bread pudding recipe. I suggest using high-quality heavy cream or whole milk to achieve a luxurious, velvety mouthfeel. Freshly grated cinnamon and pure vanilla extract will also make a significant difference in the final aroma.
Using fresh spices ensures that your apple dessert has a vibrant, warm flavor that feels comforting. Never underestimate the power of high-quality ingredients to elevate your cooking to a professional level. When you prioritize these elements, you are well on your way to success.
Essential Kitchen Tools You Will Need
I find that the secret to easy baking lies in using the correct kitchen essentials. You do not need a professional setup to create a delicious sweet treat that your family will love. Before you start the assembly process, remember to preheat your oven to 350°F (175°C) to ensure everything cooks evenly.
Mixing Bowls and Whisking Essentials
I always recommend using large mixing bowls when preparing your custard base. A spacious bowl gives you plenty of room to combine your ingredients without making a mess on your counter. Sturdy whisks are also vital for this step.
Using a high-quality whisk helps you incorporate the eggs and cream until the mixture is perfectly smooth. This consistency is the key to a rich, velvety texture in your final dish. Proper mixing ensures that the flavors of your spices are distributed evenly throughout the bread.
Choosing the Perfect Baking Dish
Selecting the right pan is one of my favorite baking tips for success. I suggest using a 7×11-inch or 9×13-inch baking dish to achieve the ideal depth for your pudding. These sizes allow the custard to soak into the bread properly while the top turns a beautiful golden brown.
If your dish is too deep, the center might remain soggy while the edges overcook. Using the correct size ensures that your dessert bakes through at the right pace. Following these simple steps will help you avoid common pitfalls and ensure your pudding turns out perfectly every time.
Preparing Your Bread and Apples
I find that the way you handle your ingredients determines the final texture of your pudding. Taking the time to prep correctly is a vital step in creating a delicious apple dessert that everyone will love.
Cubing and Drying the Bread
I always recommend using day-old bread for this recipe. Fresh bread is often too soft and can turn into a mushy mess once the custard is added.
By cutting your bread into uniform cubes and letting them sit out for a few hours, you allow them to dry slightly. This simple kitchen essential ensures the bread stays firm enough to soak up the liquid without losing its shape.
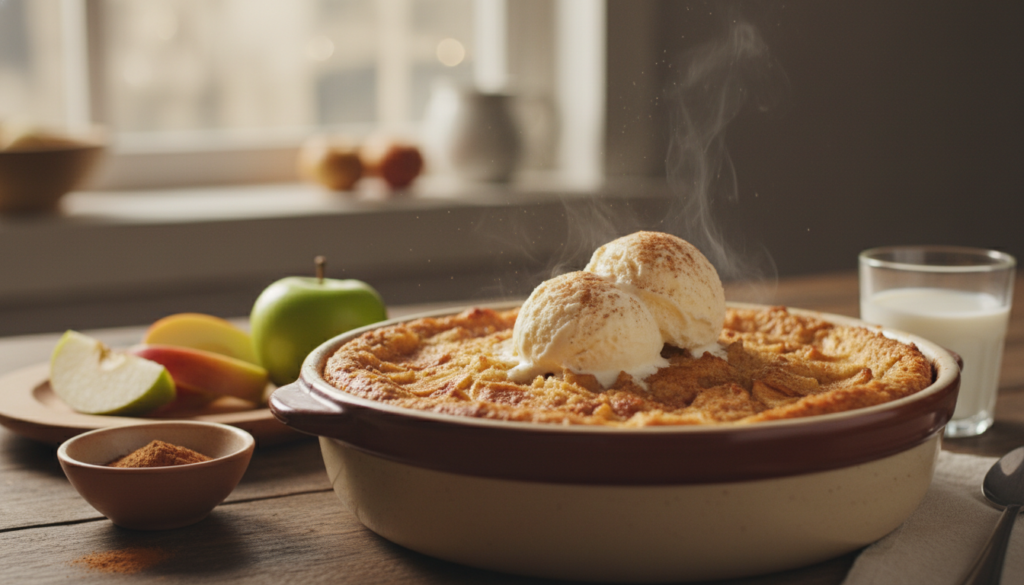
Peeling, Coring, and Slicing the Apples
When it comes to the fruit, consistency is your best friend. I make sure to peel, core, and slice my apples into even pieces to guarantee they cook at the same rate as the bread.
This careful attention to detail is a hallmark of successful fall baking. When every piece is uniform, you get a balanced bite every single time, making your dish look and taste truly professional.
Creating the Rich Custard Base
When I prepare a classic bread pudding recipe, the custard is where the magic happens. This mixture acts as the glue that holds everything together while providing a luxurious, velvety mouthfeel. Mastering this step is one of the most important kitchen essentials for any baker looking to elevate their dessert game.
Whisking Eggs and Cream to Perfection
To begin, I crack my eggs into a large mixing bowl and start whisking them vigorously. It is vital to beat the eggs until they are completely smooth and uniform in color. You want to ensure there are no lingering streaks of egg white, as this creates a consistent texture throughout the final dish.
Once the eggs are ready, I slowly pour in the heavy cream while continuing to whisk. This process emulsifies the ingredients, resulting in a rich custard base that will soak into the bread perfectly. Taking your time during this stage prevents the mixture from separating and ensures a professional finish.
Infusing Flavors with Vanilla and Cinnamon
Flavor infusion is the next step in building a memorable dessert. I prefer to whisk my ground cinnamon and high-quality vanilla extract directly into the egg mixture before adding the milk. This ensures the spices are evenly distributed rather than clumping together in the liquid.
The warmth of the cinnamon combined with the aromatic depth of vanilla creates a comforting scent that fills the entire kitchen. After these flavors are fully incorporated, I gently combine this mixture with the rest of the milk. This careful layering of ingredients is what makes a homemade bread pudding recipe truly stand out from the rest.
Step-by-Step Assembly of the Pudding
I find that the assembly stage is the most satisfying part of making this classic treat. It is the moment when all your hard work in the kitchen starts to look like a real dessert. By following a careful process, you ensure that every bite is packed with flavor and texture.
Layering Bread and Apple Mixtures
To begin, I suggest creating a balanced foundation in your baking dish. Start by scattering a portion of your cubed bread across the bottom, followed by a generous layer of your prepared apple slices. Repeat this process until you have used all your ingredients, ensuring the apples are distributed evenly throughout the bread.
This layering technique prevents the fruit from clumping in one spot. When you alternate these components, you create a beautiful structure that holds up well during the baking process. It also makes serving much easier once the dish comes out of the oven.
Pouring the Custard for Even Absorption
Once your dish is filled, it is time to add the rich custard base. Pour the mixture slowly and steadily over the bread and apples, making sure to cover the entire surface. I like to use a large spoon to gently press down on the top layer, which helps the liquid seep into the bottom of the dish.
You want to ensure that every single piece of bread is thoroughly coated. If you notice any dry spots on the surface, simply use your spoon to nudge the bread into the custard base. This saturation is the secret to achieving that signature soft and creamy center that everyone loves.
Tips for Ensuring Every Piece is Soaked
For the best results, let the assembled pudding sit for at least ten minutes before placing it in the oven. This resting period allows the bread to fully absorb the liquid, which prevents any tough or dry edges. If you are in a hurry, you can gently toss the mixture with a spatula to speed up the process.
| Assembly Step | Action Required | Why It Matters |
|---|---|---|
| Layering | Alternate bread and fruit | Ensures even flavor distribution |
| Pouring | Add custard base slowly | Prevents overflow and dry spots |
| Resting | Wait 10 minutes | Guarantees perfect saturation |
The Art of Baking to Golden Perfection
When it comes to fall baking, the final stage in the oven is where the magic happens. I always find that patience is the most important ingredient during this phase. By paying close attention to your oven, you ensure that your dessert achieves that signature toasted top and soft, moist interior.
Setting the Oven Temperature
For the best results, I recommend preheating your oven to 350°F (175°C). This temperature allows the custard base to set slowly without burning the edges of the bread. Consistent heat is one of my favorite baking tips for ensuring an even rise throughout the dish.
Monitoring the Bake for the Right Texture
You should plan to bake your pudding for 40–50 minutes. During this time, I keep a close eye on the color of the crust. You want the top to turn a beautiful, deep golden brown while the apples soften into the mixture. If the top browns too quickly, you can loosely cover the dish with aluminum foil to protect it.
How to Tell When Your Pudding is Done
Determining the perfect moment to remove your creation from the heat is easier than you might think. I suggest gently pressing the center of the pudding with a spoon. If it feels firm and springs back slightly, it is ready to come out of the oven.
Avoid any signs of liquid or excessive wobbling in the middle. Following these simple baking tips will help you master the custard base every single time you prepare this classic treat.
| Baking Stage | Time Estimate | Visual Indicator |
|---|---|---|
| Initial Heat | 0–15 Minutes | Edges begin to bubble |
| Setting Phase | 15–35 Minutes | Custard thickens |
| Final Browning | 35–50 Minutes | Golden, toasted top |
Mastering the Apple Bread Pudding Recipe
My approach to this recipe relies on a consistent workflow that guarantees success every time. Whether you are a novice or a seasoned pro, easy baking is all about preparation and patience. By focusing on the rhythm of your kitchen, you can turn simple ingredients into a masterpiece.
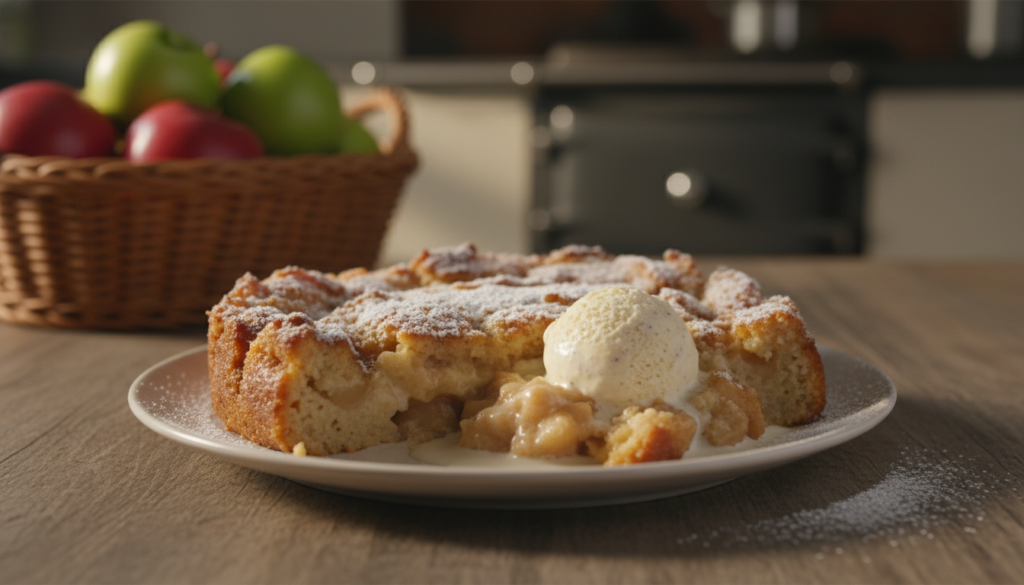
Following the Sequence for Success
To achieve the best results, I always recommend organizing your workspace before you begin. A great bread pudding recipe requires a steady hand and a clear plan. You can even assemble the entire dish ahead of time, refrigerate it, and bake it whenever you are ready to serve.
Here are my top baking tips for a smooth process:
- Measure all your spices and liquids before you start mixing.
- Ensure your bread is properly dried to absorb the custard base.
- Allow the assembled dish to rest for at least thirty minutes before it hits the oven.
“The secret to a perfect dessert is not just the ingredients, but the love and attention you put into the process.”
Adjusting for Different Oven Types
Every oven behaves differently, which is why I suggest staying flexible during the final stages of cooking. Even if your appliance runs hot or cold, you can still create a delicious apple bread pudding by keeping a close eye on the texture. I find that checking the center during the last ten minutes of the bake is the most reliable way to avoid overcooking.
If you notice the top browning too quickly, simply tent it with a piece of aluminum foil. This simple adjustment ensures the inside stays moist while the exterior reaches that perfect golden hue. Mastering this bread pudding recipe is a rewarding journey that makes easy baking accessible to everyone in their own home.
Creative Variations and Add-ins
I love experimenting with my kitchen staples to turn a classic recipe into a unique sweet treat. One of the best things about this dish is the endless potential for dessert variations that allow you to customize the final result to your personal liking.
Adding Nuts for Extra Crunch
If you enjoy a bit of texture in your baked goods, adding nuts is a fantastic choice. I often fold in chopped pecans or walnuts directly into the bread and apple mixture before baking.
These nuts toast slightly in the oven, providing a delightful crunch that contrasts beautifully with the soft, custard-soaked bread. It is a simple way to add depth to every single bite.
Incorporating Dried Fruits or Caramel Drizzle
For those who prefer a more complex flavor profile, dried fruits like cranberries or raisins work wonders. They offer a tart contrast to the sweetness of the apples, making each serving feel like a special sweet treat.
If you want to take your dessert variations to the next level, try a generous caramel drizzle over the top right before serving. This addition creates a rich, buttery finish that pairs perfectly with the warm spices.
| Add-in Type | Flavor Profile | Texture Added |
|---|---|---|
| Chopped Pecans | Nutty and Earthy | Crunchy |
| Dried Cranberries | Tart and Sweet | Chewy |
| Caramel Drizzle | Rich and Buttery | Smooth |
Serving Suggestions for a Memorable Dessert
I believe that the final presentation of your dish is just as vital as the flavor profile itself. When I prepare this sweet treat, I focus on creating a visual appeal that matches the warmth of the kitchen. These simple serving suggestions help transform a standard bake into a restaurant-quality experience for your guests.
To start, I recommend spooning the warm pudding into individual bowls while it is still fresh from the oven. Drizzle a generous amount of buttery vanilla sauce over the top just before you carry it to the table. This adds a glossy finish that makes the dish look truly irresistible.
Pairing with Vanilla Bean Ice Cream
One of my favorite ways to serve this dish is by adding a scoop of cold vanilla bean ice cream. The temperature contrast between the hot, spiced apples and the melting, creamy ice cream is absolutely divine. It creates a balanced bite that keeps everyone coming back for more.
Adding a Dollop of Fresh Whipped Cream
If you prefer a lighter touch, a dollop of fresh whipped cream is a perfect choice. It provides an airy, delicate finish that complements the density of the bread. You can even sprinkle a tiny bit of cinnamon or nutmeg on top to tie the flavors together beautifully.
When considering different dessert variations for your next gathering, you might want to mix and match these toppings based on the occasion. The following table outlines how to choose the best finish for your specific needs.
| Topping Choice | Best For | Flavor Profile |
|---|---|---|
| Vanilla Ice Cream | Casual Dinners | Rich and Indulgent |
| Fresh Whipped Cream | Light Brunches | Airy and Subtle |
| Buttery Vanilla Sauce | Holiday Parties | Sweet and Decadent |
Storing and Reheating Your Leftovers
I know that sometimes you simply cannot finish every bite of a delicious dessert in one sitting. Thankfully, this dish is incredibly forgiving, and with the right storage tips, you can enjoy those sweet flavors for several days. Proper care ensures that your treat remains just as moist and flavorful as it was when it first came out of the oven.
Proper Storage Techniques for Freshness
To keep your dessert at its peak, you should always use an airtight container. Once the pudding has cooled completely to room temperature, transfer it into a sealed vessel to prevent it from absorbing other odors in your refrigerator. Storing it properly allows you to keep the dish fresh for up to four days.
If you prefer to keep it longer, you can also freeze individual portions. Simply wrap each piece tightly in plastic wrap and place them in a freezer-safe bag. This method is perfect for those moments when you need a quick, comforting snack on a busy weeknight.
Best Methods for Reheating Without Drying Out
When you are ready to enjoy your leftovers, the goal is to warm the custard base without making it tough. I find that reheating bread pudding in the oven at a low temperature, around 300°F, works wonders. Just cover the dish with foil to trap the moisture and heat it for about ten to fifteen minutes.
If you are in a hurry, the microwave is a reliable alternative for a single serving. Place a small cup of water next to your plate to create steam, which helps maintain that soft, signature texture. These simple serving suggestions will ensure your second helping is just as memorable as the first.
Conclusion
This apple bread pudding serves as a perfect example of how simple pantry staples transform into a special homemade dessert. It brings people together around the table with its rich aroma and inviting texture.
You can stick to the classic recipe or experiment with various dessert variations to suit your personal taste. Each batch offers a warm and satisfying comfort dessert that feels like a hug in a bowl.
My serving suggestions help you elevate the presentation for guests or family gatherings. You should keep my storage tips in mind to maintain the quality of your leftovers for days.
Mastering the art of reheating bread pudding ensures that every slice tastes just as fresh as the first. I hope this guide inspires you to create cozy memories in your own kitchen with this timeless treat.