My Batbout Recipe Didn’t Work at First — Here’s How I Fixed It
I still remember the sting of my first kitchen failure. I spent hours following a batbout recipe I found online, only to end up with flat, rubbery dough that was impossible to eat. It felt like everyone else on social media was posting perfect, fluffy bread while I was left cleaning up a flour-covered mess.
Thank you for reading this post, don't forget to subscribe!It is incredibly frustrating when your hard work does not pay off. I realized that baking is as much about science as it is about intuition. I had to learn the hard way that small details, like water temperature and resting time, make all the difference.
If you have ever felt discouraged by a baking project, you are not alone. I am sharing my journey to help you master this batbout recipe with confidence. By troubleshooting these common mistakes, we can turn your kitchen disasters into delicious, golden successes together.
Table of Contents
The Initial Struggle with My First Batbout Attempt
Baking is often romanticized, but my first attempt at a traditional batbout recipe was a humbling reality check. I spent hours in the kitchen, carefully following instructions, only to end up with a result that looked nothing like the airy, delicious bread I had envisioned.
Why My First Batch Fell Flat
When I pulled my first batch from the pan, the disappointment was immediate. Instead of the signature pocket that makes this bread so special, I was left with dense, unappealing dough that felt more like a heavy cracker than a fluffy loaf.
The lack of rise meant that the steam could not create the internal cavity necessary for a perfect result. I realized that even a simple batbout recipe requires a deep understanding of how heat and dough interact during the cooking process.
“Success is not final, failure is not fatal: it is the courage to continue that counts.”
The Emotional Rollercoaster of Baking Bread
There is a unique kind of frustration that comes with spending an entire afternoon on a project, only to have it fall completely flat. I felt the emotional weight of my failure, wondering if I simply lacked the natural talent for bread making.
However, I soon learned that every baker faces these hurdles when trying a new batbout recipe for the first time. The learning curve is part of the journey, and overcoming that initial discouragement is exactly what turns a novice into a confident home baker.
Understanding the Science Behind Traditional Moroccan Batbout
I quickly learned that the secret to a perfect batbout recipe lies in the chemistry of hydration and heat. Mastering this bread is not just about mixing ingredients; it is about understanding how water and flour interact to create the perfect structure.
When I first started, I treated it like any other loaf. However, I soon realized that traditional Moroccan batbout requires a specific approach to hydration that sets it apart from standard oven-baked breads.
What Makes Batbout Unique
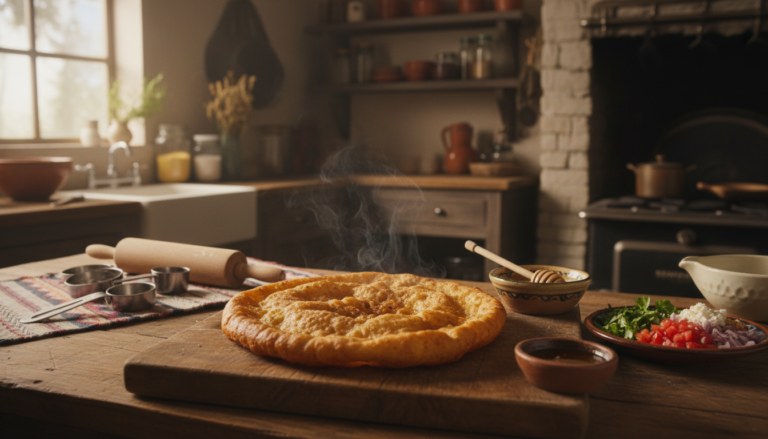
The most distinct feature of this bread is its cooking method. Unlike most loaves that rely on the dry, ambient heat of an oven, this bread is cooked directly on a hot skillet or griddle.
This stovetop technique creates a unique crust that is soft yet slightly chewy. It allows for a faster cook time, which helps lock in moisture while developing a beautiful, golden-brown exterior.
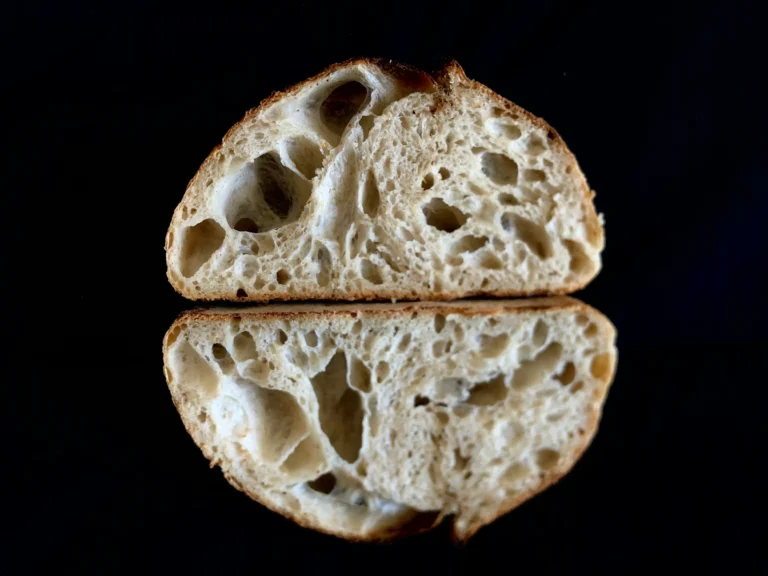
The Role of Steam in Creating the Pocket
The iconic hollow pocket is the result of rapid steam generation inside the dough. As the moisture hits the high heat of the pan, it turns into steam, which pushes the layers of the dough apart.
This internal pressure is what creates that signature hollow center. If your dough is too dry, it will not produce enough steam to separate the layers effectively. Maintaining the right balance of hydration is essential for a successful batbout recipe.
| Feature | Oven-Baked Bread | Traditional Moroccan Batbout |
|---|---|---|
| Cooking Surface | Baking Stone or Tray | Stovetop Skillet |
| Heat Source | Ambient Hot Air | Direct Conductive Heat |
| Internal Structure | Crumb-filled | Hollow Pocket |
| Cooking Time | Longer (20-40 mins) | Short (5-8 mins) |
Mastering the Flour Blend for the Perfect Texture
My journey toward the perfect loaf began when I finally cracked the code on flour ratios. I realized that the secret to a light, airy crumb is not just in the kneading, but in the specific combination of grains I use. Getting this right is the foundation of every successful batch I bake today.
Balancing All-Purpose and Semolina Flour
To create an easy batbout recipe, I rely on a blend of all-purpose flour and fine semolina. The all-purpose flour provides the necessary structure, while the semolina adds a wonderful, slightly nutty flavor and a distinct golden hue.
I typically aim for a ratio that keeps the dough manageable and soft. This balance ensures that the bread remains tender on the inside while developing that signature chew we all love. When the ratio is correct, the dough becomes much easier to handle and roll out without tearing.
Why Flour Quality Matters
The protein content in your flour plays a massive role in how your bread turns out. Higher protein flours create more elasticity, which is essential for trapping the steam that forms the iconic pocket. Using high-quality, fresh ingredients is the only way to achieve an authentic batbout recipe that rivals any professional bakery.
I always suggest checking the protein percentage on the label before you start. High-quality flour absorbs water more consistently, leading to a more predictable rise and a better final texture. Investing in better ingredients will save you from the frustration of dense or flat bread.
The Importance of Yeast Activation and Water Temperature
Yeast is a living organism, and its health is the most critical factor in ensuring your dough rises properly for an easy batbout recipe. When I first started baking, I often overlooked this step, which led to many frustrating, flat loaves. Treating your yeast with care is the first step toward consistent success in your kitchen.
Testing Your Yeast for Freshness
Before you commit to a full batch of dough, you should always verify that your yeast is active. I recommend mixing a small amount of yeast with a pinch of sugar and warm water in a glass. If the mixture begins to foam and bubble after about ten minutes, your yeast is healthy and ready to use.
If you see no activity, do not proceed with the rest of your ingredients. Using dead yeast is the fastest way to ruin your bread before it even hits the pan. Taking this extra moment saves you time and prevents the disappointment of a dense final product.

Finding the Sweet Spot for Water Heat
Temperature control is just as vital as freshness when you are working toward an easy batbout recipe. If your water is too cold, the yeast will remain dormant and fail to rise. Conversely, water that is too hot will kill the yeast cells instantly, rendering them useless.
I aim for a temperature range between 105°F and 115°F. This specific window provides the perfect environment for the yeast to thrive without being compromised. Mastering these environmental variables makes your baking process much more predictable and truly enjoyable every single time.
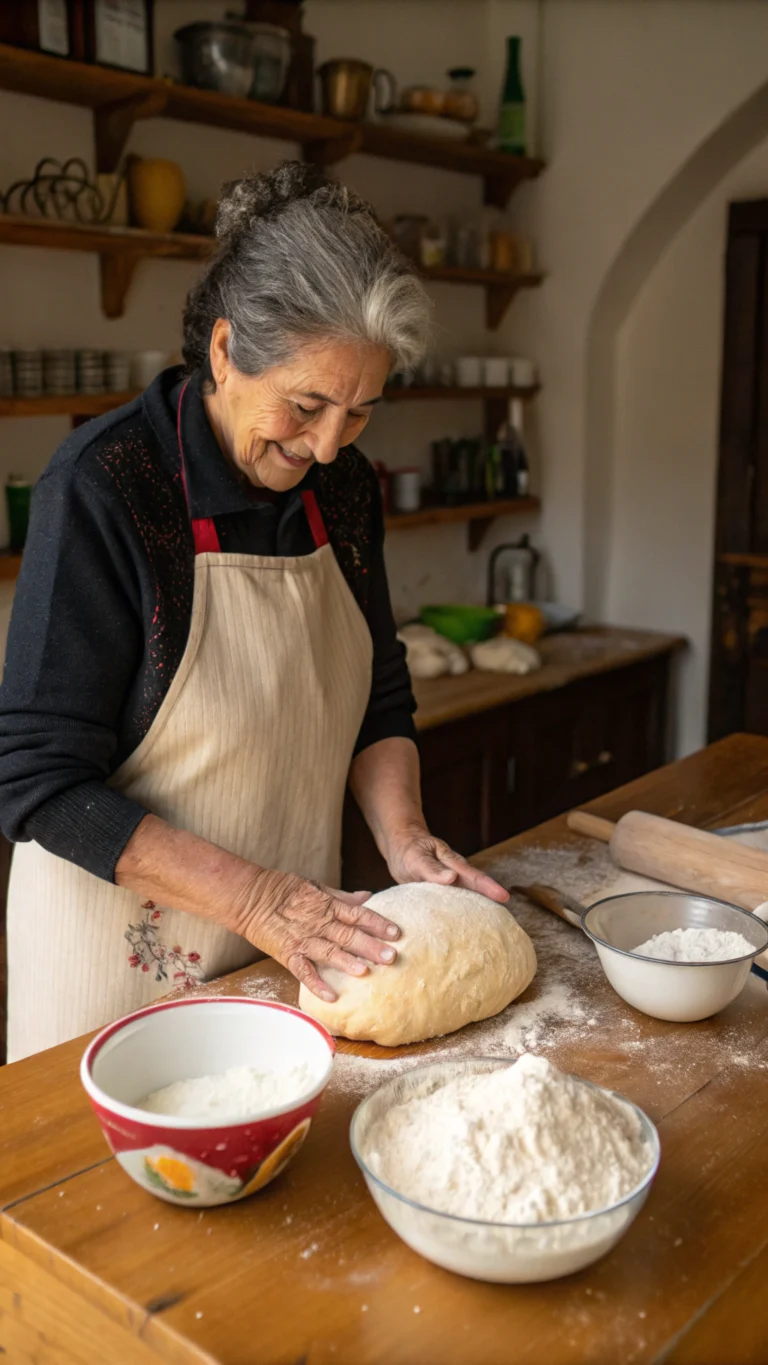
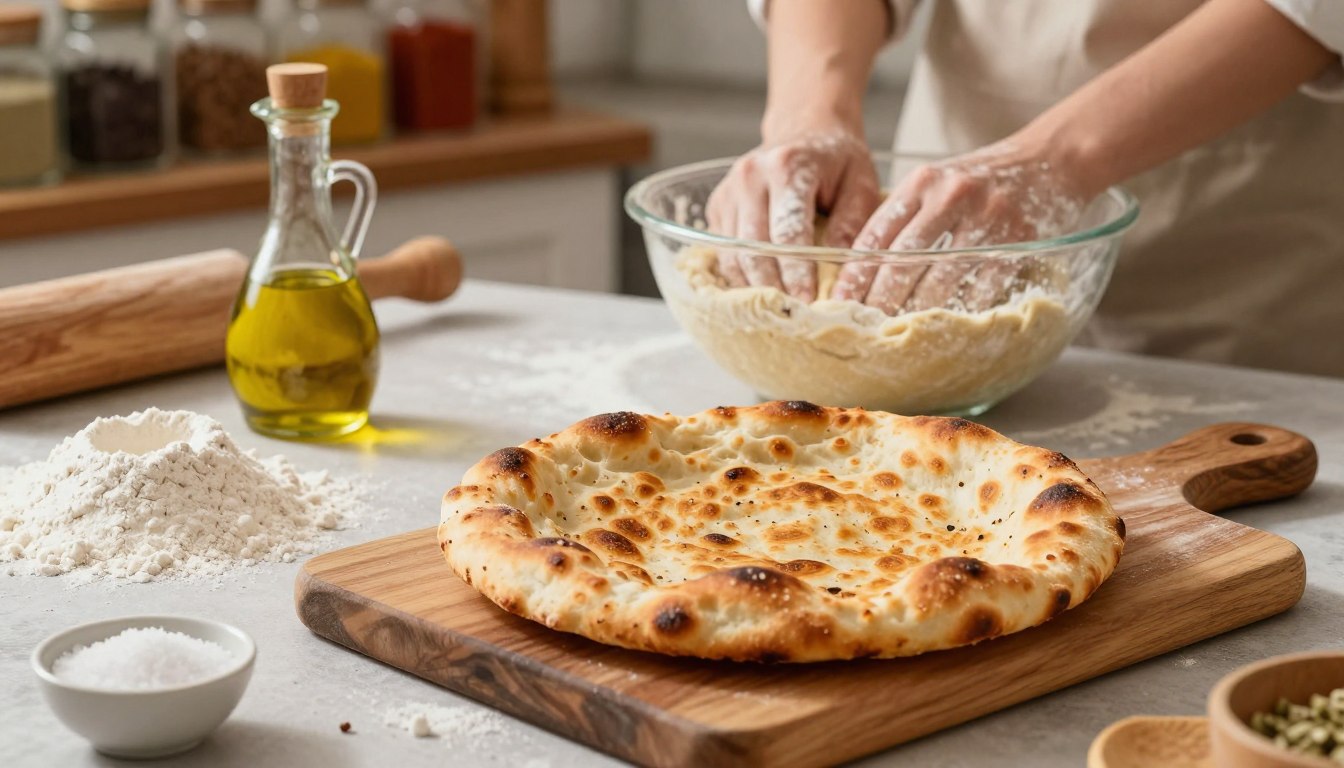
Refining My Batbout Recipe Through Proper Kneading Techniques
Kneading is the secret bridge between a shaggy pile of flour and the perfect, airy crumb of a traditional Moroccan batbout. This physical process is essential because it organizes the proteins in your flour into a strong, stretchy network. Without this structure, your bread will struggle to hold the steam that creates its signature pocket.
Developing Gluten for Elasticity
To achieve the right texture, you must work the dough until it becomes smooth and supple. I rely on the windowpane test to know exactly when I am finished. Simply take a small piece of dough and gently stretch it between your fingers.
If the dough forms a thin, translucent membrane without tearing, your gluten is perfectly developed. If it breaks immediately, keep kneading for a few more minutes. This simple check ensures your traditional Moroccan batbout will rise beautifully during the cooking process.
Hand Kneading vs. Stand Mixer Methods
Choosing between manual labor and machine efficiency depends on your personal preference and available time. While a stand mixer saves energy, hand kneading allows you to feel the subtle changes in the dough’s temperature and hydration.
| Feature | Hand Kneading | Stand Mixer |
|---|---|---|
| Effort Level | High physical activity | Low physical effort |
| Control | High tactile feedback | Consistent speed |
| Time Required | 10-15 minutes | 5-8 minutes |
| Best For | Traditional Moroccan batbout | Large batches |
Ultimately, both methods can produce a fantastic result if you pay attention to the dough’s consistency. I find that hand kneading connects me more deeply to the craft, but I reach for my mixer whenever I am preparing a large batch for guests.
Why Proofing Time is the Secret to Fluffy Batbout
If you want to master the art of homemade batbout, you must learn to respect the patience required during the proofing stage. Many beginners feel tempted to rush this process, but I have learned that time is the most important ingredient in your kitchen. Patience truly pays off when you see your dough transform into a light, airy structure.
Identifying the Ideal Rise
To achieve a fluffy batbout, you need to watch for specific visual cues. Your dough should roughly double in size during the first rise, appearing smooth and slightly domed. If you press a finger gently into the surface, the indentation should spring back slowly, which indicates the gluten is perfectly relaxed.
If the dough collapses under your touch, it has likely over-proofed. Conversely, if it springs back instantly and feels tight, it needs more time to develop. Learning these subtle signs will give you the confidence to bake with precision every single time.

Adjusting for Kitchen Humidity and Temperature
Your environment plays a massive role in how fast your yeast works. In a warm, humid kitchen, your dough will rise much faster than it would in a cool, dry room. I always suggest keeping a close eye on the clock, but trusting your eyes is even more important when the weather changes.
If your home is chilly, you might need to place your bowl in a slightly warmer spot, like inside an oven that is turned off. This helps maintain a consistent environment for the yeast to thrive. The following table provides a general guide for how temperature impacts your proofing speed.
| Environment | Temperature | Estimated Rise Time |
|---|---|---|
| Warm/Humid | 80°F – 85°F | 45 – 60 Minutes |
| Room Temp | 70°F – 75°F | 60 – 90 Minutes |
| Cool/Dry | 60°F – 65°F | 90 – 120 Minutes |
By monitoring these conditions, you ensure your homemade batbout remains consistent regardless of the season. Mastering these variables is the final step toward creating a fluffy batbout that impresses your friends and family. Enjoy the process of watching your dough come to life.
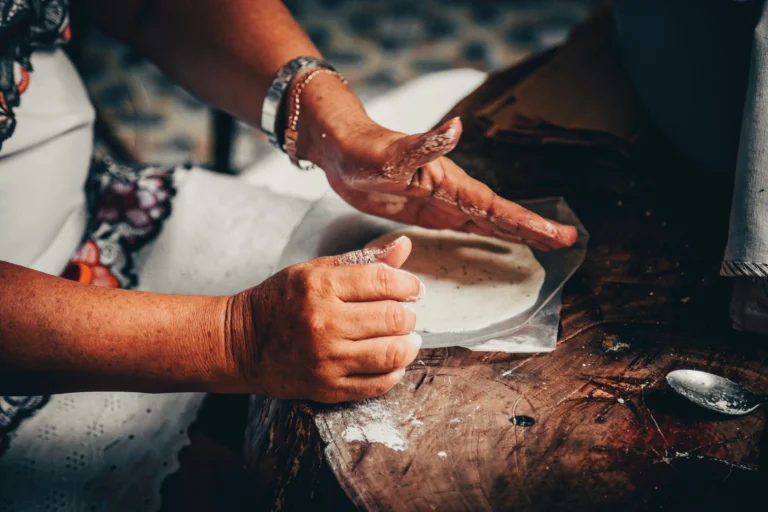
Achieving the Iconic Pocket with Precise Rolling Methods
I quickly learned that the way I rolled my dough circles dictated whether they would puff or stay flat. When I first started making homemade batbout, I often rushed this step, leading to uneven results. Mastering the physical manipulation of the dough is truly the hallmark of a high-quality loaf.
The Thickness Rule for Even Cooking
To ensure your bread puffs up perfectly, you must maintain a consistent thickness across the entire circle. I recommend rolling your dough to exactly one-quarter inch in thickness. This specific measurement allows the heat to penetrate the center quickly, which triggers the steam required for that iconic pocket.
If the dough is too thick, the center remains dense and doughy. Conversely, rolling it too thin prevents the structure from holding the steam, causing the bread to crisp up like a cracker instead of puffing. Keeping your homemade batbout uniform is the best way to guarantee success on the stovetop.
Preventing Tears in the Dough
Handling your dough with care is just as important as the rolling itself. Even a tiny tear acts as a vent, allowing precious steam to escape before the pocket can fully form. I always use a light touch and ensure my work surface is lightly dusted with flour to prevent sticking.
If you notice a small tear, it is often better to re-roll that piece of dough rather than trying to patch it. A smooth, unbroken surface is essential for trapping the air inside. Use the following guide to help you manage your dough effectively during the rolling process.
| Technique | Goal | Result |
|---|---|---|
| Consistent Pressure | Uniform Thickness | Even Puffing |
| Light Flour Dusting | Prevent Sticking | No Surface Tears |
| Gentle Handling | Maintain Elasticity | Perfect Pocket |
By following these simple rules, you will find that your homemade batbout consistently achieves that beautiful, hollow center. Precision in your technique transforms a simple kitchen task into a rewarding baking experience.
Troubleshooting Heat Control on the Stovetop
I quickly learned that the secret to a fluffy batbout lies in how you manage your burner. Cooking on the stovetop requires a different set of skills than using an oven, especially when you want that perfect golden crust. If your bread is burning on the outside while remaining doughy inside, you are likely dealing with improper heat distribution.
Choosing the Right Pan
The foundation of your success starts with the equipment you choose. I highly recommend using a heavy-bottomed cast iron skillet or a thick-gauge stainless steel pan. These materials are essential for maintaining consistent heat throughout the entire cooking process.
Thin pans often create hot spots that lead to uneven browning. A heavy pan acts as a heat reservoir, ensuring that your fluffy batbout cooks steadily without sudden temperature spikes. This stability is the key to achieving that signature rise and texture.
Managing Flame Intensity for Golden Crusts
Once you have the right pan, you must master the flame. I usually start with a medium-low heat to allow the dough to expand before the crust sets too quickly. If the flame is too high, the exterior will char before the center has a chance to cook through.
“Cooking is a craft that demands both patience and a keen eye for detail, especially when working with delicate doughs.”
You should adjust the flame intensity as you go. If you notice the bread browning too fast, do not hesitate to lower the heat. Keeping a close watch on the color of the crust will help you maintain control over the cooking environment for perfect results every time.
| Heat Level | Ideal Use | Result |
|---|---|---|
| Low | Initial rise | Soft, pale crust |
| Medium | Main cooking | Golden, fluffy batbout |
| High | Final sear | Dark, crispy finish |
Common Mistakes That Lead to Dense Homemade Batbout
If your homemade flatbread feels more like a brick than a cloud, you are likely falling into a few common traps. Even experienced bakers sometimes struggle with the texture of their bread. Understanding how to make batbout correctly means identifying these small errors before they ruin your hard work.
Overworking the Dough
One of the most frequent mistakes I see is over-kneading the dough. While developing gluten is necessary, pushing the dough too far can make it tough and rubbery rather than light and airy. When you handle the dough too aggressively, you essentially destroy the delicate air bubbles you worked so hard to create.
Think of your dough as a living thing that needs a gentle touch. If you are learning how to make batbout, focus on kneading just until the surface feels smooth and elastic. Once it reaches that stage, stop immediately to ensure the final product remains tender.
Under-proofing and Its Consequences
Under-proofing is another major culprit for dense, heavy bread. If you rush the process and do not give the yeast enough time to ferment, the dough will lack the necessary gas to expand properly. This results in a flat, chewy interior that fails to form the iconic pocket.
“Patience is the most important ingredient in any bread recipe, as time allows the flavors to develop and the structure to soften.”
When you are figuring out how to make batbout, always watch the dough rather than just the clock. It should look puffy and feel light to the touch before you begin rolling it out. If it feels dense or tight, give it a little more time to rest, as this simple step is the difference between a mediocre loaf and a perfect one.
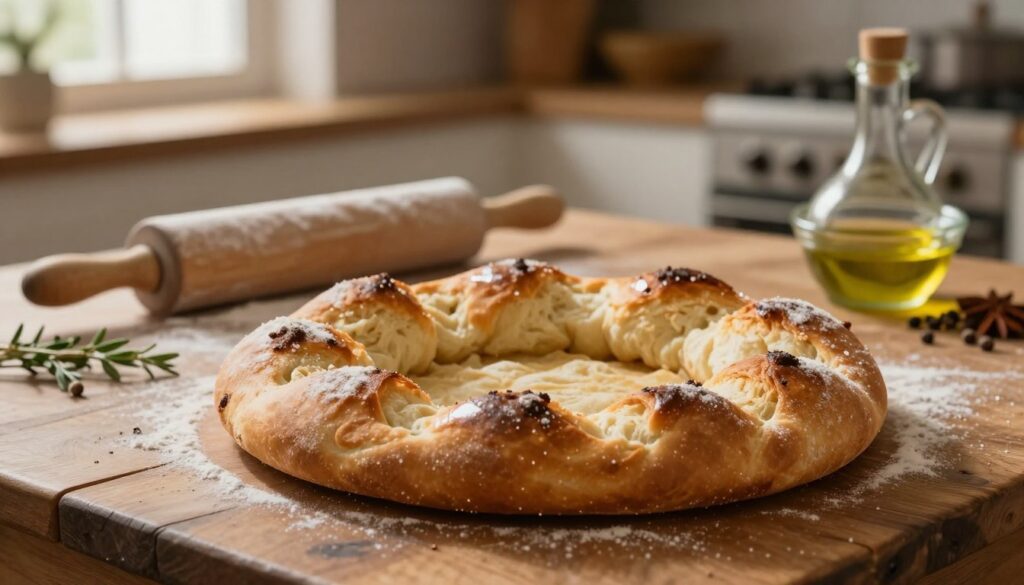
How to Store and Reheat Your Delicious Batbout
You worked hard on your dough, so let’s ensure your delicious batbout stays perfect for later. Proper storage is the final step in ensuring your hard work continues to pay off long after the initial baking session. Once you have learned how to make batbout, you will want to know the best methods for keeping it fresh for days or even weeks.
Freezing for Long-Term Freshness
If you find yourself with extra bread, the freezer is your best friend. I always wait for my bread to cool completely on a wire rack before packing it away. This prevents condensation from making the crust soggy.
I recommend wrapping each piece individually in plastic wrap, then placing them inside a heavy-duty freezer bag. This double-layer protection keeps freezer burn at bay. When stored this way, your bread will maintain its quality for up to one month.
The Best Way to Reheat Without Drying Out
Reheating your bread correctly is just as important as the initial bake. I prefer using a toaster or a warm skillet to bring back that soft, airy texture. Avoid the microwave if possible, as it often makes the dough tough and chewy.
If you are in a hurry, a quick splash of water on the crust before heating can help restore moisture. This simple trick ensures your delicious batbout tastes just as good as the day it was baked. Learning how to make batbout is a skill, but mastering the reheat is the true mark of a home baker.
| Storage Method | Duration | Best For |
|---|---|---|
| Countertop | 1-2 Days | Immediate consumption |
| Refrigerator | 3-5 Days | Short-term storage |
| Freezer | Up to 1 Month | Long-term preservation |
Creative Ways to Serve Authentic Batbout
Once you master the technique, you will find endless ways to enjoy a delicious batbout. Serving your freshly baked bread is the most rewarding part of the entire process, as it brings your hard work to the table. I love incorporating my favorite batbout bread recipe into daily meal planning to keep things exciting.
Classic Savory Fillings
The unique pocket structure of this bread makes it perfect for stuffing with hearty ingredients. I often reach for traditional Moroccan flavors like spiced ground beef, sautéed onions, and fresh parsley. These savory combinations highlight the authentic taste of the dough.
You can also try lighter options like tuna salad with olives or roasted vegetables with a drizzle of tahini. These fillings turn a simple snack into a satisfying lunch that feels gourmet. Experimenting with textures ensures every bite remains interesting and flavorful.
Sweet Pairings for Breakfast
If you prefer a morning treat, this bread works beautifully with sweet toppings. I find that a warm, delicious batbout spread with honey and butter is the ultimate comfort food. It provides a quick and satisfying breakfast that pairs perfectly with a cup of mint tea.
For a more indulgent option, try adding almond butter or fresh seasonal fruits like figs and berries. These pairings transform your batbout bread recipe into a delightful pastry-like experience. It is a fantastic way to start your day with a touch of homemade magic.
| Serving Style | Primary Ingredients | Best Time to Serve |
|---|---|---|
| Savory Classic | Spiced Beef & Onions | Lunch or Dinner |
| Mediterranean | Tuna, Olives & Peppers | Light Lunch |
| Sweet Morning | Honey & Butter | Breakfast |
| Nutty Delight | Almond Butter & Figs | Breakfast or Snack |
Conclusion
Baking is a journey that rewards patience, practice, and a willingness to learn from your initial mistakes. You now possess the tools to create an authentic batbout recipe that rivals any professional bakery.
I hope this batbout bread recipe becomes a staple in your home kitchen for years to come. Every batch serves as an opportunity to refine your skills and enjoy the process of creating something special from scratch.
Share your results with friends or family to spread the joy of fresh, warm bread. Your kitchen will soon fill with the comforting aroma of success. Keep experimenting with different fillings and techniques to make this dish your own.