I Ruined Moroccan Batbout 3 Times — Here’s What Finally Worked
I still remember the frustration of my first kitchen attempt. I wanted to create the perfect Morhttps://mombread.com/msemen-recipe/occan flatbread, but my dough turned out dense and flat instead of light and airy.
Thank you for reading this post, don't forget to subscribe!I failed three times before I finally understood the rhythm of the yeast. It felt like a personal defeat, but those mistakes taught me more than any recipe book ever could. Mastering this bread is truly a labor of love.
If you have ever felt discouraged by a recipe, please know you are not alone. I am sharing my journey to help you avoid those same early pitfalls. By following these simple steps, you will learn how to bake authentic batbout that puffs up beautifully every single time.
Let’s turn your kitchen into a space where you can confidently master this classic Moroccan staple. With a little patience, you will soon be serving fresh, homemade batbout to your family and friends.
Table of Contents
Understanding Moroccan Batbout
Diving into the world of Moroccan flatbread changed how I view my kitchen staples. I quickly realized that this bread is not just a side dish; it is a fundamental part of the dining experience in North Africa.
What is Batbout?
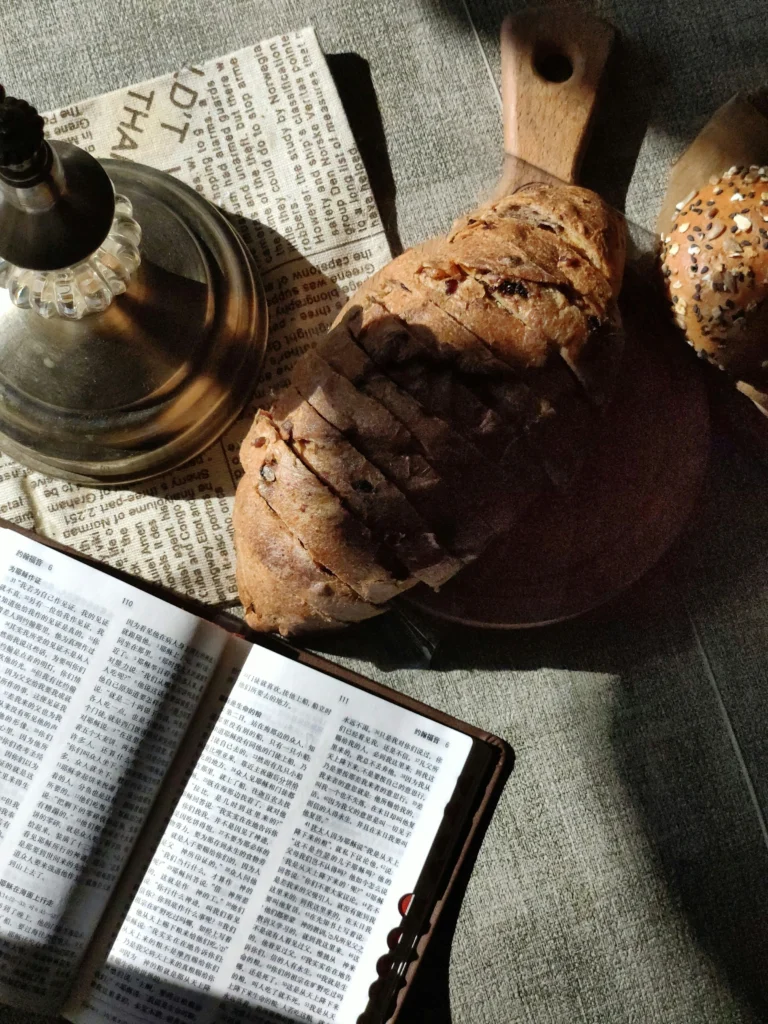
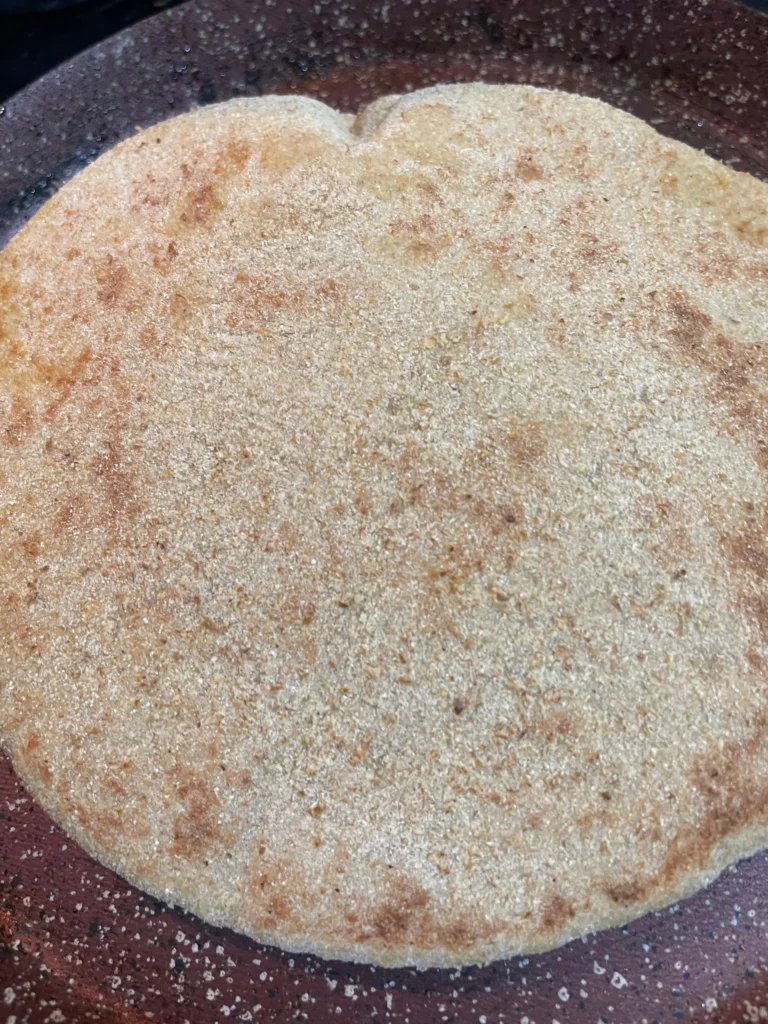
Batbout is a delicious, pillowy homemade bread that is cooked on the stovetop rather than in an oven. It is famous for its signature pocket, which forms as the dough puffs up during the cooking process.
Unlike other flatbreads, this variety relies on a specific balance of yeast and steam to create its airy interior. It serves as the perfect vessel for both savory fillings and sweet spreads.
Traditional Ingredients Used
To achieve the authentic texture, you must use the right blend of grains. Most authentic Moroccan recipes call for a combination of all-purpose flour and fine semolina.
The semolina provides a distinct, slightly nutty flavor and a beautiful golden hue. Here are the core components you will need to get started:
- Fine semolina flour for structure
- All-purpose flour for softness
- Active dry yeast for the rise
- Warm water and a pinch of salt
Cultural Significance of Batbout
In many Moroccan households, this bread acts as a functional utensil. It is often torn into pieces and used to scoop up tagines, salads, or grilled meats.
Sharing a fresh batch of moroccan batbout is a gesture of hospitality and warmth. It brings family members together around the table, turning a simple meal into a communal celebration of tradition.
| Bread Type | Cooking Method | Primary Texture |
|---|---|---|
| Batbout | Stovetop | Soft and Airy |
| Khobz | Oven | Crusty and Dense |
| Msemen | Pan-fried | Layered and Flaky |
My First Attempt: Mistakes I Made
I approached my first batch of batbout with too much confidence and not enough attention to detail. I assumed that because I had baked other breads, this Moroccan staple would be simple to master on the first try. I was wrong. My kitchen quickly became a scene of frustration as I realized that ignoring the fundamental rules of bread rising leads to a very dense, unappealing result.
Skipping the Rising Time
The biggest error I made was rushing the process. I wanted fresh bread immediately, so I cut the proofing time in half, thinking it would not matter much. This was a mistake because the yeast needs time to create the air pockets that give batbout its signature light texture.
Without adequate time to rest, the dough remained heavy and tough. I learned that patience is truly the most important ingredient in any kitchen. You simply cannot force the dough to develop its structure before it is ready.
Incorrect Measurements
Beyond the timing, my lack of precision with ingredients caused significant issues. I did not pay enough attention to yeast activation, often using water that was either too hot or too cold. These baking tips are essential: if the water temperature is off, the yeast will not wake up, and your dough will never achieve the proper lift.
I also struggled with dough hydration, often adding too much flour because the dough felt sticky. I did not realize that a slightly tacky dough is actually preferred for a soft crumb. The following table outlines the common pitfalls I encountered during those early days.
| Mistake | Resulting Texture | Corrective Action |
|---|---|---|
| Rushed Proofing | Dense and heavy | Allow full rising time |
| Dead Yeast | Flat and hard | Check water temperature |
| Excess Flour | Dry and crumbly | Keep dough slightly tacky |
The Second Try: A Common Pitfall
If my first attempt was a disaster, my second try was a lesson in the science of dough. I walked into the kitchen feeling determined to get it right, but I soon discovered that good intentions do not always lead to a perfect loaf.
Overworking the Dough
I quickly learned that my kneading techniques were far too aggressive. By pushing the dough too hard for too long, I accidentally exhausted the yeast before it had a chance to do its job.
This mistake had a direct impact on the bread rising process. Instead of a light and airy texture, I ended up with a dense, rubbery disc that was nearly impossible to chew. It turns out that dough needs a gentle touch to thrive.
Using the Wrong Type of Flour
Another major issue was my choice of ingredients. I initially used standard all-purpose flour, which lacked the necessary protein content to create the signature structure of authentic Batbout.
I realized that incorporating high-quality semolina flour is essential for the right crumb. Without this specific ingredient, the dough simply could not hold its shape during the cooking process.
To avoid these common pitfalls, keep these simple rules in mind:
- Use a mix of all-purpose and semolina flour for the best texture.
- Practice gentle kneading techniques to keep the gluten elastic.
- Allow enough time for proper bread rising in a warm, draft-free spot.
The Third Time: Almost There
Achieving the right results required a significant shift in how I managed my stovetop bread preparation. By my third attempt, I finally understood that the process is less about luck and more about precise heat management. These essential baking tips helped me transform my kitchen experiments into a reliable routine.
Adjusting Cooking Temperature
I realized that the secret to a consistent, golden-brown crust lies in the temperature of the pan. If the heat is too high, the exterior burns before the center cooks through, ruining the delicate bread texture. I began using a medium-low setting to ensure the heat penetrates evenly without scorching the surface.
Proper yeast activation is only the first step; maintaining that heat is what keeps the dough rising properly in the pan. I found that a heavy-bottomed skillet works best to distribute warmth consistently. This simple change allowed me to achieve the perfect fluffy bread I had been chasing for weeks.
Timing the Cooking Process
Timing is everything when you are working with dough on the stove. I learned to watch for visual cues rather than just relying on a clock. When the surface begins to bubble and the edges look set, it is time to flip the bread to ensure it puffs up correctly.
Patience is vital during this stage of the process. If you flip the dough too early, you risk losing the airy pockets that define high-quality fluffy bread. By waiting for the right moment, I finally achieved the light, cloud-like bread texture that makes this stovetop bread so satisfying to eat.
| Heat Setting | Cooking Time | Resulting Texture |
|---|---|---|
| High Heat | 2 Minutes | Burnt crust, raw center |
| Medium-Low | 4-5 Minutes | Golden crust, airy interior |
| Low Heat | 8+ Minutes | Dry, tough, dense |
The Perfect Recipe: Ingredients You Need
I learned that the secret to great homemade bread lies in the quality of your pantry staples. When I first started, I assumed any flour would work, but I quickly realized that specific textures require specific grains. Getting your shopping list right is the first step toward success in your kitchen.
Essential Ingredients
The most critical component for this dough is fine semolina flour. Unlike standard all-purpose flour, this ingredient provides the signature golden color and a slightly nutty flavor that defines authentic Moroccan recipes. You should look for a high-quality brand to ensure the best elasticity during the kneading process.
Beyond the flour, you will need active dry yeast, warm water, and a pinch of sea salt. These simple items work together to create the perfect rise. I always recommend using filtered water if your tap water has a strong chlorine taste, as it can affect the final flavor profile.
Optional Add-ins for Flavor
Once you master the basic dough, you can experiment with various additions to suit your personal taste. I love adding a tablespoon of nigella seeds or toasted sesame seeds for an extra crunch. You might also consider incorporating fresh herbs like cilantro or parsley if you prefer a savory, aromatic loaf.
The following table outlines the core components and their specific roles in your baking process:
| Ingredient | Purpose | Recommended Amount |
|---|---|---|
| Fine Semolina | Structure and Color | 2 Cups |
| Active Dry Yeast | Leavening Agent | 1 Tablespoon |
| Sea Salt | Flavor Enhancement | 1 Teaspoon |
| Warm Water | Hydration | 1.5 Cups |
Step-by-Step Instructions for Batbout
Creating the perfect dough is a journey that requires patience and a gentle touch. When you work with this Moroccan flatbread, you must treat the mixture with care to preserve the tiny air bubbles that form during the rising process. These bubbles are the secret to achieving that signature light and airy texture we all love.
Preparing the Dough
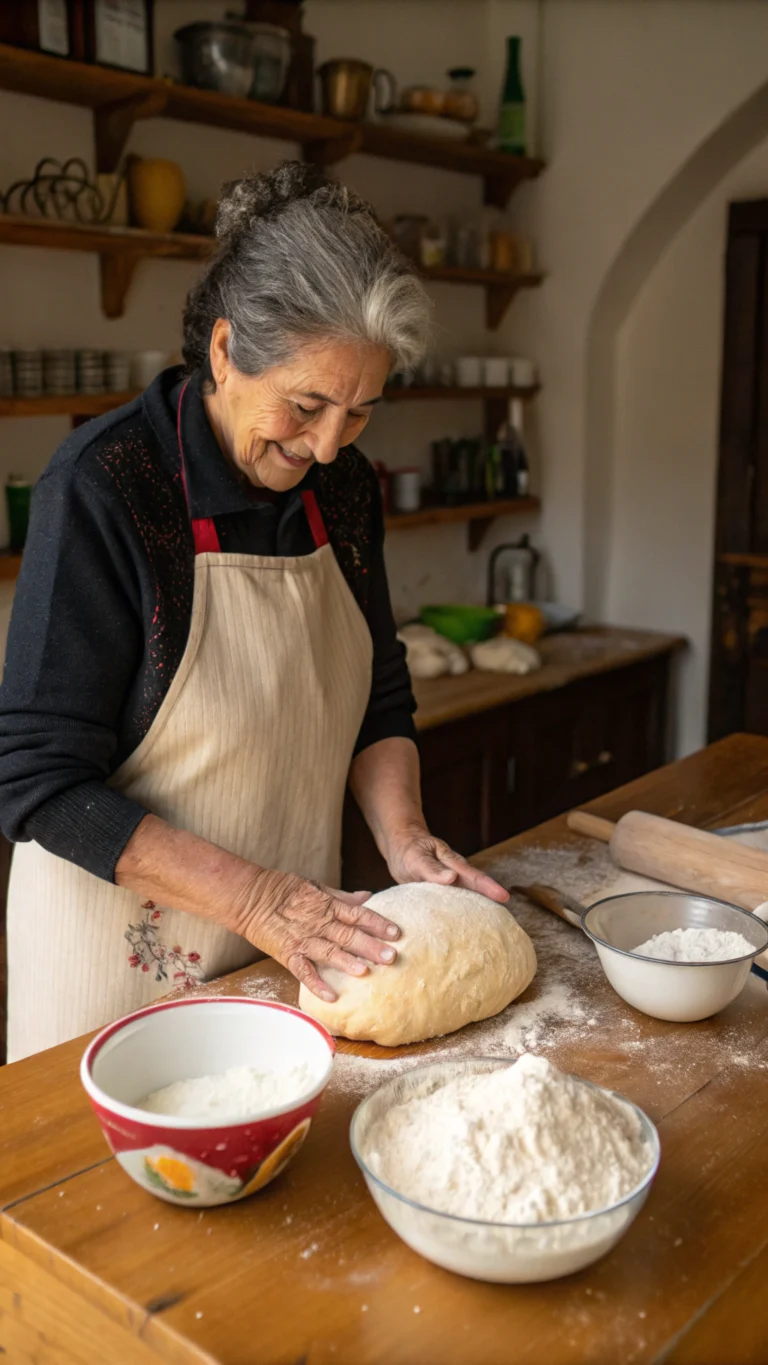
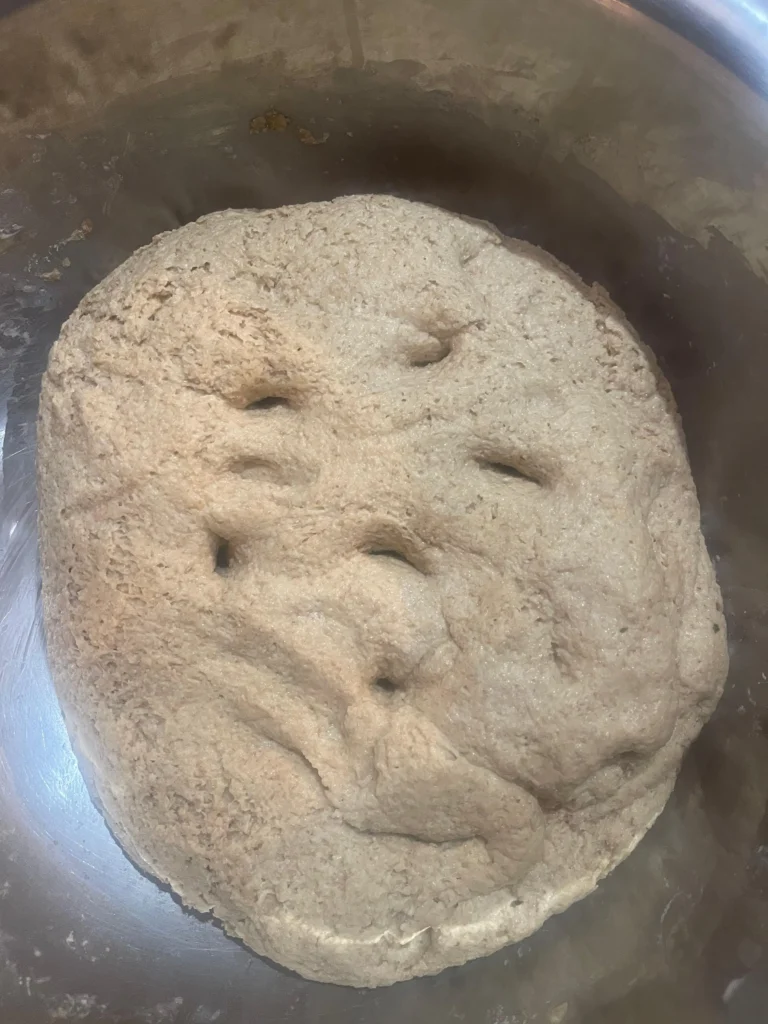
Start by combining your dry ingredients in a large mixing bowl. I always make sure to incorporate a generous amount of semolina flour, as it provides a wonderful structure and a slightly nutty flavor to the final product. Gradually add your warm water while mixing, ensuring the dough comes together into a soft, elastic ball.
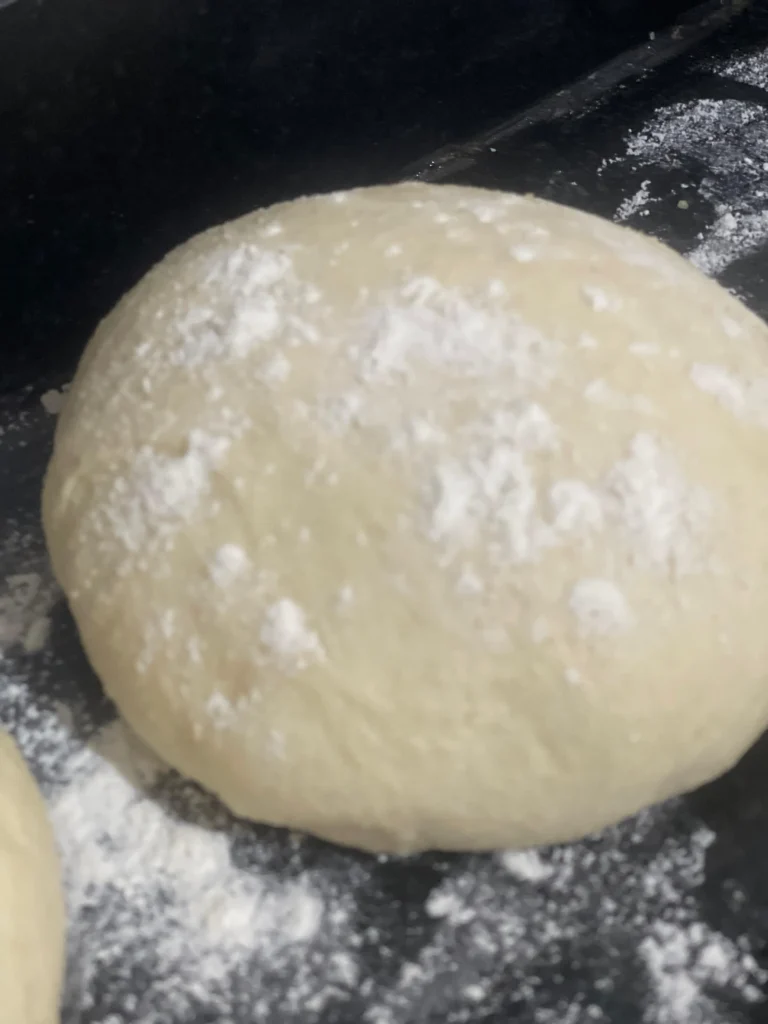
Once the dough is formed, knead it on a clean surface for about ten minutes. You want the texture to be smooth and supple to the touch. Place the dough in a warm spot, covered with a damp cloth, and let it rise until it has doubled in size. This patience is essential for the best results.
Shaping the Batbout
After the first rise, gently punch down the dough to release excess gas. Roll it out on a surface lightly dusted with more semolina flour to prevent sticking. I prefer to roll it to about a quarter-inch thickness, which helps the bread puff up beautifully during the cooking phase.
Use a round cutter or a glass to shape your individual pieces. Place these rounds on a clean kitchen towel and cover them again for a final, short rest. This step ensures your Moroccan flatbread maintains its shape and develops the perfect internal pocket for your favorite fillings.
| Dough Stage | Action Required | Goal |
|---|---|---|
| Initial Mixing | Combine ingredients | Hydration |
| Kneading | Stretch and fold | Gluten development |
| First Rise | Rest in warm area | Volume expansion |
| Final Shaping | Roll and cut | Uniform thickness |
Cooking Techniques for Batbout
Choosing the right cooking method is the final hurdle in making authentic Moroccan flatbread. While the process might seem simple, the way you apply heat changes the final result significantly. I have tested both methods to help you decide which fits your kitchen best.
Stovetop vs. Oven Cooking
Most traditional recipes rely on a heavy-bottomed skillet. This stovetop bread method allows for quick, direct heat that helps the dough puff up beautifully. Using an oven is possible, but it often results in a crispier crust rather than the soft, pillowy interior we crave.
| Method | Heat Source | Resulting Texture |
|---|---|---|
| Cast Iron Skillet | Direct/High | Soft and Airy |
| Baking Stone | Indirect/High | Chewy and Crusty |
| Electric Griddle | Even/Medium | Uniformly Golden |
Tips for Achieving the Perfect Texture
To get that signature airy bread texture, you must monitor your heat closely. If the pan is too cold, the bread will dry out before it has a chance to rise. I always recommend preheating your skillet until it is hot enough to make a drop of water sizzle instantly.
Here are my top baking tips for success:
- Keep the heat at a steady medium-high to prevent burning the outside.
- Flip the bread frequently to ensure even cooking on both sides.
- Cover the cooked bread with a clean kitchen towel immediately to trap steam and keep it soft.
Mastering these techniques takes a little practice, but the reward is a delicious, homemade Moroccan flatbread. Once you find the right balance of heat, you will never want to go back to store-bought options. Enjoy the process of perfecting your own stovetop bread at home.
Flavoring Your Batbout
Now that your bread is ready, let’s explore how to elevate it with delicious fillings and toppings. While the base recipe is wonderful on its own, adding unique ingredients turns a simple snack into a versatile meal. Keep in mind that the quality of your final product still relies on the proper kneading techniques used during the preparation phase.
Fillings and Toppings to Try
You can stuff these pockets with almost anything you enjoy. I personally love experimenting with both savory and sweet profiles to keep things interesting in my kitchen.
- Savory: Try spiced ground lamb, sautéed onions, or a fresh mix of diced tomatoes and cucumbers with feta cheese.
- Sweet: Spread a generous layer of almond butter or fresh fruit preserves inside for a delightful treat.
- Herbed: Mix fresh parsley or cilantro into your dough before cooking for an aromatic twist.
Serving Suggestions
When it comes to serving, the options are truly endless. I suggest pairing your warm bread with traditional savory tagines to soak up all those rich, delicious sauces. For a simpler approach, a classic combination of honey and melted butter creates a comforting snack that never fails to impress.
Regardless of how you choose to serve your bread, remember that the texture remains the most important factor. Even with the best toppings, your results will shine only if you have mastered the kneading techniques required for a light and airy crumb. Enjoy the process of making this bread your own!
Troubleshooting Common Issues
I have learned that even small adjustments can save a batch of dough from becoming a total disaster. While bread troubleshooting might feel intimidating at first, it is actually a normal part of the learning curve for any home baker.
Dough Too Sticky?
If your dough feels like a wet mess, you might be tempted to dump in extra flour. However, adding too much flour often leads to a dense, dry result rather than the light texture you want. Instead, focus on proper dough hydration by letting the mixture rest for a few minutes before kneading again.
Allowing the flour to fully absorb the liquid often solves the stickiness without changing the recipe ratios. If it remains tacky, try wetting your hands with a little oil or water instead of adding more dry ingredients. This keeps the dough manageable while maintaining the perfect moisture balance.
Batbout Falling Apart?
There is nothing more frustrating than a flatbread that tears when you try to stuff it. To ensure you end up with a fluffy bread that holds its shape, make sure your dough has enough strength. Proper kneading is essential to develop the gluten structure that keeps the bread cohesive.
If your bread is falling apart, consider these common culprits:
- Under-kneading: The dough needs enough elasticity to trap air bubbles.
- Over-proofing: If the dough rises for too long, the air pockets become too large and fragile.
- Uneven heat: Cooking at a temperature that is too low can prevent the bread from puffing up correctly.
By paying attention to these small details, you can turn any kitchen mishap into a successful baking session. With a bit of practice, you will find that creating perfect, airy bread becomes second nature.
Storing and Reheating Leftovers
Proper bread storage is the secret to enjoying your flatbread long after the kitchen has cooled down. I have found that a few simple habits can keep your bread soft and prevent it from drying out prematurely. These bread troubleshooting tips ensure that none of your hard work goes to waste.
Best Practices for Storage
If you plan to eat your bread within two days, keep it in an airtight container or a sealed plastic bag at room temperature. Avoid the refrigerator, as the cold air actually accelerates the staling process and makes the crumb tough.
For longer periods, the freezer is your best friend. Follow these steps to maintain quality:
- Let the bread cool completely to room temperature before packing.
- Wrap each piece individually in plastic wrap to prevent freezer burn.
- Place the wrapped pieces into a heavy-duty freezer bag.
- Squeeze out as much air as possible before sealing the bag tightly.
How to Reheat Batbout
When you are ready to enjoy your frozen stash, you do not need to thaw it on the counter for hours. I prefer using the stovetop because it restores that perfectly toasted exterior while keeping the inside fluffy.
Here are my favorite ways to bring your bread back to life:
- Stovetop: Place the bread in a dry skillet over medium-low heat for about one minute per side.
- Oven: Wrap the bread in foil and warm it in a 350°F oven for five to ten minutes.
- Microwave: Wrap the bread in a damp paper towel and heat for 15 seconds to keep it soft.
Proper bread storage is truly the final step in mastering this recipe. By following these methods, you ensure every bite tastes just as fresh as the day you baked it.
Conclusion: Mastering Moroccan Batbout
My journey to create the perfect loaf taught me that patience remains the most vital ingredient in any kitchen. You now possess the knowledge to transform simple pantry staples into a delicious Moroccan batbout that rivals any bakery quality.
Reflecting on Your Progress
Every attempt at making homemade bread builds your intuition for dough texture and heat control. You have moved past common pitfalls and now understand how to handle the rising process with care. This skill set allows you to experiment with different fillings and flavors to suit your personal taste.
Building Your Culinary Confidence
I encourage you to keep practicing these techniques in your own home. Proper bread storage ensures your hard work stays fresh for days, allowing you to enjoy your creations whenever hunger strikes. Grab your flour and yeast to start your next batch today. Your kitchen will soon fill with the warm, inviting aroma of fresh bread that brings everyone to the table.