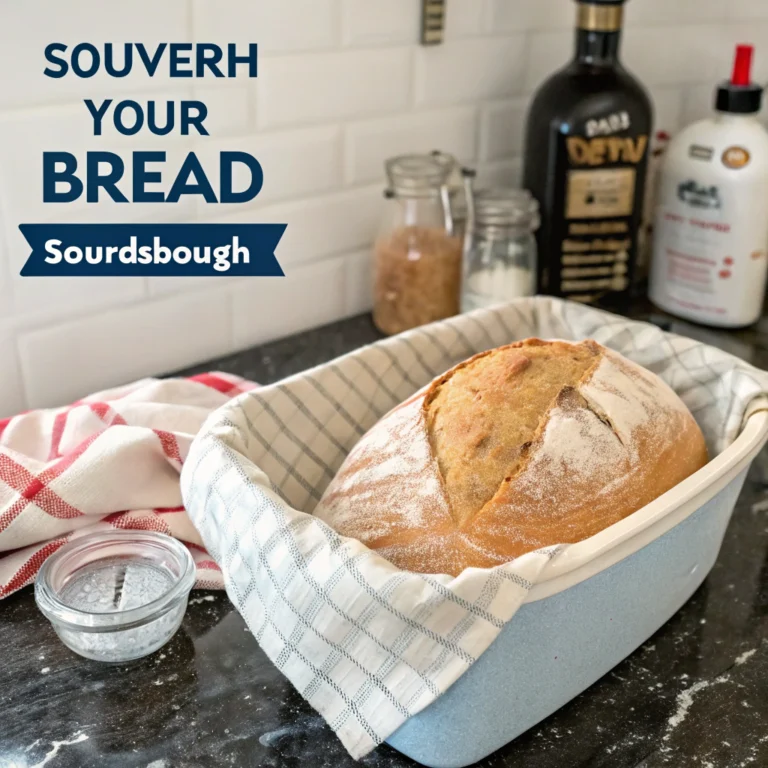
Bread Machine Sourdough: Step-by-Step Guide for Beginners
There is something deeply comforting about the scent of a warm, crusty loaf cooling on your kitchen counter. I remember the frustration of trying to master traditional techniques, only to end up with flat, dense results. That changed when I discovered the secret to perfect artisan quality without the exhausting labor.
Thank you for reading this post, don't forget to subscribe!Learning how to make sourdough bread in a bread machine transformed my morning routine. By combining modern convenience with ancient fermentation methods, you can achieve that signature tangy flavor with almost zero effort. This approach is a game-changer for anyone who loves fresh food but lacks the time for constant kneading.
My goal is to show you that homemade excellence is accessible to everyone. You will find that this reliable method simplifies the process while keeping the integrity of your favorite crusty treat intact.
When I first bought my bread machine back in 2013, I honestly had no idea how it worked. It sat in my kitchen for years, unused, while I continued buying bread from the store. It wasn’t until I started researching bread machine sourdough and experimenting with sourdough bread machine recipes that everything changed.
Learning how to make sourdough bread in a bread machine felt intimidating at first, but with a few simple sourdough bread machine tips, I quickly gained confidence. Now, I can say that investing in the best bread machine for sourdough is truly worth it, especially if you’re passionate about homemade bread. If you’re thinking about whether to buy sourdough bread machine, my experience proves that even beginners can master it with patience and curiosity.
Table of Contents
Understanding the Basics of Bread Machine Sourdough
Mastering the art of sourdough at home is much simpler when you let technology handle the heavy lifting. Many home bakers feel intimidated by the long, manual process, but bread machine sourdough offers a reliable path to success. By automating the most difficult steps, you can enjoy fresh, crusty loaves without spending your entire day in the kitchen.

Why Use a Bread Machine for Sourdough
The primary advantage of using a sourdough bread maker is the consistency it provides. Kneading dough by hand is physically demanding and often leads to uneven results if your technique varies. The machine ensures that the gluten structure is developed perfectly every single time.
You might be surprised by the flexibility these machines offer for your schedule. Depending on your chosen method, recipes can take anywhere from 3.5 hours for a quick bake to upwards of 18 hours if you decide to perform a cold ferment. This controlled environment allows you to manage your time effectively while still achieving professional-quality bread.
The Role of Wild Yeast in Your Loaf
At the heart of every great loaf is the wild yeast found in your starter. Unlike commercial yeast, which acts quickly and predictably, wild yeast is a living culture that requires patience and care. It serves as the natural leavening agent that gives sourdough its distinct, tangy flavor and airy texture.
When you use a bread machine sourdough process, the machine helps maintain a stable temperature during the fermentation stage. This stability is crucial because wild yeast thrives in specific conditions. By providing a steady environment, your sourdough bread maker helps the yeast work its magic, resulting in a beautiful rise that you can be proud of.
Essential Equipment and Ingredients
Your journey into baking bread machine sourdough begins with selecting the perfect equipment. Having the right tools ensures that your process remains consistent and enjoyable every time you bake.
Selecting the Best Bread Machine for Sourdough
When you decide to buy a sourdough bread machine, you should look for models that offer specific long-fermentation cycles. Many sourdough bread machine reviews highlight that standard machines often lack the necessary timing for wild yeast development.
I highly recommend the Panasonic SD-ZX2522 or the Panasonic SD-ZB2512KXE for this purpose. These models are widely considered the best bread machine for sourdough because they provide the precise temperature control needed for a healthy rise.
Choosing the Right Flour for Optimal Fermentation
The quality of your flour directly impacts the strength of your starter. I suggest using high-quality, organic bread flour for your main dough to ensure a good structure.
For your starter, incorporating a portion of wholegrain rye flour can work wonders. Rye is packed with nutrients that wild yeast absolutely loves, leading to more vigorous fermentation and better flavor in your final loaf.
Water Quality and Salt Considerations
Water quality is often overlooked, but it plays a vital role in your success. If your tap water has a strong chlorine smell, consider using filtered water to avoid inhibiting the yeast activity.
Precision is also key when measuring your ingredients. I strongly advise using a digital scale rather than measuring cups to maintain exact ratios, as even small deviations can affect the texture of your bread.
| Equipment | Purpose | Importance |
|---|---|---|
| Digital Scale | Measuring ingredients | High |
| Bread Machine | Mixing and proofing | Critical |
| Rye Flour | Starter health | Medium |
| Filtered Water | Yeast environment | Medium |
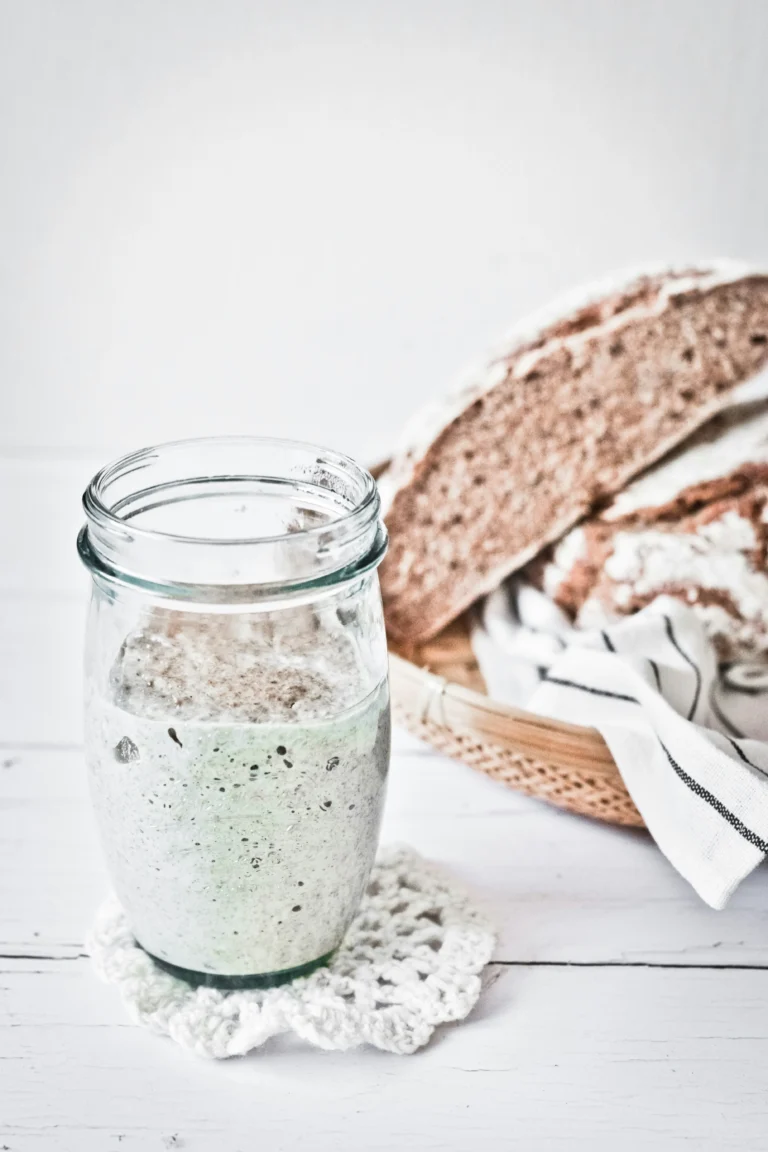
Preparing and Maintaining Your Sourdough Starter
Your journey toward perfect homemade bread begins with the simple, rewarding task of maintaining a healthy starter. A thriving culture is the secret weapon behind every successful loaf of bread machine sourdough. When your starter is active and bubbly, it provides the necessary lift and flavor that defines artisanal baking.
Feeding Your Starter for Peak Activity
I find that the most effective way to keep my culture strong is by using a consistent 1:1:1 feeding ratio. This means I mix equal weights of starter, flour, and water together in a clean jar. This simple method ensures that the wild yeast has plenty of fresh food to consume, keeping it resilient for your sourdough bread maker.
“The secret to great bread is not in the machine, but in the life you cultivate within your jar of starter.”
Testing Your Starter for Readiness
Before you add your starter to the machine, you need to ensure it is at its peak. The easiest way to verify this is the float test. Simply drop a small teaspoon of your active starter into a glass of water. If it floats, it is full of gas and ready to leaven your dough perfectly.
If the starter sinks, it likely needs more time to ferment or another feeding. Never rush this step, as a weak starter will lead to a dense, flat loaf. Patience is truly a virtue when working with natural leavening agents.
Storing Your Starter Between Bakes
How you store your starter depends entirely on your baking frequency. If you bake daily, keeping it on the counter is ideal. However, if you only bake on weekends, the refrigerator is your best friend. Cold temperatures slow down the yeast, allowing you to go days without a feeding.
| Frequency | Storage Location | Feeding Schedule |
|---|---|---|
| Daily Baker | Countertop | Every 24 hours |
| Weekend Baker | Refrigerator | Once per week |
| Occasional Baker | Freezer | Once per month |
Always remember to bring your starter to room temperature before using it in your machine. This ensures the yeast is active and ready to work immediately upon mixing. Proper maintenance is the foundation of every great loaf you will create.
Adapting Traditional Recipes for Your Bread Machine
When I first started using a sourdough bread maker, I realized that traditional recipes needed a bit of tweaking to work well. The mechanical action of the paddle is quite different from hand-kneading, which changes how the dough develops. By following a few simple sourdough bread machine tips, you can achieve professional results right on your kitchen counter.
Adjusting Hydration Levels for Machine Kneading
One of the most important factors when learning how to make sourdough bread in a bread machine is the hydration level. A dough that is too wet can become sticky and difficult for the machine to knead properly. I recommend starting with a moderate hydration level before experimenting with higher percentages.
Higher hydration levels, such as 75%, create an airier and fluffier crumb, while 65% hydration results in a more substantial loaf. You should observe the dough during the first few minutes of the cycle to ensure it forms a smooth ball. If it looks too shaggy, add a teaspoon of water at a time.
| Hydration Level | Crumb Texture | Best Use Case |
|---|---|---|
| 65% | Dense and Chewy | Sandwich bread |
| 70% | Balanced | Everyday loaves |
| 75% | Light and Airy | Artisan-style crust |
Managing Fermentation Times in a Controlled Environment
The internal environment of your appliance is much more stable than a drafty kitchen. Because of this, many sourdough bread machine recipes require shorter bulk fermentation times than manual methods. I suggest monitoring the dough closely, as the machine’s gentle heat can accelerate the activity of the wild yeast.
The Importance of Room Temperature
Even with a bread machine sourdough setup, your kitchen’s ambient temperature still plays a role. If your home is particularly cold, the machine may struggle to maintain the ideal temperature for fermentation. I find that keeping my starter and ingredients at a consistent room temperature helps the process stay predictable and reliable.
Step-by-Step Process for Mixing and Kneading
Achieving consistent results when learning how to make sourdough bread in a bread machine starts with a precise mixing process. This stage is where your ingredients transform into a cohesive, elastic dough. By following a specific order of operations, you ensure that your yeast remains active and your salt does not interfere with the initial fermentation.
Adding Ingredients in the Correct Order
Most manufacturers recommend adding liquids first to prevent the flour from sticking to the bottom of the pan. I always suggest pouring your water towards the edges of the baking bowl, which helps the mixing paddle work more efficiently during the initial cycle. This simple trick ensures that the flour is fully incorporated without leaving dry pockets at the corners.
Next, add your salt and sourdough starter on opposite sides of the pan. Keeping the salt away from the starter prevents it from inhibiting the wild yeast before the machine begins its work. Following these sourdough bread machine tips will help you maintain a healthy fermentation environment from the very first minute.
Monitoring the Dough Consistency During the Knead Cycle
Once the cycle begins, it is important to watch the dough as it forms. A good sourdough bread maker will handle the heavy lifting, but you should still verify the texture after about five minutes of kneading. The dough should look smooth and pull away cleanly from the sides of the pan.
If you are following specific sourdough bread machine recipes, remember that humidity can change how your flour absorbs water. I recommend keeping a small amount of extra flour or water nearby during this phase. Making minor adjustments early on is the key to a successful bread machine sourdough loaf.
Troubleshooting Sticky or Dry Dough
If your dough looks too wet or too dry, do not panic. You can easily adjust the consistency by adding small amounts of ingredients until the dough reaches the perfect tacky feel. Use the table below to guide your adjustments during the kneading process.
| Dough Condition | Visual Indicator | Recommended Fix |
|---|---|---|
| Too Sticky | Clings to pan sides | Add 1 tsp flour |
| Too Dry | Crumbly or stiff | Add 1 tsp water |
| Perfect | Smooth and elastic | No action needed |
Always add ingredients in small increments to avoid over-correcting. Patience during this stage will reward you with a beautiful, airy crumb once the baking cycle is complete.
Managing the Bulk Fermentation and Proofing Stages
Once your dough is mixed, the real magic happens during the bulk fermentation and proofing stages. This is where the flavor and structure of your bread machine sourdough are truly developed. I have found that giving the dough enough time to rest is the secret to a light, airy crumb.
Utilizing the Dough Setting on Your Machine
Most modern models include a dedicated dough setting that is perfect for this stage. If your sourdough bread maker has this feature, it will maintain the ideal temperature for the yeast to work effectively. This controlled environment prevents the dough from getting too cold, which often happens in drafty kitchens.
Using the machine’s built-in timer ensures consistency across all your sourdough bread machine recipes. You do not have to worry about fluctuating room temperatures affecting your rise. Simply set the cycle and let the machine handle the heavy lifting.
Extending Proofing Times for Better Flavor
While the machine is convenient, sometimes you might want a more pronounced sour taste. Many people ask how to make sourdough bread in a bread machine with a deeper flavor profile. The trick is to extend the proofing time beyond the standard cycle.
I often stop the machine before the final bake cycle to let the dough rest longer. This extra time allows the wild yeast to produce more organic acids. These acids are responsible for that signature tang we all love in a good loaf.
Knowing When the Dough Has Proofed Enough
Learning to identify the visual cues of a well-proofed dough is one of the most important sourdough bread machine tips. Your dough should look puffy and feel soft to the touch. If you gently press your finger into the surface, the indentation should spring back slowly.
If the dough springs back immediately, it needs more time. If it collapses, it may be over-proofed. Use the following table to understand how different environments affect your fermentation process.
| Environment | Fermentation Speed | Flavor Profile |
|---|---|---|
| Warm (80°F+) | Fast | Mild |
| Room Temp (70°F) | Moderate | Balanced |
| Cool (60°F) | Slow | Strong/Tangy |
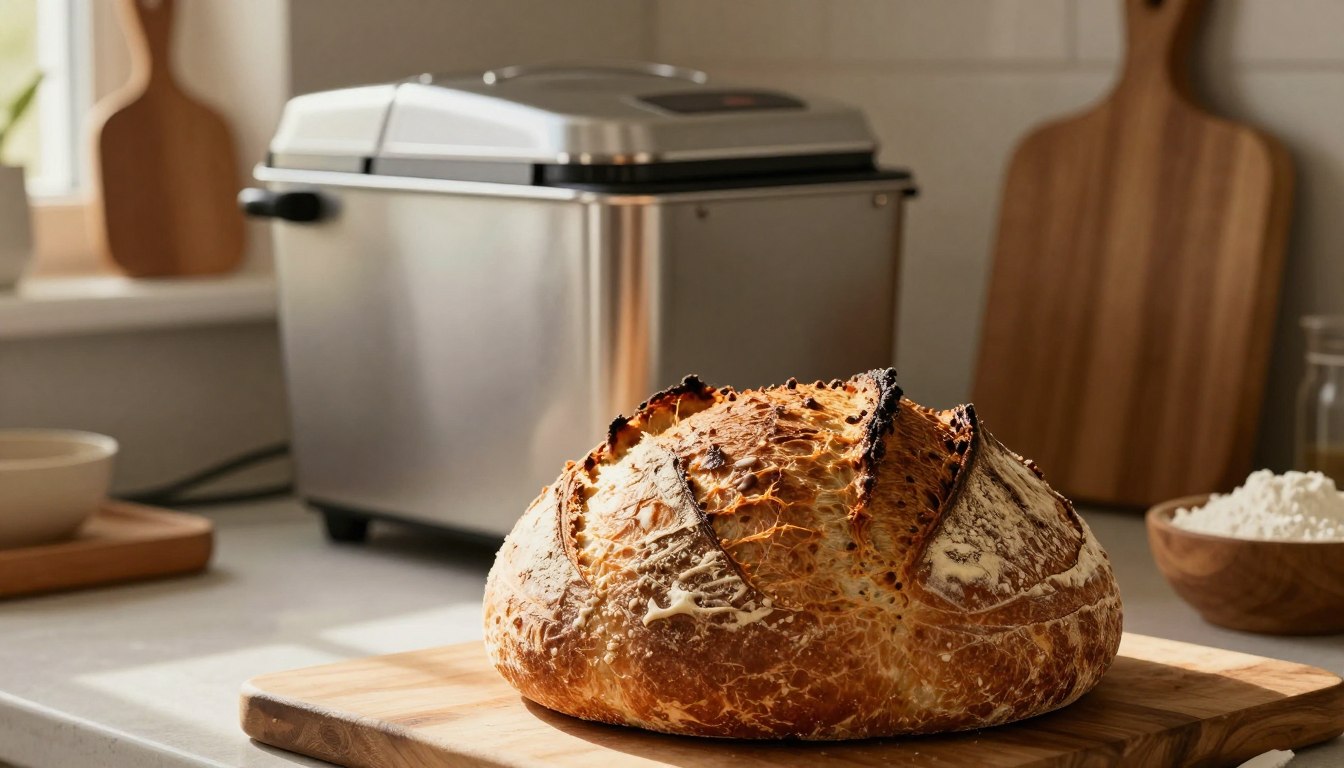
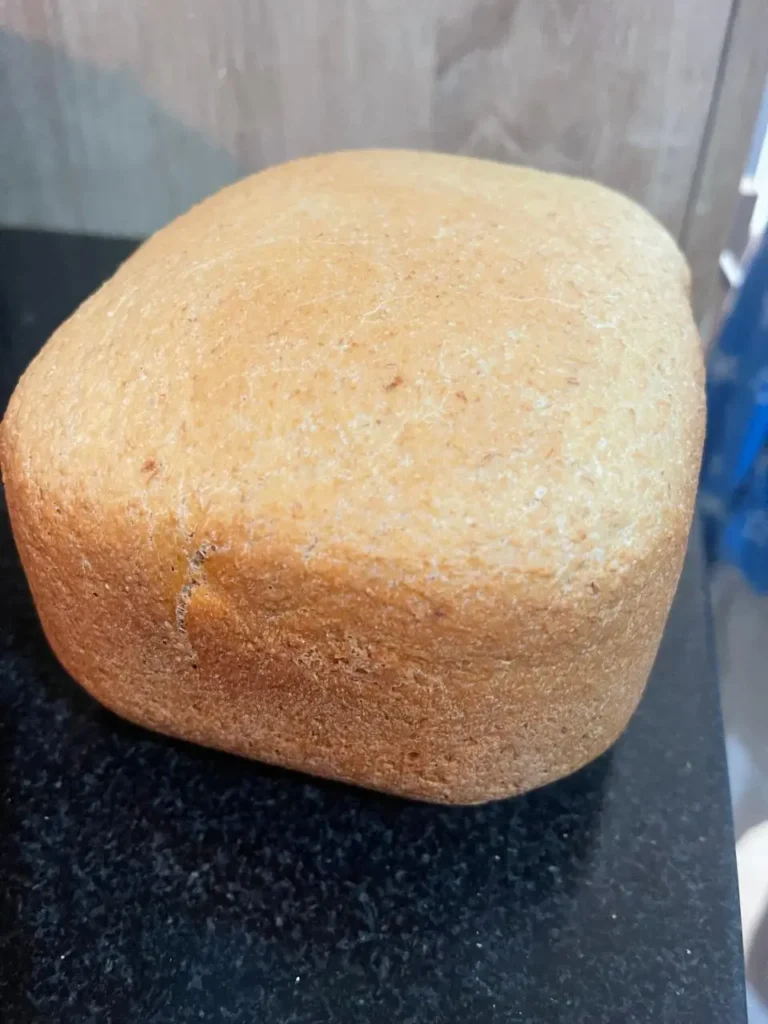
Baking Your Sourdough to Perfection
The most rewarding part of using a sourdough bread maker is watching your loaf transform into a golden masterpiece. After the long fermentation process, the heat of the machine brings everything together to create that signature artisan flavor. Mastering this final stage is essential for anyone learning how to make bread machine sourdough at home.
Selecting the Right Crust Setting
Most modern machines offer adjustable crust settings, which are vital for achieving your desired finish. I recommend choosing the “Dark” or “Medium-Dark” setting to ensure the exterior develops a deep, rich color. This adjustment is one of my favorite sourdough bread machine tips for getting that authentic, bakery-style crunch.
Managing the Bake Cycle for a Crispy Crust
Unlike standard yeasted loaves, sourdough often requires a longer duration to develop a sturdy crust. You should plan for a bake time of approximately 1 hour to 1 hour and 15 minutes to achieve the best results. If you find your machine’s default program is too short, you can often extend the cycle manually to ensure the center is fully cooked.
Many successful sourdough bread machine recipes rely on this extended heat to set the structure properly. If you are wondering how to make sourdough bread in a bread machine that stays fresh, this extra time is the secret. A well-baked crust acts as a natural seal, keeping the interior soft and moist for days.
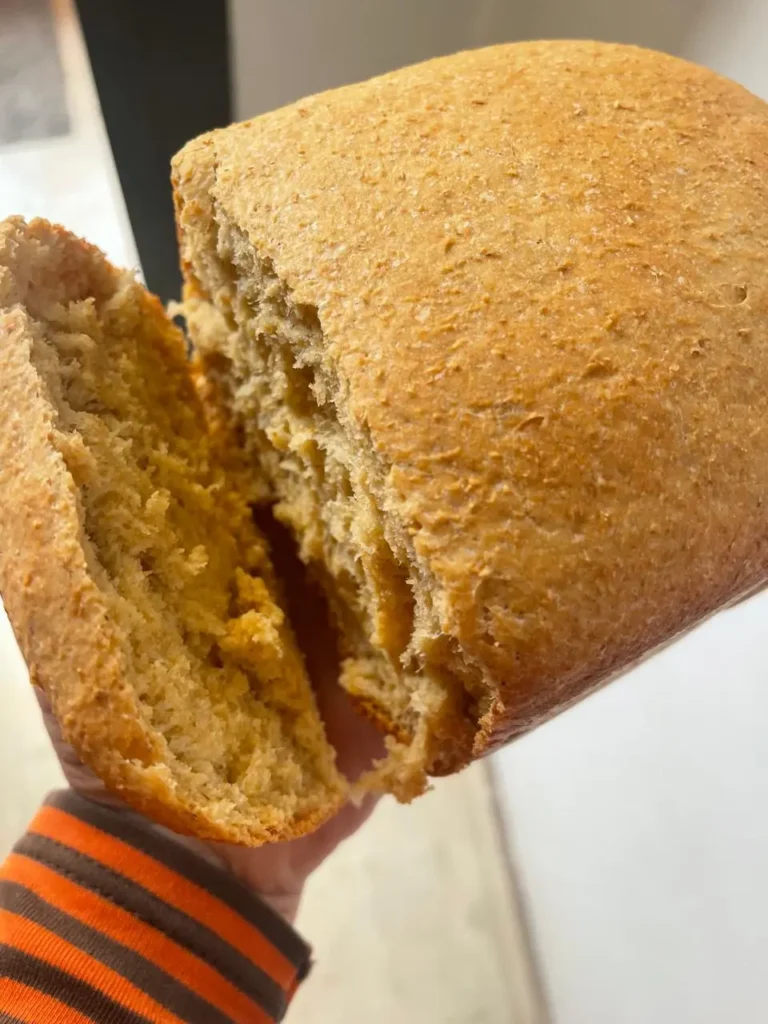
Cooling Your Bread for the Perfect Crumb
Once the timer dings, resist the urge to slice into your loaf immediately. Removing the bread from the pan and placing it on a wire rack is a critical step that many beginners overlook. This allows air to circulate around the entire loaf, preventing the bottom from becoming soggy due to trapped steam.
Letting the bread cool completely for at least two hours ensures the crumb sets perfectly. If you cut it while it is still hot, the texture may appear gummy or doughy. Patience at this final stage is the ultimate key to enjoying a professional-quality loaf every single time.
Common Challenges and How to Fix Them
Even the most seasoned bakers occasionally face hurdles when mastering the art of sourdough. Whether you are new to the process or just trying a new flour blend, troubleshooting is a natural part of the journey. I have found that most issues can be resolved with a few simple adjustments to your technique.
Why Your Bread Might Not Rise
If your loaf comes out flat, the most common culprit is an inactive starter. If your discard is straight from the fridge, I highly recommend using the Whole Wheat setting on your bread maker to utilize the preheat phase, which helps wake up the yeast.
You should also ensure your yeast is fresh and your water temperature is not too hot. Consistency is key when working with a sourdough bread maker. If the dough fails to rise, check that your machine’s paddle is properly engaged and that the ingredients were added in the correct order.
“The secret to great bread is not just the recipe, but the patience to understand how your dough behaves in different conditions.”
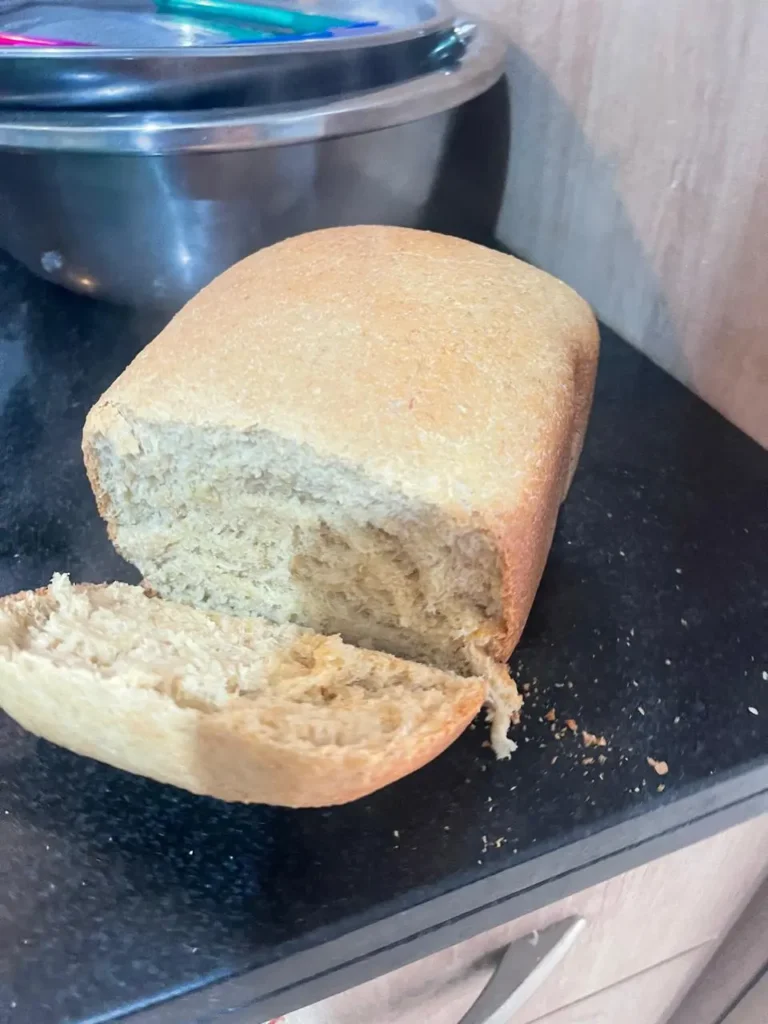
Dealing with Dense or Gummy Textures
A dense or gummy crumb often points to an issue with hydration or under-baking. If you are following specific sourdough bread machine recipes, make sure you are measuring your flour by weight rather than volume. Too much flour can lead to a heavy, brick-like loaf.
Conversely, if the bread feels gummy, it may need a longer cooling period. Always allow your bread to rest on a wire rack for at least two hours before slicing. This allows the internal moisture to redistribute, ensuring a perfect texture.
Preventing Over-Proofing in Warm Kitchens
In the heat of summer, your kitchen environment can significantly impact your dough. If your dough rises too quickly and then collapses, it is likely over-proofed. These sourdough bread machine tips will help you maintain control:
- Use cooler water when mixing your ingredients.
- Monitor the dough during the final rise to ensure it does not exceed the pan capacity.
- Consider moving your machine to a cooler spot in your home during the proofing cycle.
By keeping a close eye on the temperature, you can prevent the wild yeast from working too fast. With these small changes, you will be back to baking delicious, airy bread in no time.
Advanced Tips for Sourdough Bread Machine Success
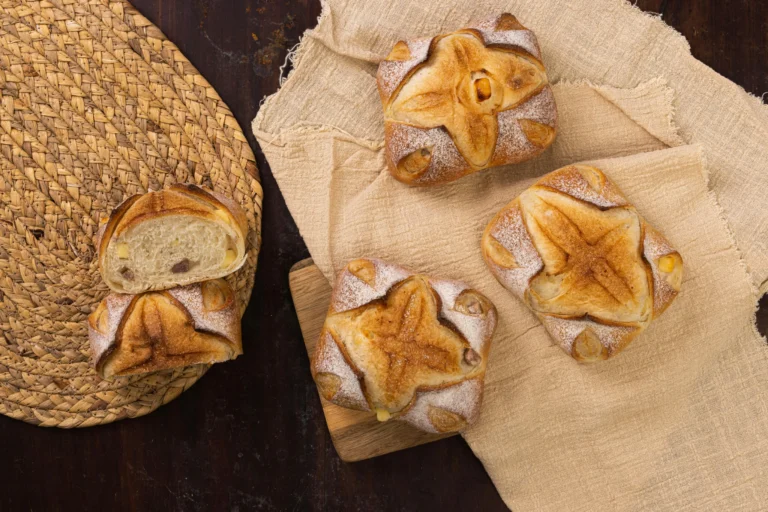
Once you have mastered the basics, it is time to elevate your baking game with creative additions. Refining your bread machine sourdough process allows you to move beyond simple loaves and explore a world of personalized flavors and textures.
Incorporating Seeds and Grains
Adding texture and flavor is one of the most rewarding parts of using a sourdough bread maker. You can easily fold in ingredients like sunflower seeds, flax, or toasted sesame seeds during the final kneading cycle to maintain their crunch.
For those who enjoy a touch of sweetness, try these flavor combinations in your sourdough bread machine recipes:
- Cranberry Spice: Add 2 teaspoons of cinnamon and cardamom along with 1 cup of chopped craisins.
- Savory Herb: Mix in dried rosemary and thyme for a fragrant, rustic loaf.
- Nutty Crunch: Incorporate toasted walnuts or pecans for a hearty, earthy profile.
Experimenting with Different Flour Blends
While bread flour is the standard, mixing in other grains can significantly improve the complexity of your crumb. I recommend replacing 10% to 20% of your white flour with whole wheat, rye, or spelt flour to add depth.
These sourdough bread machine tips suggest starting with small percentages to ensure the gluten structure remains strong. A blend of 80% bread flour and 20% rye flour often produces a beautiful, tangy loaf with a dense, satisfying texture.
Cleaning and Maintaining Your Bread Machine
Your appliance requires regular care to perform at its best over the long term. Always remove the kneading paddle after the final cycle to prevent it from getting stuck in the baked loaf.
Wipe the interior pan with a soft, damp cloth after every use to avoid residue buildup. Never use abrasive scrubbers on the non-stick coating, as this can damage the surface and cause your dough to stick during future bakes.
Conclusion
Baking bread machine sourdough represents a perfect blend of modern convenience and traditional artisan craft. You now possess the knowledge to transform simple flour, water, and wild yeast into a crusty, tangy masterpiece right in your kitchen.
Every loaf you bake serves as a unique lesson in fermentation and timing. I encourage you to keep a small journal to track your adjustments and results. This practice helps you refine your technique with your specific bread machine sourdough setup.
Do not feel discouraged if your first few attempts do not look like professional bakery loaves. Even experienced bakers face challenges with hydration or ambient temperature shifts. Your persistence will lead to consistent, delicious results that store-bought bread simply cannot match.
Share your creations with friends and family to spread the joy of homemade baking. The process of making bread machine sourdough is as rewarding as the final slice. Grab your favorite flour, feed your starter, and enjoy the journey of creating something truly special from scratch.
In conclusion, mastering bread machine sourdough is not as complicated as it may seem. With the right approach, reliable sourdough bread machine recipes, and a few practical sourdough bread machine tips, anyone can enjoy fresh, homemade bread with minimal effort. Understanding how to make sourdough bread in a bread machine opens the door to healthier and more flavorful baking at home. Whether you’re a beginner or looking to upgrade to the best bread machine for sourdough, taking the step to buy sourdough bread machine can truly transform your baking experience.