How to Make Apple Fritter Bread: Easy Homemade Quick Bread
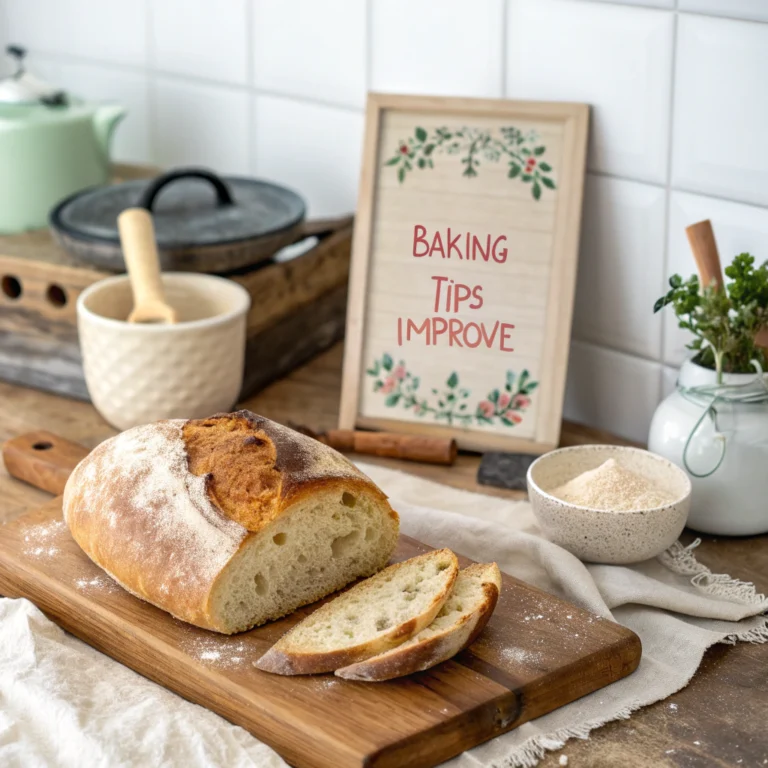
There is something truly magical about the scent of cinnamon and sugar wafting through the kitchen on a crisp morning. I remember my grandmother pulling a warm, golden loaf from the oven, the steam rising to greet us as we gathered around the table. That simple comfort is exactly what I wanted to recreate with this apple fritter bread.
Thank you for reading this post, don't forget to subscribe!It captures the nostalgic charm of a classic bakery treat in a convenient, sliceable format. This homemade quick bread has become my go-to recipe whenever I need a cozy, reliable snack to share with friends. You will find that mastering this delightful bake is surprisingly simple, even if you are new to the kitchen.
Let’s walk through the steps to bring this comforting, sweet indulgence into your own home. I am so excited to help you create your own delicious memories with every single slice.
I still remember the first time I tasted apple fritter bread as a child—it wasn’t in a fancy bakery, but in my mother’s warm kitchen on a quiet afternoon. The smell of cinnamon and sweet apples would fill the entire house, making it impossible to wait until it cooled. She would slice the apple fritter bread while it was still slightly warm, and the soft, swirled layers with caramelized apple bits felt like pure comfort in every bite. Even now, every time I bake apple fritter bread, it takes me back to those simple moments—barefoot in the kitchen, watching the oven, and counting minutes until that first delicious slice.
Table of Contents
What is Apple Fritter Bread?
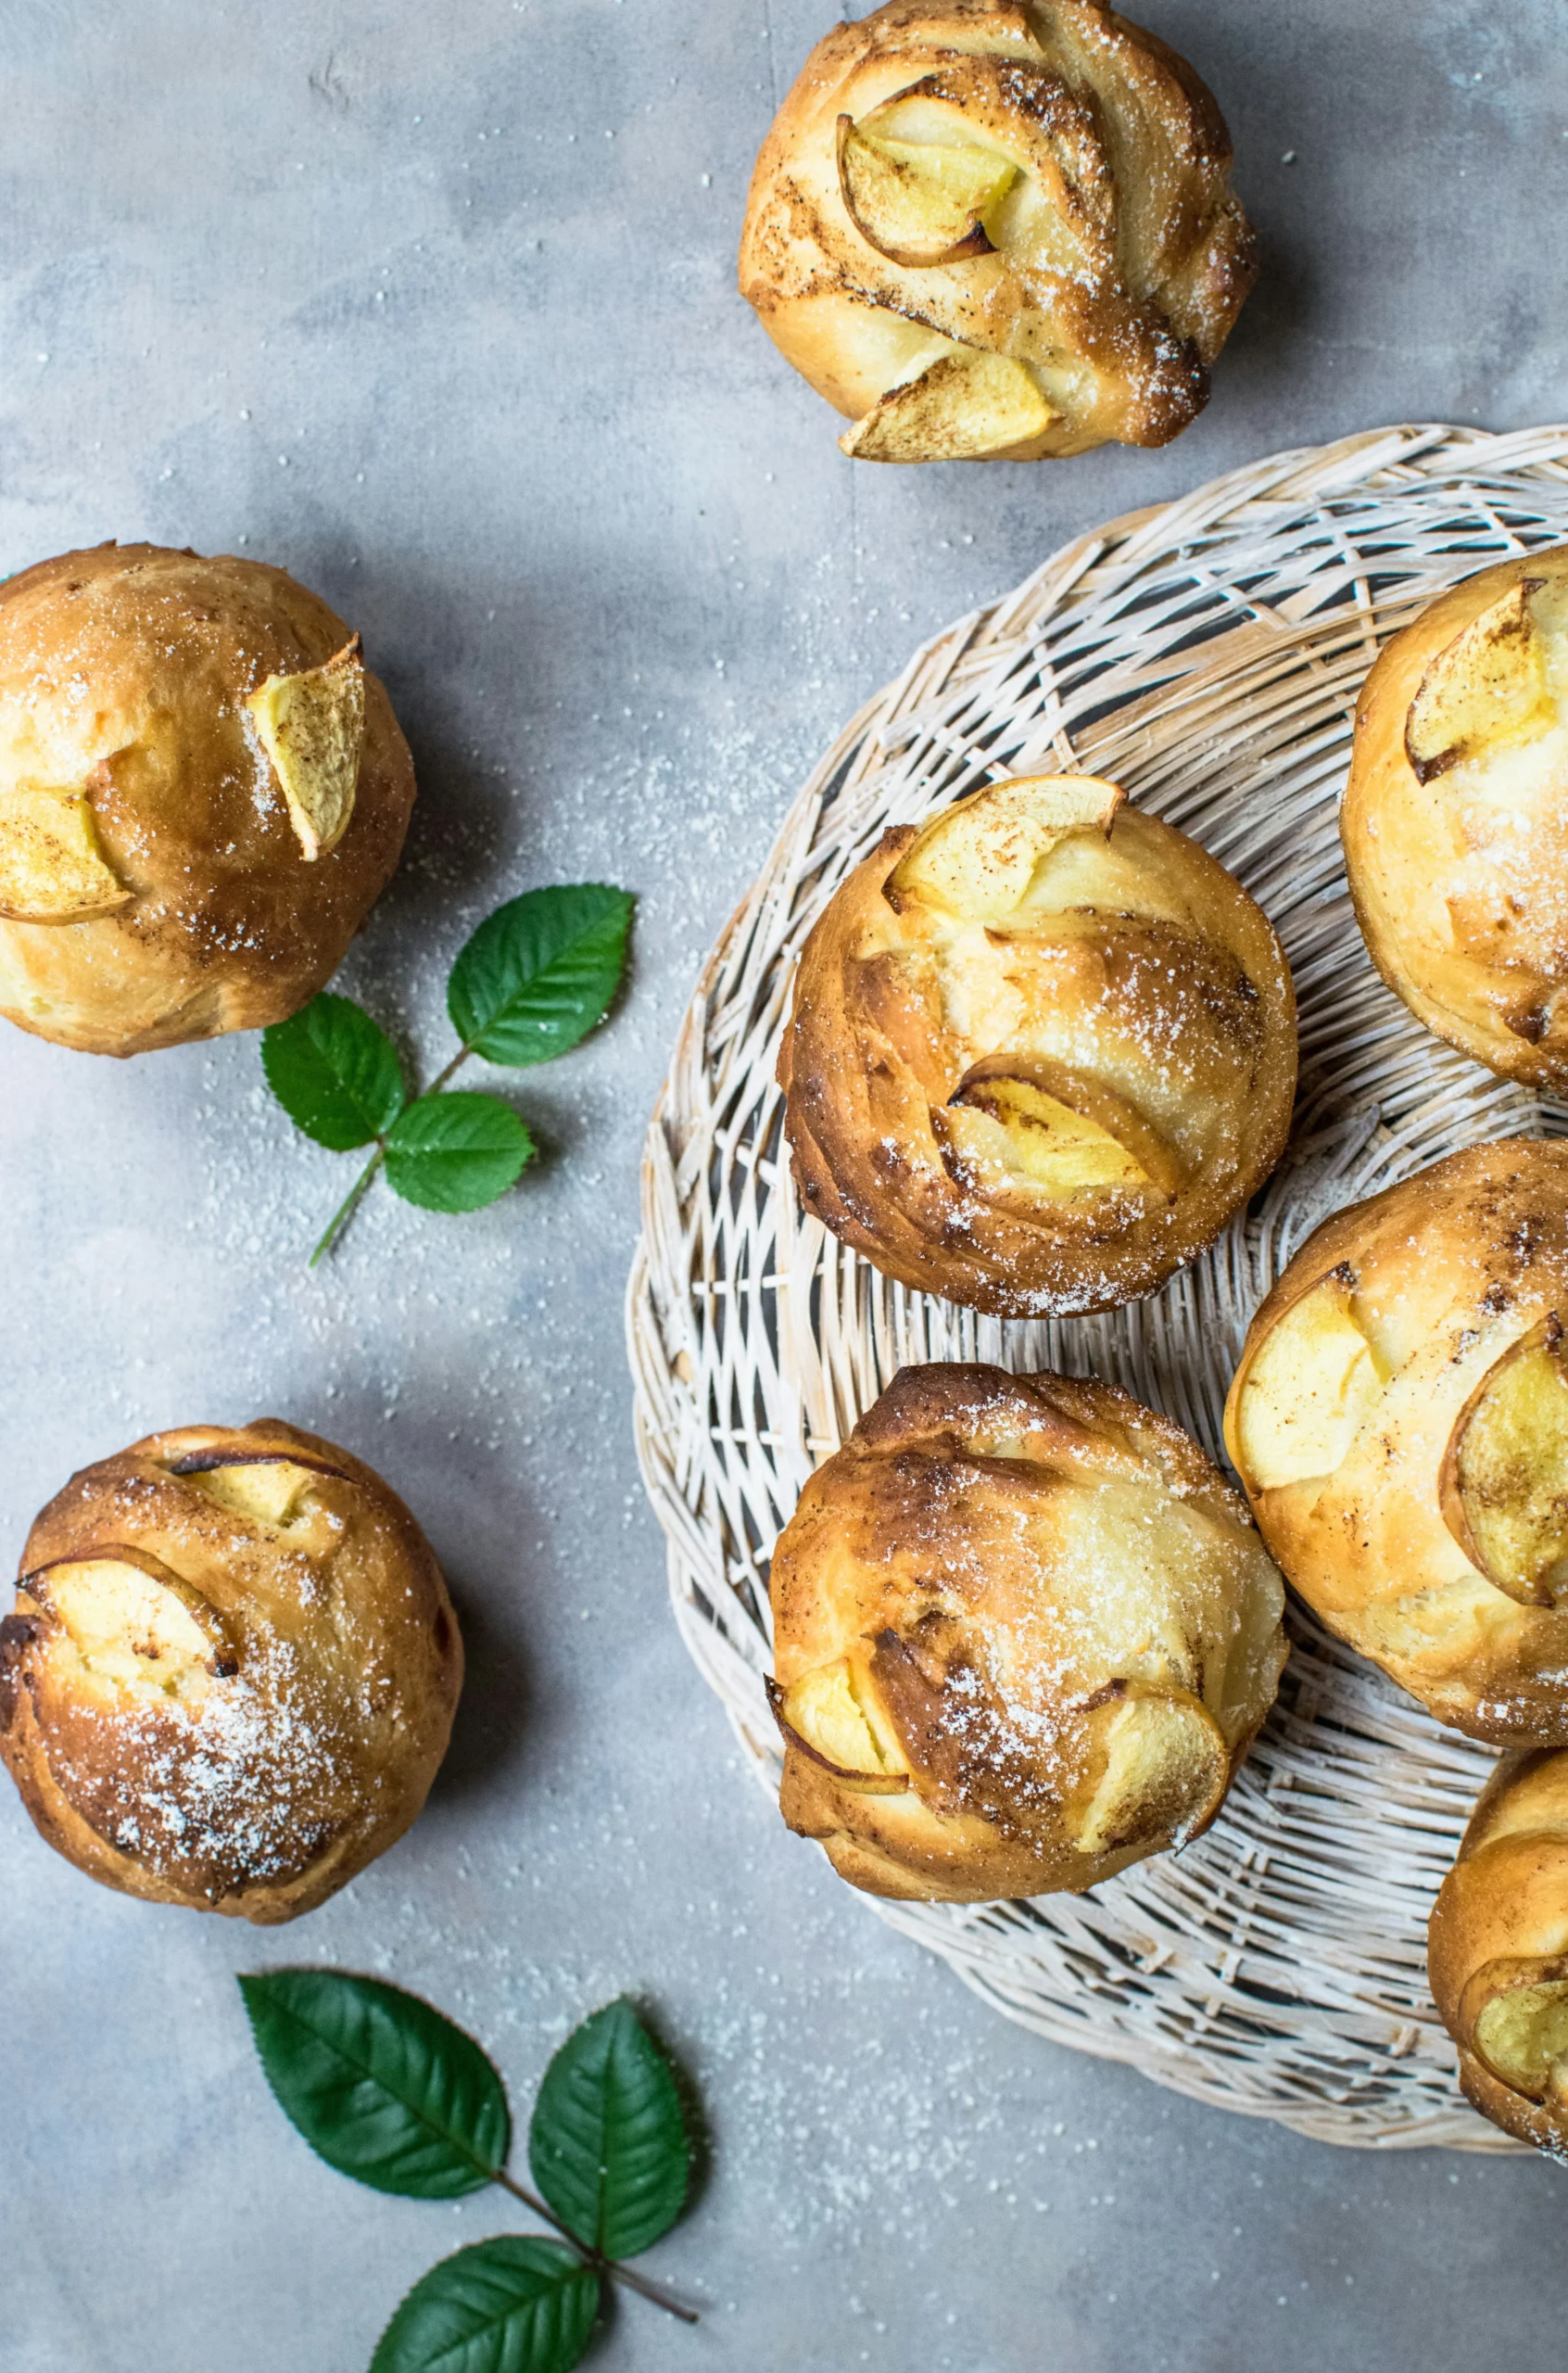
Imagine the comforting aroma of cinnamon and apples filling your kitchen without the mess of deep frying. I find that this apple fritter bread captures the essence of a classic donut shop treat in a much simpler format. It is the perfect way to enjoy a sweet, indulgent snack whenever the craving strikes.
Definition of Apple Fritter Bread
At its heart, this bakery-style loaf is a dense, moist quick bread that mimics the flavors of a traditional fried fritter. Instead of using hot oil, we rely on a simple batter that bakes up perfectly in your oven. The standout feature is the signature cinnamon-apple swirl that runs through every slice, providing a burst of spiced sweetness in every bite.
This apple fritter dessert has become a staple in my home because it offers that nostalgic, comforting taste without the hassle of a deep fryer. It is truly a bakery-style loaf that feels special enough for guests but easy enough for a quiet weekend morning. Once you try it, you will understand why this recipe belongs in every baker’s collection.
Key Ingredients
To achieve that authentic flavor, I always prioritize high-quality, fresh components. The foundation of this apple fritter bread relies on crisp, tart apples that hold their shape during the baking process. When combined with warm spices like cinnamon and nutmeg, these apples create a rich, aromatic profile that defines the cinnamon-apple swirl.
Beyond the fruit, the quality of your pantry staples makes a significant difference in the final texture. Using fresh, high-quality flour and leavening agents ensures that your apple fritter dessert rises beautifully. These simple, wholesome ingredients work together to create a treat that is both satisfying and incredibly delicious.
Why You’ll Love This Recipe
I believe that the best recipes are the ones that bring people together without requiring hours of complex labor. This homemade quick bread is a personal favorite because it skips the need for a heavy stand mixer entirely. You only need a few bowls and a sturdy spoon to create something truly special.
Delicious Flavor Profile
The magic of this apple fritter recipe lies in the contrast of textures and tastes. I love how the deep, caramelized notes of brown sugar melt into the tart, crisp bites of fresh fruit. This combination creates a sophisticated profile that feels like a bakery-style indulgence right in your own kitchen.
“Baking is a way to share love, and there is no better way to show it than with a warm, spiced loaf fresh from the oven.”
Perfect for Any Occasion
Whether you are planning a festive brunch or simply want a cozy fall treat, this loaf fits every scenario. It is a staple of my fall baking routine, but it works just as well for holiday gatherings or as a thoughtful gift for a neighbor. You will find that its versatility makes it a reliable go-to for any time of year.
To help you understand why this recipe stands out, I have outlined the key benefits of choosing this method over traditional yeast-based pastries.
| Feature | Apple Fritter Bread | Traditional Fritters |
|---|---|---|
| Prep Time | 10 Minutes | 60+ Minutes |
| Equipment | Mixing Bowl | Deep Fryer |
| Skill Level | Beginner | Advanced |
| Serving Style | Sliced Loaf | Individual Pieces |
Essential Ingredients for Apple Fritter Bread
Creating a bakery-style loaf starts with selecting the best pantry staples. When I prepare for fall baking, I always ensure my kitchen is stocked with high-quality items that bring out the best flavors in my recipes.
Fresh Apples
The heart of this recipe lies in choosing the right baking apples. I prefer varieties like Granny Smith or Honeycrisp because they hold their shape well under heat.
These apples provide a delightful, juicy texture that contrasts perfectly with the soft bread. Always aim for firm fruit to ensure your loaf has the best consistency possible.
Dough Ingredients
To achieve that signature richness, I rely on a few key staples. You will need high-quality butter and whole milk to create a tender, moist crumb.
- Unsalted butter for a rich, buttery flavor.
- Whole milk to provide necessary moisture.
- All-purpose flour as the structural base.
Topping Essentials
No apple fritter snack is complete without the signature finish. I focus on two main components to elevate the final product:
First, a cinnamon-sugar layer adds a warm, spiced crunch to the top of the loaf. Second, a simple powdered sugar glaze provides that classic, sweet drizzle that makes every bite feel like a treat from a professional bakery.
Kitchen Tools You’ll Need
Preparing a perfect apple fritter dessert starts long before you turn on the oven. Having the right equipment ready ensures that your time in the kitchen remains stress-free and productive. I find that when my tools are organized, the entire process flows much more smoothly.
“Baking is a science, but it is also an art that requires the right tools to bring your vision to life.”
Mixing Bowls
You will need at least two sturdy mixing bowls to prepare this apple fritter recipe. One bowl is perfect for combining your dry ingredients, while the other is necessary for tossing the fresh apples with cinnamon and sugar. Using separate bowls prevents over-mixing the batter, which is essential for achieving the perfect texture.
Loaf Pan
A reliable, high-quality loaf pan is the backbone of a great apple fritter loaf. I recommend using a standard 9×5 inch metal pan for even heat distribution. If you prefer a non-stick surface, make sure to lightly grease it or line it with parchment paper to ensure your bread releases easily after baking.
Measuring Cups and Spoons
Precision is the secret to consistent results in any baking project. I always rely on accurate measuring cups and spoons to ensure the ratios of flour, sugar, and leavening agents remain balanced. Never guess your measurements, as even a small deviation can change the final rise and crumb of your bread.
Preparing the Apples
The secret to a truly delicious loaf lies in how you handle your fruit. Proper preparation ensures that your moist apple bread maintains its structure while delivering a burst of flavor in every single bite.
Selecting the Right Variety
When I head to the grocery store, I am very selective about the fruit I choose. Not all fruits behave the same way when exposed to high oven temperatures.
I highly recommend using baking apples that hold their shape well. Varieties like Granny Smith or Honeycrisp are my top choices because they provide a perfect balance of tartness and firmness.
Using the right variety prevents your bread from becoming overly soggy. Choosing the correct fruit is the foundation of a successful bake.
| Apple Variety | Texture | Flavor Profile | Best Use |
|---|---|---|---|
| Granny Smith | Firm | Tart | Baking |
| Honeycrisp | Crisp | Sweet | Baking/Snacking |
| Red Delicious | Soft | Mild | Eating Raw |
Chopping Techniques
Once you have selected your fruit, the way you cut it matters significantly. I prefer to chop my apples into uniform, half-inch cubes to ensure even distribution throughout the batter.
This specific size allows the fruit to soften just enough without turning into mush. It is the key to achieving that authentic, juicy fritter experience in your homemade apple bread.
Always remember to peel your fruit before chopping to ensure a smooth texture. Taking your time during this step makes a world of difference in the final result.
Making the Dough
Building the foundation for your homemade quick bread starts with a careful mixing process. I find that taking my time during these initial steps ensures the final texture is light, airy, and perfectly moist.
“Baking is a science, but it is also an art that rewards patience and precision.”
Mixing Dry Ingredients
I always begin by whisking my dry ingredients together in a large bowl. This step is essential for distributing the baking powder and salt evenly throughout the flour.
By aerating the flour mixture, I ensure that my loaf rises uniformly in the oven. Proper distribution prevents any dense pockets and guarantees a consistent crumb in every single slice.
Incorporating Wet Ingredients
Once the dry base is ready, I move on to the wet components. I combine the softened butter, eggs, and vanilla extract until the mixture reaches a smooth, creamy consistency.
I prefer to add these to the dry ingredients slowly. This gentle integration helps maintain the structure of the batter, which is vital for a high-quality result.
Folding in the Apples
The final step is adding the fruit to create that signature cinnamon-apple swirl effect. I use a rubber spatula to fold the apple pieces into the batter with a light touch.
Careful folding is the secret to keeping the fruit intact rather than mashing it into the dough. This technique ensures that every bite of your apple fritter snack is packed with juicy, flavorful apple chunks.
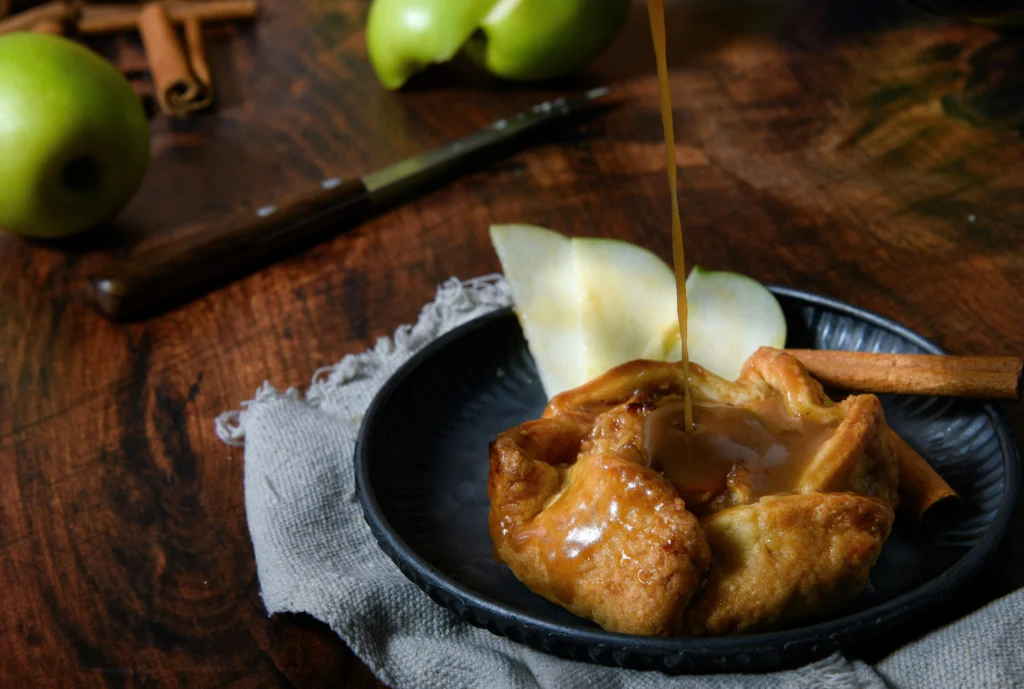
Adding the Sweet Glaze
I find that the secret to a professional-looking loaf lies in the perfect application of a sweet glaze. This final step is what truly transforms your moist apple bread into a treat that rivals any local bakery. It adds a beautiful sheen and a sugary crunch that balances the warm spices inside the loaf.
“Baking is a labor of love, but the finishing touches are where the magic truly happens.”
Glaze Ingredients
You do not need fancy equipment or complex components to create a delicious apple fritter glaze. Most of the items are likely already sitting in your pantry. To get the best results, I recommend using these simple staples:
- Powdered sugar: This provides the smooth, sweet base for your glaze.
- Milk or heavy cream: Use this to adjust the thickness to your liking.
- Vanilla extract: A small splash adds a wonderful depth of flavor.
- Pinch of salt: This helps cut through the sweetness for a balanced taste.
How to Apply the Glaze
Timing is everything when you are finishing your homemade apple bread. I suggest waiting until the loaf has cooled for at least ten to fifteen minutes before you begin. If the bread is too hot, the glaze will simply melt away and soak into the crust instead of creating that signature drizzle.
Use a small whisk to combine your ingredients until the mixture is smooth and thick enough to coat the back of a spoon. You can then use a fork or a small piping bag to drizzle the glaze back and forth over the top of the loaf. Allow the glaze to set for another twenty minutes before slicing to ensure it stays perfectly in place.
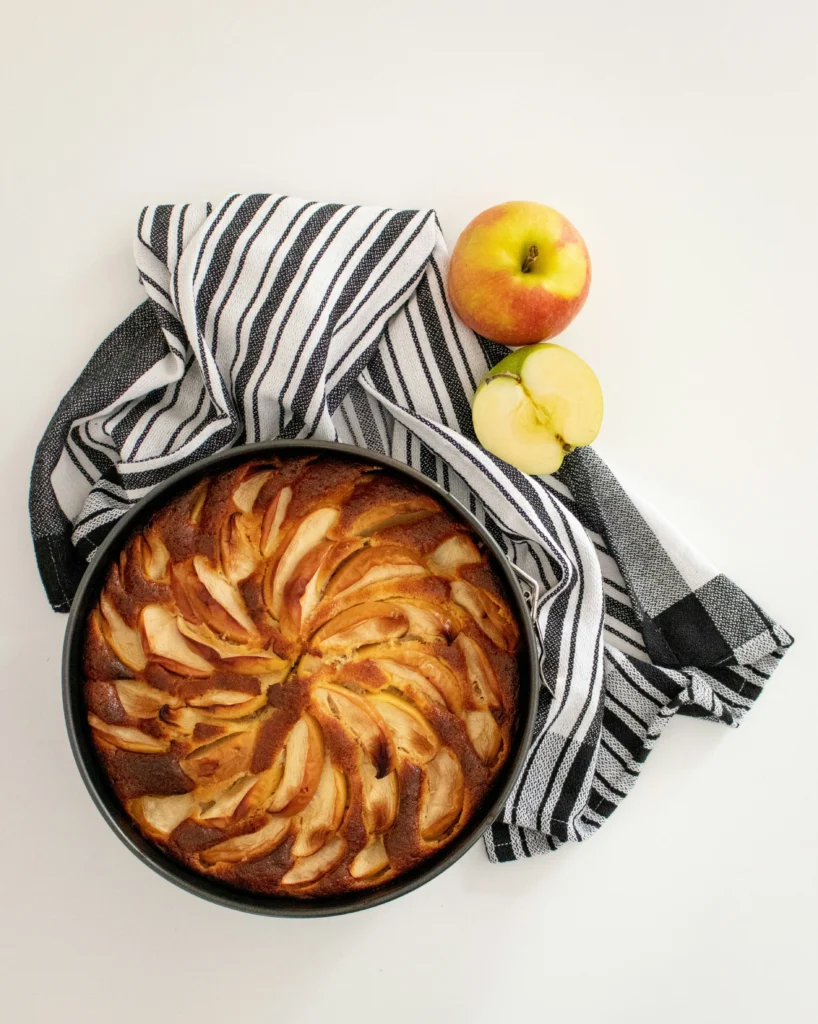
Baking the Apple Fritter Bread
Getting the heat just right is essential for a moist and golden loaf. This final step transforms your raw batter into an easy dessert bread that your family will love.
Preheating Your Oven
Before you slide your pan into the oven, you must ensure it reaches the correct temperature. I always set my oven to 350°F well in advance to guarantee consistent results.
Preheating allows the heat to circulate evenly throughout the chamber. This steady environment helps your bread rise properly and develop a beautiful crust.
Baking Time and Temperature
Place your apple fritter loaf in the center of the oven for the best airflow. Most recipes require about 50 to 60 minutes, but every oven behaves a little differently.
Because of these variations, I recommend checking for doneness a few minutes early. You can insert a toothpick into the center; if it comes out clean, your apple fritter dessert is ready to cool.
The top should look perfectly golden-brown when finished. If the top browns too quickly, you can loosely tent it with aluminum foil to prevent burning while the center continues to bake.
Storing Your Apple Fritter Bread
Proper storage is the secret to maintaining that bakery-style loaf quality at home. I find that taking a few extra moments to wrap your bread correctly makes a world of difference in the final texture.
Best Practices for Storage
To keep your moist apple bread tasting fresh, you must protect it from drying out. I recommend waiting until the loaf is completely cool before you attempt to store it, as trapped steam can make the texture soggy.
If you have already applied the apple fritter glaze, be careful not to press plastic wrap directly against the top. Instead, use a container with a tall lid or a cake carrier to prevent the sweet coating from sticking to the packaging.
- Place the loaf in an airtight container to lock in moisture.
- Keep the bread at room temperature if you plan to eat it within two days.
- Avoid storing the bread in direct sunlight or near a warm oven.
How Long It Lasts
Your homemade apple bread will stay delicious for about two days when kept on the counter in a cool, dry spot. If your kitchen is particularly warm, I suggest moving it to the refrigerator to extend its life by an additional two days.
For longer storage, the freezer is your best friend. Simply slice the loaf before freezing so you can grab a single piece whenever a craving strikes. Properly wrapped in foil and placed in a freezer-safe bag, your bread will maintain its quality for up to three months.
Tips for Making Perfect Apple Fritter Bread
I have learned that even small adjustments can transform your fall baking results. Achieving that bakery-style quality at home is often about understanding how ingredients interact within the batter. By paying attention to these minor details, you can ensure every slice is a success.
Adjusting Ingredients for Taste
If you prefer a bolder flavor, feel free to increase the amount of cinnamon in your cinnamon-apple swirl. I often find that adding a pinch of nutmeg or ground cloves adds a wonderful depth that complements the fruit perfectly. You can also swap dairy milk for almond or oat milk if you want a slightly nuttier undertone.
Adjusting the sugar levels is another way to customize your loaf. If your apples are particularly tart, you might want to add an extra tablespoon of brown sugar to the mixture. These small tweaks allow you to tailor the recipe to your specific palate.
Avoiding Common Mistakes
One of the most frequent errors when making an apple fritter loaf is overmixing the batter. You should stir the ingredients just until they are combined to keep the texture light and tender. If you mix too vigorously, the bread can become dense and tough.
Choosing the right apple variety is equally important for a delicious apple fritter snack. I always recommend using firm, crisp apples like Granny Smith or Honeycrisp, as they hold their shape during the heat of the oven. Soft apples tend to turn into mush, which ruins the structural integrity of your bread.
“Baking is a science, but it is also an art that rewards those who pay attention to the details of their ingredients.”
| Common Issue | Likely Cause | Simple Fix |
|---|---|---|
| Dense Texture | Overmixing batter | Fold ingredients gently |
| Soggy Apples | Wrong apple variety | Use firm, crisp apples |
| Bland Flavor | Insufficient spices | Increase cinnamon amount |
Variations on Apple Fritter Bread
Baking is an art form, and I love finding creative ways to put a personal spin on a classic cozy fall treat. While the original version is perfect on its own, small adjustments can turn your kitchen into a test kitchen for new flavors.
“The discovery of a new dish does more for the happiness of the human race than the discovery of a star.”
Adding Nuts or Raisins
If you enjoy a bit of texture in your bread, adding mix-ins is a fantastic strategy. I often fold in chopped walnuts or pecans to provide a delightful crunch that contrasts beautifully with the soft, tender crumb.
Raisins or dried cranberries also work wonders if you prefer a chewy, sweet bite. When you use these additions, make sure to toss them in a light dusting of flour first. This simple trick prevents them from sinking to the bottom of your loaf pan during the baking process.
Experimenting with Spices
Your choice of spices can completely change the character of this apple fritter recipe. While cinnamon is the traditional star, you can easily branch out to create a more complex flavor profile.
Consider these aromatic additions to enhance your baking apples:
- Ground Ginger: Adds a subtle, zesty warmth that pairs perfectly with tart fruit.
- Nutmeg or Allspice: Provides a deeper, earthier tone that feels very seasonal.
- Cardamom: Offers a sophisticated, floral note that elevates the bread to a gourmet level.
By tweaking these elements, you ensure that every cozy fall treat you pull from the oven feels fresh and exciting. Whether you stick to the classic apple fritter recipe or try these bold variations, the quality of your baking apples will always remain the foundation of your success.
Serving Suggestions for Apple Fritter Bread
Serving your freshly baked loaf is the best part of the entire process. I find that sharing this treat brings people together in the kitchen.
Perfect Pairings
A warm slice of apple fritter bread tastes incredible with a hot cup of Starbucks Pike Place Roast coffee. The rich notes of the coffee balance the sweetness of the apple fritter glaze perfectly. You might prefer a glass of cold apple cider to highlight the orchard flavors in this easy dessert bread.
The Best Moments to Indulge
I love slicing into this loaf during a slow Sunday morning breakfast. It serves as a cozy fall treat when the air turns crisp outside. You can even enjoy a piece as a late-night snack with a scoop of Breyers vanilla bean ice cream. Keep a loaf ready on your counter to brighten any day of the week.
Please share your photos of your finished bread on social media. I enjoy seeing how you customize your loaves with different spices or nuts. Your kitchen will smell amazing, and your friends will surely ask for the recipe.
Conclusion
In the end, this apple fritter bread is more than just a sweet treat—it’s a comforting recipe that brings warmth, nostalgia, and homemade goodness to your kitchen. With its soft texture, cinnamon-apple swirls, and delicate glaze, apple fritter bread is perfect for breakfast, dessert, or sharing with loved ones. Once you try it, you’ll find yourself coming back to this apple fritter bread recipe again and again, creating your own delicious memories with every slice.