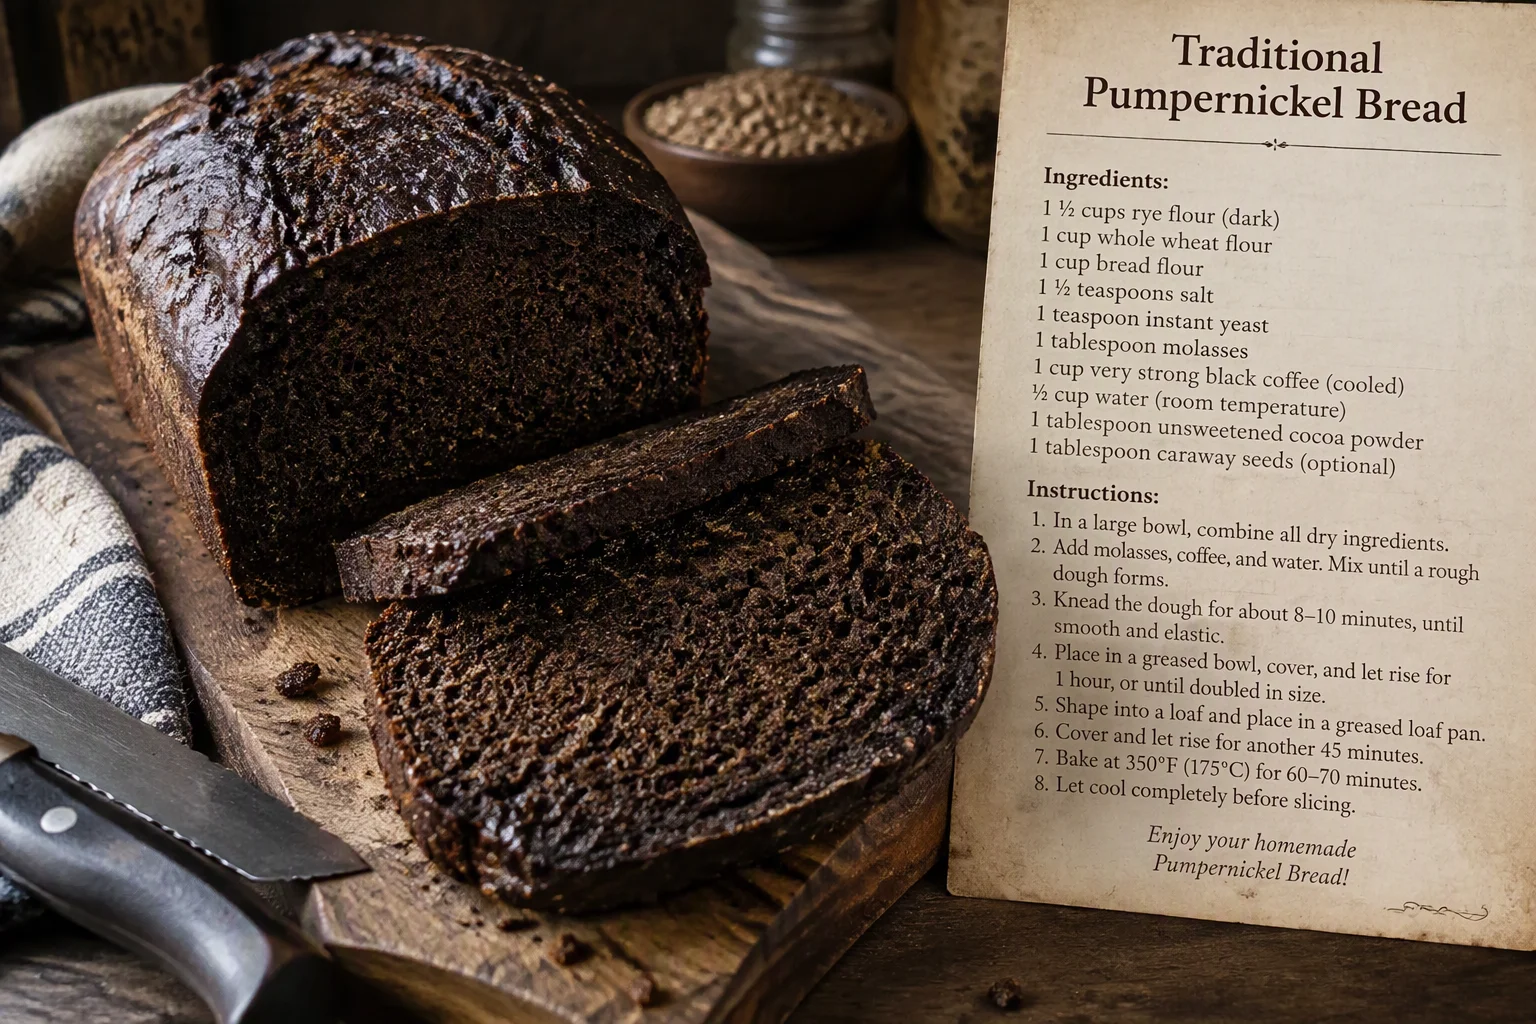
Traditional Pumpernickel Bread Recipe: Rich and Authentic Dark Bread
There is something deeply comforting about the smell of yeast and toasted grains filling your home. I remember the first time I pulled a warm, dark loaf from my oven; it felt like a true kitchen victory. Mastering a traditional pumpernickel bread recipe is more than just baking; it is an act of love that connects us to history.
Thank you for reading this post, don't forget to subscribe!Creating homemade pumpernickel allows you to control every single ingredient. You will find that the process is surprisingly simple, yet the results are incredibly sophisticated. This dark, dense treat offers a depth of flavor that store-bought versions simply cannot match. I am excited to help you achieve professional, bakery-quality results right in your own kitchen.
Table of Contents
The History and Character of Authentic Pumpernickel
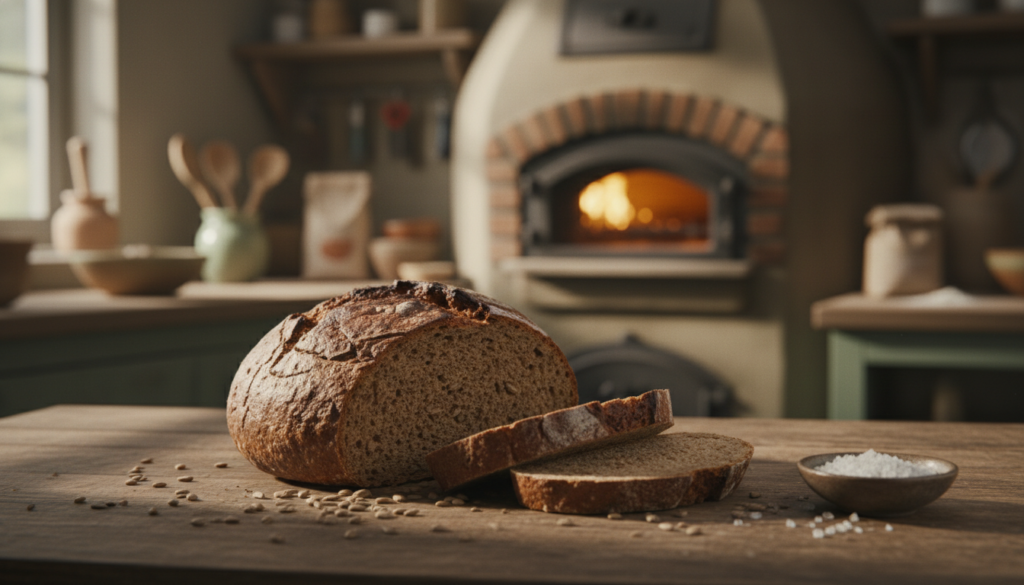
My fascination with dark rye bread began when I first tasted the deep, complex flavors of a traditional loaf. This bread has a long, storied history that stretches back to the rustic hearths of Westphalia, Germany. It was originally a humble, slow-baked staple designed to sustain families through long, harsh winters.
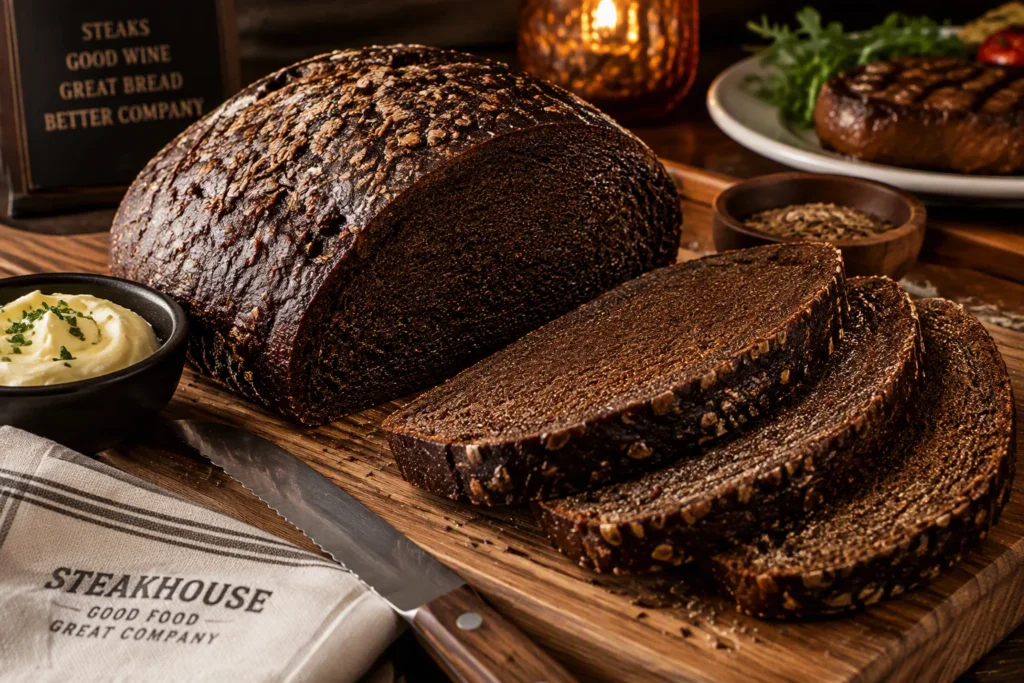
In the United States, many people recognize this bread as the steakhouse-style pumpernickel served before a meal. While delicious, this version is often quite different from the original European creation. Modern, softer loaves frequently incorporate wheat flour to lighten the texture and speed up the baking process.
True artisan bread of this variety relies on a long, low-temperature bake to achieve its signature dark color and dense crumb. When you add wheat flour, you change the structural integrity of the loaf, making it less dense and slightly sweeter. Understanding these distinctions is essential for anyone looking to master the craft of baking at home.
The following table highlights the key differences between these two popular styles of bread:
| Feature | Traditional Pumpernickel | Steakhouse-Style |
|---|---|---|
| Primary Grain | 100% Whole Rye | Rye and Wheat Blend |
| Texture | Very Dense and Moist | Soft and Airy |
| Flavor Profile | Deep, Earthy, Sour | Mild, Slightly Sweet |
| Baking Time | 12 to 24 Hours | 1 to 2 Hours |
Essential Ingredients for Your Traditional Pumpernickel Bread Recipe
My journey into baking dark rye bread began with sourcing the highest quality ingredients available. When you decide to follow a traditional pumpernickel bread recipe, you quickly realize that the quality of your pantry staples dictates the final outcome. Each component plays a vital role in creating that iconic, dense, and flavorful loaf.
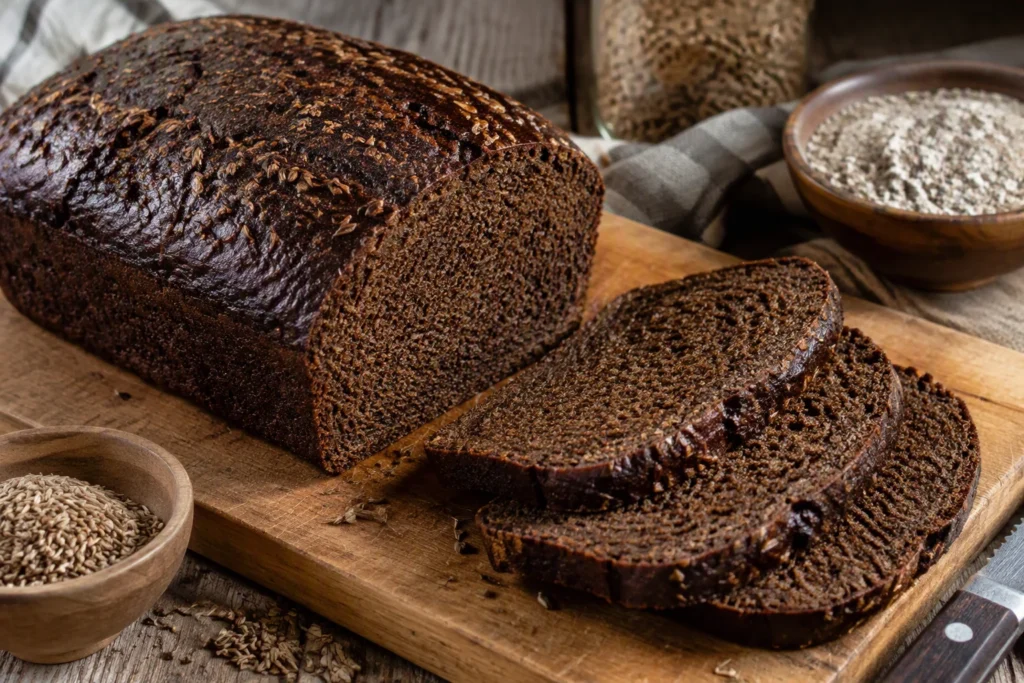
Sourcing High-Quality Rye Flour and Berries
The foundation of any great loaf is the rye flour you choose. I always recommend seeking out stone-ground, organic rye to ensure the bran and germ remain intact, which provides a deeper, nuttier flavor profile. If you have access to a grain mill, grinding your own rye berries just before mixing will elevate the freshness to an entirely new level.
Using fresh flour ensures that the natural enzymes are active, which is crucial for the long fermentation process. You will notice that high-quality flour absorbs water differently, leading to a more robust structure. This attention to detail is what separates a standard loaf from a truly authentic experience.
The Role of Molasses and Cocoa for Color and Depth
To achieve that signature dark, almost mahogany color, you need more than just rye flour. I rely on a combination of molasses and cocoa powder to provide both the deep hue and a complex, earthy undertone. These ingredients do not make the bread taste like dessert; instead, they balance the natural tang of the rye.
The molasses adds a subtle sweetness and moisture, while the cocoa powder provides a rich, dark pigment. When combined, they create a depth of flavor that is essential for a classic pumpernickel. It is a simple trick, but it is one that makes a massive difference in the final appearance of your bread.
Selecting the Right Yeast and Sourdough Starter
Choosing your leavening agent is the final step in preparing your ingredients. While some recipes call for commercial yeast, I prefer using a mature sourdough starter to develop the complex, sour notes that define this bread. A healthy, active starter ensures a better rise and a more digestible loaf.
If you are new to this process, ensure your starter is fed regularly for several days before you begin. This preparation guarantees that your dough will have the strength to hold its shape during the long, slow bake. Below is a quick guide to help you understand the primary functions of these key ingredients.
| Ingredient | Primary Function | Impact on Bread |
|---|---|---|
| Rye Flour | Structure | Provides the signature dense, nutty base. |
| Molasses | Color & Sweetness | Adds deep color and balances the acidity. |
| Cocoa Powder | Color & Depth | Enhances the dark, rich aesthetic. |
| Sourdough Starter | Leavening | Creates complex flavor and airy texture. |
Equipping Your Kitchen for Success
I believe that the right tools can turn a messy baking day into a smooth experience. When you prepare your workspace with care, you gain confidence in your process. These simple bread baking tips will help you stay organized while you work with dense rye dough.
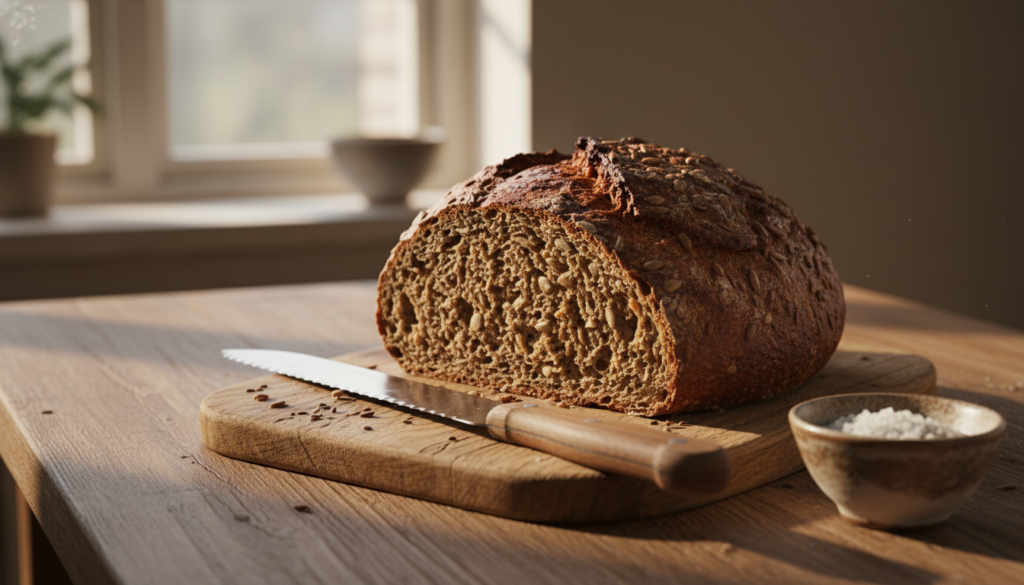
Choosing the Right Loaf Pans
For a dense loaf, I always recommend using heavy-duty steel or cast-iron pans. These materials provide excellent heat distribution, which is vital for a consistent bake. You want a pan that holds heat well to ensure the crust develops properly without burning the bottom.
Avoid thin, flimsy aluminum pans if you want to bake professional-grade artisan bread. A sturdy pan provides the structural support your dough needs to rise evenly. Investing in high-quality bakeware is a decision you will appreciate every time you pull a fresh loaf from the oven.
Mixing Bowls and Proofing Tools
Rye dough is notoriously sticky, so having the right mixing bowls is essential. I prefer large, stainless steel bowls because they are easy to clean and provide plenty of room for vigorous mixing. Using a bowl with a wide base allows you to fold the dough effectively without making a mess.
You should also keep a sturdy bench scraper nearby to handle the dough during the shaping phase. This tool is a lifesaver when you need to move sticky dough from the bowl to the pan. By using the right gear, you can prevent troubleshooting bread issues before they even begin, ensuring your baking day remains stress-free and enjoyable.
Preparing Your Sourdough Starter for Deep Flavor
A vibrant, active culture is the biological engine that drives your baking process. If you want to achieve that signature tang and complex profile, you must treat your sourdough starter with the same care you would a living pet. Proper maintenance ensures your bread rises beautifully and develops the deep, earthy notes that define a traditional loaf.
Feeding Schedules for Maximum Activity
Consistency is the key to a healthy culture. I recommend feeding your starter at least twice a day if you keep it at room temperature. Using a high-quality rye flour for these feedings provides the nutrients your yeast needs to thrive and multiply quickly.
You might also consider adding a tiny drop of molasses to your feeding mix occasionally. This small addition can boost fermentation activity and help build the robust flavor profile required for dark, dense breads. Always discard a portion of the old starter before adding fresh flour and water to keep the volume manageable.
Testing for Readiness Before Mixing
Before you begin your dough, you need to be certain your sourdough starter is at its peak. I rely on the classic float test to confirm readiness. Simply drop a small spoonful of the active culture into a glass of water; if it floats, it is full of gas and ready to leaven your dough.
Beyond the float test, look for visual cues like a doubled volume and a bubbly, domed surface. If the mixture looks flat or smells overly acidic, it may need another feeding cycle before you incorporate it into your rye flour blend. Patience at this stage is the secret to avoiding a dense, uninspired loaf later on.
Mixing and Kneading the Dense Rye Dough
Creating the perfect steakhouse-style pumpernickel starts with the careful integration of your wet and dry components. Unlike traditional wheat breads, this process demands a gentle touch and a clear understanding of how these specific ingredients interact. I find that patience during this initial stage truly pays off in the final crumb.
Combining Wet and Dry Ingredients
Begin by whisking your high-quality rye flour with the cocoa powder in a large mixing bowl. The cocoa is essential for achieving that signature dark, rich color we all love. Once the dry ingredients are well-combined, slowly incorporate your sourdough starter and liquid mixture.
Stir the mixture until a shaggy mass forms. You will notice that the dough feels much heavier than standard white bread dough. Do not be tempted to add extra flour, as this can lead to a dry, crumbly loaf rather than the moist texture you desire.
Techniques for Handling Sticky Rye Dough
Working with a dense rye dough can be a messy experience because of the high fiber content in the grain. To manage the stickiness, I highly recommend using a silicone bowl scraper to fold the dough rather than your bare hands. This tool helps you maintain tension without the frustration of dough clinging to your fingers.
“The secret to great bread is not just the recipe, but the rhythm you establish with the dough as it comes together.”
If you must touch the dough, lightly grease your hands with a neutral oil to prevent sticking. Remember that rye dough does not require aggressive kneading. Instead, focus on gentle folding motions to ensure all ingredients are fully hydrated and incorporated.
The Long Fermentation Process
The magic of authentic bread baking truly unfolds during the extended rest phase. While it might be tempting to rush, patience is the most important ingredient when working with a sourdough starter. This long fermentation period allows the complex flavors to develop fully, ensuring your final loaf has that signature depth you crave.
Creating the Ideal Environment for Proofing
To get the best results, you need to provide a stable, warm environment for your dough. Rye flour thrives in temperatures between 75°F and 80°F. I often place my bowl inside a turned-off oven with the light on to maintain a consistent, gentle heat.
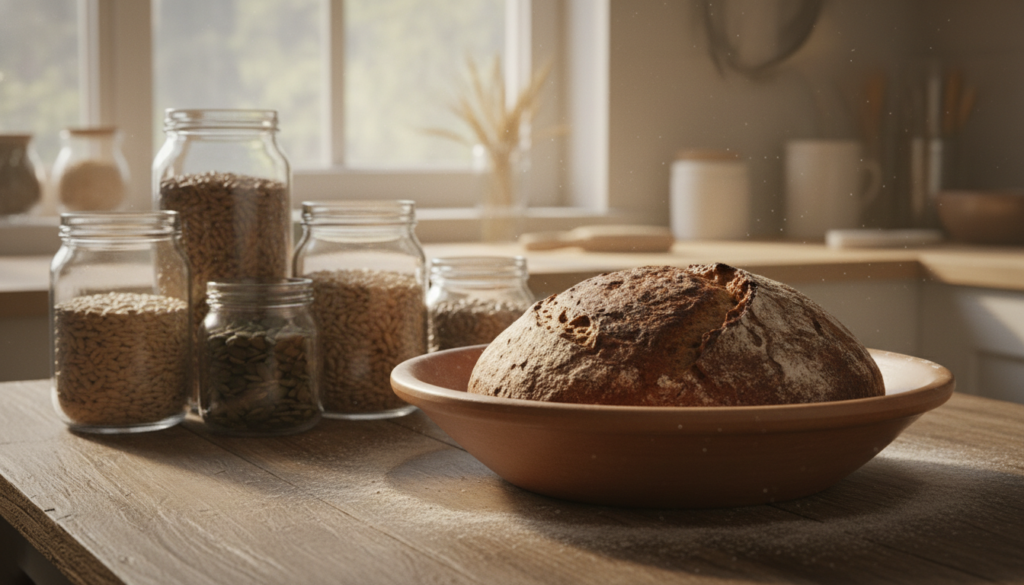
Humidity also plays a crucial role in keeping the surface of your dough from drying out. You can cover your bowl with a damp cloth or a piece of plastic wrap to trap moisture. This simple step ensures the dense rye dough remains supple and active throughout the entire proofing window.
Monitoring Dough Growth and Texture
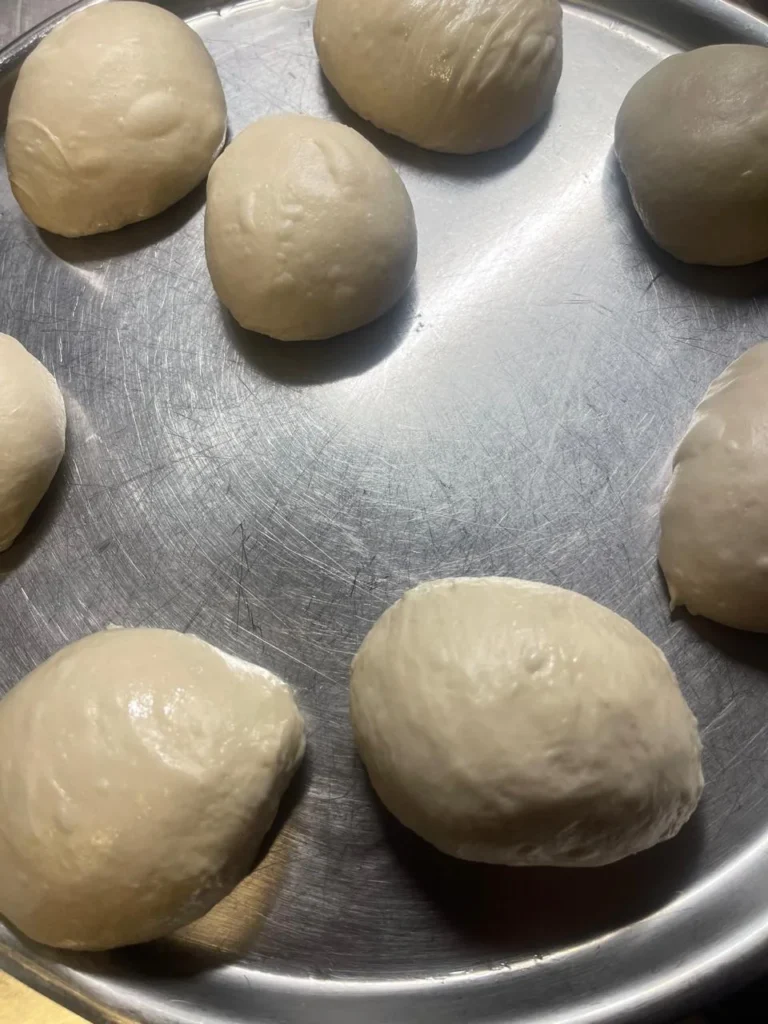
Unlike wheat-based breads, rye does not rise in the same dramatic way. You should look for subtle signs of activity, such as small bubbles on the surface and a slight increase in volume. The dough will feel softer and more aerated to the touch as the sourdough starter works its magic.
I recommend using the poke test to check for readiness. Gently press your finger into the surface; if the indentation slowly springs back, your dense rye dough is likely ready for the next stage. If it stays indented, give it a little more time to develop its structure.
Shaping and Preparing the Loaf for the Oven
You have put so much effort into your dense rye dough, so let’s ensure the shaping process preserves that hard-earned structure. After the long fermentation, the dough is delicate and full of flavor. Handling it with care is the secret to achieving a professional result for your artisan bread.
Degassing Without Losing Structure
When you turn your dough out onto a floured surface, avoid aggressive kneading. Instead, use a light touch to gently fold the edges toward the center. This technique removes large air pockets without destroying the internal network you built during the long fermentation.
If the dough feels sticky, keep your hands slightly damp or lightly floured. Consistency is key when working with rye, as it lacks the elastic gluten of wheat. Treat the dough like a precious gift to maintain its integrity before it hits the heat.
“The secret to great bread is not just the ingredients, but the respect you show the dough during every stage of its transformation.”
Final Proofing in the Pan
Once shaped, place your dough into a well-greased loaf pan. This step is vital because dense rye dough needs the support of the pan walls to rise upward rather than spreading outward. Without this containment, your loaf might lose its shape during the final rise.
Allow the dough to proof until it looks puffy and fills the corners of the pan. This final rest ensures your artisan bread develops the perfect crumb structure. Once it reaches the desired volume, it is ready for the oven.
The Low and Slow Baking Technique
I have found that the most reliable way to develop deep, complex flavors is to embrace a low and slow baking environment. This method is essential when you want to recreate that iconic steakhouse-style pumpernickel at home. By keeping the heat steady and moderate, you ensure the center cooks through without drying out the edges.
Managing Oven Temperature for Even Cooking
Because this recipe relies on molasses and cocoa powder for its signature dark color, the sugars can caramelize and burn quickly if the heat is too intense. I always recommend monitoring your oven temperature closely throughout the process. A consistent, lower heat allows the dense rye structure to set properly while keeping the crumb moist and tender.
Using Steam to Achieve a Perfect Crust
To achieve that professional-quality crust, introducing steam into your oven is a game-changer. I typically place a shallow pan of hot water on the bottom rack during the first half of the bake. This moisture prevents the crust from hardening too early, allowing the loaf to expand fully.
The steam also helps create a beautiful, glossy finish that makes your bread look as good as it tastes. Patience is your best tool here, as rushing the process often leads to a gummy interior. By maintaining this controlled environment, you will consistently produce a loaf that is both hearty and delicious.
Cooling and Curing Your Pumpernickel Bread
The transformation of your homemade pumpernickel continues long after the timer dings. While the aroma filling your kitchen is tempting, the cooling phase is a critical part of the baking process. Resisting the urge to slice into a hot loaf is the secret to achieving that signature dense, moist texture.
Why Patience is Essential After Baking
When you remove your bread from the heat, the internal structure is still setting. The residual heat continues to cook the center of the loaf, even if the oven temperature has dropped. If you cut the bread too soon, steam escapes rapidly, which can leave the crumb feeling gummy or overly sticky.
I always recommend letting your loaf rest on a wire rack for at least 12 to 24 hours. This curing time allows the moisture to redistribute evenly throughout the dense rye crumb. You will find that the flavor profile deepens significantly during this resting period, resulting in a much more authentic experience.
Storing Your Bread for Optimal Freshness
Proper bread storage is vital to keep your hard work from going to waste. Because this bread is so dense and moist, it is prone to mold if kept in a warm, humid environment. I suggest keeping your loaf in a cool, dry place, wrapped in parchment paper or a linen cloth to allow it to breathe.
If you plan to keep the bread for more than a few days, consider slicing it and freezing it. This method preserves the texture perfectly, allowing you to toast individual slices whenever you need them. Below is a quick guide to help you choose the best method for your needs.
| Storage Method | Ideal Duration | Best For |
|---|---|---|
| Linen Bag | 2-3 Days | Daily consumption |
| Parchment Paper | 4-5 Days | Maintaining crust |
| Freezer Bag | Up to 3 Months | Long-term freshness |
Troubleshooting Common Pumpernickel Baking Challenges
Even the most seasoned bakers occasionally face hurdles when crafting a perfect loaf of dark rye bread. Troubleshooting bread issues is a natural part of the learning process, and I have found that most problems stem from minor environmental or timing errors. By identifying these patterns, you can refine your technique for better results.
Fixing Dense or Gummy Textures
If your loaf feels overly heavy or gummy, it often points to issues with long fermentation or internal moisture levels. Rye flour lacks the strong gluten structure of wheat, making it prone to becoming sticky if the dough is over-hydrated. I recommend reducing your water content by a small percentage if you notice the dough remains too slack during the mixing phase.
Another common culprit is cutting into the bread before it has fully cured. Patience is vital, as the starches need time to set properly while the loaf cools. Always ensure your oven temperature is calibrated correctly, as a loaf that is pulled too early will retain excess steam, leading to a gummy crumb.
Adjusting for Humidity and Altitude
Environmental factors play a significant role in successful baking. High humidity can make your flour act differently, often requiring you to add a bit more rye flour to maintain the right consistency. Conversely, at higher altitudes, your dough may rise much faster, which can weaken the structure before it even hits the heat.
I suggest keeping a detailed journal of your bread baking tips and environmental conditions. If you live in a dry climate, you might need to increase your hydration slightly to prevent the crust from hardening too quickly. Small, incremental changes are the best way to master your specific kitchen environment.
| Common Issue | Primary Cause | Recommended Fix |
|---|---|---|
| Gummy Crumb | Under-baking | Increase bake time or check internal temp |
| Dense Texture | Over-proofing | Shorten the final rise time |
| Hard Crust | Low humidity | Use a steam pan during the bake |
| Stale Loaf | Poor bread storage | Wrap in linen and store in a cool place |
Conclusion
Mastering the art of dark rye bread transforms your kitchen into a professional bakery. This traditional pumpernickel bread recipe offers a deep connection to history while filling your home with an incredible aroma.
I encourage you to keep practicing these techniques to refine your skills. My collection of bread baking tips serves as a reliable resource whenever you face a new challenge. You will find that troubleshooting bread issues becomes easier as you gain experience with the unique properties of rye flour.
Enjoy the process of creating homemade pumpernickel for your family and friends. Proper bread storage ensures that your hard work stays fresh and flavorful for several days. Share your results with others and continue exploring the vast world of artisan baking. Your next loaf will surely be even better than the last one.
FAQ
Sourcing High-Quality Rye Flour and Berries
The Role of Molasses and Cocoa for Color and Depth
Selecting the Right Yeast and Sourdough Starter
Choosing the Right Loaf Pans
Mixing Bowls and Proofing Tools
Feeding Schedules for Maximum Activity
Testing for Readiness Before Mixing
Combining Wet and Dry Ingredients
Techniques for Handling Sticky Rye Dough
Creating the Ideal Environment for Proofing
Monitoring Dough Growth and Texture
Degassing Without Losing Structure
Final Proofing in the Pan
Managing Oven Temperature for Even Cooking
Using Steam to Achieve a Perfect Crust
Why Patience is Essential After Baking
Storing Your Bread for Optimal Freshness
Fixing Dense or Gummy Textures
Adjusting for Humidity and Altitude
Why is my pumpernickel bread so sticky when I am mixing it?
How do I get that deep, dark color if I don’t want to use too much molasses?
Can I make this bread without a sourdough starter?
Why does the recipe require a “low and slow” baking method?
My bread turned out very gummy inside. What did I do wrong?
Is there a difference between artisan pumpernickel and the bread I get at a steakhouse?