Sourdough Boule Made Easy: A Journey Into Artisan Bread Baking
I still remember the quiet spring of 2020 when my kitchen transformed into a sanctuary. Like many of you, I found comfort in the rhythmic process of mixing flour, water, and salt. That period sparked a global movement, turning a traditional sourdough skill into a beloved daily ritual for home bakers everywhere.
Thank you for reading this post, don't forget to subscribe!There is something deeply soul-soothing about pulling a crusty, golden loaf from your own oven. While the world of artisan bread can feel intimidating, I am here to show you that it is actually quite simple. You do not need a professional bakery to create a perfect sourdough masterpiece.
My goal is to demystify the process of crafting a beautiful boule right in your home. With a little patience and the right mindset, you will soon master this timeless craft. Let us embark on this journey together to bake the perfect boule and elevate your artisan bread game to new heights.
Table of Contents
What is a Sourdough Boule?
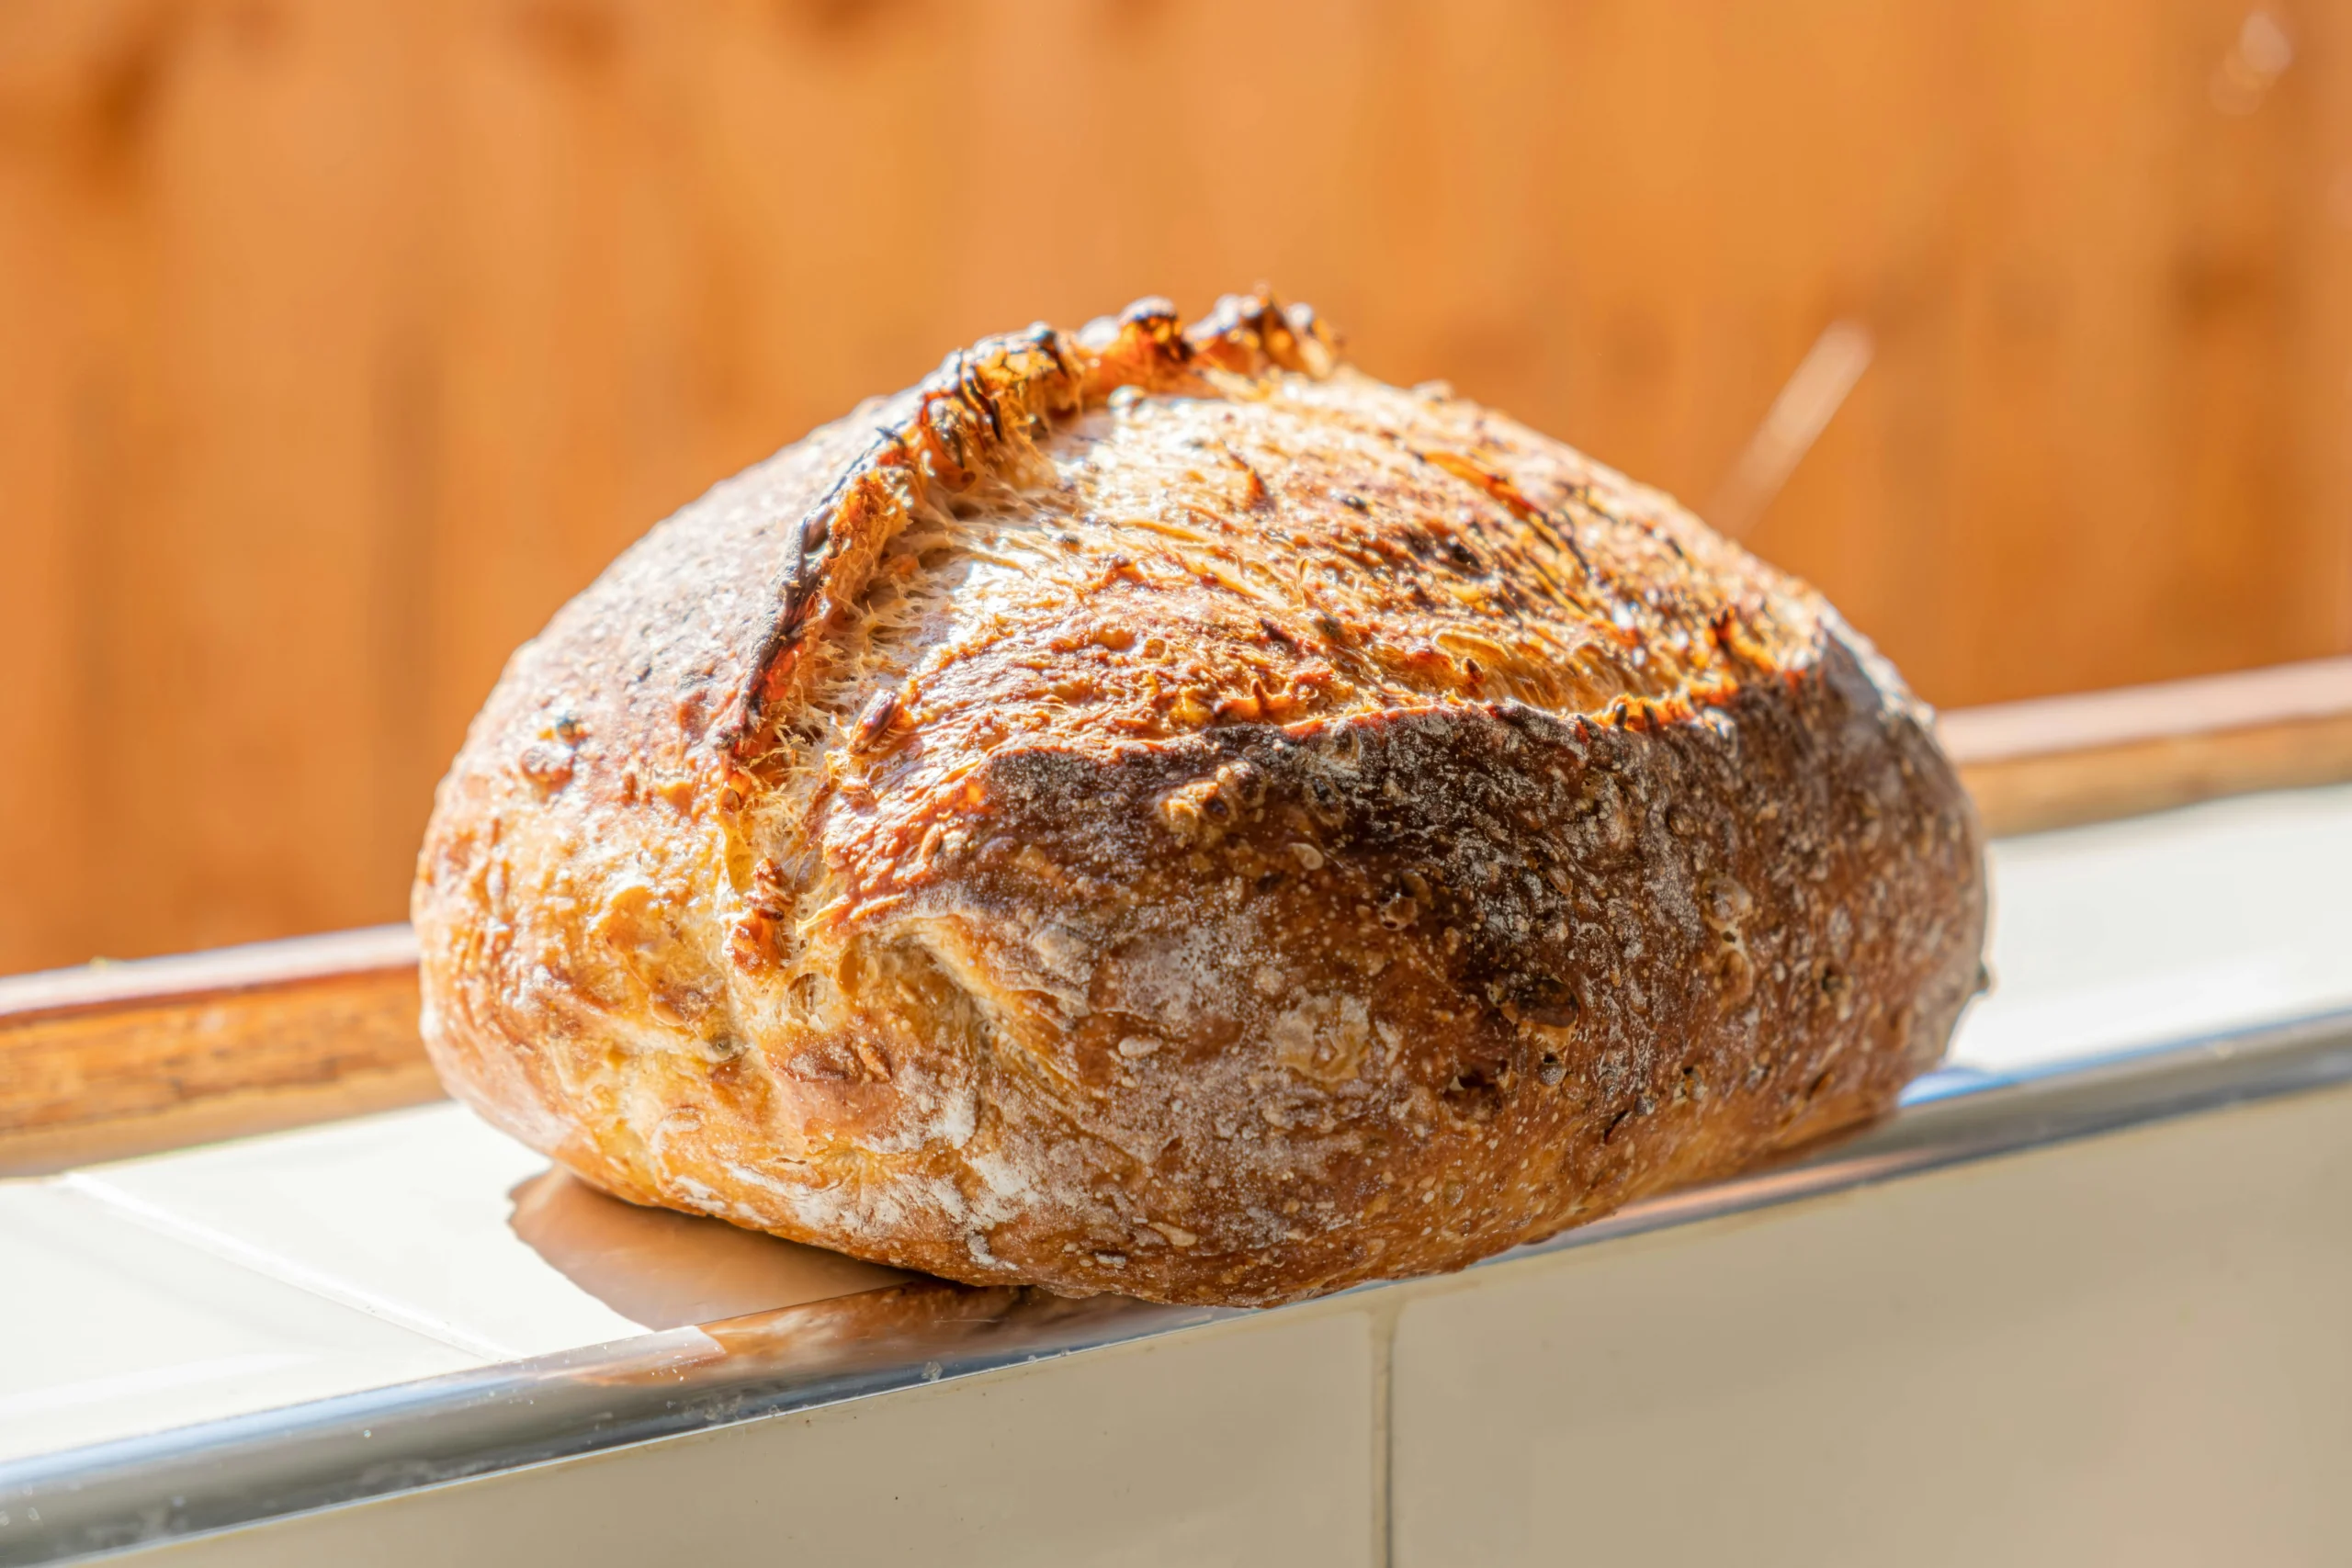
If you have ever wondered what makes a loaf of artisan bread so special, the answer lies in the sourdough boule. This classic, round loaf is a staple in many kitchens because of its signature crust and chewy interior. Unlike standard loaves found in grocery stores, this bread relies on a natural process that transforms simple flour and water into something truly extraordinary.
Understanding the Basics of Sourdough
The primary difference between this bread and others is the leavening agent. Instead of using commercial yeast packets, a sourdough boule uses wild yeast captured from the environment. This living culture, known as a starter, works slowly to ferment the dough, which creates a complex flavor profile that is impossible to replicate with store-bought alternatives.
When you bake artisan bread using this method, you are participating in a biological process that has been refined over centuries. The wild yeast and beneficial bacteria work together to break down starches, making the bread easier to digest. Here are a few key characteristics that define this type of loaf:
- Crispy, golden-brown crust that provides a satisfying crunch.
- Open, airy crumb structure inside the loaf.
- Distinctive tangy flavor resulting from long fermentation.
- Natural preservation due to the acidity of the starter.
The History Behind Sourdough Boules
The history of this bread dates back thousands of years to ancient civilizations. Long before the invention of commercial yeast, bakers relied on natural fermentation to leaven their dough. It was a vital part of human nutrition, providing a reliable source of sustenance for families across the globe.
From the early days of Egyptian baking to the gold rush era in the American West, the sourdough boule has remained a symbol of tradition. Miners often carried their starters with them, treating the culture like a prized possession. Today, I find that continuing this practice connects me to a long line of bakers who valued patience and quality above all else.
Essential Ingredients for Sourdough Boule
You only need four simple ingredients to master the art of sourdough boule baking. While the process seems complex, the magic happens when you combine flour, water, salt, and a healthy starter. I always recommend using a kitchen scale to weigh your ingredients, as this ensures the consistency required for high-quality artisan bread.
Flour Choices: Types and Benefits
The foundation of your loaf is the flour you choose. I prefer using high-protein bread flour because it provides the necessary structure for a beautiful rise. The protein content helps develop the gluten network, which gives your bread that signature chewy texture.
While all-purpose flour works in a pinch, it often lacks the strength needed for a long fermentation. You might consider blending in a small amount of whole wheat or rye flour to add depth and complexity to the flavor profile.
The Role of Water in Sourdough
Water is more than just a liquid; it is the medium that hydrates your flour and activates the yeast. I suggest using filtered water to avoid any chlorine or minerals that might inhibit the fermentation process. Temperature control is also vital, as water that is too hot can kill your starter, while water that is too cold will slow down the rise significantly.
Choosing the Right Starter
Your starter is the heart of your sourdough boule. A well-fed, active starter should be bubbly and smell slightly sweet or tangy before you mix it into your dough. If your starter is sluggish, it will struggle to lift the heavy dough, resulting in a dense loaf.
I make it a habit to feed my starter a few hours before I plan to bake. This ensures it is at its peak activity level, which is the secret to a superior final product.
| Ingredient | Primary Role | Pro Tip |
|---|---|---|
| Bread Flour | Structure | Look for 12-13% protein |
| Filtered Water | Hydration | Use room temperature |
| Sea Salt | Flavor & Control | Add after initial mixing |
| Active Starter | Leavening | Use at peak ripeness |
Tools You’ll Need for Baking
Equipping your kitchen for success is the first step toward mastering the art of the sourdough boule. While you do not need a professional bakery setup, having the right gear makes the process much more manageable. I have found that quality tools provide the consistency needed to turn simple ingredients into beautiful artisan bread.
Must-Have Equipment for Baking Boules
The most critical piece of equipment in my kitchen is a heavy-duty Dutch oven. This vessel is essential because it traps steam during the initial phase of baking, which allows for a superior oven spring and a crackling, golden crust. Without this trapped moisture, your loaf may struggle to expand fully.
A sturdy bench scraper is another non-negotiable item for me. It helps you handle sticky dough with ease, ensuring you maintain the structure you worked so hard to build. Finally, a banneton basket is vital for proofing, as it provides the necessary support to help your dough hold its shape before it hits the heat.
Optional Tools for the Artisan Baker
Once you feel comfortable with the basics, you might consider adding a few specialized items to your collection. A sharp lame is perfect for scoring the top of your loaf, which controls how the bread expands in the oven. While a simple knife can work, a dedicated blade offers much more precision.
I also highly recommend using a digital scale for accuracy. Measuring by weight rather than volume ensures your hydration levels remain consistent every time you bake. These small additions can elevate your results from good to truly professional.
| Tool Name | Primary Function | Impact on Bread |
|---|---|---|
| Dutch Oven | Steam Retention | High (Crust & Rise) |
| Bench Scraper | Dough Handling | Medium (Structure) |
| Banneton | Proofing Support | Medium (Shape) |
| Digital Scale | Precision Measuring | High (Consistency) |
The Science of Sourdough Fermentation
I find that the true character of artisan bread is born from the invisible work of tiny organisms. When I mix flour and water, I am essentially creating a thriving ecosystem. This biological process is what transforms simple pantry staples into a complex, delicious sourdough boule.
How Wild Yeasts Work
The leavening power in my kitchen comes from wild yeast and lactic acid bacteria. Unlike commercial yeast, these wild cultures exist naturally on the surface of the grain. They work in harmony to consume the sugars in the flour, releasing carbon dioxide that makes the dough rise.
This symbiotic relationship is the secret behind the signature tang of a great loaf. The lactic acid bacteria produce organic acids that give the bread its distinct flavor profile. I rely on this natural process to provide structure and depth that store-bought yeast simply cannot match.
The Importance of Long Fermentation
I always emphasize that patience is the most important ingredient in my recipe. A long, slow fermentation allows the enzymes in the flour to break down starches into simple sugars. This extended time is crucial for developing the complex flavors that define a high-quality sourdough boule.
Beyond taste, this process improves the nutritional profile of the bread. The breakdown of proteins makes the final artisan bread much easier to digest for many people. By controlling the temperature and time, I can influence the activity of these microbes to achieve consistent, reliable results every time I bake.
| Fermentation Stage | Biological Activity | Primary Benefit |
|---|---|---|
| Initial Mix | Hydration of starches | Enzyme activation |
| Bulk Rise | Yeast and bacteria growth | Gas production and structure |
| Cold Proof | Acid development | Flavor complexity and texture |
Step-by-Step Sourdough Boule Recipe
I want to guide you through the rewarding process of crafting your very own loaf from scratch. Making artisan bread at home is a deeply satisfying experience that connects you to centuries of tradition. By following these simple steps, you will soon hold a warm, crusty sourdough boule in your hands.
Preparing Your Sourdough Starter
Before you begin, ensure your starter is active and bubbly. A healthy starter is the engine that drives your bread to rise properly. I recommend feeding your starter four to six hours before you plan to mix your dough to guarantee it is at its peak strength.
Mixing and Kneading the Dough
To start, combine your active starter with water and flour in a large mixing bowl. You should aim for a 70% hydration level, which creates a dough that feels smooth and silky to the touch after the bulk fermentation process. Instead of traditional heavy kneading, I prefer using the stretch-and-fold technique.
- Gently grab the edge of the dough and pull it upward.
- Fold the dough over itself toward the center.
- Rotate the bowl and repeat this process four times to build strength.
Shaping the Boule
Once your dough has finished its bulk fermentation, it is time to give it structure. Shaping is a critical step for any artisan bread enthusiast because it creates the necessary surface tension for a beautiful rise. I focus on tucking the edges underneath to create a tight, round form.
Building surface tension is the secret to ensuring your sourdough boule holds its shape in the oven. Once shaped, let the dough rest in a proofing basket until it is ready for the heat. This final touch ensures your loaf will have that professional look you desire.
Tips for Perfecting Your Sourdough Boule
I have found that the difference between a good loaf and a great one often lies in the subtle adjustments you make during the process. Moving from a basic recipe to a professional-grade sourdough boule requires patience and a willingness to observe how your dough behaves in different conditions.
Hydration Levels and Their Impact
Hydration refers to the ratio of water to flour in your dough. A higher hydration level often leads to a more open, airy crumb, which is a hallmark of high-quality artisan bread.
However, wetter doughs can be sticky and difficult to handle for beginners. I recommend starting with a moderate hydration level and slowly increasing it as you gain confidence in your shaping techniques.
Common Mistakes to Avoid
One of the most frequent errors I see is rushing the proofing stage. If you use denser flours, such as fresh-milled whole wheat, remember that they typically require a longer proofing time than standard all-purpose flour.
Another common pitfall is over-handling the dough during the final shaping. You want to maintain the gas bubbles created during fermentation to ensure your sourdough boule has that signature light texture.
- Be patient: Allow your dough to double in size before shaping.
- Use a scale: Precision is key when measuring ingredients for consistent results.
- Watch the dough: Learn to recognize the signs of readiness rather than relying solely on a timer.
Temperature Control and Its Importance
Temperature is the invisible hand that guides your fermentation speed. A warm kitchen will cause your yeast to work much faster, while a cool environment will slow the process down significantly.
To produce consistent artisan bread, try to keep your kitchen at a stable temperature. If your home is naturally cold, consider using a proofing box or a warm spot in your oven with the light turned on to keep the fermentation steady.
Troubleshooting Common Issues
I have learned that every failed loaf offers a valuable lesson in the science of fermentation. Even when you follow a recipe closely, your sourdough boule might not behave as expected. Instead of feeling frustrated, view these moments as opportunities to refine your skills and understand your starter better.
Why Your Bread Didn’t Rise
If your dough remains flat after several hours, the most common culprit is an inactive starter. Ensure your starter is bubbly and active before mixing it into your flour. If your dough does not rise within 4-6 hours, do not discard it immediately. It can safely sit for up to 24 hours to develop a more sour flavor and eventually gain strength.
Temperature also plays a massive role in yeast activity. If your kitchen is too cold, the fermentation process slows down significantly. Try moving your bowl to a warmer spot, such as inside an oven with the light turned on, to encourage the yeast to wake up.
Dealing with Dense Texture
A dense or gummy crumb often results from under-proofing or improper handling. When you shape your artisan bread, be gentle to preserve the air bubbles created during fermentation. If you deflate the dough too aggressively, you will lose that light, airy structure we all love.
Proper proofing is the secret to a beautiful crumb. If you suspect your bread is too dense, try extending your final proofing time by thirty minutes. Monitoring the dough’s elasticity will help you determine when it is ready for the oven.
| Issue | Likely Cause | Quick Fix |
|---|---|---|
| Flat Loaf | Weak Starter | Feed starter more often |
| Dense Crumb | Under-proofing | Increase proofing time |
| Hard Crust | Low Humidity | Use a Dutch oven |
Creative Variations on the Classic Boule
I love how a few simple additions can completely change the character of my homemade bread. Once you have mastered the fundamental techniques, you can start treating your dough as a blank canvas for culinary expression. Adding unique ingredients is a wonderful way to tailor your sourdough boule to match a specific meal or a seasonal craving.
Incorporating Herbs and Spices
Fresh herbs provide a vibrant aroma that elevates any loaf of artisan bread. I often fold in finely chopped rosemary or thyme during the final shaping process to ensure the flavors distribute evenly. If you prefer a bolder profile, try adding roasted garlic cloves or a pinch of smoked paprika to the dough.
These savory additions work best when you incorporate them gently. You want to avoid tearing the gluten structure you worked so hard to build. Simply fold the herbs into the dough during the last set of stretches and folds for the best results.
Adding Seeds and Nuts
Texture is just as important as flavor when you are baking at home. I enjoy adding toasted walnuts or sunflower seeds to my dough for a satisfying crunch. These ingredients add a delightful depth to the crumb and make every slice feel like a special treat.
When using nuts or seeds, it is helpful to toast them lightly before adding them to your mix. This simple step releases natural oils and enhances the overall taste of your finished sourdough boule. You can also sprinkle seeds on the crust before baking to create a beautiful, rustic finish.
| Ingredient Type | Flavor Profile | Best Pairing |
|---|---|---|
| Rosemary & Garlic | Savory & Aromatic | Olive Oil & Pasta |
| Toasted Walnuts | Earthy & Crunchy | Sharp Cheddar Cheese |
| Sunflower Seeds | Nutty & Mild | Creamy Butter |
| Dried Cranberries | Sweet & Tart | Soft Goat Cheese |
Experimenting with these variations allows you to expand your repertoire and impress your guests. Whether you prefer a classic artisan bread or something more adventurous, these additions will help you find your signature style.
Storing and Freezing Sourdough Boule
You have put so much effort into your loaf, so let’s ensure it stays delicious for days to come. Proper storage is the secret to keeping your sourdough boule at its peak texture and flavor. By following a few simple habits, you can enjoy your hard work throughout the week.
Best Practices for Freshness
Once your loaf has cooled completely, you should focus on maintaining that perfect balance of a crisp crust and a soft interior. If you plan to eat the bread within a few days, keeping it at room temperature is your best bet.
- Store your cooled loaf in a plastic bag to lock in moisture.
- Keep the bread in a cool, dry place away from direct sunlight.
- Avoid the refrigerator, as the cold air will cause the starch to retrograde and make your artisan bread go stale much faster.
Following these steps allows you to enjoy your bread for up to 3 days. If the crust softens over time, you can easily revive it using the oven.
How to Freeze and Reheat
Freezing is a fantastic way to preserve your artisan bread for longer periods. I recommend slicing the loaf before freezing so you can grab exactly what you need for a quick snack or meal.
Wrap the slices tightly in plastic wrap and then place them inside a freezer-safe bag. This double-layer method prevents freezer burn and keeps your sourdough boule tasting fresh for up to one month.
When you are ready to eat, skip the microwave, which can make the crumb rubbery. Instead, place the frozen slices directly into a toaster or a preheated oven at 350°F for a few minutes. This process restores the crunch of the crust while keeping the inside soft and warm.
Enjoying Your Sourdough Boule
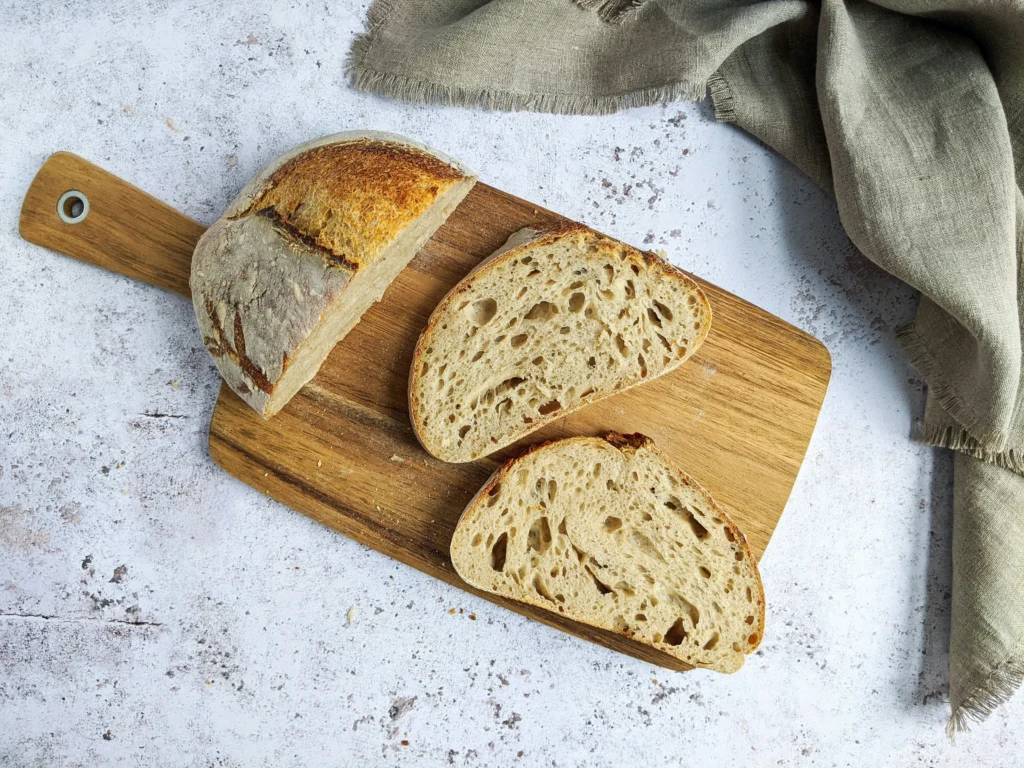
Your kitchen likely smells amazing, but the best part is finally slicing into that golden crust. After hours of fermentation and careful baking, you have created a true artisan bread masterpiece. Now, it is time to celebrate your hard work by sharing it with friends or enjoying a quiet, delicious meal.
Pairing Ideas for Sourdough Bread
The tangy profile of a sourdough boule makes it a versatile companion for many dishes. Because of its sturdy crumb, it holds up beautifully against liquid-heavy meals. I love serving it alongside a hearty Chicken and Sausage Jambalaya or a vibrant Skillet Ratatouille to soak up every bit of the flavorful sauce.
“Bread is the king of the table and all else is merely the court that surrounds the king.”
You can also elevate simple soups by using your loaf as a side. A thick slice toasted with olive oil provides the perfect crunch to contrast with creamy tomato soup or a rustic vegetable stew. The acidity in the bread balances the richness of these comfort foods perfectly.
Creative Serving Suggestions
Beyond standard meals, you can transform your loaf into the star of the show. Try creating a gourmet bruschetta by topping toasted slices with fresh heirloom tomatoes, basil, and a drizzle of balsamic glaze. It is a simple way to showcase the quality of your artisan bread during a dinner party.
If you prefer something sweet, lightly toast a slice and spread it with high-quality salted butter and local honey. This combination highlights the complex, fermented notes of the sourdough boule. Refer to the table below for more inspiration on how to match your loaf with various meal types.
| Meal Category | Recommended Pairing | Serving Style |
|---|---|---|
| Hearty Stews | Beef Bourguignon | Thick, toasted slices |
| Fresh Salads | Caesar Salad | Homemade croutons |
| Light Lunches | Avocado Toast | Thin, grilled slices |
| Cheese Boards | Aged Cheddar | Fresh, warm chunks |
Joining the Community of Sourdough Bakers
Mastering the art of the sourdough boule is a rewarding pursuit that connects you to a global network of passionate makers. I find that sharing my kitchen triumphs and troubleshooting challenges with others makes the process much more enjoyable.
You can expand your knowledge by visiting platforms like The Fresh Loaf or the Sourdough subreddit. These digital spaces offer a wealth of wisdom for anyone dedicated to perfecting their artisan bread.
Digital Hubs for Learning
Engaging with online forums allows you to see how others troubleshoot their dough hydration or crust development. I often browse these sites to find inspiration for new flavor combinations or shaping techniques. You will discover that the community is eager to help you improve your craft.
Hands-on Workshops
Local baking classes provide a unique opportunity to learn directly from professional bakers in your area. Many culinary schools and independent bakeries offer workshops that focus on the nuances of artisan bread. Attending these sessions helps you refine your skills while meeting fellow enthusiasts who share your love for a perfect sourdough boule.
Your journey into baking is a continuous process of discovery. I encourage you to keep experimenting and stay connected with those who value the time-honored tradition of handmade loaves.