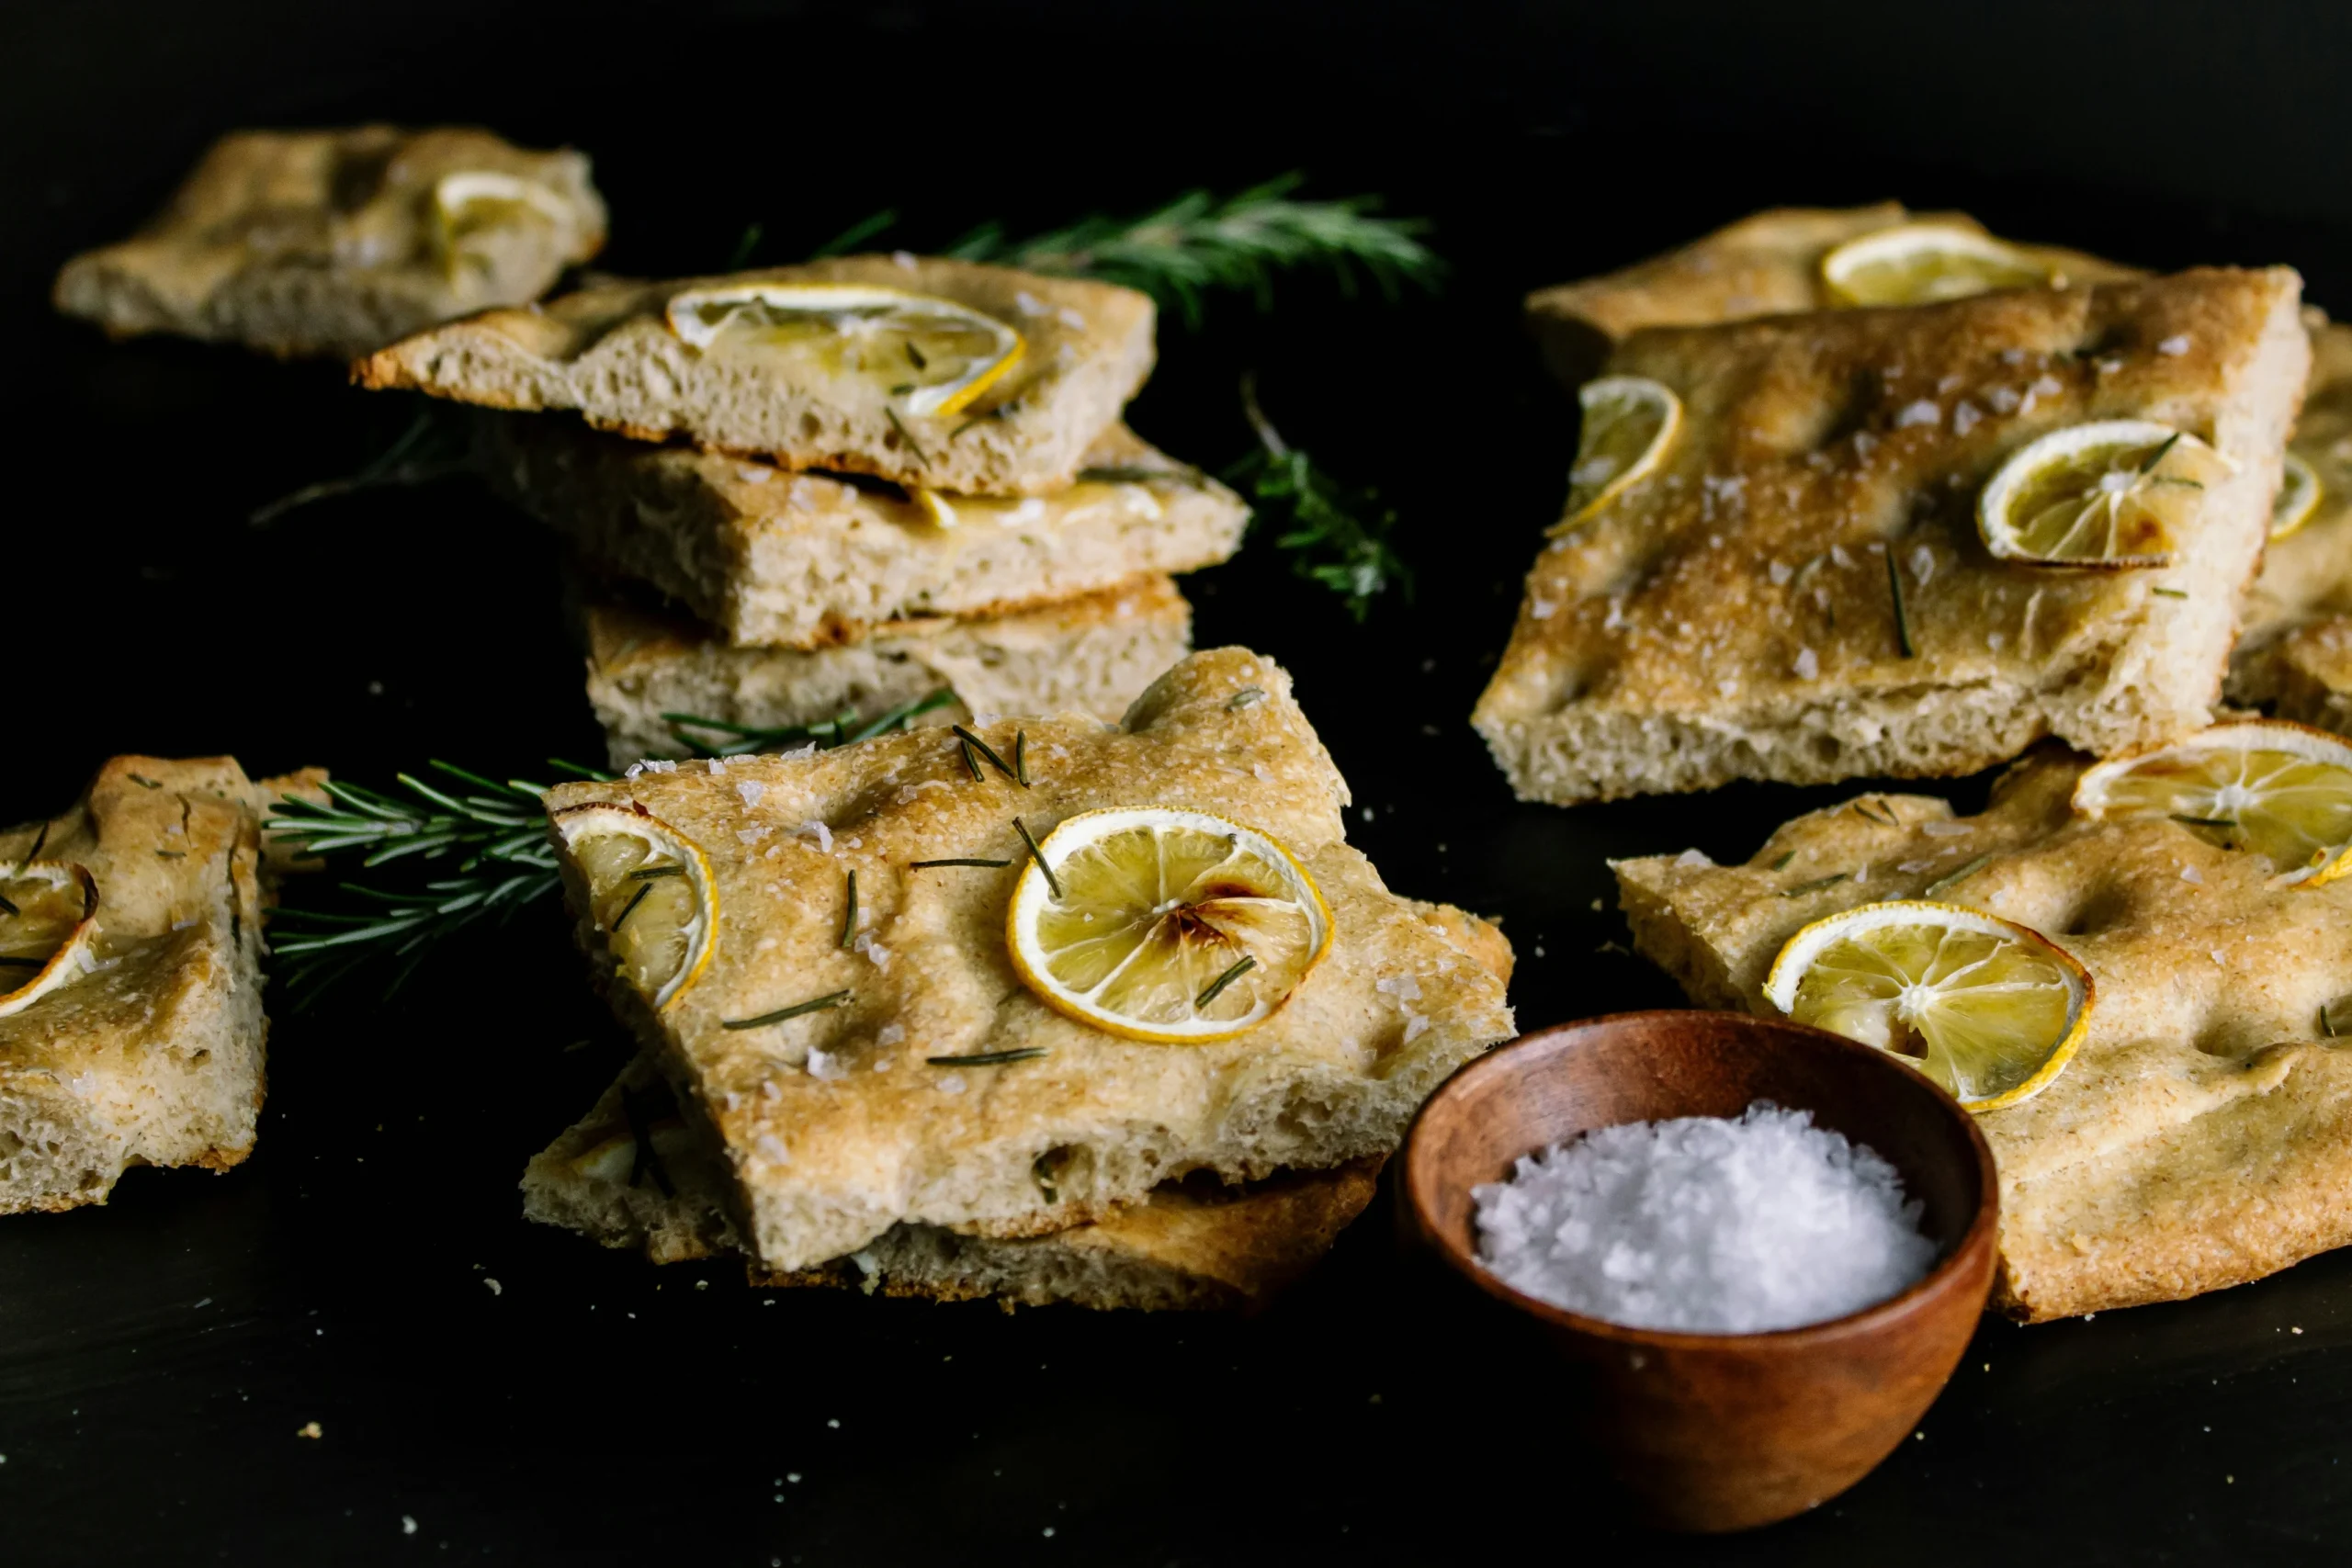
Traditional Focaccia Bread Recipe with Herbs and Sea Salt
There is something truly magical about the smell of warm dough filling your home. Whenever I pull a golden, dimpled loaf from the oven, I am instantly transported back to my grandmother’s kitchen. Mastering a traditional focaccia bread recipe is one of the most rewarding skills you can develop as a home baker.
Thank you for reading this post, don't forget to subscribe!This Italian staple relies on simple pantry items like flour, yeast, and high-quality olive oil. While it shares a family tree with pizza, the leavening process creates a unique, airy crumb that is impossible to resist. Whether you are a beginner or a seasoned pro, this traditional focaccia bread recipe offers a perfect balance of crunch and chew.
I love how the sea salt crystals pop against the herbaceous crust. It is the ultimate comfort food that brings everyone to the table with a smile.
Table of Contents
The Art of Authentic Italian Focaccia
When I think of the perfect loaf, my mind immediately drifts to the golden, dimpled surface of authentic focaccia. This Italian flatbread has been a beloved staple since the time of the ancient Etruscans and Romans. It carries a rich cultural legacy that continues to inspire home bakers across the globe.

Many people often confuse this bread with pizza, but they are distinct culinary traditions. While pizza finds its roots in the southern regions of Italy, focaccia is a proud creation of the north. The primary difference lies in the dough preparation, as focaccia requires significantly more leavening to achieve its signature height and texture.
I find that the secret to a truly irresistible loaf is the patience required during the fermentation process. By allowing the dough a long, slow rise, I ensure the development of a soft interior that contrasts beautifully with a crispy, olive-oil-drenched crust. This extended proofing time is essential for building the complex flavor profile that defines the bread.
Understanding the history of this Italian flatbread helps me appreciate every step of the baking process. The goal is always to balance that airy, soft interior with the savory crunch of sea salt and fresh herbs. Mastering this art form takes practice, but the reward of a warm, homemade loaf is well worth the effort.
Essential Ingredients for Your Dough
I believe that the best results come from choosing high-quality ingredients for your dough. When you work with simple components, each one plays a vital role in the final texture and flavor of your Italian flatbread.
Selecting the Right Flour
The foundation of any great yeast bread is the flour you choose. I recommend using a blend of bread flour and “00” flour to achieve the perfect balance.
Bread flour provides the necessary protein to build a strong gluten structure, which gives the bread its signature chew. Meanwhile, “00” flour adds a delicate, airy crumb that makes every bite feel light and professional.
The Importance of High-Quality Olive Oil
You should never underestimate the impact of olive oil on your baking. It is not just a fat source; it is a primary flavor component that infuses the dough with richness.
I always suggest using an extra virgin variety for the best results. A high-quality olive oil will create that beautiful, golden-brown crust that defines a truly authentic loaf.
Choosing Your Herbs and Sea Salt
To elevate your baking, focus on the aromatics and seasoning. Fresh herbs like rosemary, thyme, or parsley add a vibrant, earthy depth to your rosemary focaccia.
When it comes to seasoning, the type of salt matters significantly. I prefer using coarse sea salt because it provides a satisfying crunch and a clean, mineral-rich flavor profile.
Good bread is the most fundamentally satisfying of all foods; and good bread with fresh butter, the greatest of feasts.
Always sprinkle your sea salt generously over the dimpled surface before baking. This simple step ensures that every piece of your bread is perfectly seasoned and delicious.
Preparing Your Kitchen and Equipment
Mastering the art of homemade focaccia begins with organizing your workspace. When you have the right tools ready, the entire process becomes much more enjoyable and efficient. I always suggest gathering your supplies before you even touch the flour.
Mixing Bowls and Proofing Containers
I highly recommend using a large glass mixing bowl for your dough. A clear bowl allows you to visually monitor the fermentation process as the dough comes together and rises. You can easily see the air bubbles forming, which is a great indicator of success.
For proofing, choose a container that provides enough room for the dough to double in size. A wide, shallow container often works better than a deep one, as it prevents the dough from becoming too compressed. These simple baking tips will help you maintain better control over your results.
“Good bread is the most fundamentally satisfying food; and kindness to the loaf produces the best results.”
The Best Baking Pans for Crispy Edges
The choice of pan is vital for achieving that signature golden crust. I prefer using a heavy-duty metal baking pan, as it conducts heat evenly and helps create a crispy bottom. If you want the best texture, avoid thin, flimsy sheets that might warp in the oven.
Before adding your dough, be generous with your olive oil. Coating the bottom and sides of the pan thoroughly prevents sticking and helps fry the edges of the bread as it bakes. This extra layer of rich flavor is what makes homemade focaccia truly stand out. Remember, applying these baking tips ensures your bread releases easily every single time you use high-quality olive oil.
Mixing and Kneading the Dough
The magic truly begins when you start mixing your flour, water, and yeast into a shaggy, cohesive mass. Creating a high-quality focaccia dough requires patience and a gentle touch to ensure the ingredients harmonize perfectly. I always recommend adding your water gradually to the dry base, as this allows the flour to absorb moisture evenly and prevents clumping.
Combining Wet and Dry Ingredients
When you begin, use a sturdy spatula or your hands to incorporate the liquid into the flour. You want to reach a state where no dry pockets remain, resulting in a shaggy, sticky mixture. Do not be tempted to add extra flour at this stage, even if the mixture feels quite wet. This high hydration is the secret to achieving that signature airy crumb that makes this bread so special.
Developing Gluten Through Folding
Once your ingredients are combined, it is time to develop the structure of your focaccia dough. You should knead the mixture for about 8 minutes until it becomes smooth and elastic. You will know it is ready when an impression made with your fingers springs back immediately. If you prefer using a stand mixer, keep it on a low speed to avoid overworking the gluten.
Remember that a slightly sticky texture is perfectly normal and actually desirable for this style of bread. Proper development ensures your final product is light, airy, and full of character.
| Method | Effort Level | Texture Result |
|---|---|---|
| Hand Kneading | High | Excellent aeration |
| Stand Mixer | Low | Consistent elasticity |
| Stretch and Fold | Moderate | Superior crumb structure |
The First Rise and Fermentation
The transformation of your ingredients into flavorful bread happens during the crucial first rise. This stage is where the magic of yeast bread truly unfolds, allowing complex flavors to develop within your focaccia dough. Whether you are a beginner or a seasoned baker, understanding this phase is vital for success.
Creating the Ideal Environment for Yeast
To get the best results, you must provide a stable environment for your yeast to thrive. You can place your bowl in a warm, draft-free spot if you want a faster rise. However, I highly recommend a slow, cold fermentation in the refrigerator for 8 to 24 hours.
This patient approach significantly improves the final flavor profile of your bread. Furthermore, a long, cold rise makes the focaccia dough much easier for your body to digest. It is a simple technique that elevates your baking from good to truly professional.
Signs of Proper Dough Development
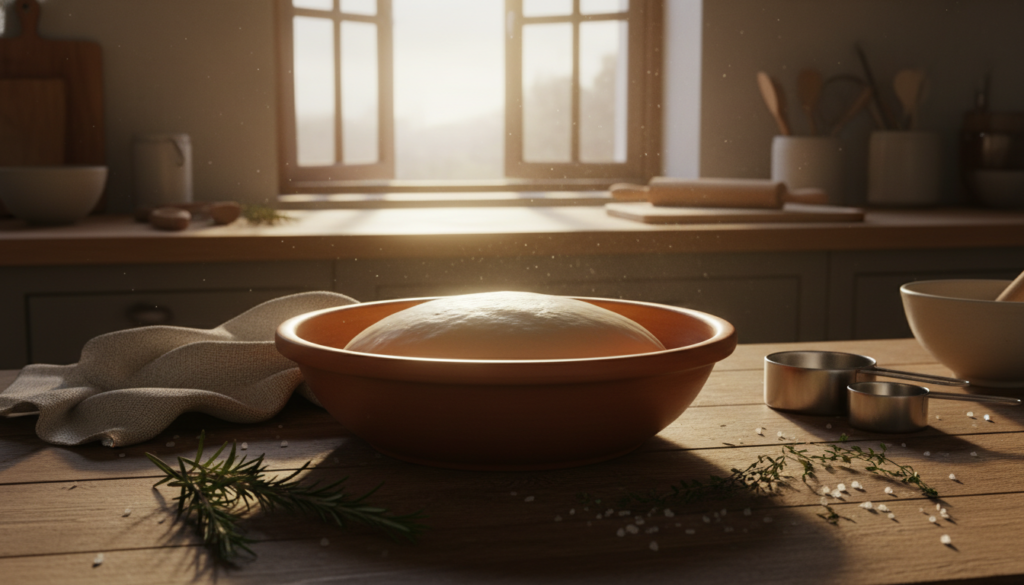
When you are proofing dough, you need to watch for specific visual cues to know when it is ready. The most obvious sign is that the mixture should roughly double in size. You will also notice visible air bubbles forming on the surface and along the sides of your container.
These bubbles indicate that the yeast is active and has successfully created the structure needed for a light, airy crumb. If you see these signs, your yeast bread is perfectly prepared for the next steps. Trusting these physical indicators is the best way to ensure your final product has the perfect texture before it ever hits the oven.
Transferring and Shaping in the Pan
Transitioning your airy dough into the baking sheet is a delicate process that requires a gentle touch. You have worked hard to build structure during the first rise, so you want to avoid deflating those precious air bubbles. Patience is your best tool when moving the dough from your bowl to the pan.
Preparing the Baking Sheet
Before the dough touches the pan, you must ensure the surface is properly lubricated. I recommend using a generous amount of high-quality extra virgin olive oil to coat the bottom and sides of your baking sheet. This step is essential to prevent sticking and to help the bottom of the crust fry into a golden, crispy finish.
“Baking is a process of patience, where the dough dictates the pace and the baker simply follows the lead.”
Allowing the Dough to Relax
Once the dough is in the pan, you might notice it tries to snap back like a rubber band. This happens because the gluten is tight and needs time to settle. Instead of forcing it to the corners, cover the pan and let it rest for about twenty minutes. This period of proofing dough allows the gluten network to relax, making it much easier to stretch the dough to the edges later.
If the dough still resists, give it another ten minutes of rest. Never rush this stage, as a relaxed dough will result in a much lighter and airier final product.
| Pan Material | Heat Conductivity | Crust Result |
|---|---|---|
| Cast Iron | High | Very Crispy |
| Anodized Aluminum | Medium | Evenly Golden |
| Glass | Low | Soft Bottom |
Mastering the Dimpling Technique
The most exciting part of making focaccia is pressing your fingers into the soft, airy dough. This dimpling technique is the true hallmark of a professional-looking loaf. It transforms a simple slab of dough into a beautiful, cratered landscape ready for flavor.
Creating Those Signature Pockets
When you press your fingers into the dough, you are doing much more than just making a pattern. These indentations significantly increase the surface area of the bread. This allows the dough to bake more evenly while creating little reservoirs for your favorite ingredients.
To get the best results, spread your fingers wide and press straight down until you feel the bottom of the pan. Be gentle but firm to ensure you do not deflate the air bubbles you worked so hard to develop. These signature pockets are what give focaccia its unique, airy crumb structure.
Applying Toppings and Infusions
Once your pockets are formed, they act as perfect vessels for flavor. I love to drizzle high-quality olive oil over the surface, letting it pool inside every single indentation. This ensures that every bite is rich, moist, and deeply flavorful.
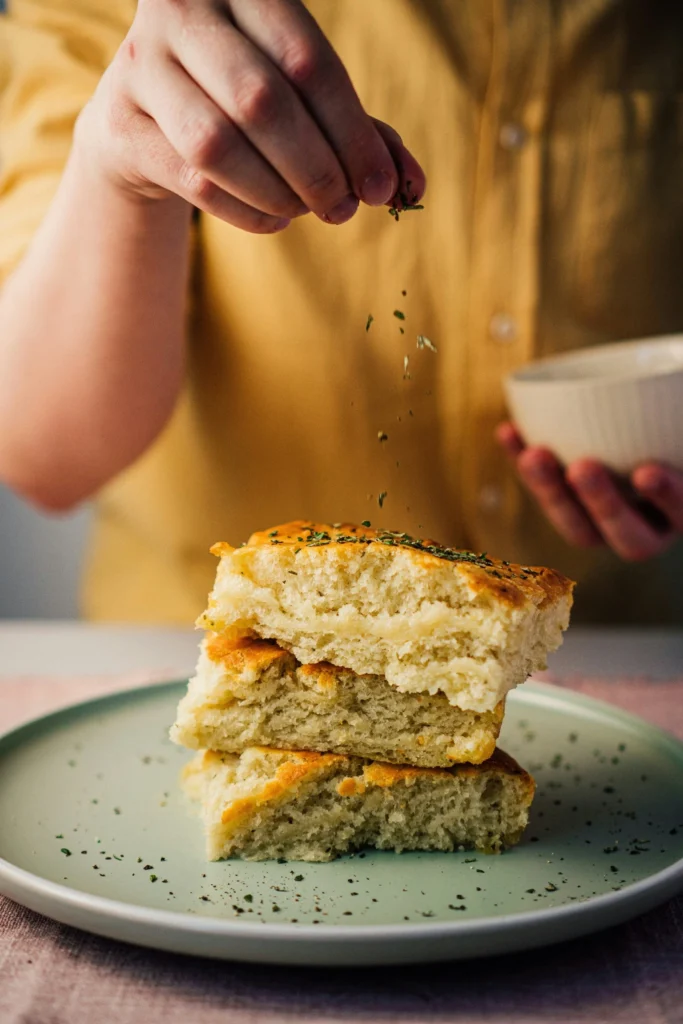
Next, sprinkle a generous amount of sea salt over the top. The salt will settle into the oil-filled pockets, creating a delightful crunch in every mouthful. You can also tuck fresh herbs like rosemary or thyme directly into these wells to infuse the bread with their aromatic oils during the baking process.
My Traditional Focaccia Bread Recipe
I am excited to share my personal, foolproof traditional focaccia bread recipe with you today. This method has been refined over many kitchen sessions to ensure you achieve that signature airy crumb and crispy exterior every single time. The total time for this process, including the long refrigerator rise, is approximately 10 hours and 50 minutes.
Step-by-Step Preparation Instructions
Follow these simple steps to bring your dough to life. Consistency is the secret to success when working with high-hydration doughs.
- Mix the dough: Combine your flour, water, salt, and yeast in a large bowl until a shaggy mass forms.
- Perform folds: Every 30 minutes for the first two hours, perform a series of stretches and folds to build strength.
- Cold fermentation: Cover your bowl tightly and place it in the refrigerator for at least 8 hours to develop deep flavor.
- Pan transfer: Gently tip the dough into an oiled baking sheet, allowing it to spread naturally toward the edges.
- Dimpling: Use your oiled fingertips to press deep pockets into the surface, then drizzle with extra virgin olive oil and sea salt.
Temperature and Timing Guidelines
Managing your environment is essential for the best results. Use the following table to track your progress throughout the baking cycle.
| Process Stage | Ideal Temperature | Duration |
|---|---|---|
| Initial Mixing | 70°F – 75°F | 15 Minutes |
| Bulk Fermentation | 72°F – 78°F | 2 Hours |
| Cold Rise | 38°F – 40°F | 8 Hours |
| Final Proof | 75°F – 80°F | 35 Minutes |
By adhering to this traditional focaccia bread recipe, you will master the balance of time and temperature. Remember that patience is your best tool in the kitchen, especially during the long cold rise. Enjoy the process of creating something truly delicious from scratch.
Baking for the Perfect Golden Crust
When it comes to baking focaccia, the final stretch in the oven is where the magic truly happens. I always tell my friends that patience during this stage is the secret to achieving that bakery-quality result at home. You are just moments away from enjoying a warm, fragrant loaf.
Oven Placement and Heat Management
To achieve a beautiful crispy crust, you must manage your oven temperature with precision. I recommend preheating your oven to between 425°F and 430°F to ensure the dough gets a proper initial lift. This high heat is essential for creating that signature golden-brown exterior while keeping the inside light and airy.
Place your baking sheet on the center rack of your oven for the most consistent airflow. If your oven tends to run hot or cold, consider using an oven thermometer to verify the internal temperature. Bake your bread for 20 to 25 minutes, keeping a close eye on the color as it develops.
Testing for Doneness
One of my favorite baking tips is to rely on your senses rather than just the timer. You will know your bread is ready when the top reaches a deep, rich golden color that looks appetizing and firm. The edges should appear slightly darker and feel quite crisp to the touch.
For the final test, carefully lift the edge of the bread with a spatula and tap the bottom. If it sounds hollow, you have successfully achieved the perfect bake. If it sounds dull or heavy, give it another two minutes and check again.
Troubleshooting Common Focaccia Mistakes
I have encountered my fair share of kitchen mishaps while perfecting my favorite bread recipes. Even when you are baking focaccia with the best intentions, things can occasionally go wrong. Do not feel discouraged, as every mistake is simply a lesson that brings you closer to a perfect loaf.
Fixing Dense or Heavy Dough
If your bread feels like a brick rather than a light, airy cloud, the issue often lies in the fermentation stage. A dense crumb usually happens when the yeast has not had enough time to work its magic. Patience is truly your best friend when you want to achieve that signature light texture.
Another common culprit is using too much flour during the kneading process. You should aim for a sticky, hydrated dough to ensure a crispy crust develops in the oven. If you find the dough is too difficult to handle, try using the dimpling technique with oiled fingers instead of adding extra flour.
Preventing Burnt Herbs and Salt
There is nothing more disappointing than pulling a beautiful loaf from the oven only to find your fresh herbs have turned into bitter, charred bits. To preserve their vibrant flavor and color, I recommend adding delicate herbs like rosemary or thyme only 5 minutes before the end of the baking time.
This simple adjustment ensures your toppings remain fragrant and delicious without sacrificing the integrity of your crispy crust. If you are worried about your sea salt burning, you can also apply it right after the bread comes out of the oven. Mastering the dimpling technique allows you to create deep pockets that hold these infusions perfectly, resulting in a professional-grade bake every time.
Creative Variations and Serving Suggestions
My favorite part of baking is transforming a simple dough into a canvas for culinary expression. Once you have mastered the foundational techniques, you can explore exciting focaccia variations that suit any palate or occasion. Whether you prefer savory toppings like kalamata olives and sun-dried tomatoes or a classic rosemary focaccia, the possibilities are truly endless.
Pairing Focaccia with Meals
This bread is incredibly versatile and serves as the perfect companion to many dishes. Its soft interior and crispy crust make it an ideal side for hearty vegetable soups or creamy tomato bisques. You can also slice it into thin strips to serve alongside a fresh garden salad or as a centerpiece for an elegant antipasto platter.
Consider the following table to help you decide how to serve your next batch of freshly baked bread:
| Topping Idea | Best Pairing | Serving Style |
|---|---|---|
| Sea Salt & Rosemary | Tomato Soup | Warm Slices |
| Olives & Garlic | Antipasto Platter | Bite-sized Squares |
| Cherry Tomatoes | Garden Salad | Toasted Strips |
| Caramelized Onions | Roasted Meats | Thick Wedges |
Storing and Reheating Your Bread
To keep your bread fresh, store it in an airtight container or a paper bag at room temperature for up to two days. If you need to keep it longer, I recommend freezing it tightly wrapped in plastic to maintain its moisture. When you are ready to enjoy it again, a quick toast in a 350°F oven for five minutes will restore that signature crunch.
Do not let any leftovers go to waste if the bread starts to lose its freshness. You can easily turn them into delicious, crunchy croutons for your favorite salads. Simply slice the bread into 1-inch cubes, toss them with a little olive oil, and toast them in the oven for about 10 minutes until golden brown.
Conclusion
Baking bread at home transforms your kitchen into a sanctuary of warmth and aroma. You now possess the skills to craft professional-quality homemade focaccia that rivals any artisan bakery. Every dimple you press into the dough represents a step toward culinary confidence.
I encourage you to explore creative focaccia variations to keep your baking sessions exciting. Try adding roasted garlic, sun-dried tomatoes, or fresh rosemary from your garden to personalize each loaf. These small adjustments turn a simple recipe into a signature dish for your table.
Sharing a fresh, golden loaf with friends creates lasting memories around the dinner table. Your journey with yeast and flour does not end here. Keep practicing these techniques to refine your craft and enjoy the process of creating something delicious from scratch.
## FAQ
### Q: What makes this traditional focaccia bread recipe different from a standard pizza dough?
A: While both are beloved Italian classics, the primary difference lies in the leavening and hydration levels. My traditional focaccia bread recipe requires a higher water content and a significantly longer rising time. This process creates the iconic airy, soft interior and a thicker profile compared to the thinner, chewier base of a southern Italian pizza.
### Q: Which brands of olive oil do you recommend for the best flavor?
A: Since olive oil is a starring ingredient, I always reach for high-quality Extra Virgin Olive Oil. I personally love the robust flavor profile of California Olive Ranch or the authentic Italian taste of Lucini Everyday. Using a premium oil ensures that your crust achieves a perfectly golden finish and a rich, buttery mouthfeel.
### Q: Can I use only All-Purpose flour for this traditional focaccia bread recipe?
A: You can, but for the most professional results, I prefer a blend. I use a mix of King Arthur Bread Flour for strength and Antimo Caputo “00” Flour for a silky texture. This combination ensures the dough has enough gluten to trap air bubbles without becoming too tough or heavy.
### Q: Why do I need to dimple the dough with my fingers?
A: Dimpling is my favorite part of the process! These indentations aren’t just for looks; they act as flavor reservoirs. By pressing your fingers into the dough, you create pockets that capture pools of extra virgin olive oil, brine, and aromatics like Maldon Sea Salt, ensuring every bite is deeply seasoned.
### Q: What is the best way to prevent the rosemary from burning in the oven?
A: To avoid bitter, burnt herbs, I make sure to coat the fresh rosemary sprigs thoroughly in olive oil before placing them on the dough. I also recommend tucking the herbs slightly into the dimples. If you are using delicate herbs like Italian parsley, it is often better to sprinkle them on immediately after the bread leaves the oven.
### Q: How can I tell if my focaccia is fully baked?
A: I always look for a deep golden-brown crust on both the top and the bottom. You can gently lift a corner with a spatula to check the underside. Another trick I use is the “tap test”—if you tap the top of the loaf and it sounds slightly hollow, it is ready to come out and cool.
### Q: What is the best way to reheat leftovers without losing the crunch?
A: I highly recommend avoiding the microwave, as it can make the bread rubbery. Instead, place your slices in a Breville toaster oven or a standard oven at 350°F for about 5 to 8 minutes. This restores the crispy exterior while keeping the middle soft and pillowy.
### Q: Can I let the dough rise in the refrigerator overnight?
A: Yes, and I actually prefer it! A cold fermentation in the fridge for 12 to 24 hours allows the yeast to work slowly, which develops a much more complex and sophisticated flavor. Just ensure you use a sturdy glass Pyrex bowl covered tightly with plastic wrap to prevent the dough from drying out.